

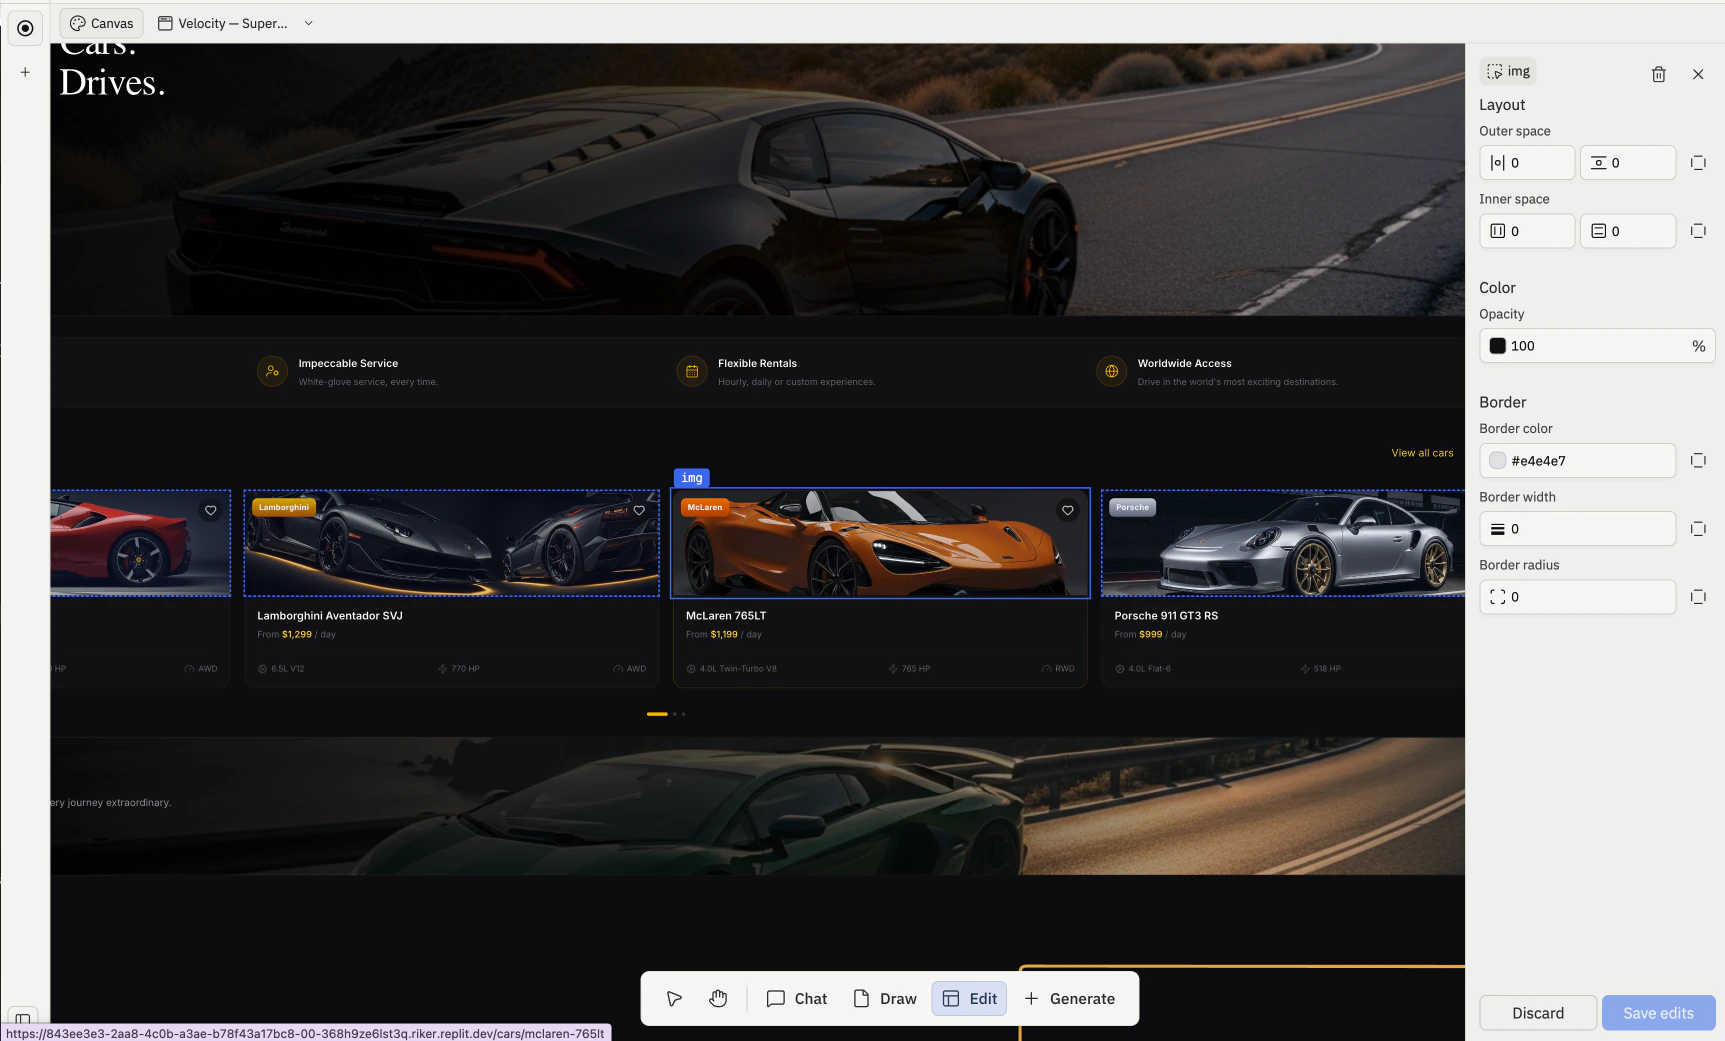
Selecting an element
Use the Edit tool on the toolbar. With Edit active, click inside a live frame to select the element under the cursor. The selected element gets a highlight outline and a small inline prompt where you can ask Agent to change it.Edit is disabled until at least one frame exists on Canvas, and is desktop-only.
Acting on a selected element
Ask Agent to change it
Ask agent to update the element’s copy, color, layout, spacing, or behavior with the inline prompt.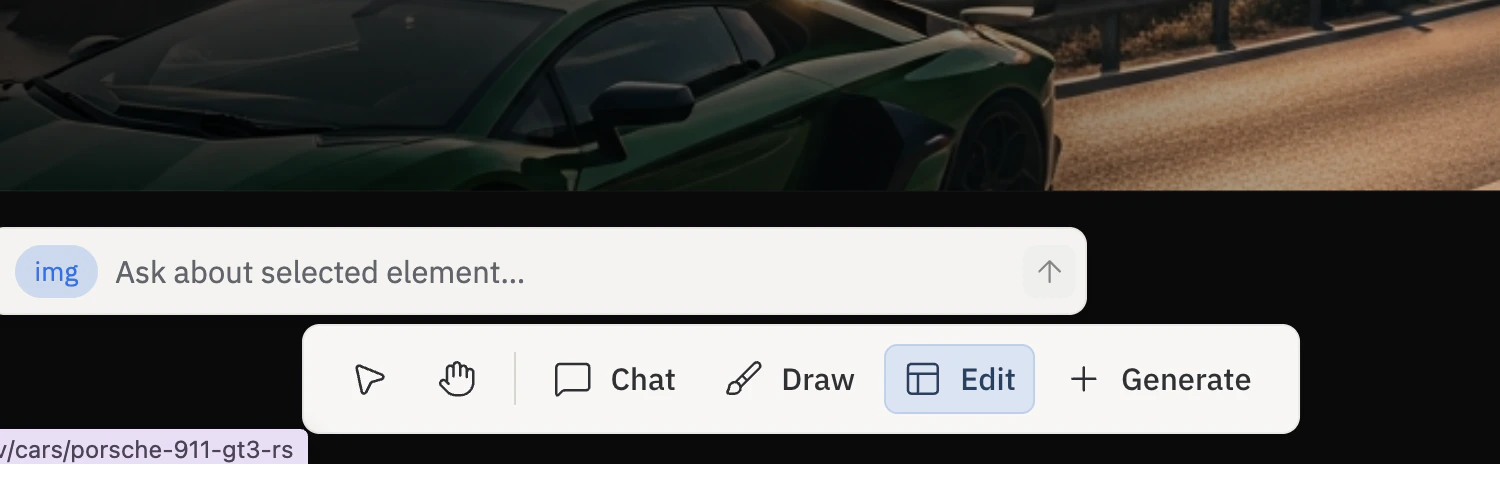
Inspect element
Inspect the element via the per-frame action bar’s Inspect button, which opens the Visual Editor targeting that element.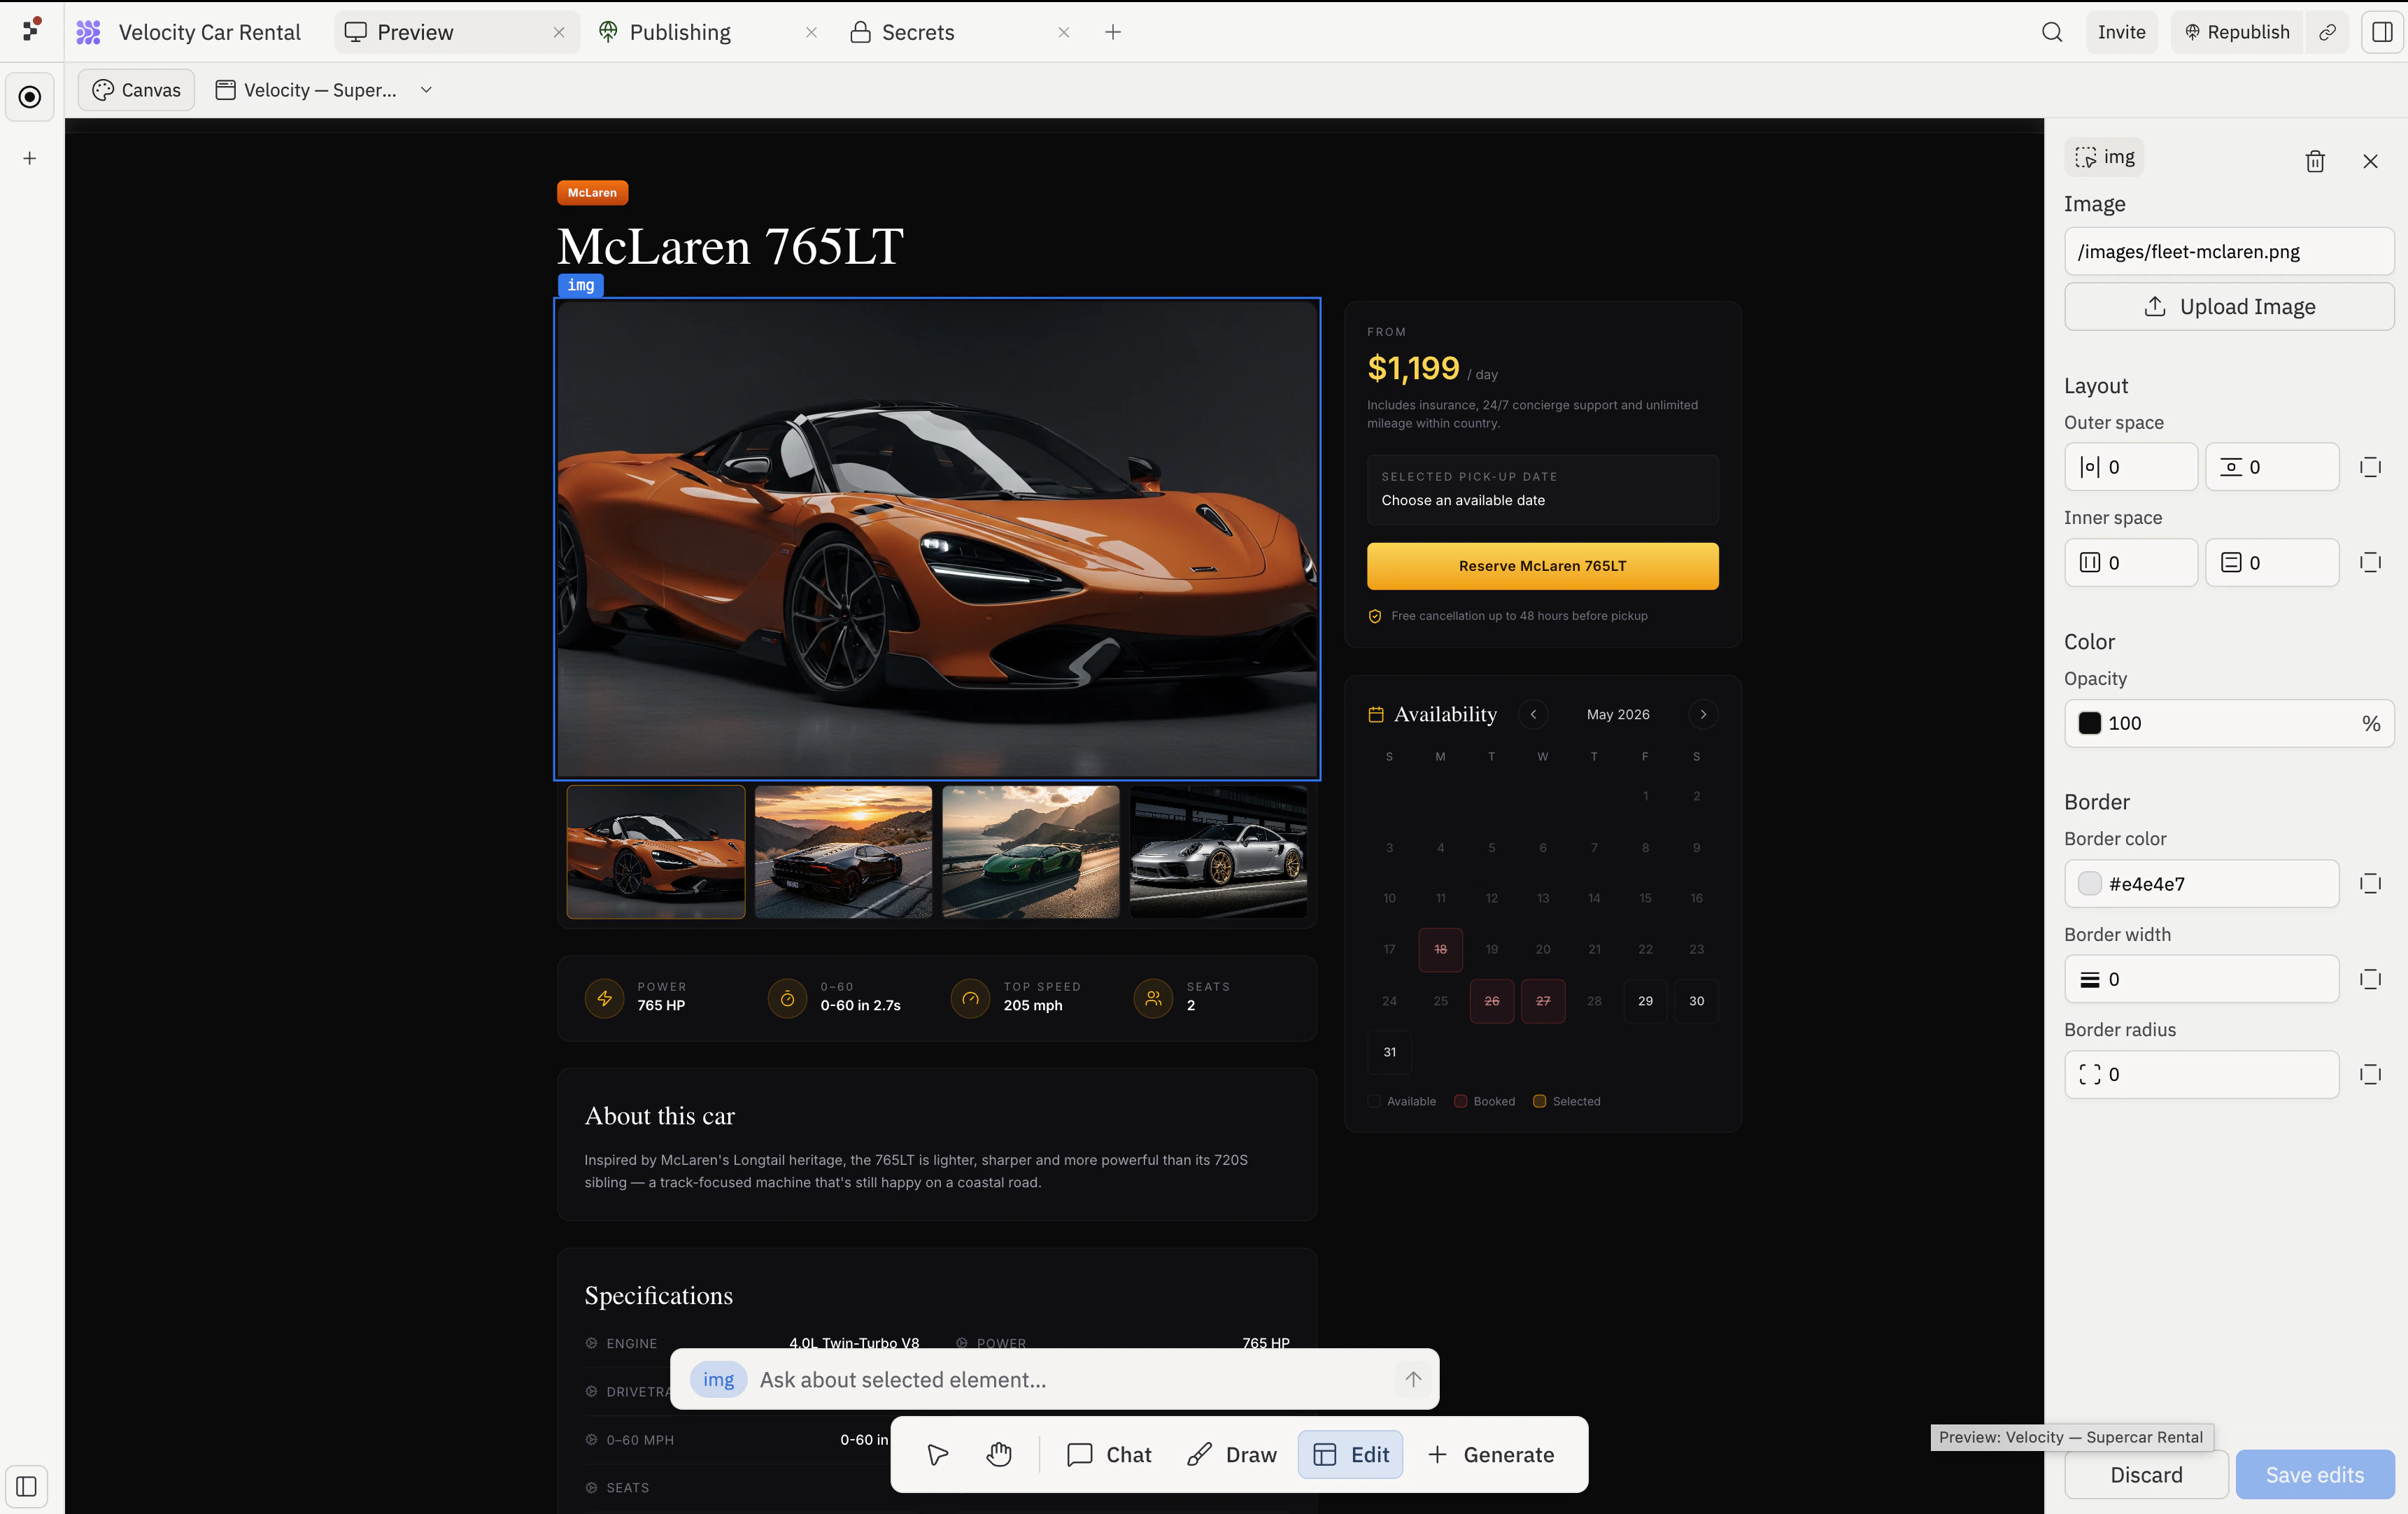
Inspect is only available while the frame is in focus mode and the element is a selectable DOM node.
Visual Editor
Selecting an element opens the Visual Editor — a right-side panel paired with the inline prompt. The panel groups every control into clear sections so you can find the one you need faster: Text, Layout, Color, and Border. (The Image section also appears when you select an image element.)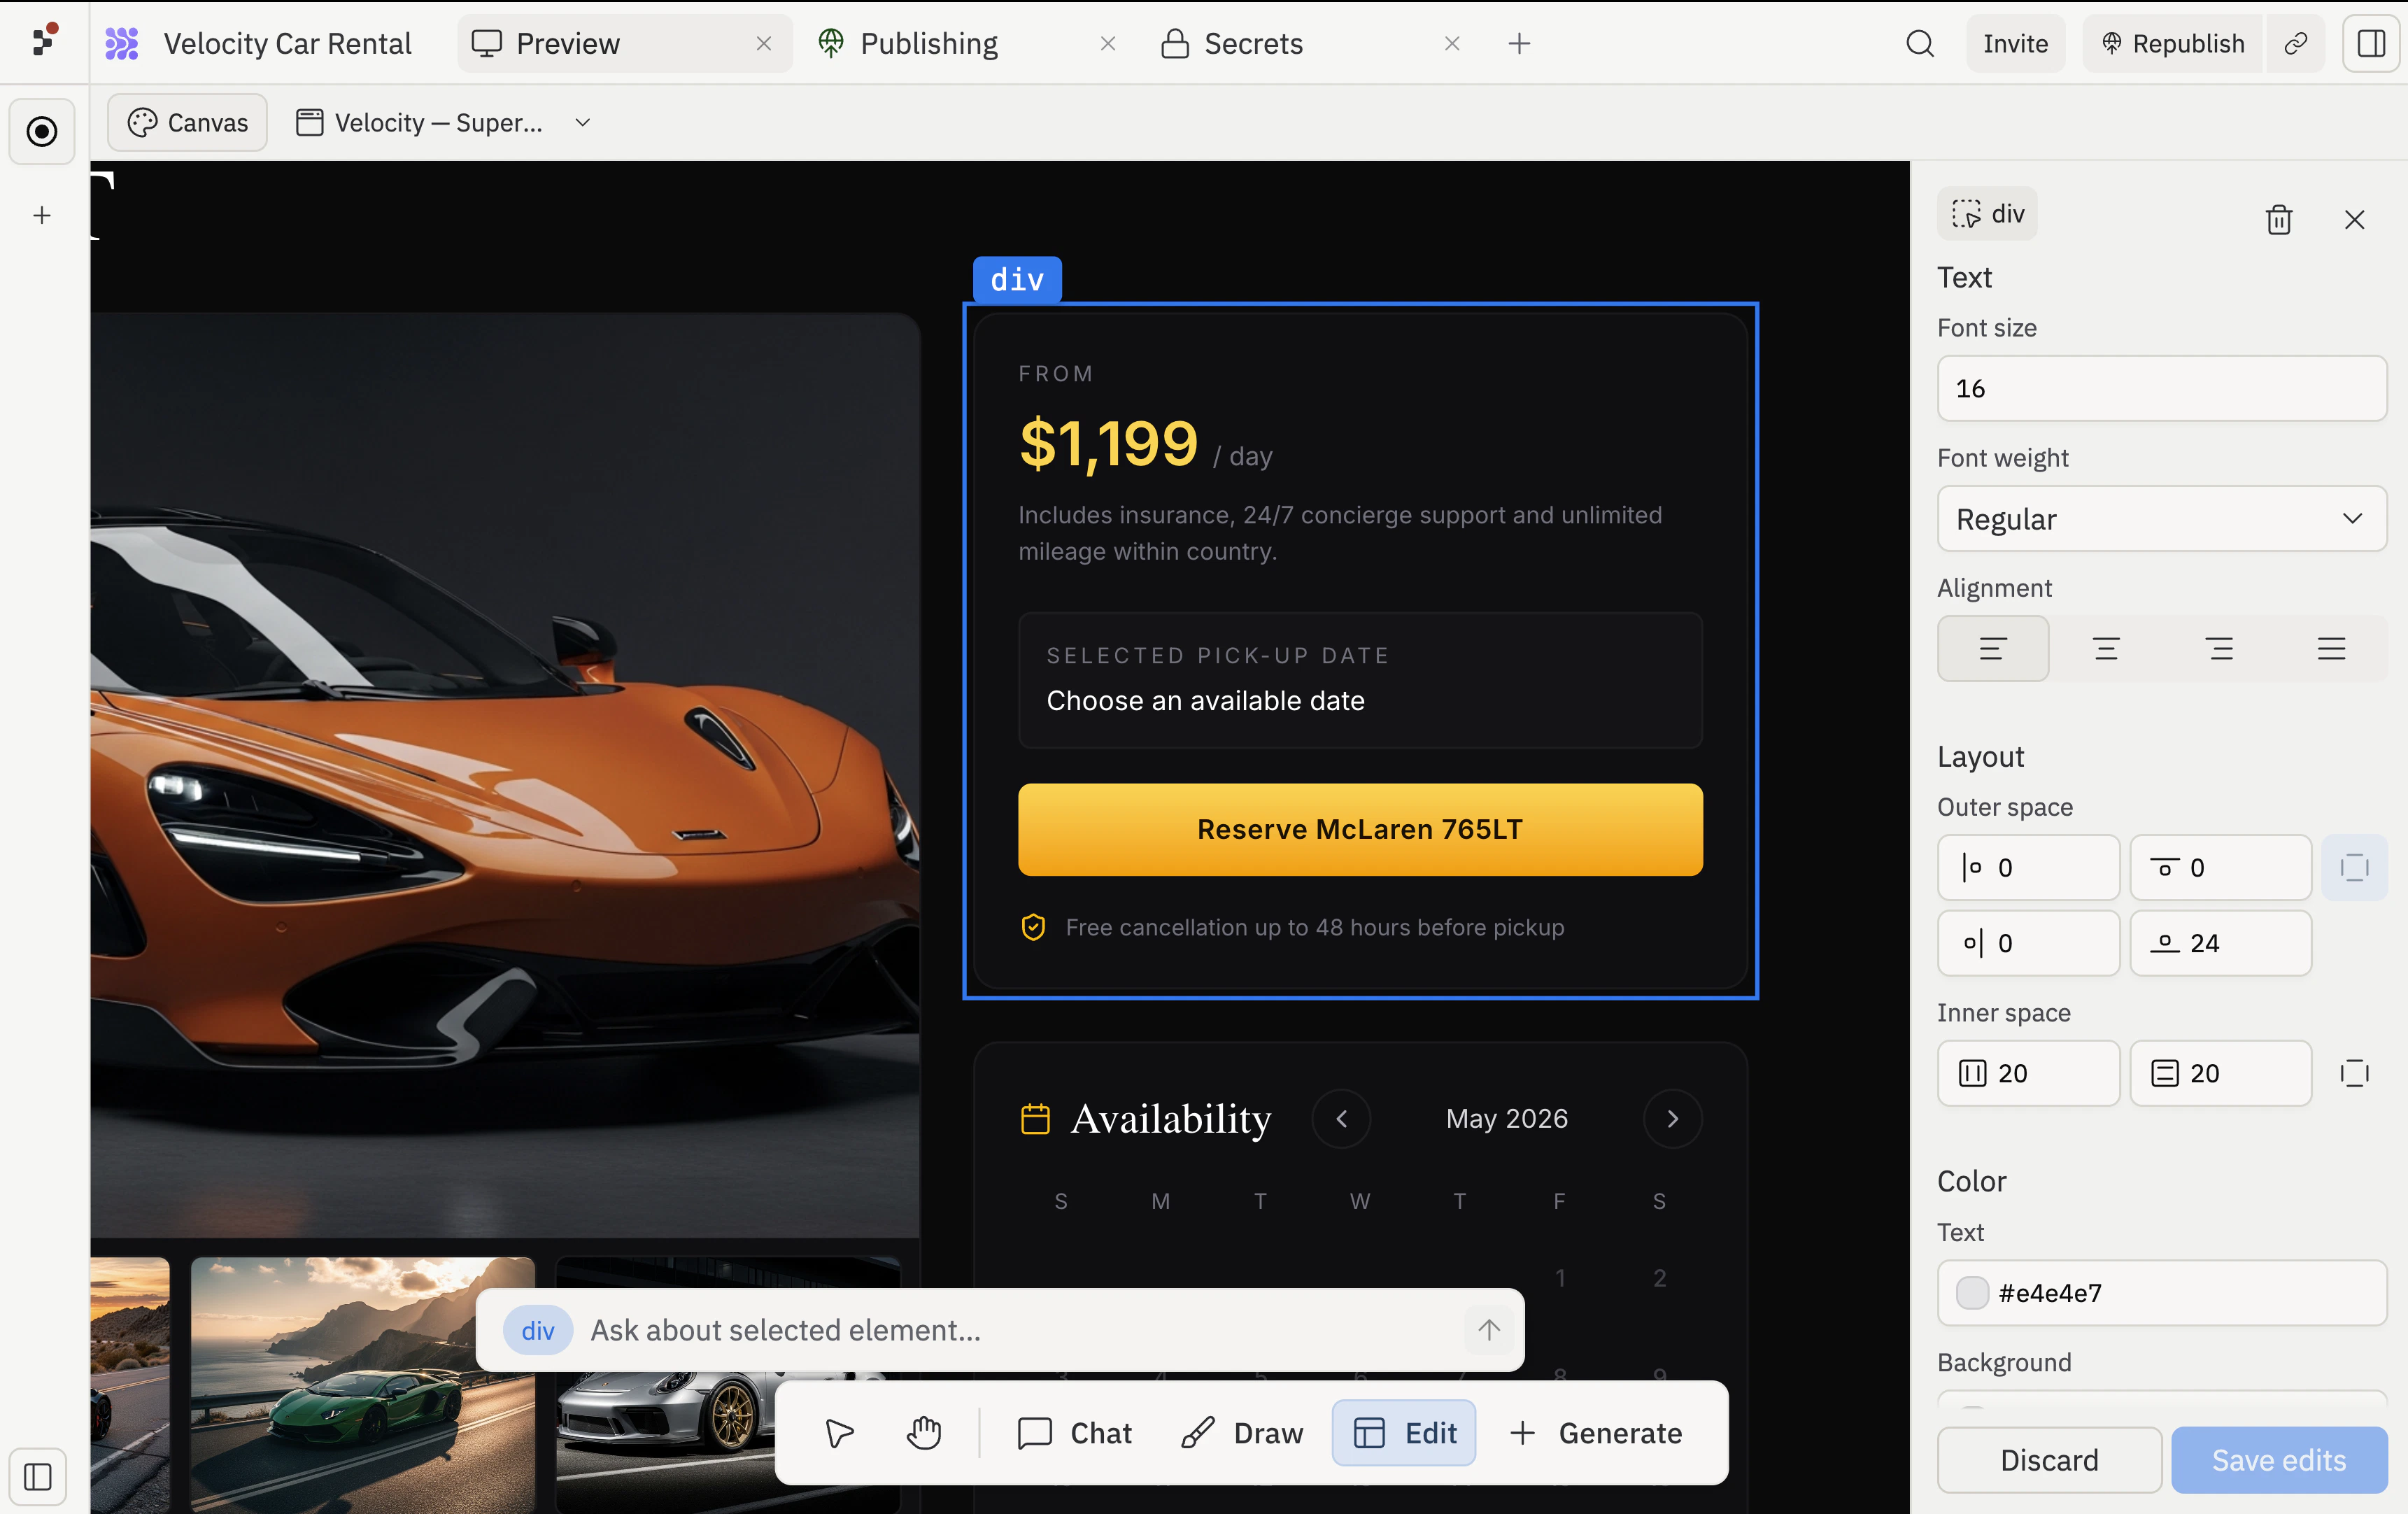
Layout
The Layout section is where you adjust how children sit inside a container without going through Agent. Select a flex container, expand Layout, and you get:- Alignment: A 3×3 dot picker for where items sit along both axes inside the container.
- Direction: Two arrow buttons that stack children in a row or a column.
- Gap: A pixel value for the space between items. The icon next to the Gap input changes to match the current direction so you always know whether you’re adjusting horizontal or vertical spacing. Next to it, an arrow icon toggles Distribute space between items, which pushes children to opposite edges of the container.
- Outer space: Per-side inputs for the space outside the element (one input per side, with a link toggle to lock all four sides at once).
- Inner space: Inputs for the space inside the element along each axis, with a link toggle for both axes at once.
Related pages
- Canvas — overview and anatomy.
- Frames — the containers Elements live inside.
- Toolbar — where the Edit tool lives.
- Visual Editor — full element-editing walkthrough.