

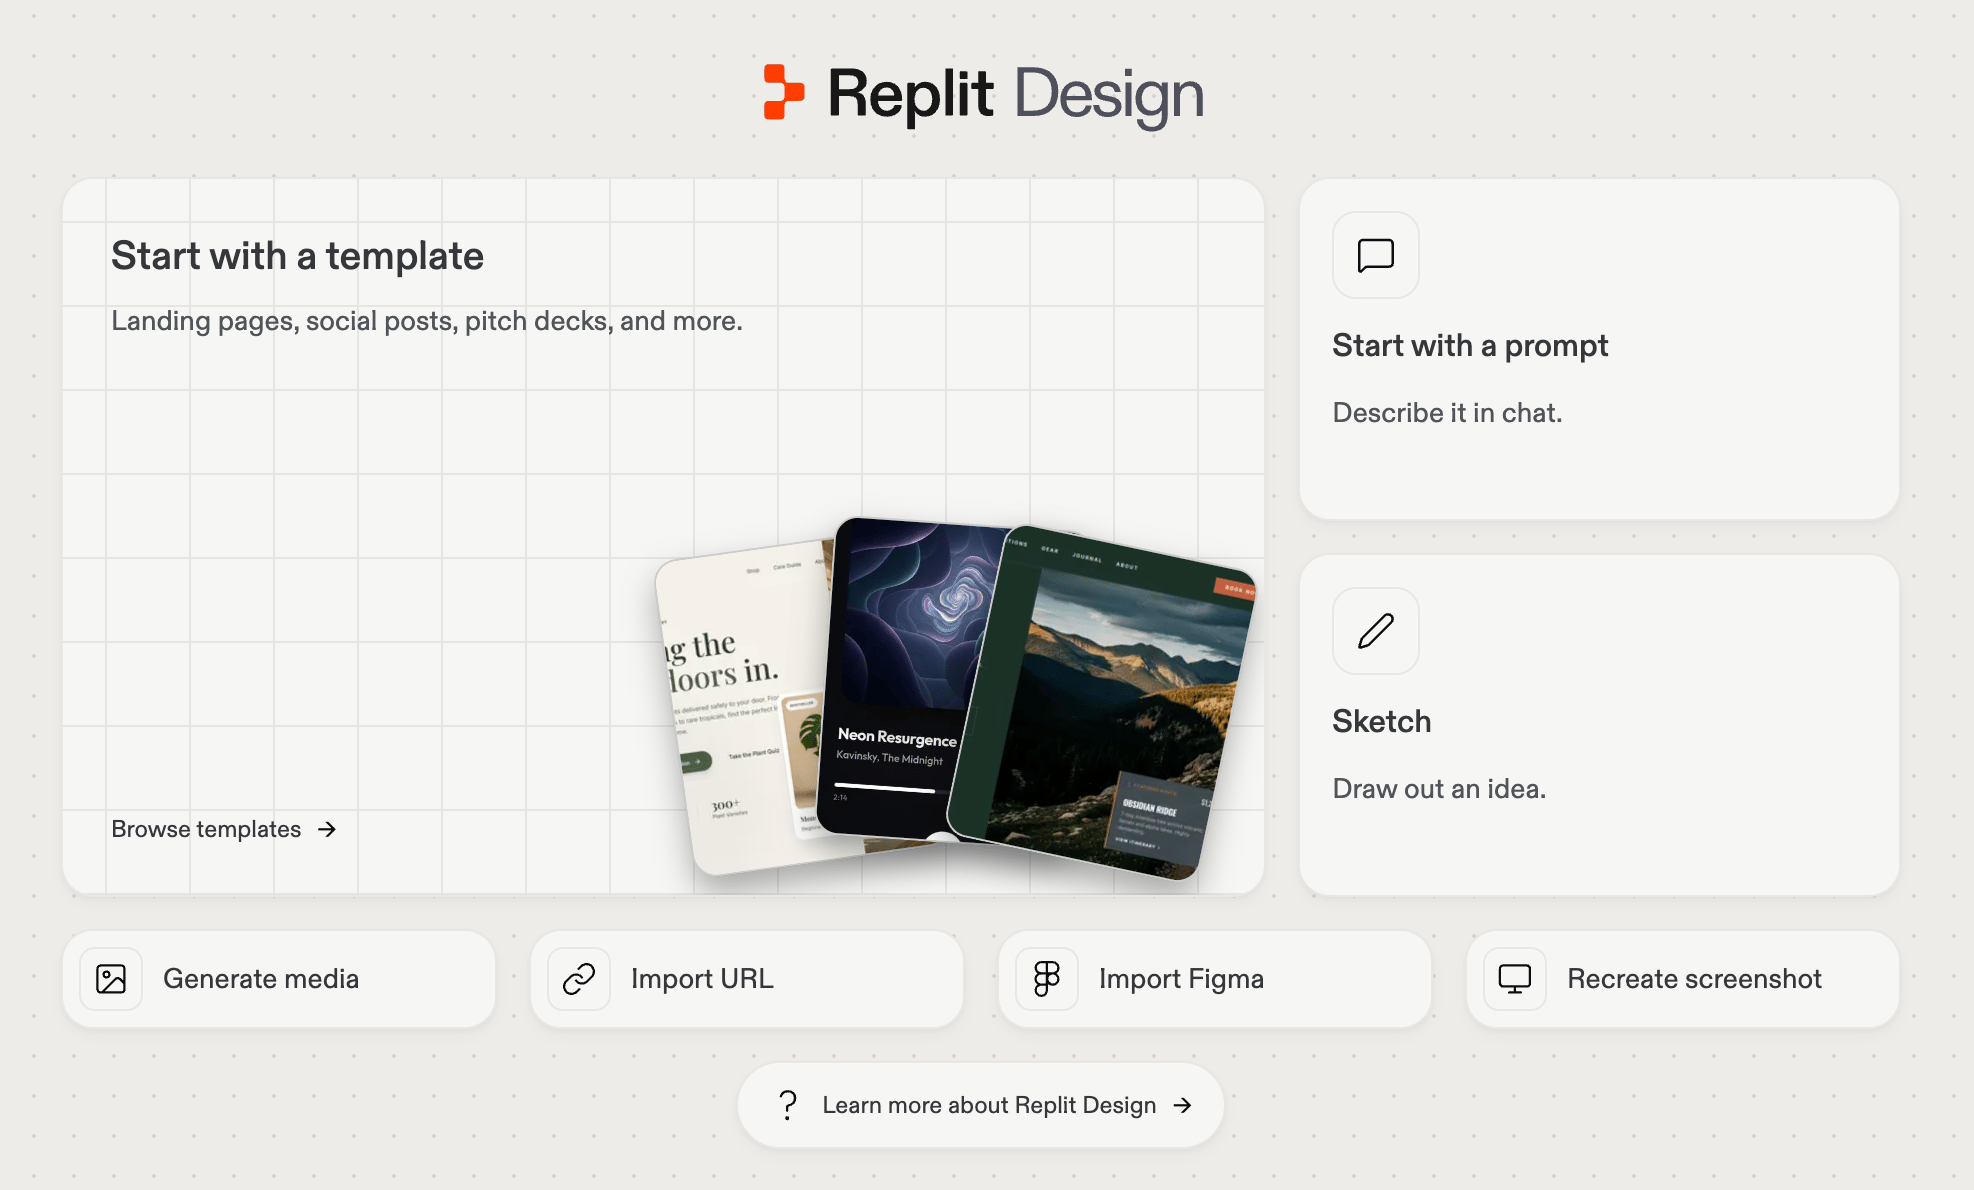
Start fresh or import existing designs
Start at Replit Design, or select Design under the create input on your workspace home. Four ways in:- Prompt: describe what you want and generate your first frames.
- Templates: start from a pre-built landing page, poster, social post, mobile screen, or prototype, then remix it.
- Import: bring a design from Figma or Claude, or recreate a site from its URL or a screenshot.
- Design system: start from a saved system so your first frame is already on brand.
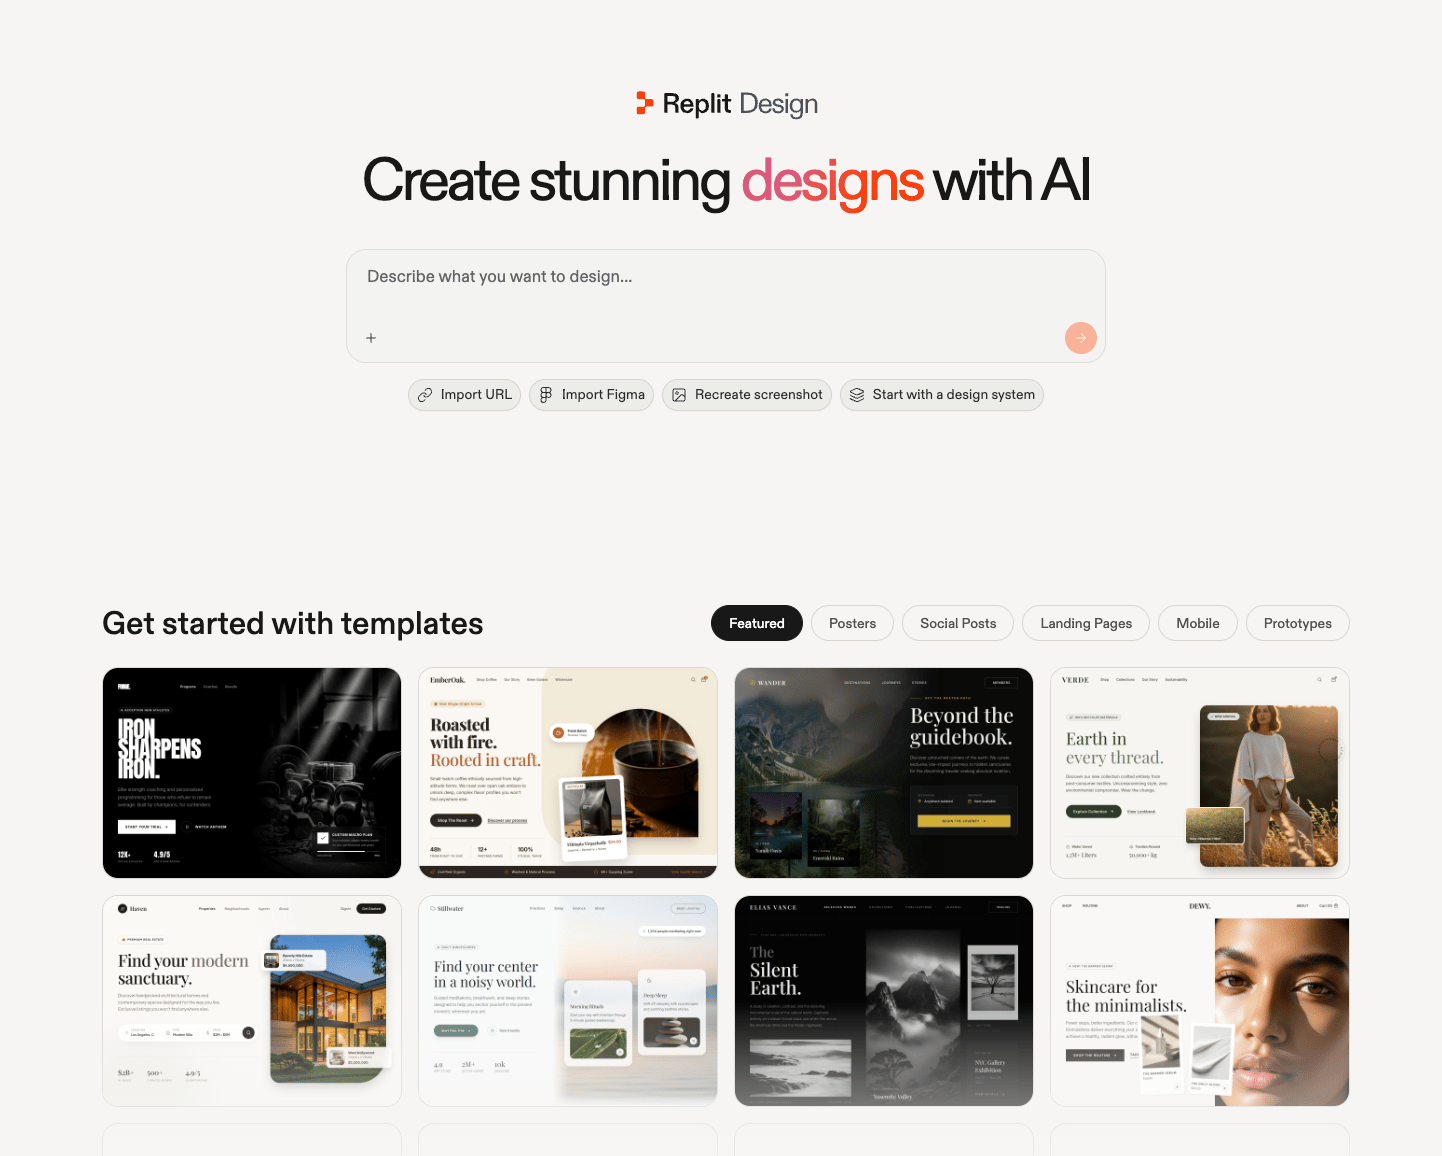
The Replit Design home: prompt, import, or start from a template.
Explore variants
Go wide before you commit. Every result lands as a new frame, so you never lose a direction.- Suggestions: select a frame and Replit Design proposes what to try next, one click each.
- A different model: switch the model behind Design and send the same brief for a genuinely different direction.
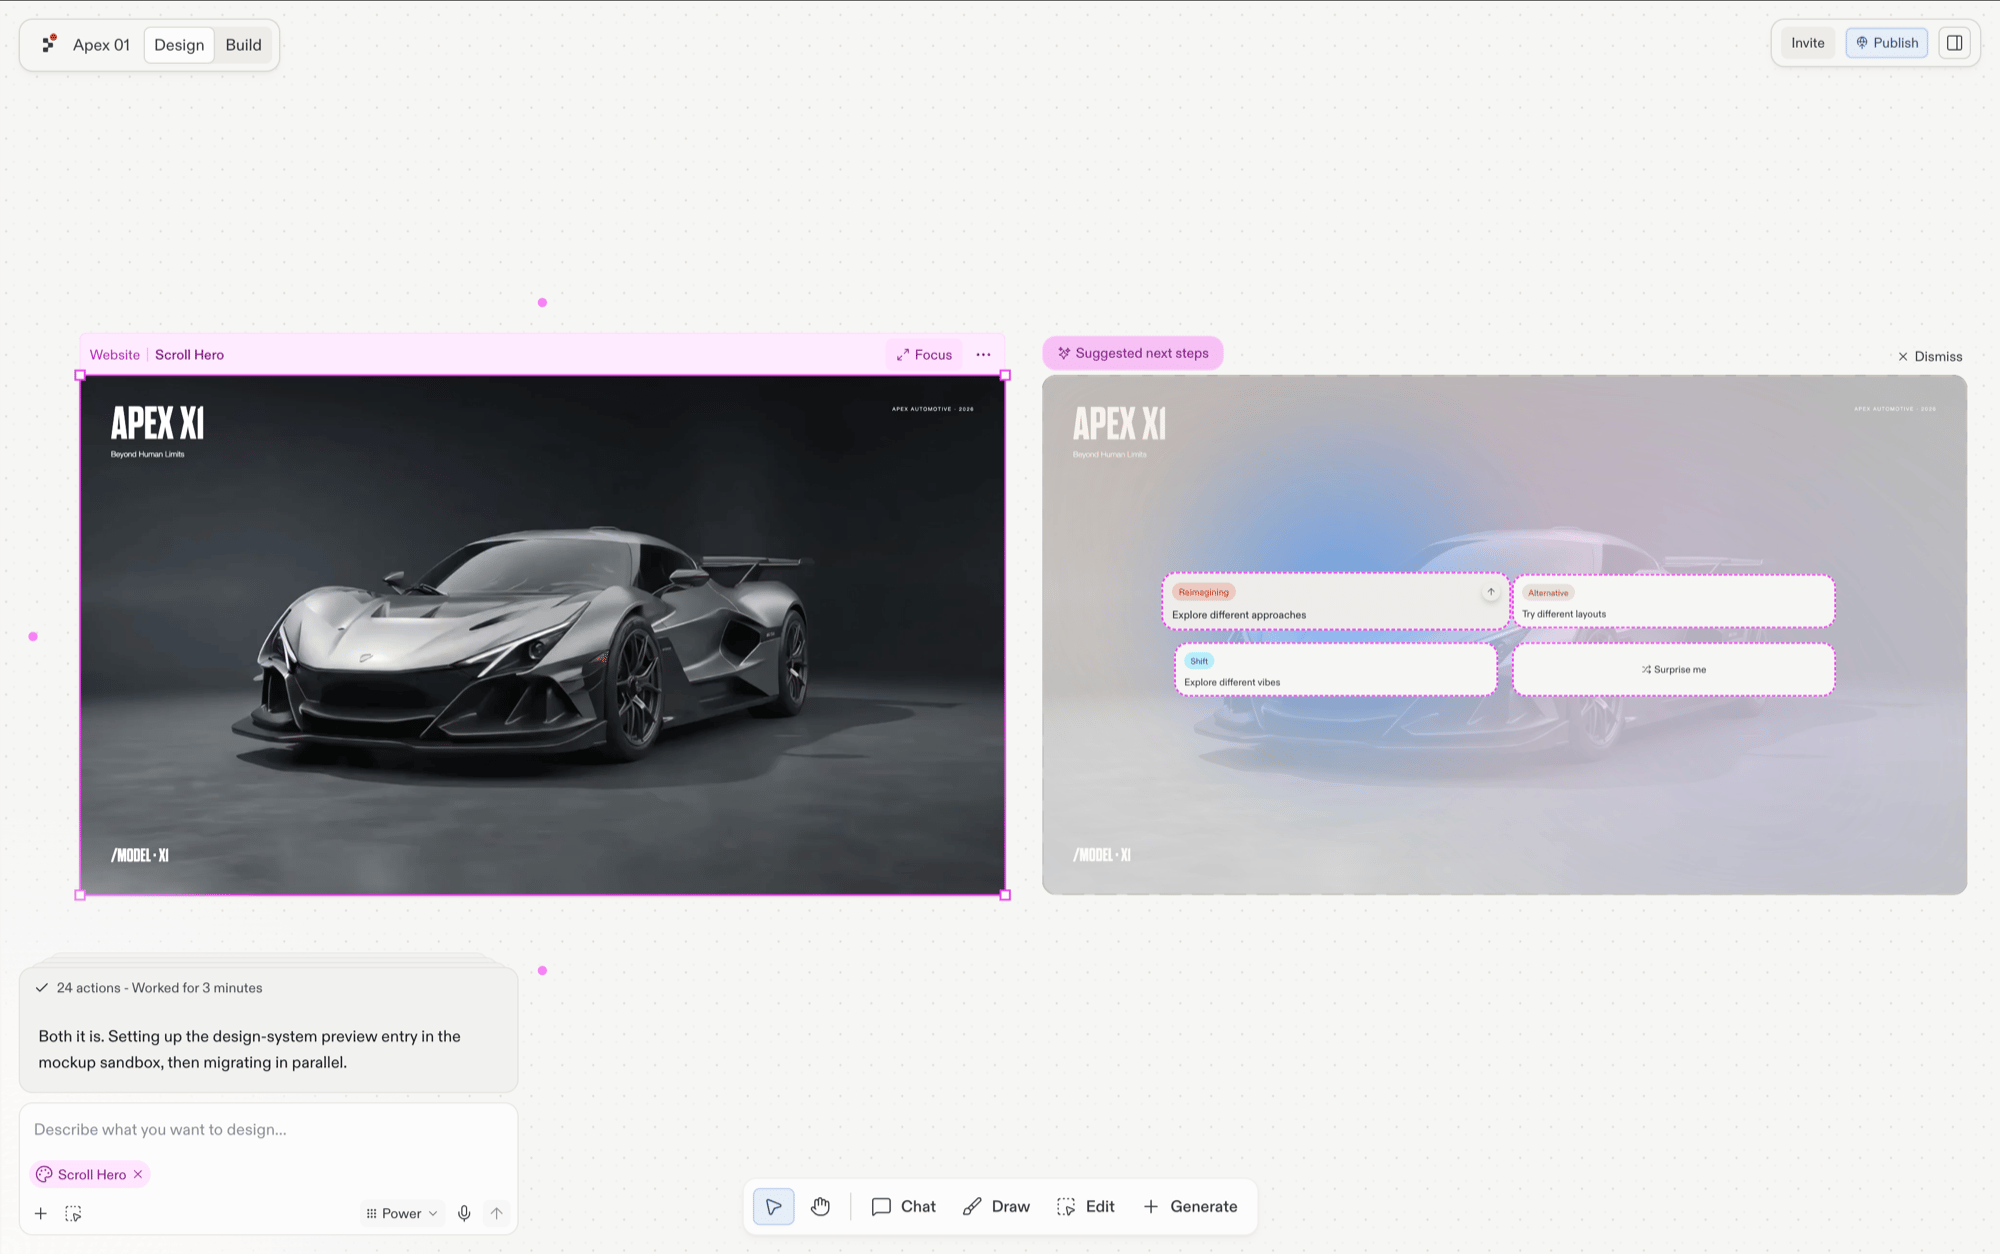
Suggestions appear next to the selected frame, one click each.
Refine
Shape the winner however feels natural:- Chat: brief Agent in your own words, about the whole board or one frame at a time.
- Visual Editor: click into any element and adjust text, colors, spacing, and images directly. Simple edits apply to source code instantly, without spending credits.
- Draw: circle problems, arrow the element you mean, leave a sticky note. Agent reads your markup.
- Generate assets: create the images, video clips, and vector graphics your design needs, with references attached so they match your project’s look.
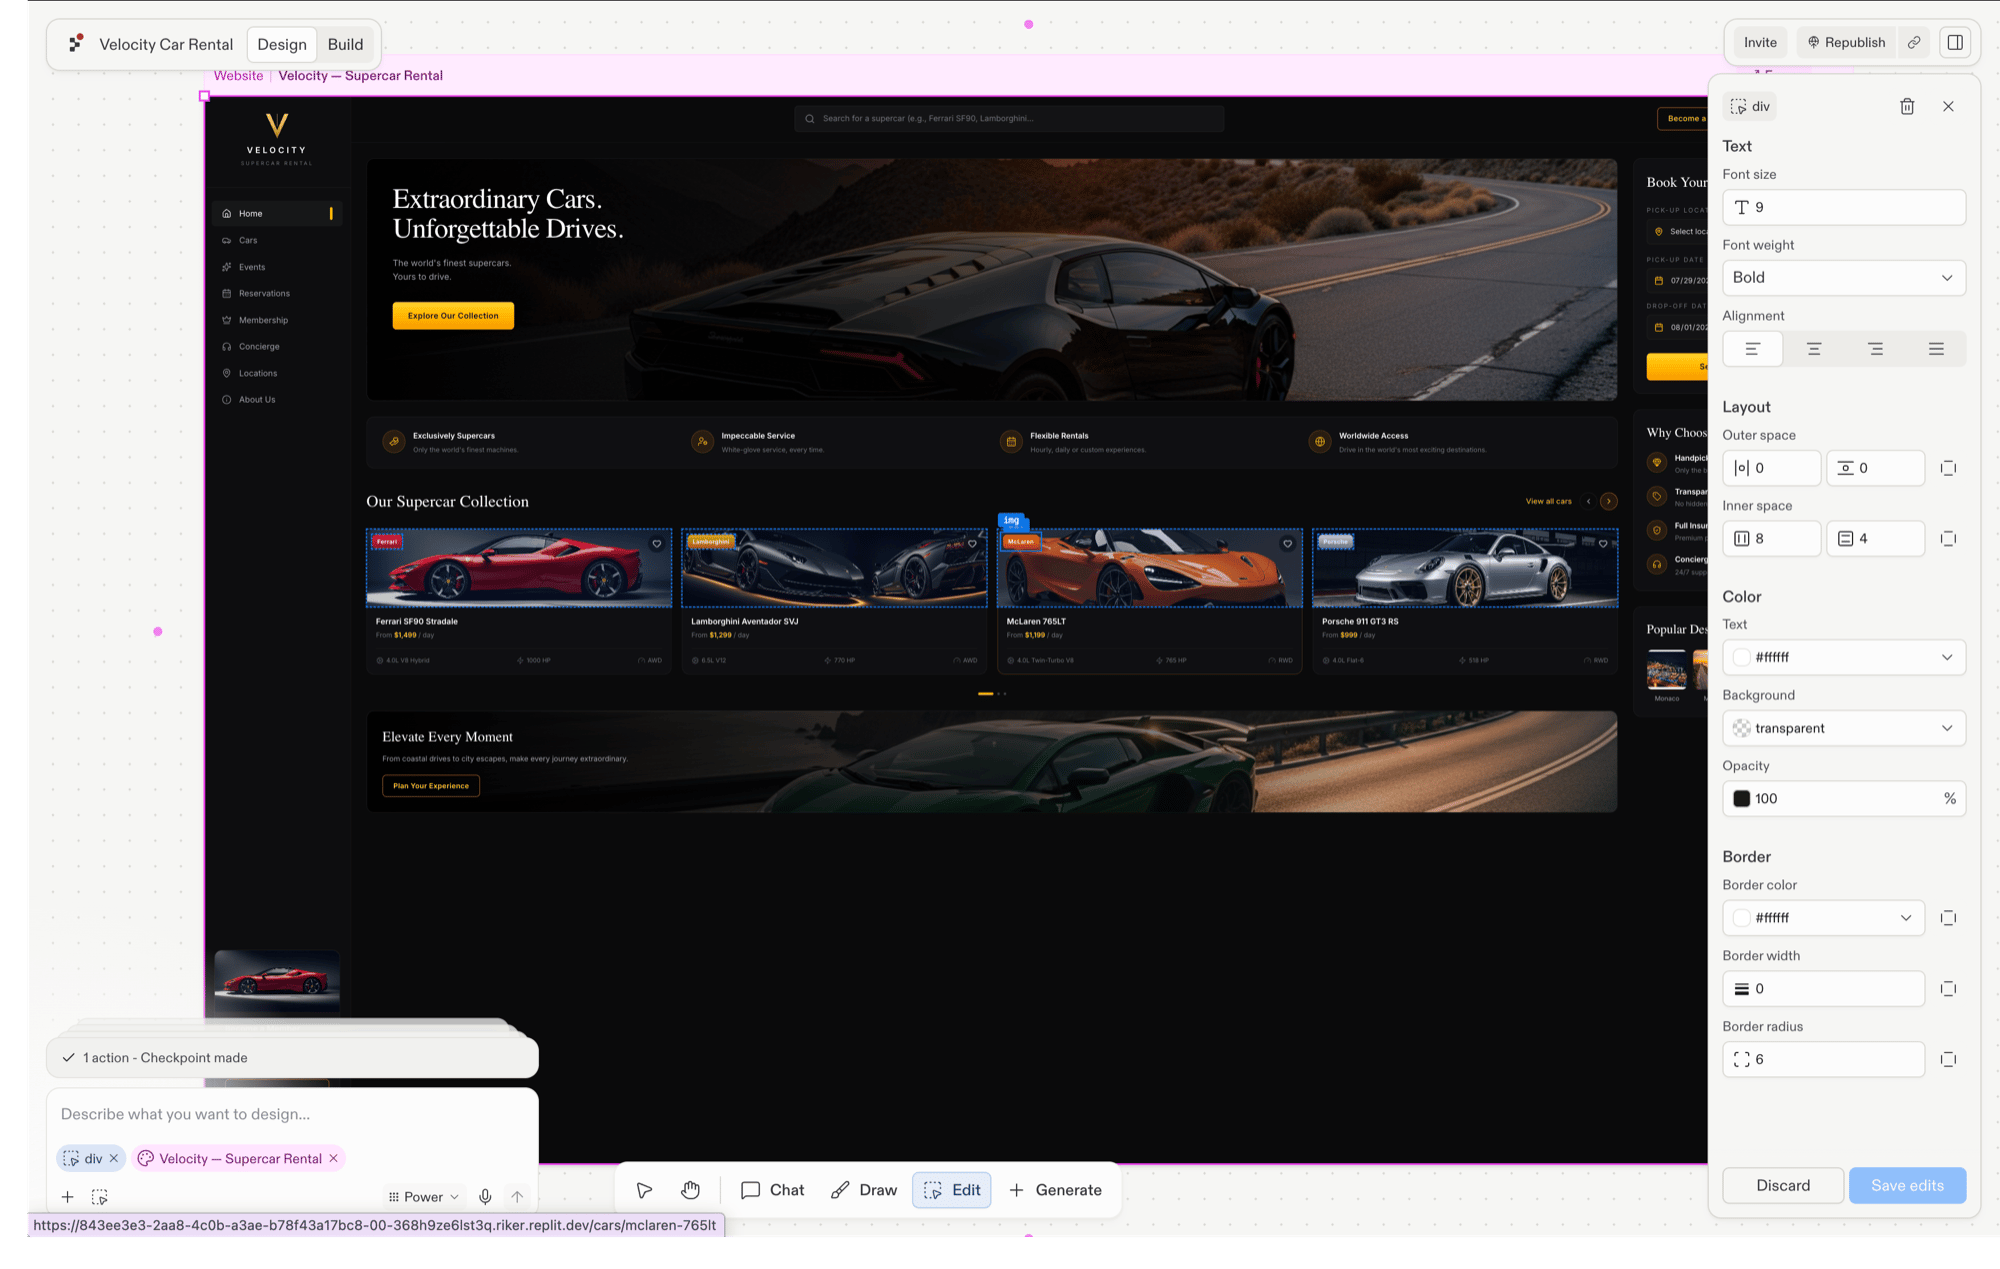
One of the four refine inputs: the Visual Editor open on a selected element.
Build
When a frame is right, hand it to Agent. A design here is never just a picture, it’s the spec for real software.- Build your design: turn the frame into a new working app.
- Restyle an existing app: apply the frame’s look to an app you already have.
The Build action in a selected frame's action bar.
Building a new app from a design frame requires Core or Pro; every other Design capability works on every plan. See Billing for plan details.
Scale
Make the next design faster than the last:- Create a design system: extract your colors, typography, tokens, and components from a design you love, or prompt one from scratch.
- Start new work from it: new artifacts generate on brand from the first frame.
- Bring existing apps under the system: rebuild the styling of apps you already have so everything matches.
- Switch systems: choose or change the system per project.
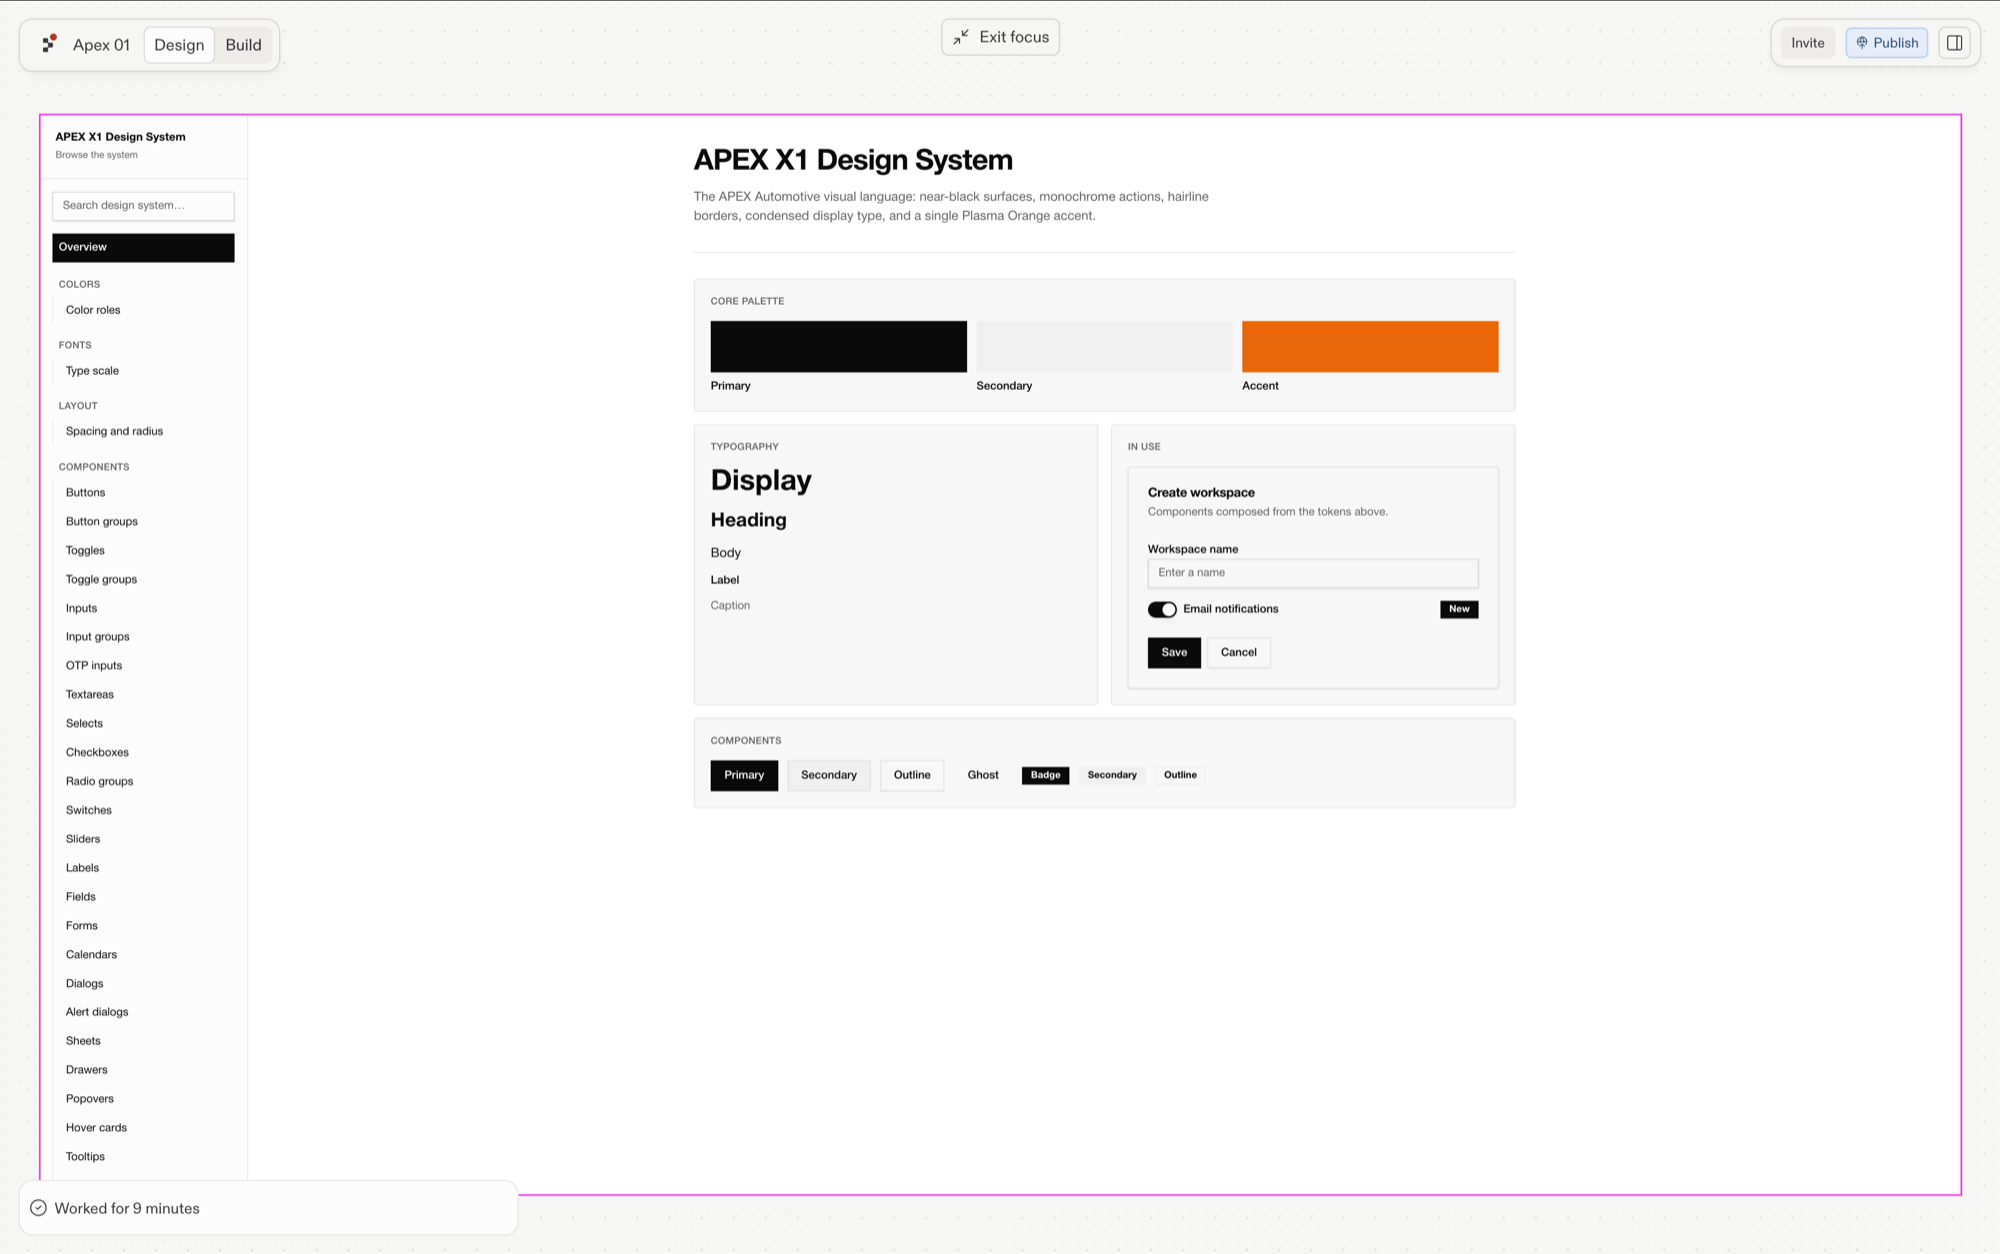
A saved design system rendered as a living style guide.
When to start in Design vs. Build
Design and Build are two entry points into the same project. Build is where Agent makes your software work; Design is where you shape how it looks. Nothing you design is stranded in a design tool.- Start in Design when the look is the hard part: explore directions first, build the winner.
- Start in Build when the behavior is the hard part: get it working, then restyle it in Replit Design.
Next step
Design your first screen
Generate your first design frames from a prompt, no design experience needed.