

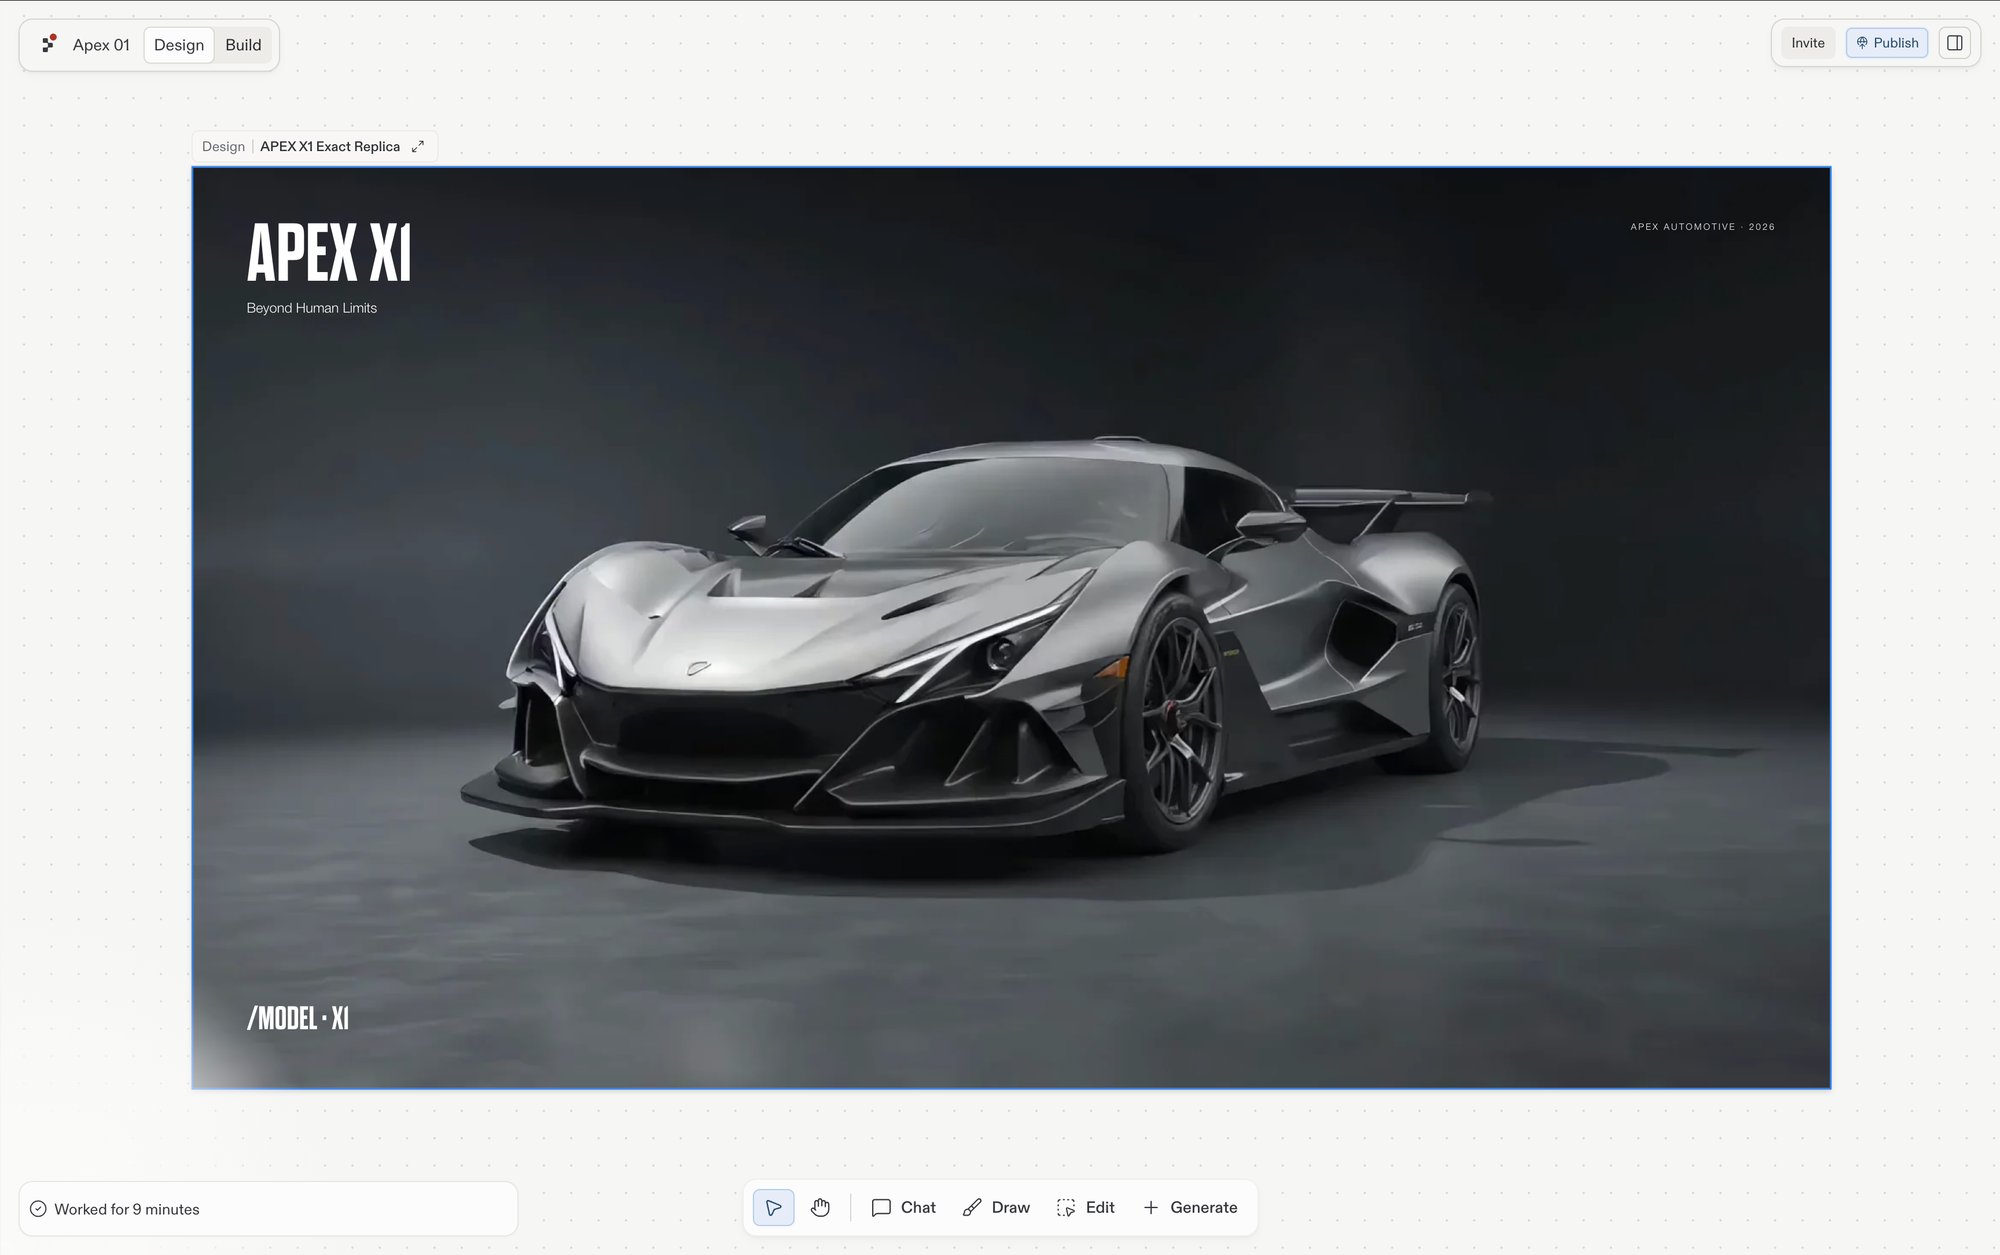
What is Design?
Design shows the canvas, where you generate design frames from a prompt, explore variants, and refine the winner, all before committing to code. Design is perfect for:- Testing your ideas quickly: visualize your app’s design before building functionality
- Creating polished websites: landing pages, portfolios, restaurant menus, event pages
- Fine-tuning your design: adjust colors, layouts, and content instantly
Design mockups look and feel like real pages, but they don’t store data or connect to external services yet. When you’re happy with how everything looks, build the design into a full app with one click. The steps below show you how.
What is Build?
Build is where your creation runs as a real, working application that can save data, let people sign in, and connect to other services. Use Build when your app needs:- User accounts: let people create accounts and log in
- Saved information: store data like orders, messages, or user preferences
- Connections to other services: process payments, send emails, or pull in data from other apps
- Complex tasks: run an online store, manage bookings, or power a dashboard
Using both together
Design and Build work on the same project, so you don’t have to choose one or the other. Start with the look and evolve into a full app.1
Design first
Start in Design to quickly visualize your idea. Focus on how your app looks and feels: the layout, colors, buttons, and user experience.
2
Refine and iterate
Follow a suggestion to explore new directions for a selected frame, or select the Edit tool and click an element to adjust it in the Visual Editor. You can also chat with Agent to describe the changes you want.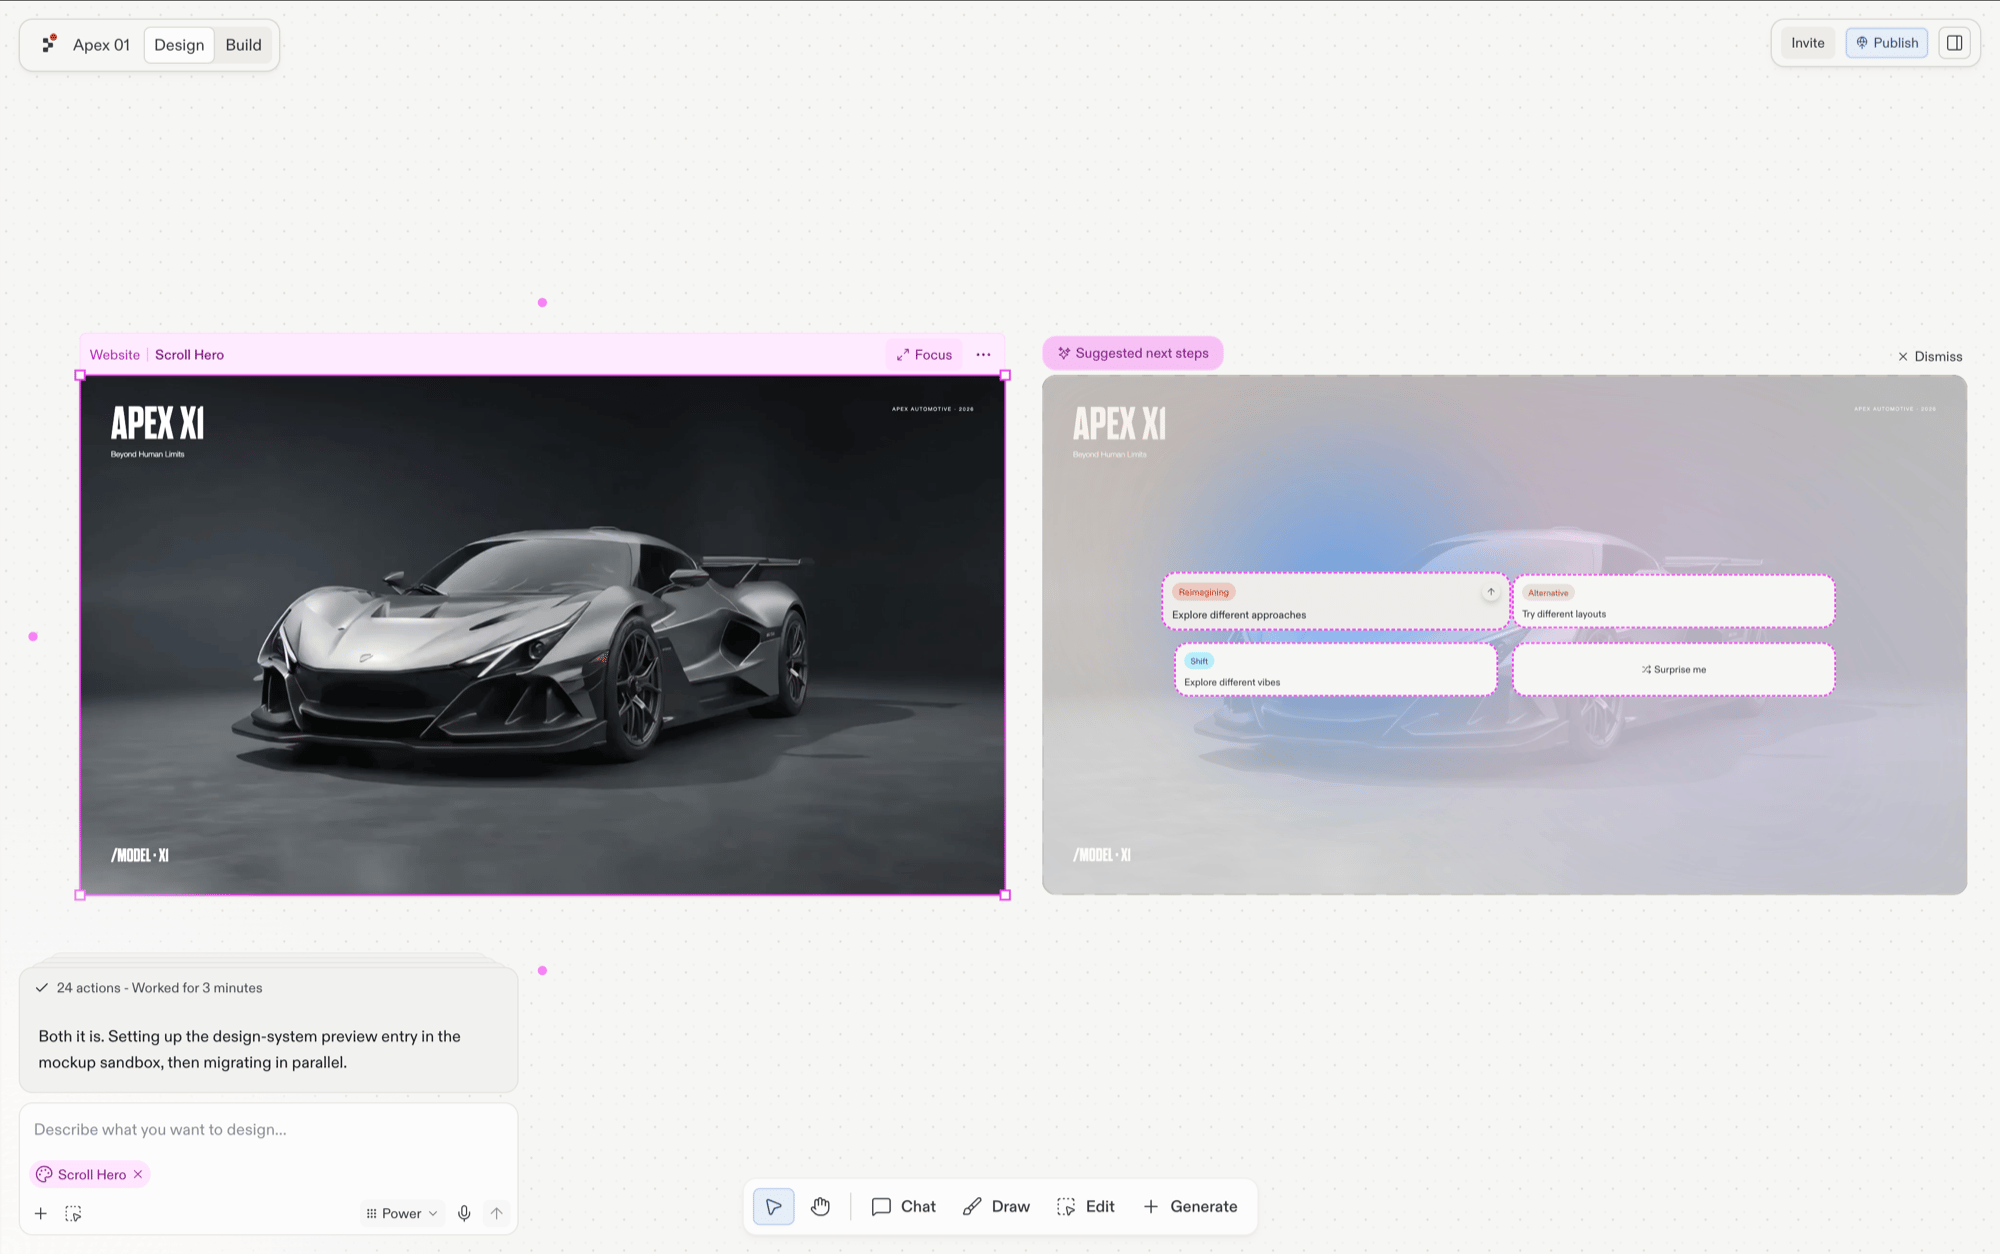
3
Build the design
When you’re happy with your design and ready to add real functionality, select Build… on the frame. Create a new artifact or apply the design to an existing one; Agent adds the ability to save data, handle user accounts, and connect to services, all while keeping your design intact.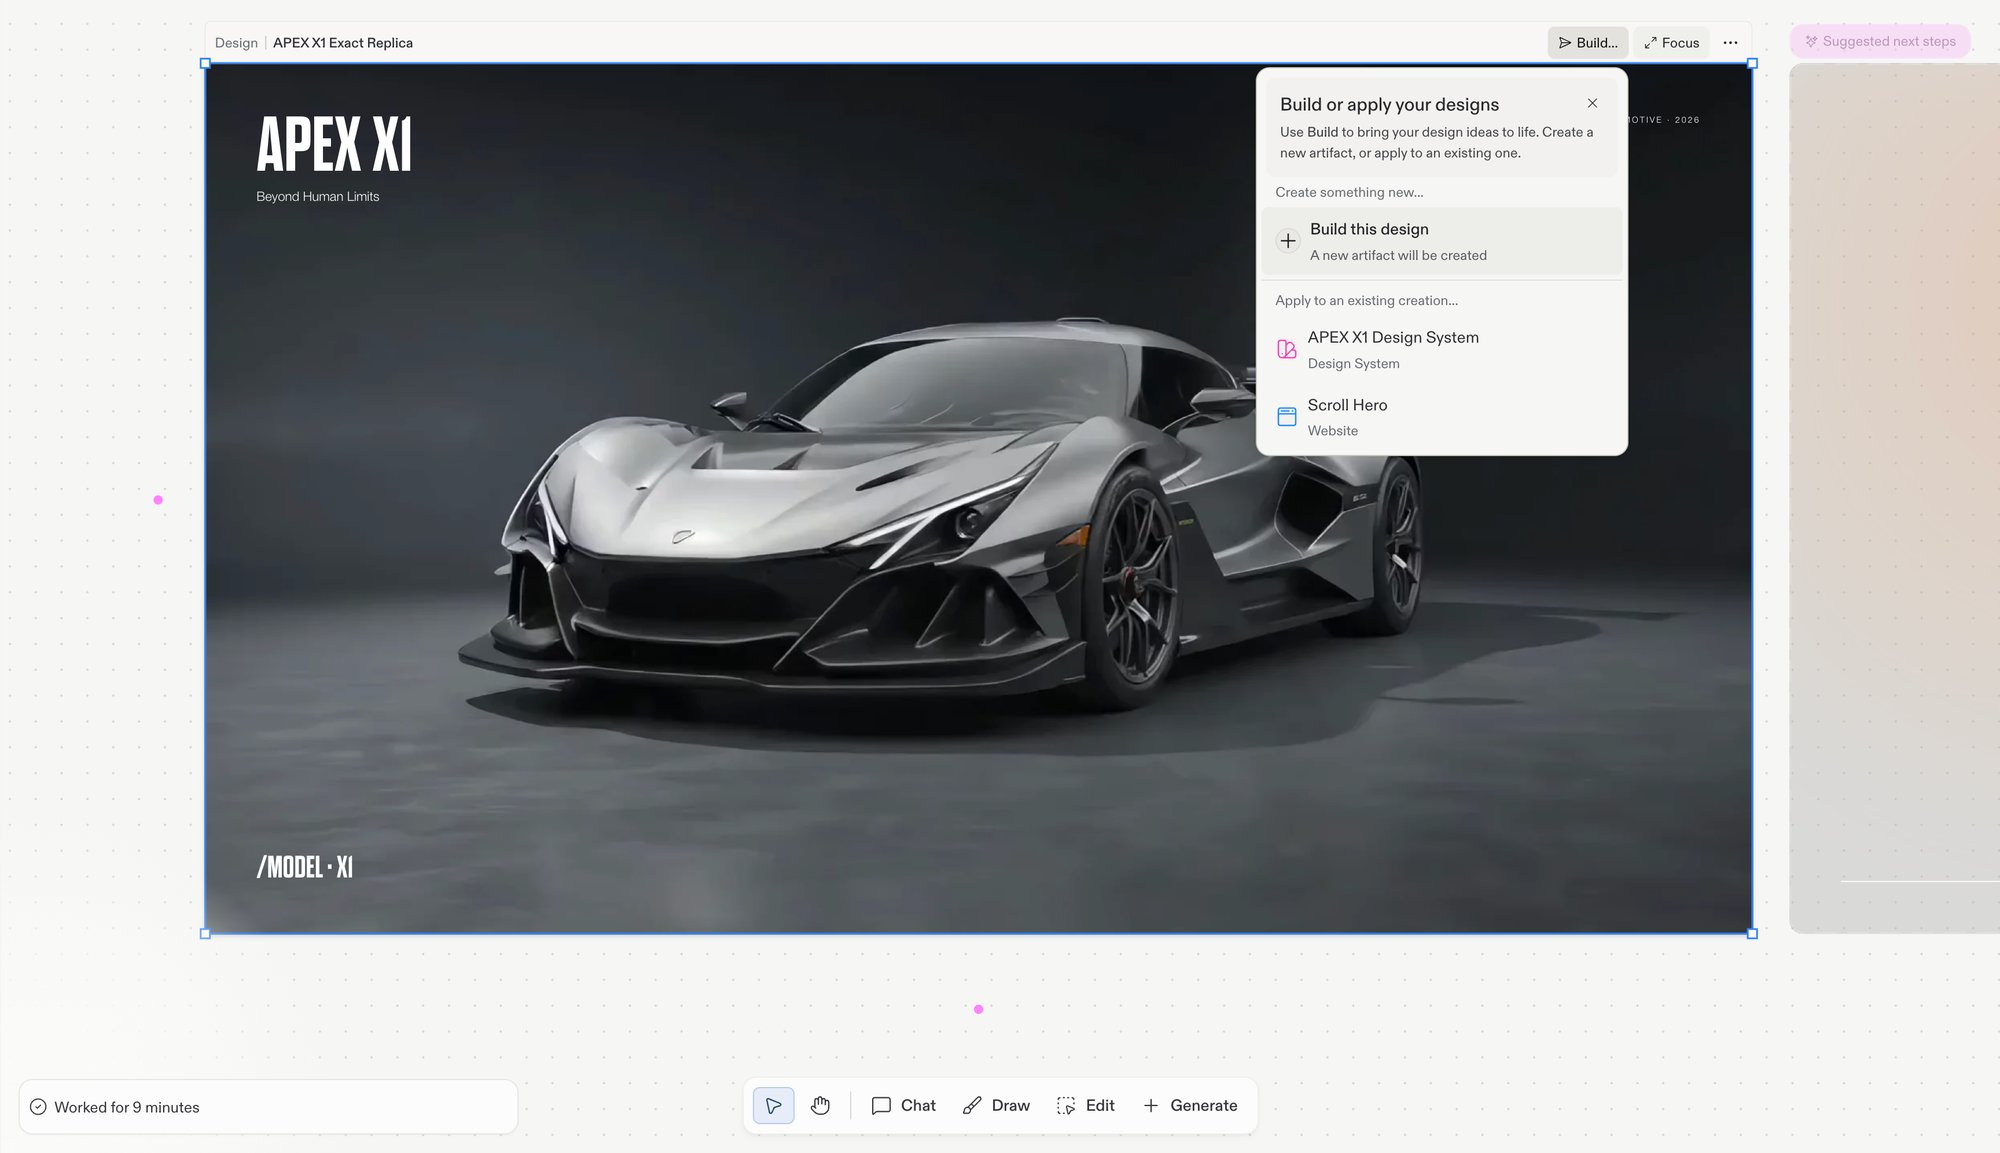
Agent will prompt you to convert when you try to add a database or advanced features to a mockup.
4
Publish and share
Once your app is built, publish it so anyone can access it online. Replit handles all the technical infrastructure so your app works reliably for your audience.
When to start in each
Start in Design
- The look is the hard part
- You want to see your idea quickly
- You want to explore and compare directions
- Speed is your priority
Start in Build
- The behavior is the hard part
- Your app must save data from day one
- People need to log in
- You’re connecting to other services
Key differences
Next steps
What is Replit Design
The full journey from prompt to on-brand app
Canvas
The board where your frames live
Build your design
The guided flow from frame to working app
Agent
Explore what Agent can build for you