What you’ll learn
You will learn how to:- Prepare a Figma frame for better import results.
- Import a Figma frame into Replit.
- Check what Replit preserved from the design.
- Refine behavior, responsiveness, and polish after import.
- Use Agent, Canvas, and the Visual Editor when the imported app needs changes.
Before you start
You need:- A Replit account.
- A Figma file with the frame you want to import.
- Access to connect your Figma account.
- The URL for the exact Figma frame you want to turn into an app.
Import the Figma frame
Use the Replit import flow to turn the frame into a React app.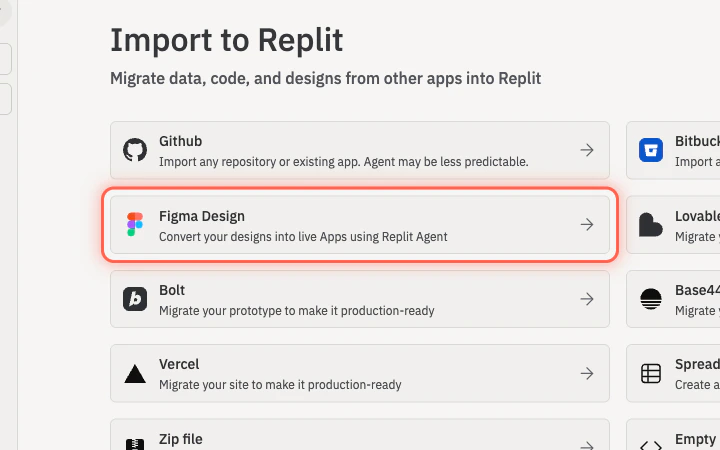
1
Open Replit import
Go to replit.com/import.
2
Select Figma Design
Choose Figma Design and connect your Figma account.
3
Copy the frame URL
In Figma, select the exact frame you want to import and copy its URL.
4
Paste and import
Paste the frame URL into Replit and select Import.
Or attach Figma directly to a prompt
If you’d rather hand the frame to Agent alongside a build prompt, use the prompt composer’s attachment menu instead of the import wizard.1
Open Replit and focus the prompt box
Go to replit.com. The prompt composer is on the home screen.
2
Open the attachment menu
Select the + button on the prompt composer to open the Add attachment menu.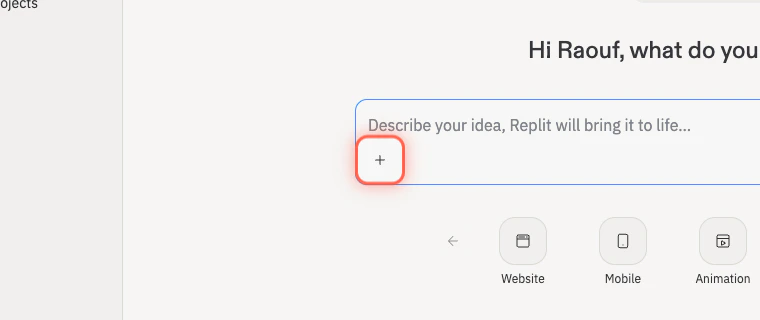
3
Choose Import a Figma design
Pick Import a Figma design and paste the URL of the exact Figma frame you want to build from.
4
Describe what to build
Type a short prompt that tells Agent what to do with the design — for example, what should be interactive, what should stay close to the visuals, and what desktop and mobile behavior you expect. Submit when ready.
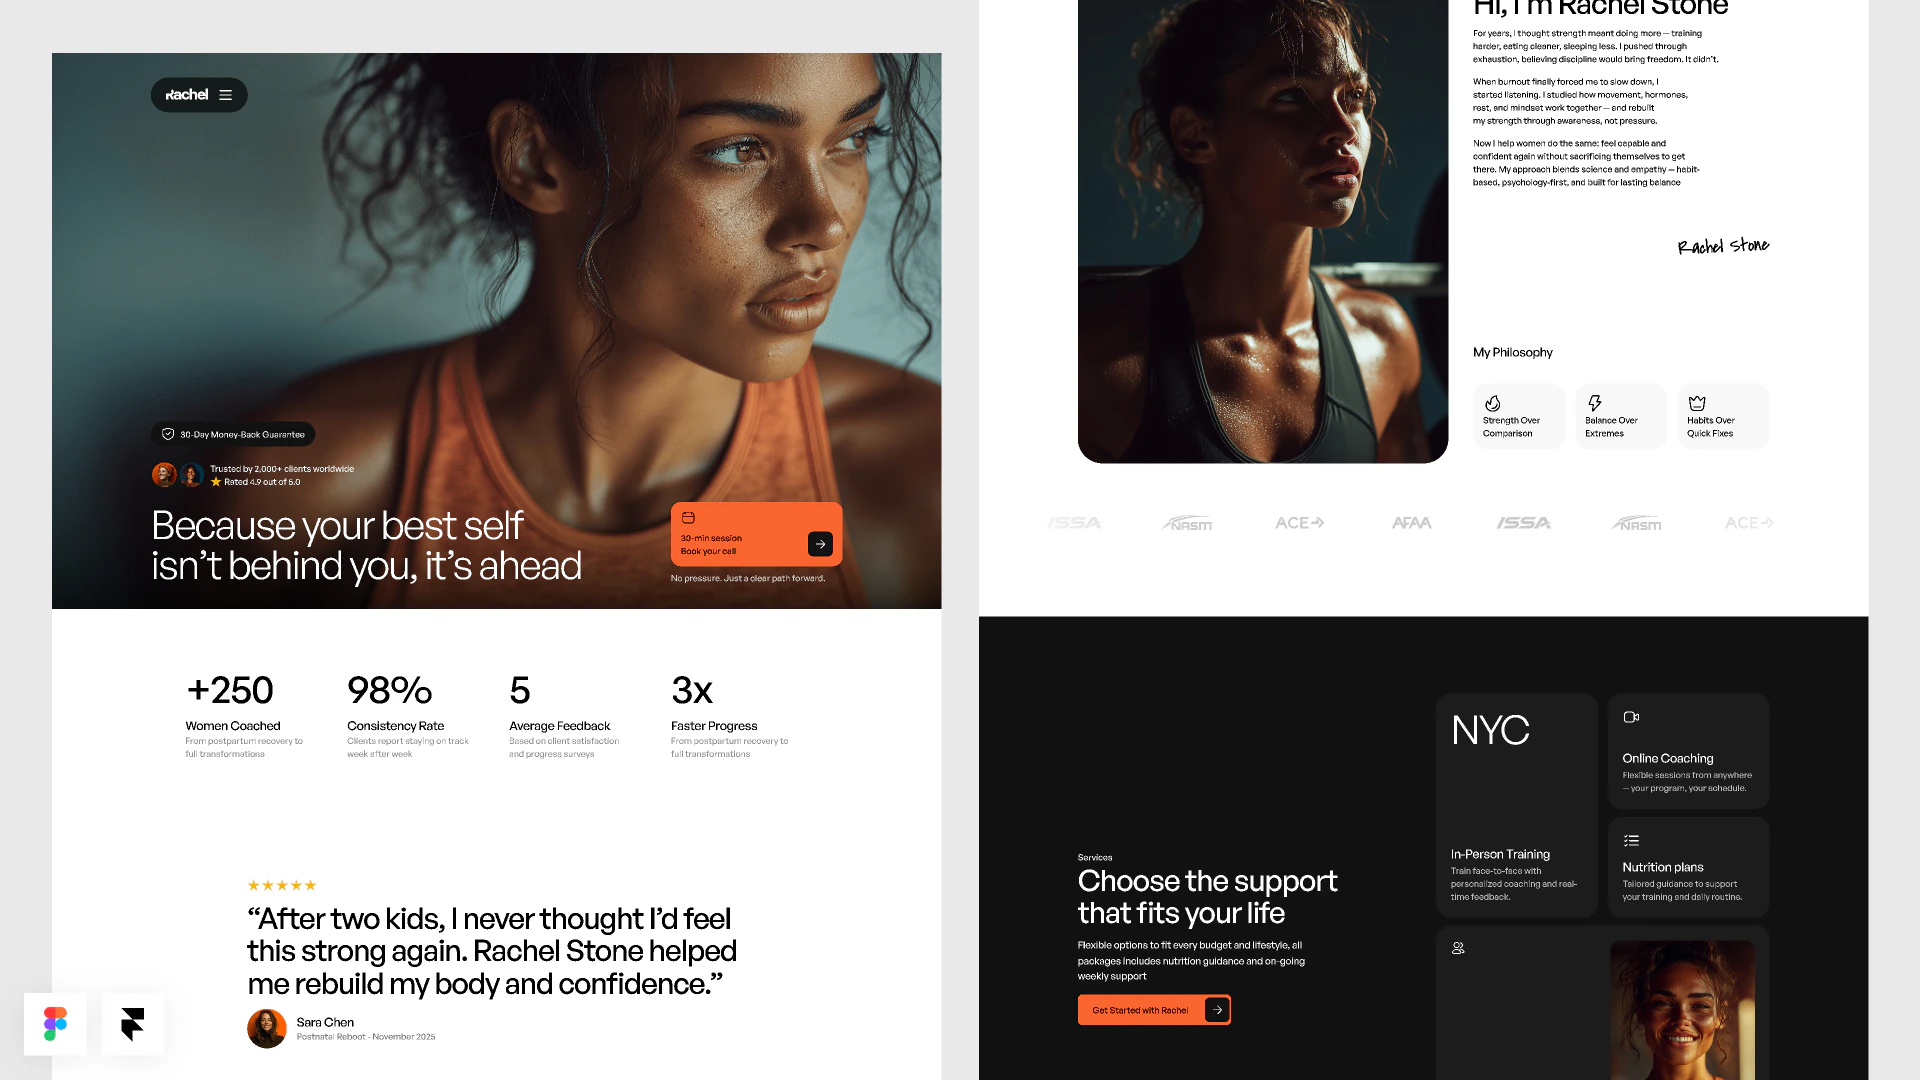
What Replit imports
Replit uses the Figma frame to create a React project. The import can include:- Theme and component styling.
- Images and icon assets.
- App scaffolding for a React project.
Check what Agent built
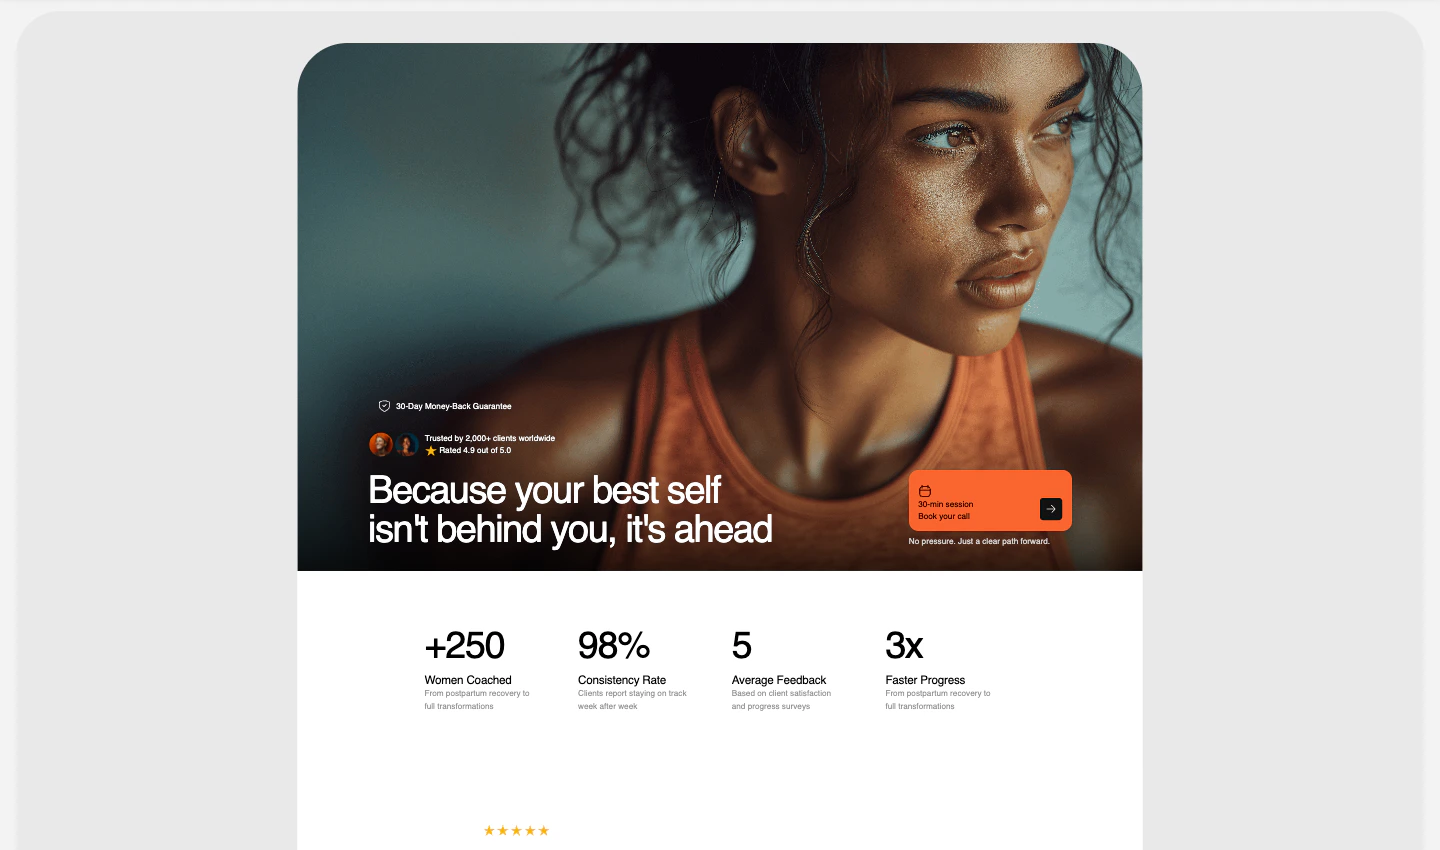
After import, open Preview and compare the app to the Figma frame.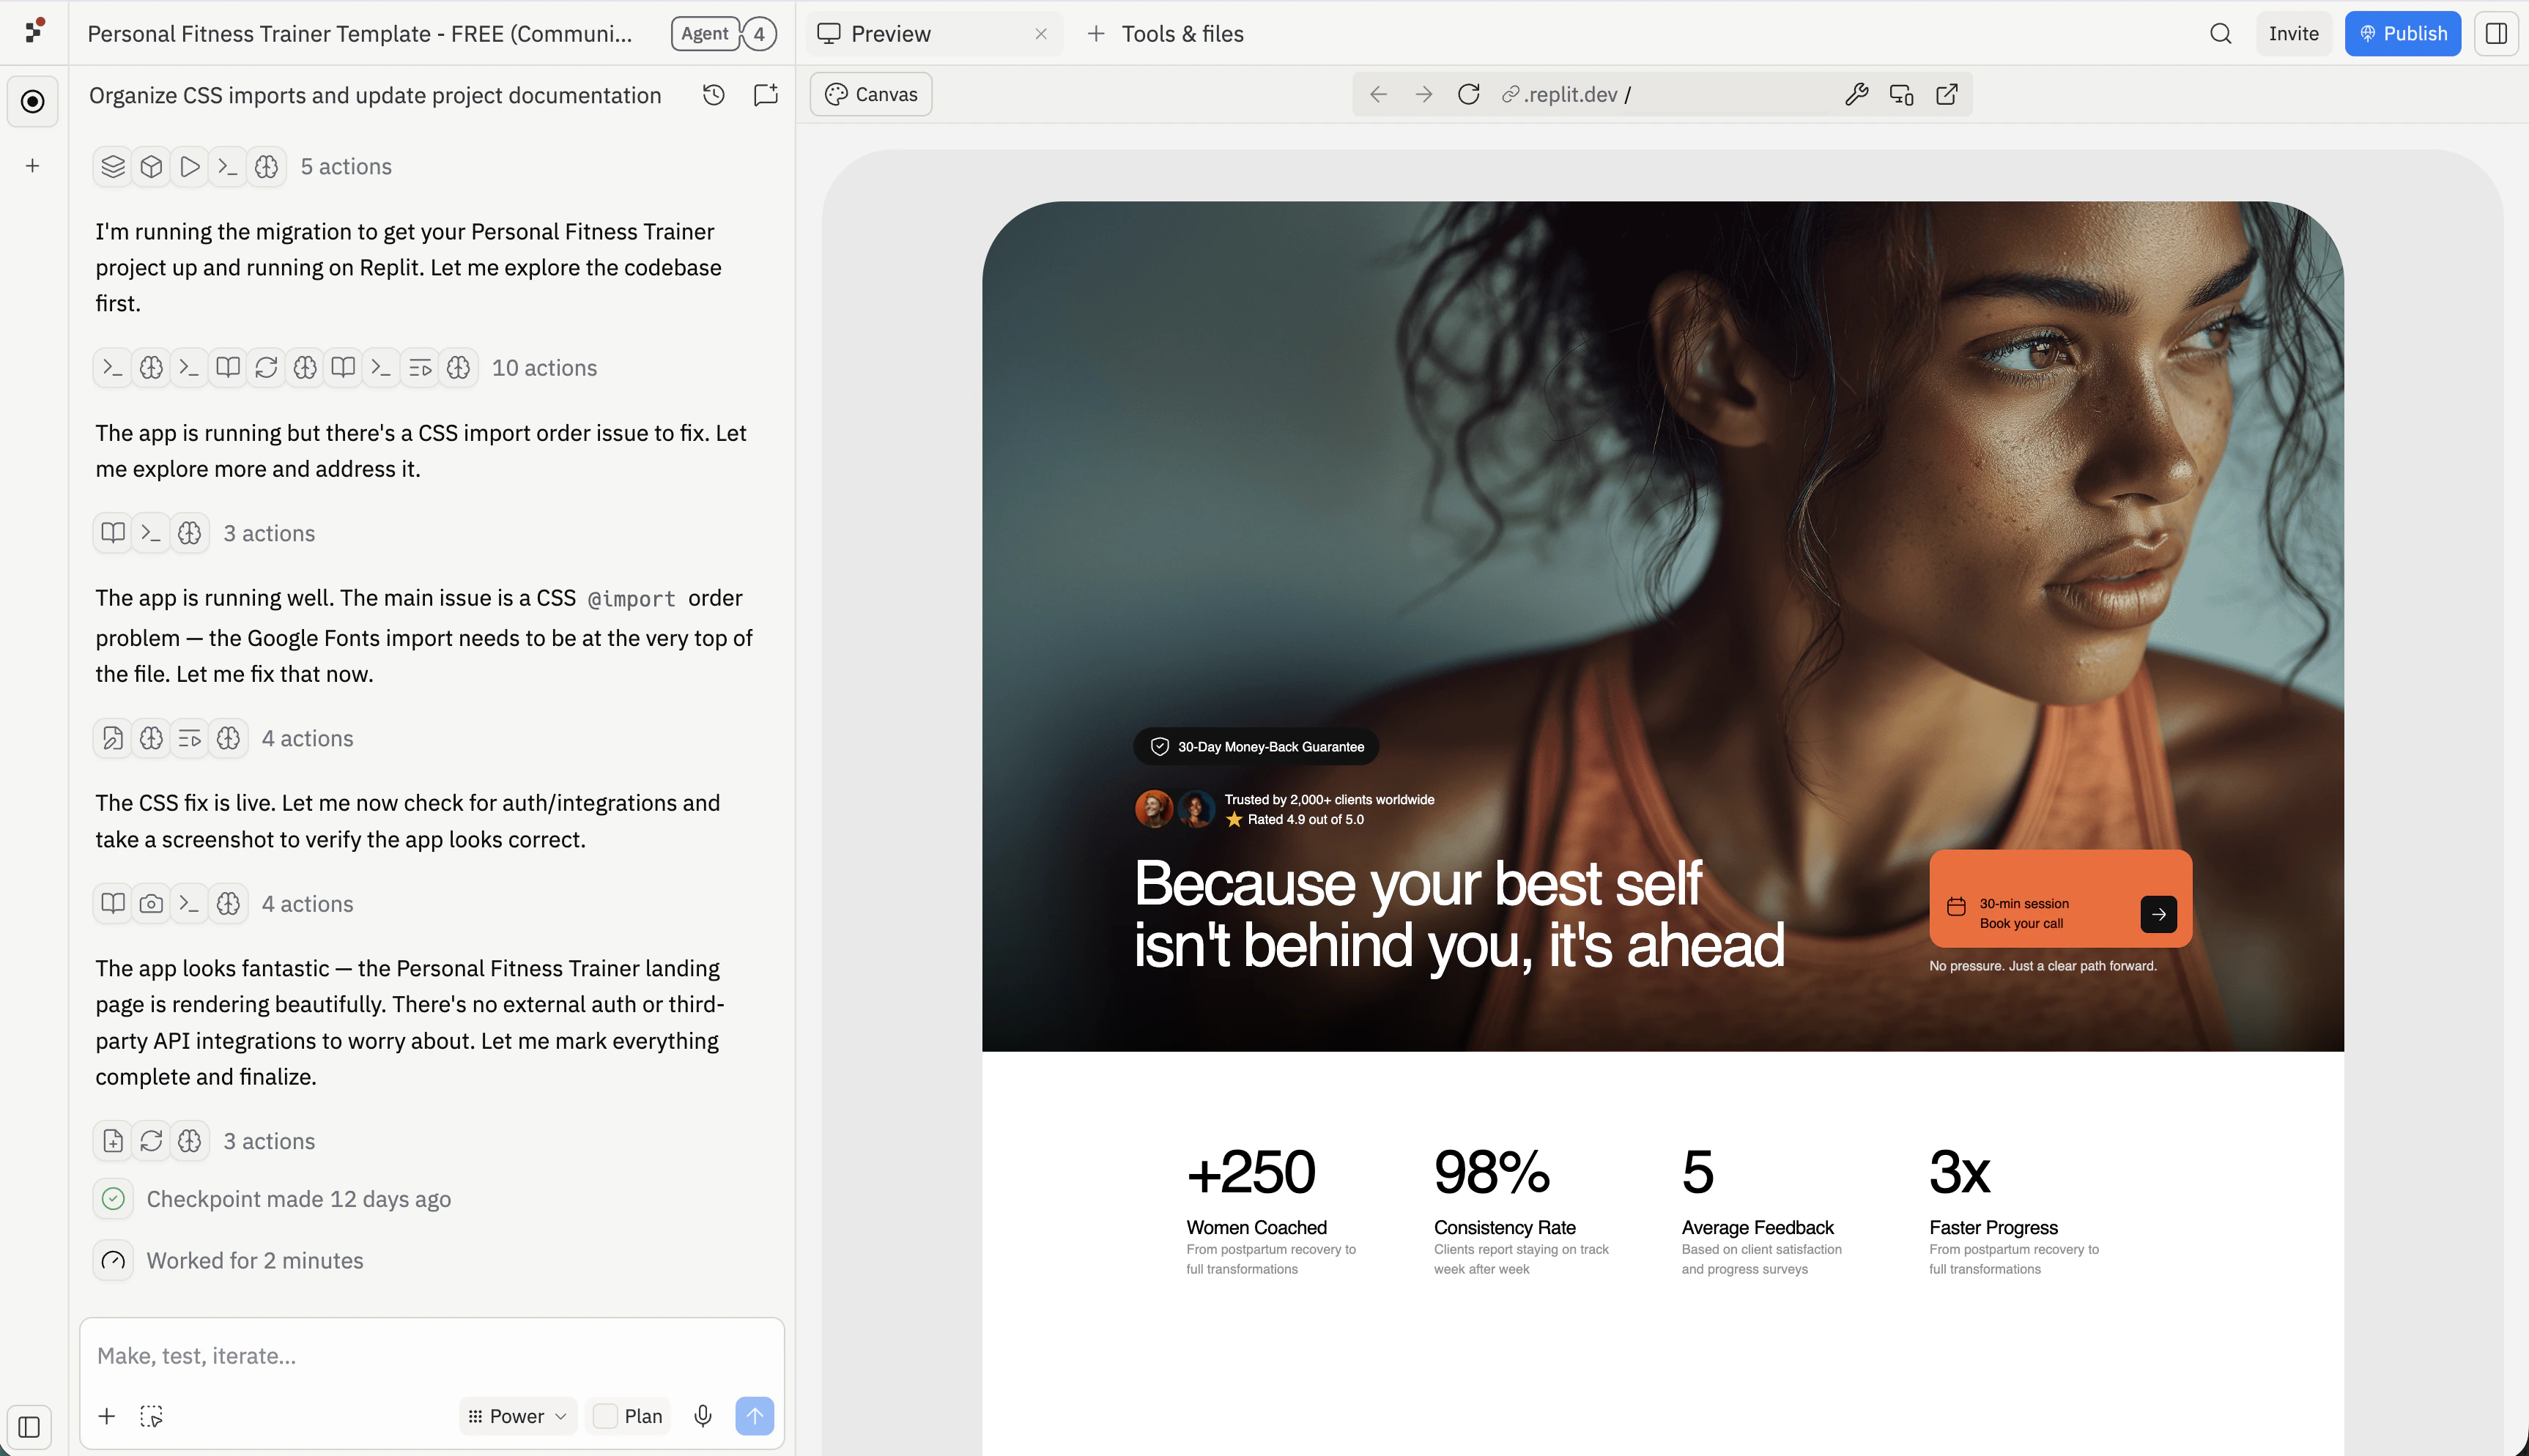
- Layout matches the Figma frame closely enough.
- Colors, typography, spacing, and assets are preserved.
- Important images and icons appear.
- The app works at desktop and mobile sizes.
- Buttons and links do what you expect.
- Forms, menus, tabs, or navigation are present if needed.
- The app still works after refresh.
- Anything missing is clear enough to ask Agent to add.
Refine the app after import
Some behavior may need to be added after import. Use Agent when the change affects interactions, data, multiple screens, or hidden logic. For FitStart, ask Agent to make the imported design interactive: Use the Visual Editor when the change is mostly text, color, spacing, layout, or image polish. Use Canvas when you want to annotate visual feedback, compare variants, or show what should change directly on the design.Compare layouts and annotate in Canvas
Canvas turns the imported app into a free-form board where you can ask Agent for alternate layouts and mark up the design with text and sketches.1
Open Canvas
Select Canvas in the workspace pane header to switch the right pane from Preview to Canvas.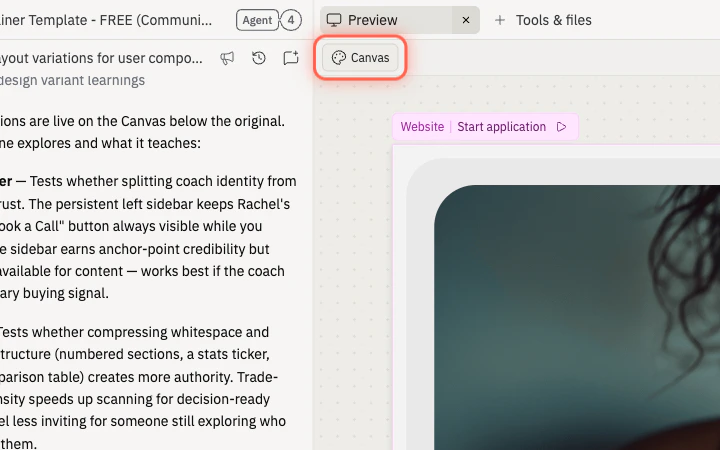
2
Try different layouts
Click your imported mockup, select Reimagine, and choose Try different layouts. Agent suggests alternate layouts that keep the content but rearrange the visual hierarchy.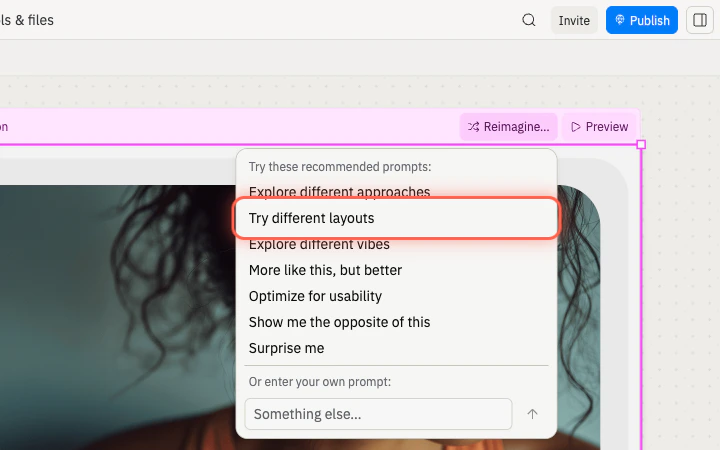
3
Review the suggested layouts
Wait for Agent to generate the alternates, then zoom out to review them next to the original mockup.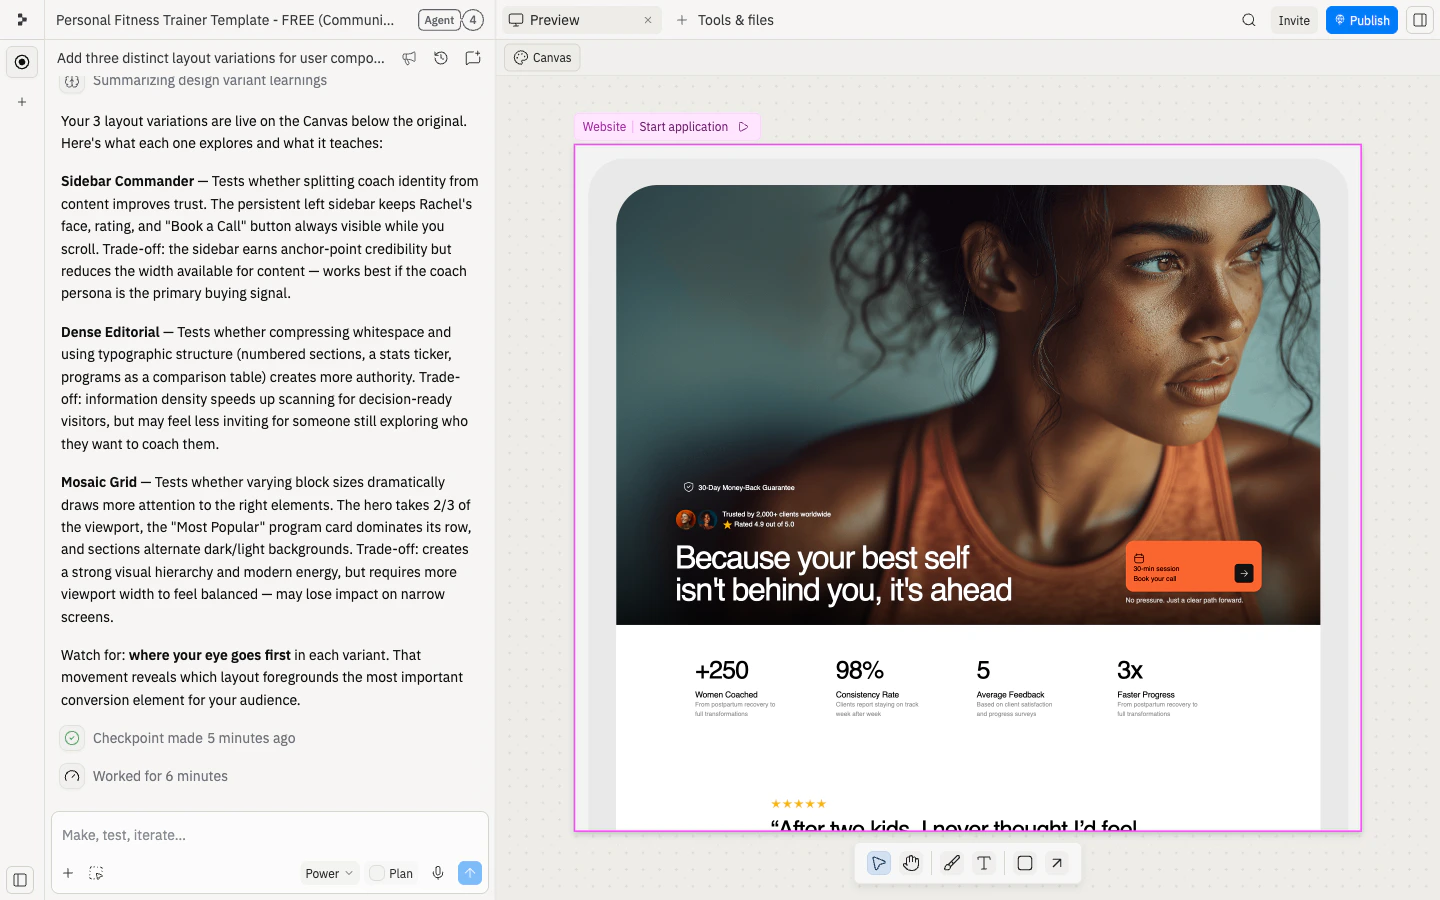
4
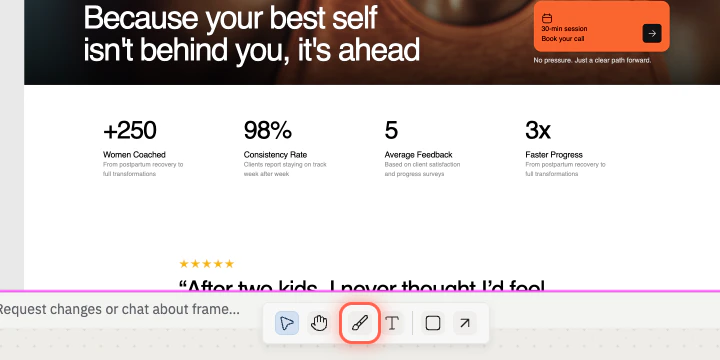
Annotate with Text and Draw
Use Text to add notes on the canvas.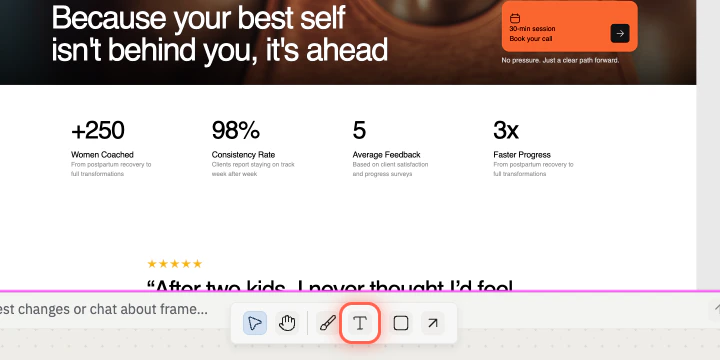
5
Send your annotations to Agent
With the notes in place, ask Agent to apply the feedback to the imported app.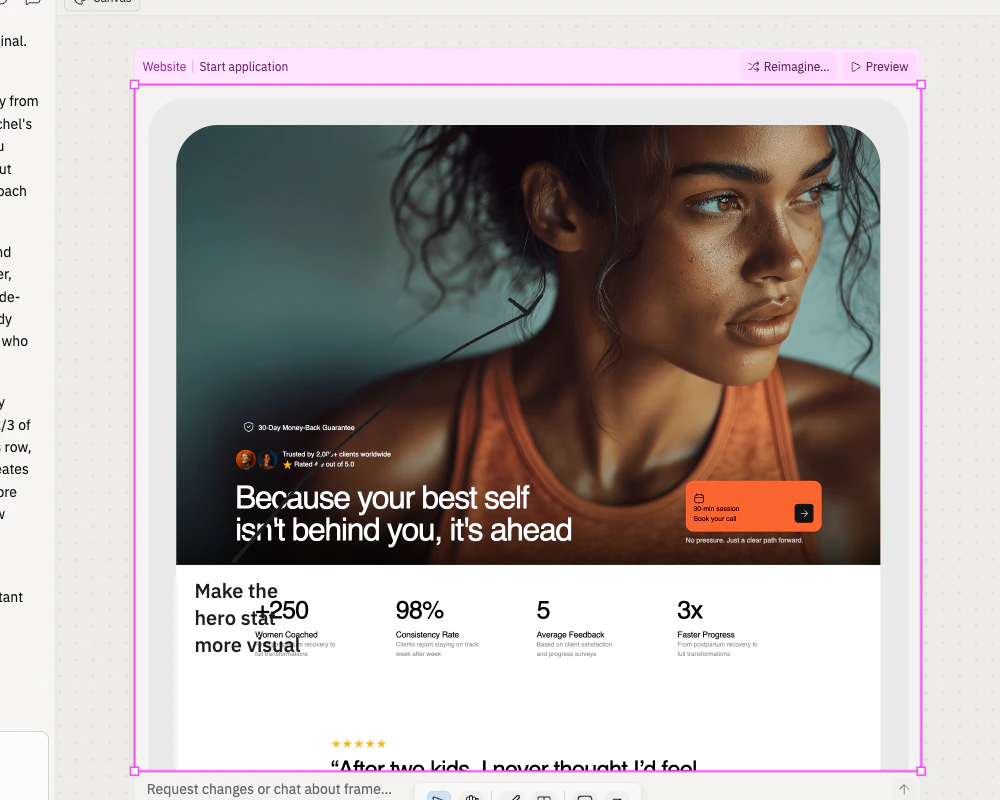
Use Figma links in Agent when needed
After import, you can paste Figma links into Agent chat when you want Agent to inspect a specific frame or layer, extract design data, or compare the implementation against the design. A Figma Dev or Full seat is recommended for Agent chat features. For details, see Figma MCP Integration. Congratulations on finishing the tutorial! You turned a Figma frame into an interactive Replit app and refined it into something you can share and test.Next steps
Visual Editor
Polish small visual details like text, color, spacing, and images.
Canvas
Compare visual directions and annotate feedback directly on the design.
Add a database
Save form data so it persists across refreshes.
Add login
Put private screens behind authentication.
Add a custom domain
Give reviewers a public URL to try the app.
Collaborate in a team workspace
Invite teammates to build on the imported app together.