What you’ll learn
You will learn how to:- Turn an audience, offer, and call to action into a page.
- Ask Agent for page copy, layout, and form behavior.
- Check whether the page is clear before sharing it.
- Test a form from the published URL.
- Improve the page based on response quality.
Refine and explore alternatives in Canvas
Once Agent finishes the first build, open Canvas to give visual feedback and ask Agent for alternate directions without rewriting the prompt.1
Build the landing page
Copy the prompt and paste it into the prompt box on replit.com, or click Build on Replit to open Replit with the prompt prefilled.
2
Preview the app Agent built
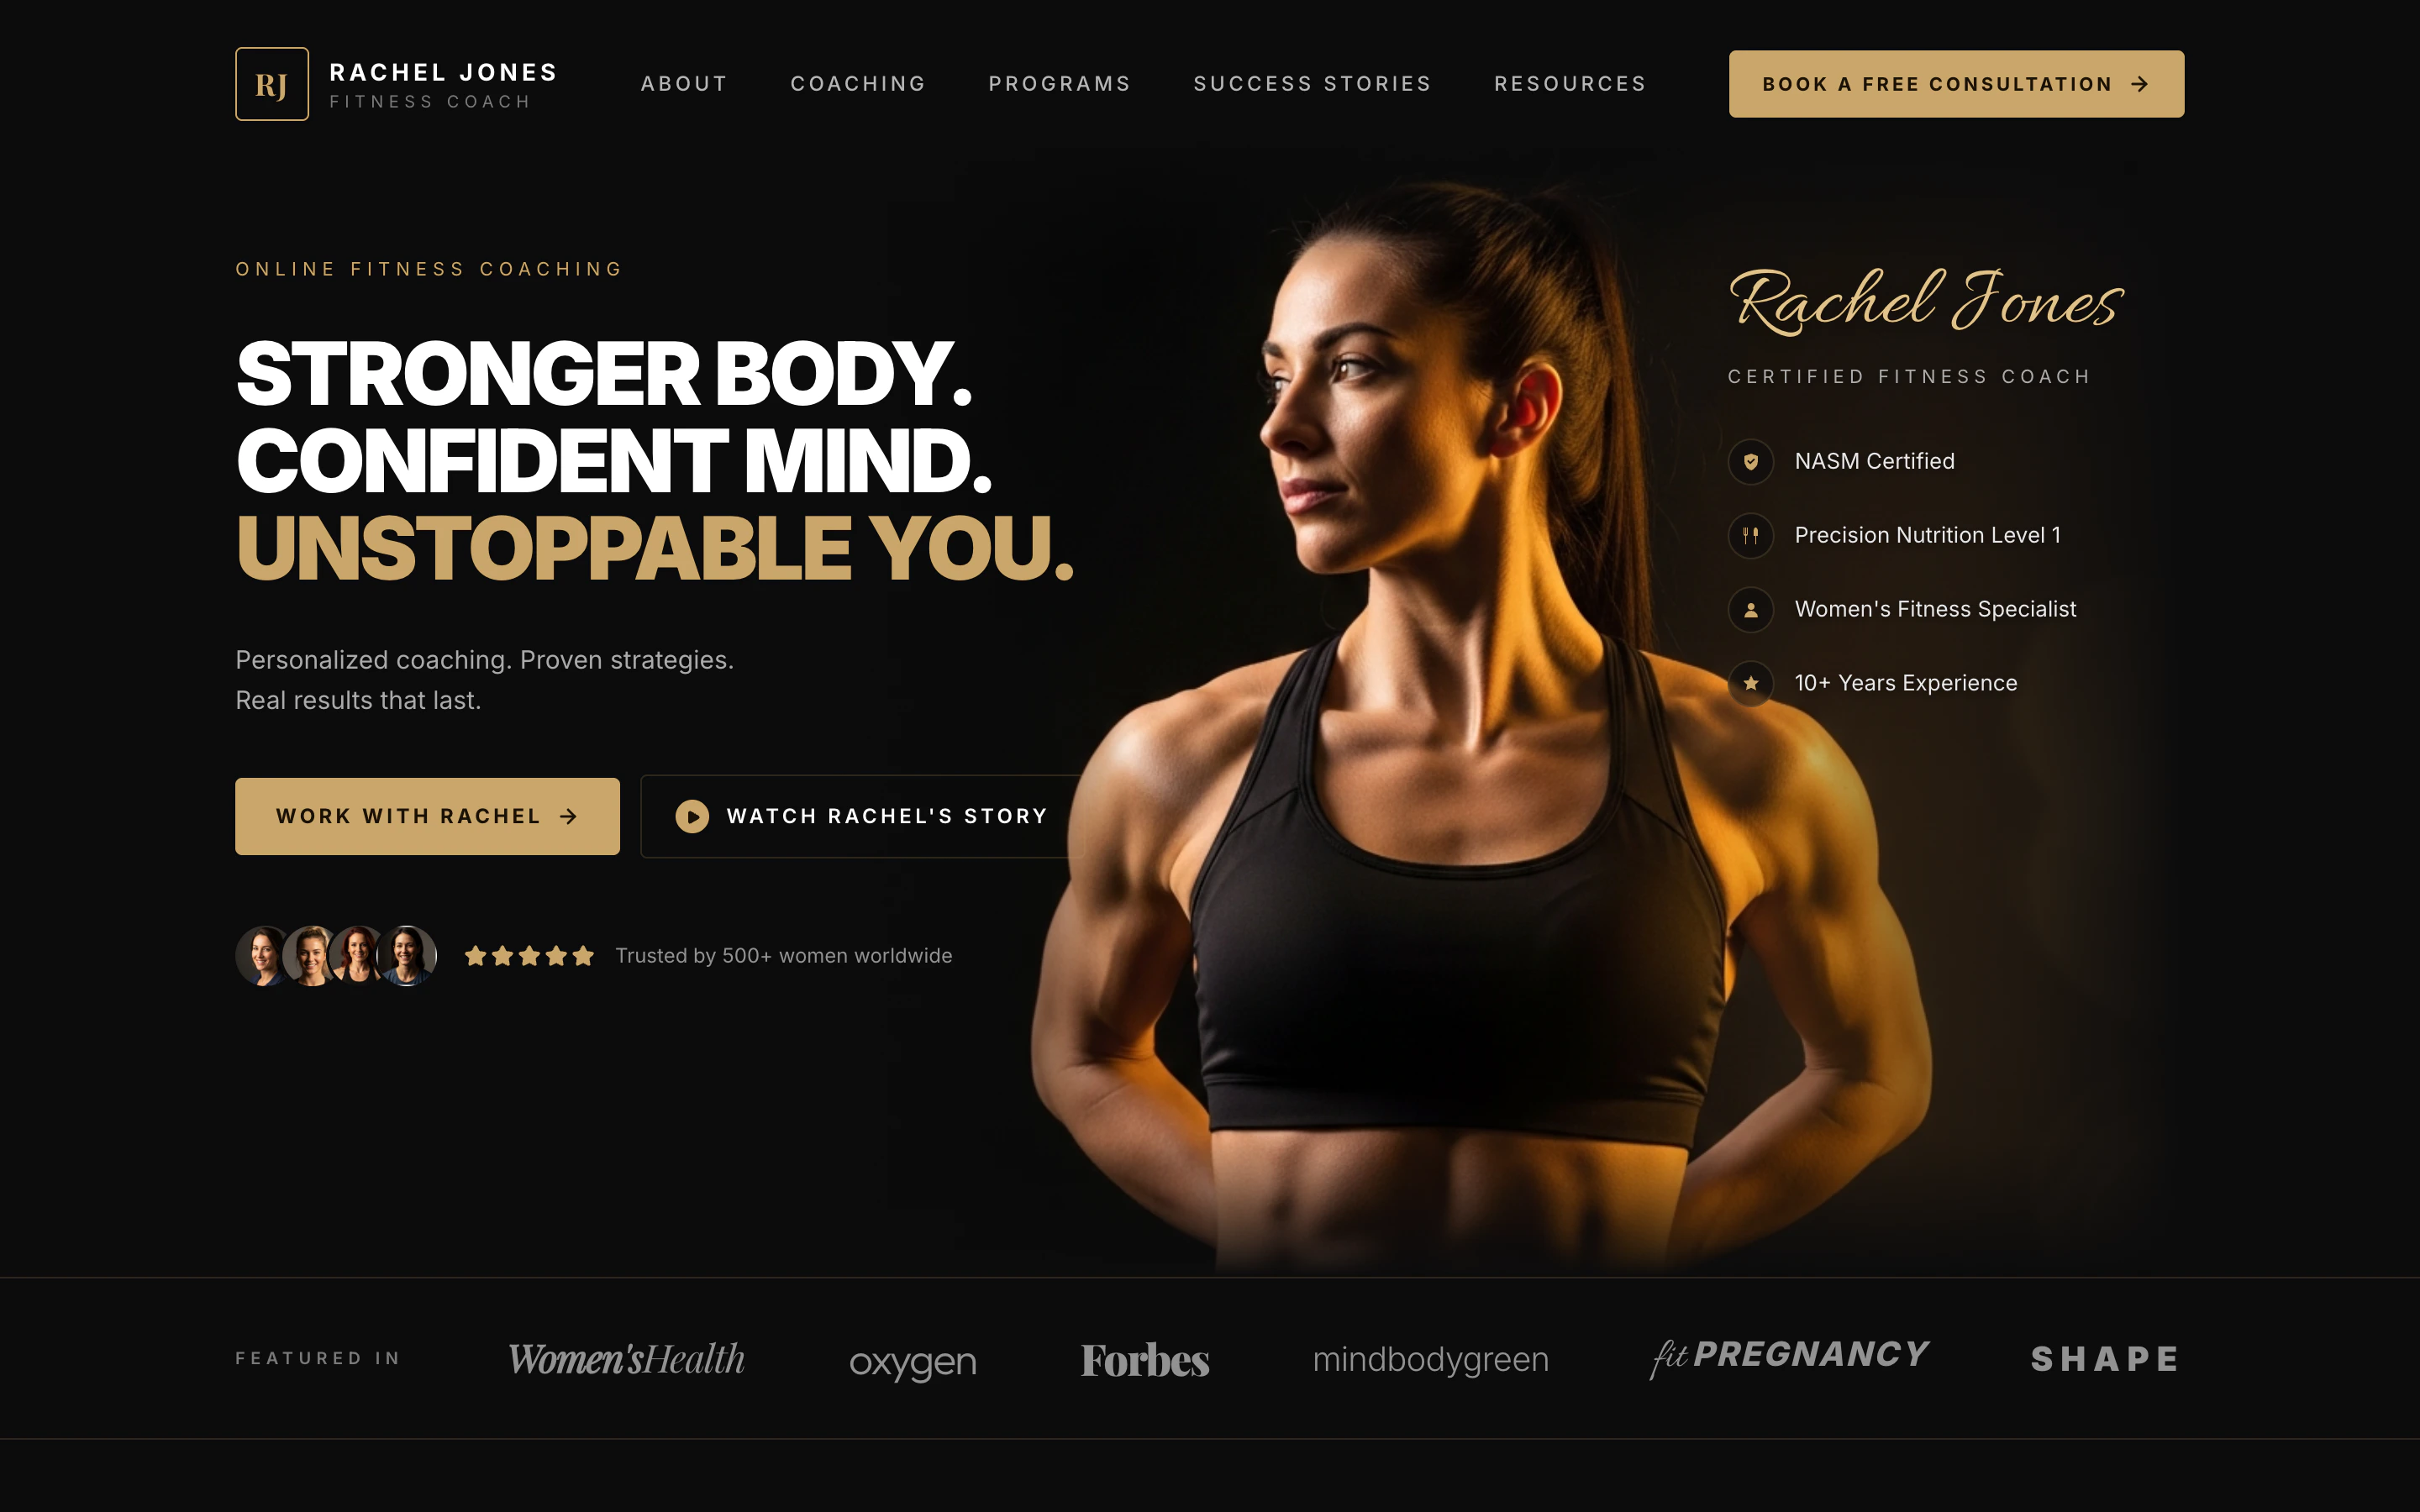
When Agent finishes, the right pane switches to Preview so you can interact with the landing page in real time. Scroll the hero, click the calls to action, and check that the copy and imagery match what you asked for before you start refining.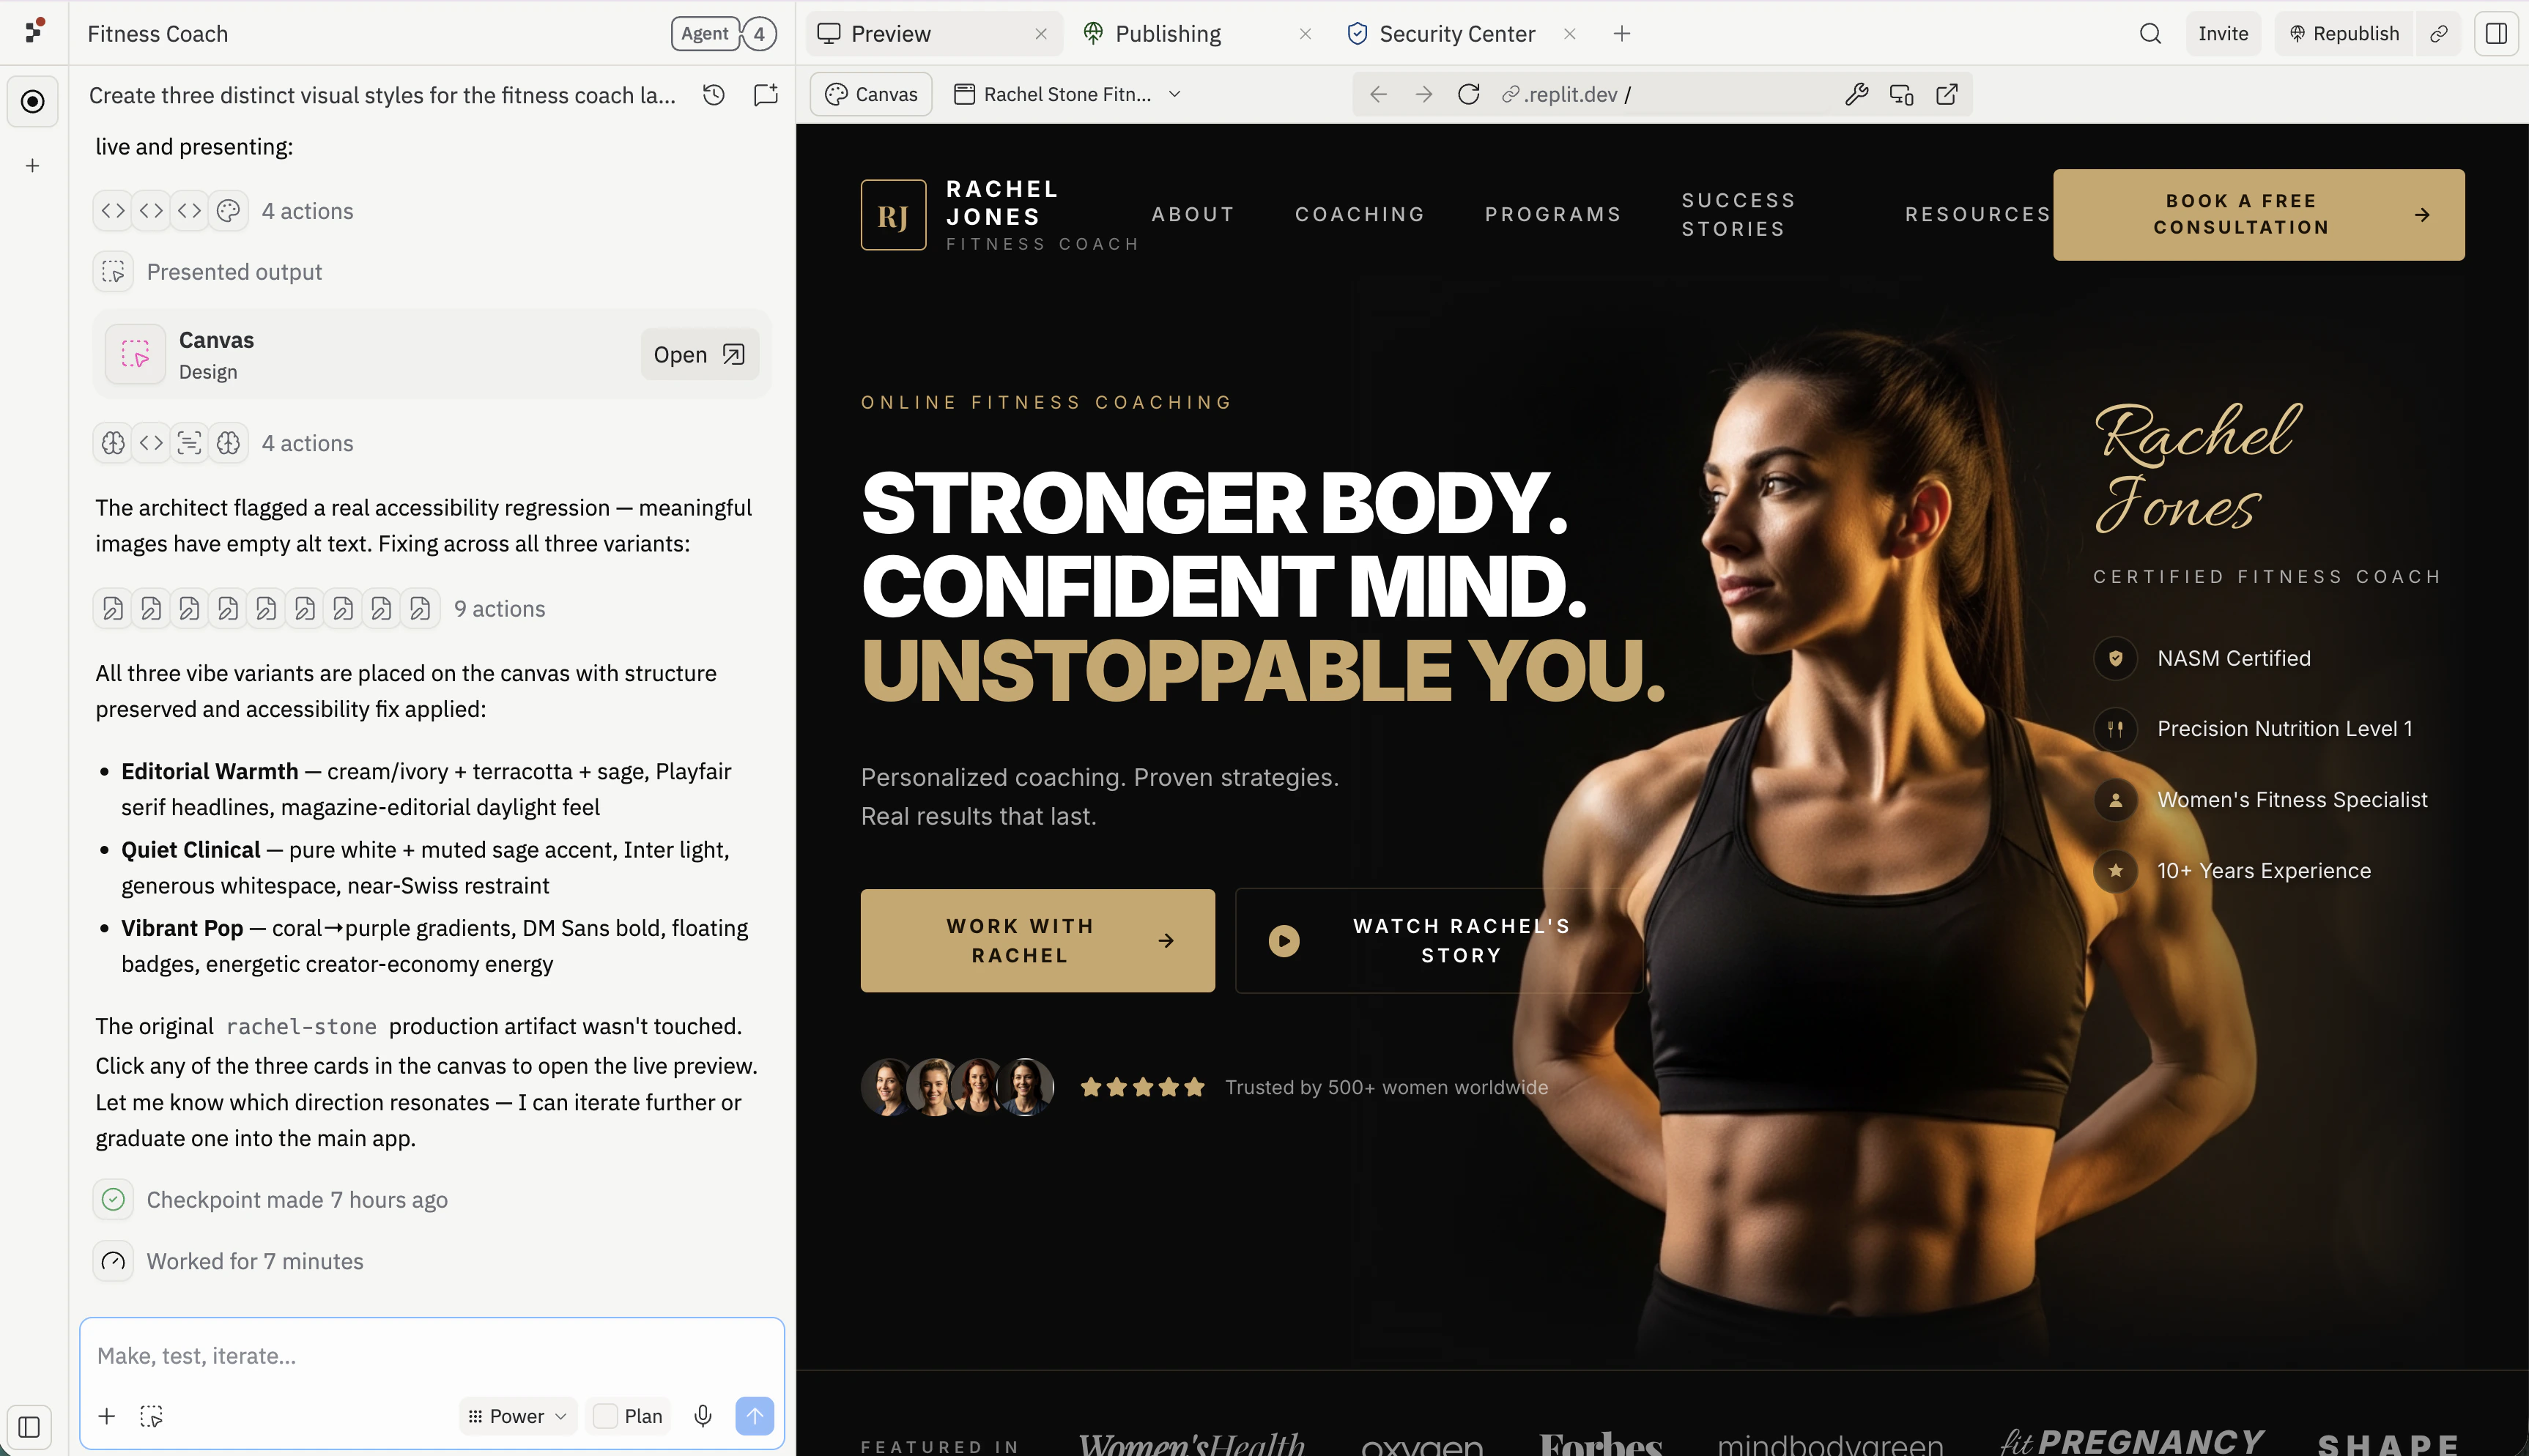
3
Open Canvas
Select the Canvas button under the Preview and Tools tabs to switch the right pane from Preview to Canvas.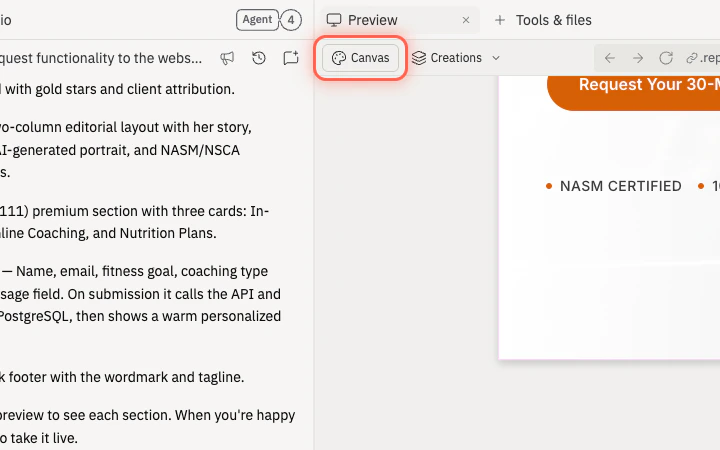
4
Annotate outside the preview
Use the Canvas Text and Draw tools to add notes and arrows in the empty space around the mockup, then point them at the specific element you want Agent to change. Annotations placed on the canvas — outside the preview — stay attached to your feedback so Agent can read them together with the design.Keep each annotation focused on one change. Short, specific notes (“Reduce the width of this button”) work better than open-ended feedback.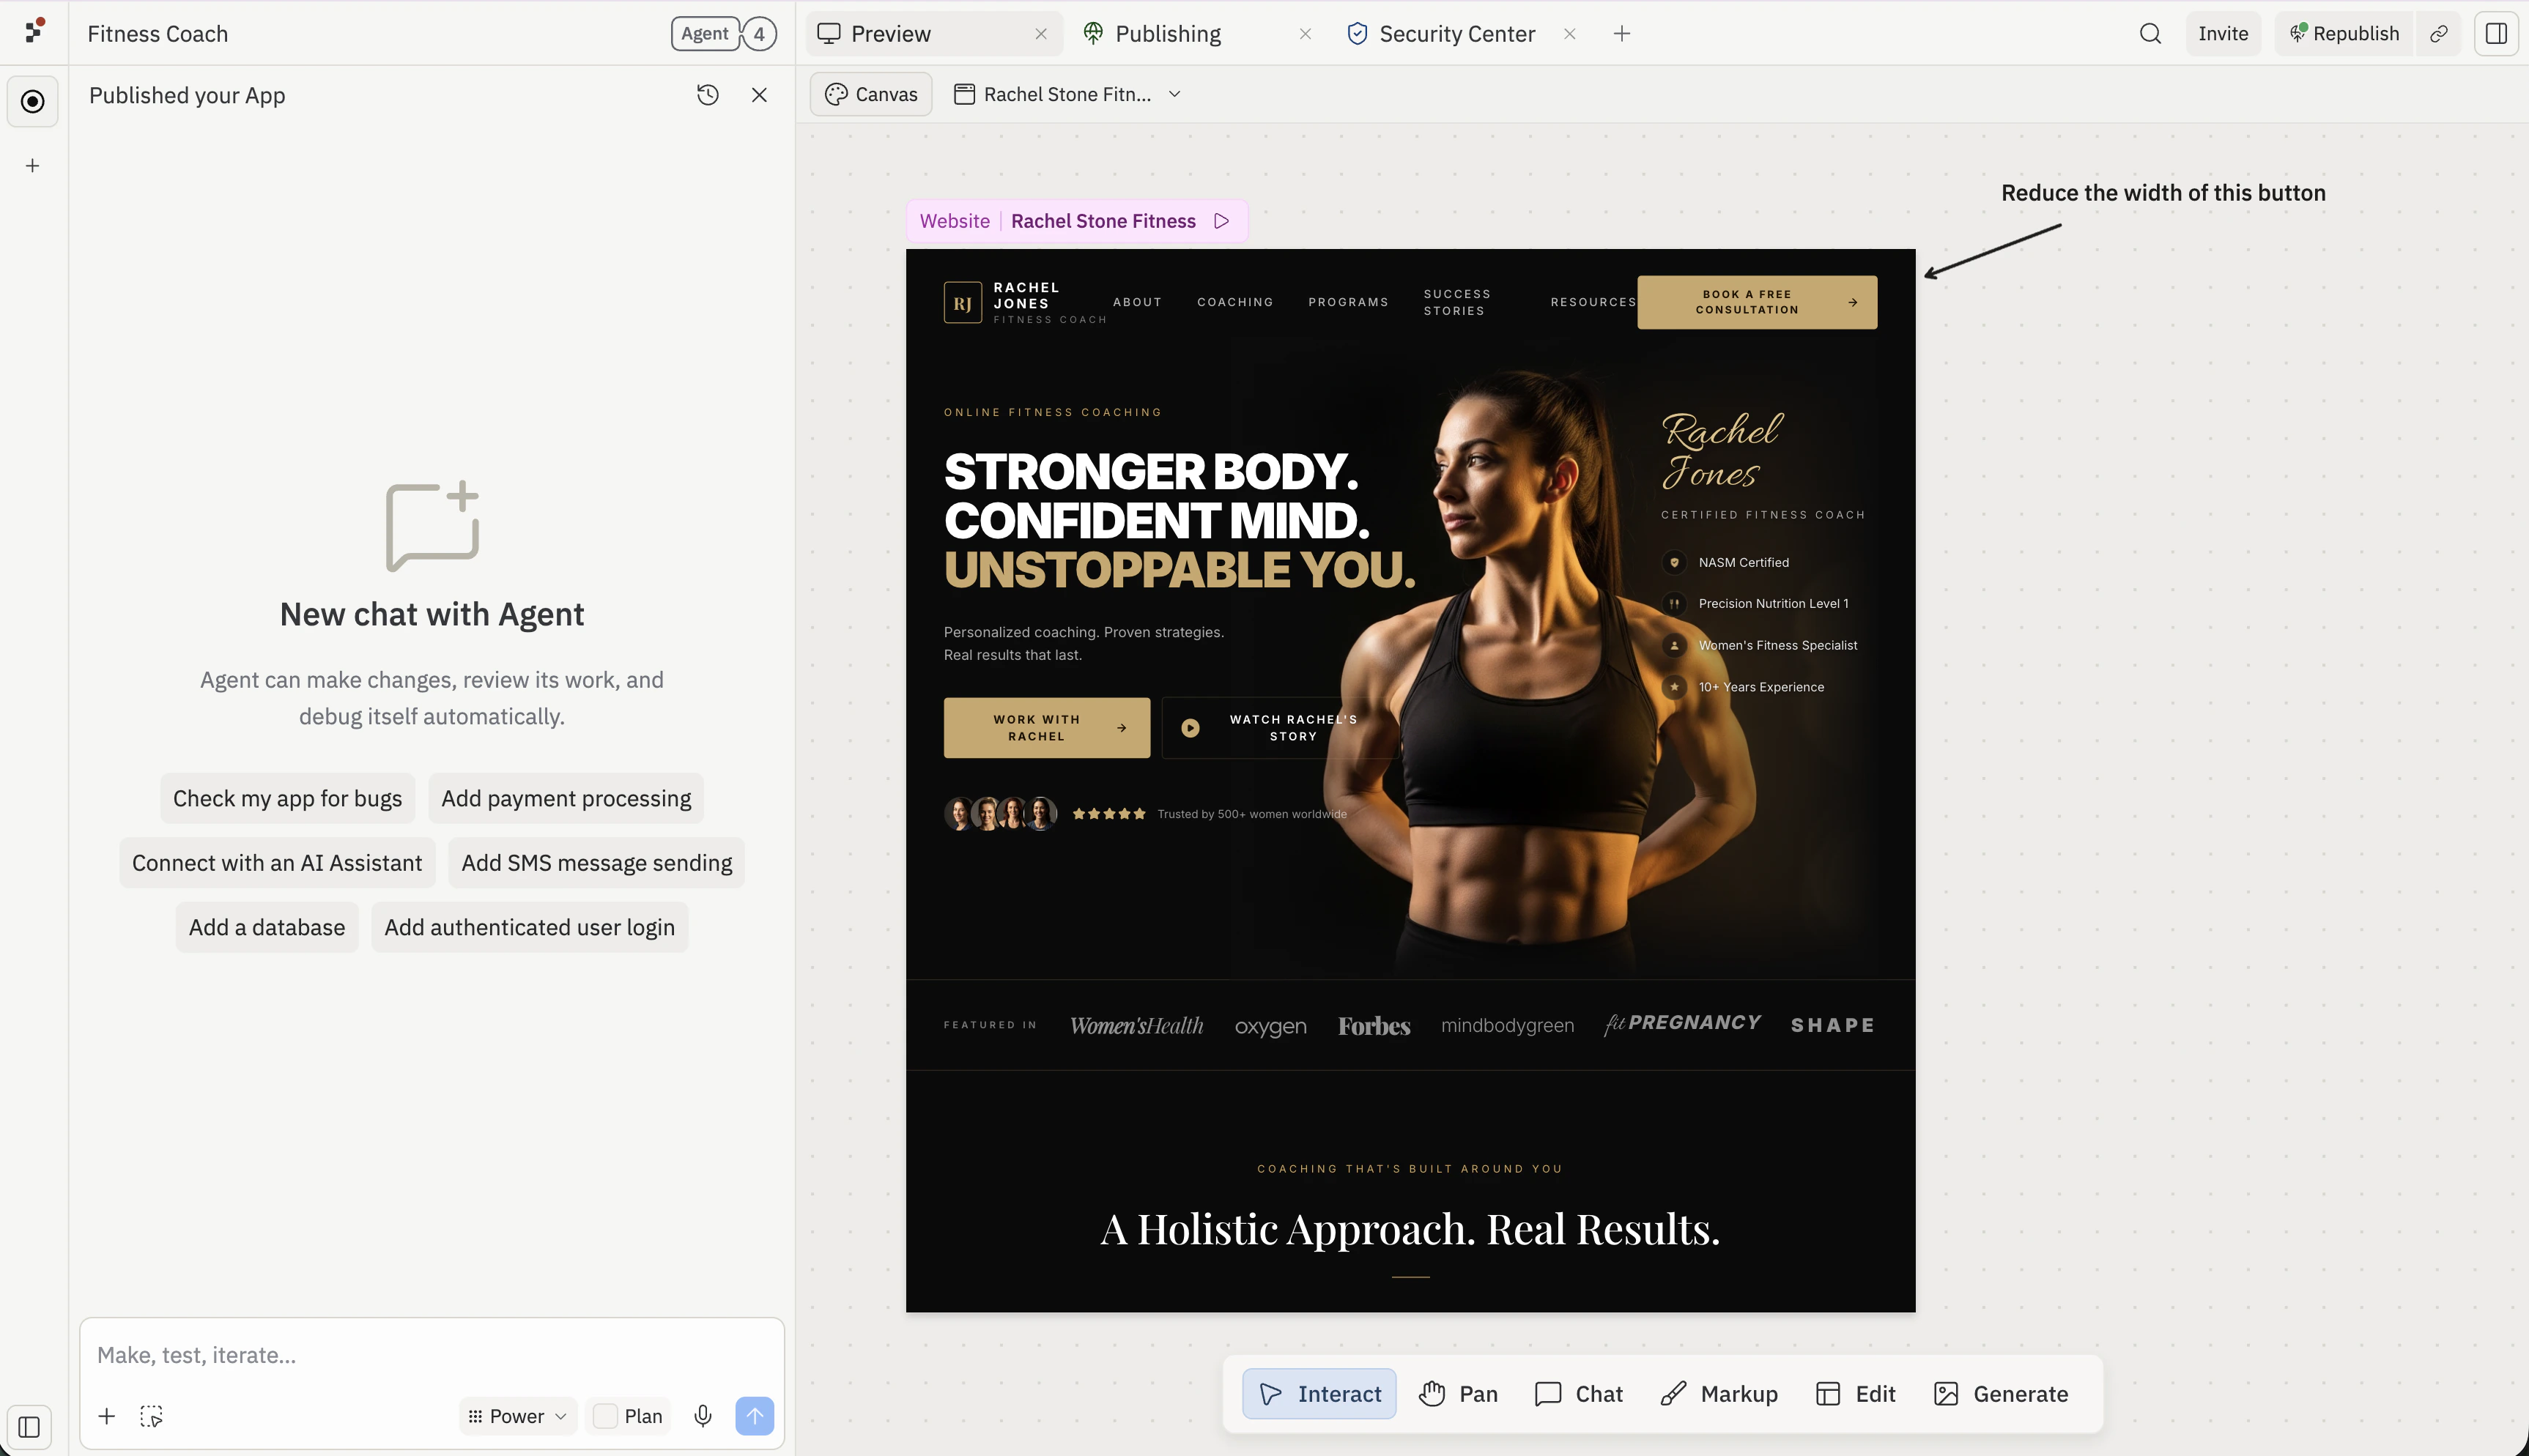
5
Select the annotations and the preview, then send to Agent
Marquee-select your annotations together with the preview frame, type a short prompt in Chat about selected items, and send it. Agent reads the annotations and the design as one piece of context, so it knows which element each note refers to.Keep the chat message general — something like “Apply the changes from the annotations.” Let the annotations carry the specifics.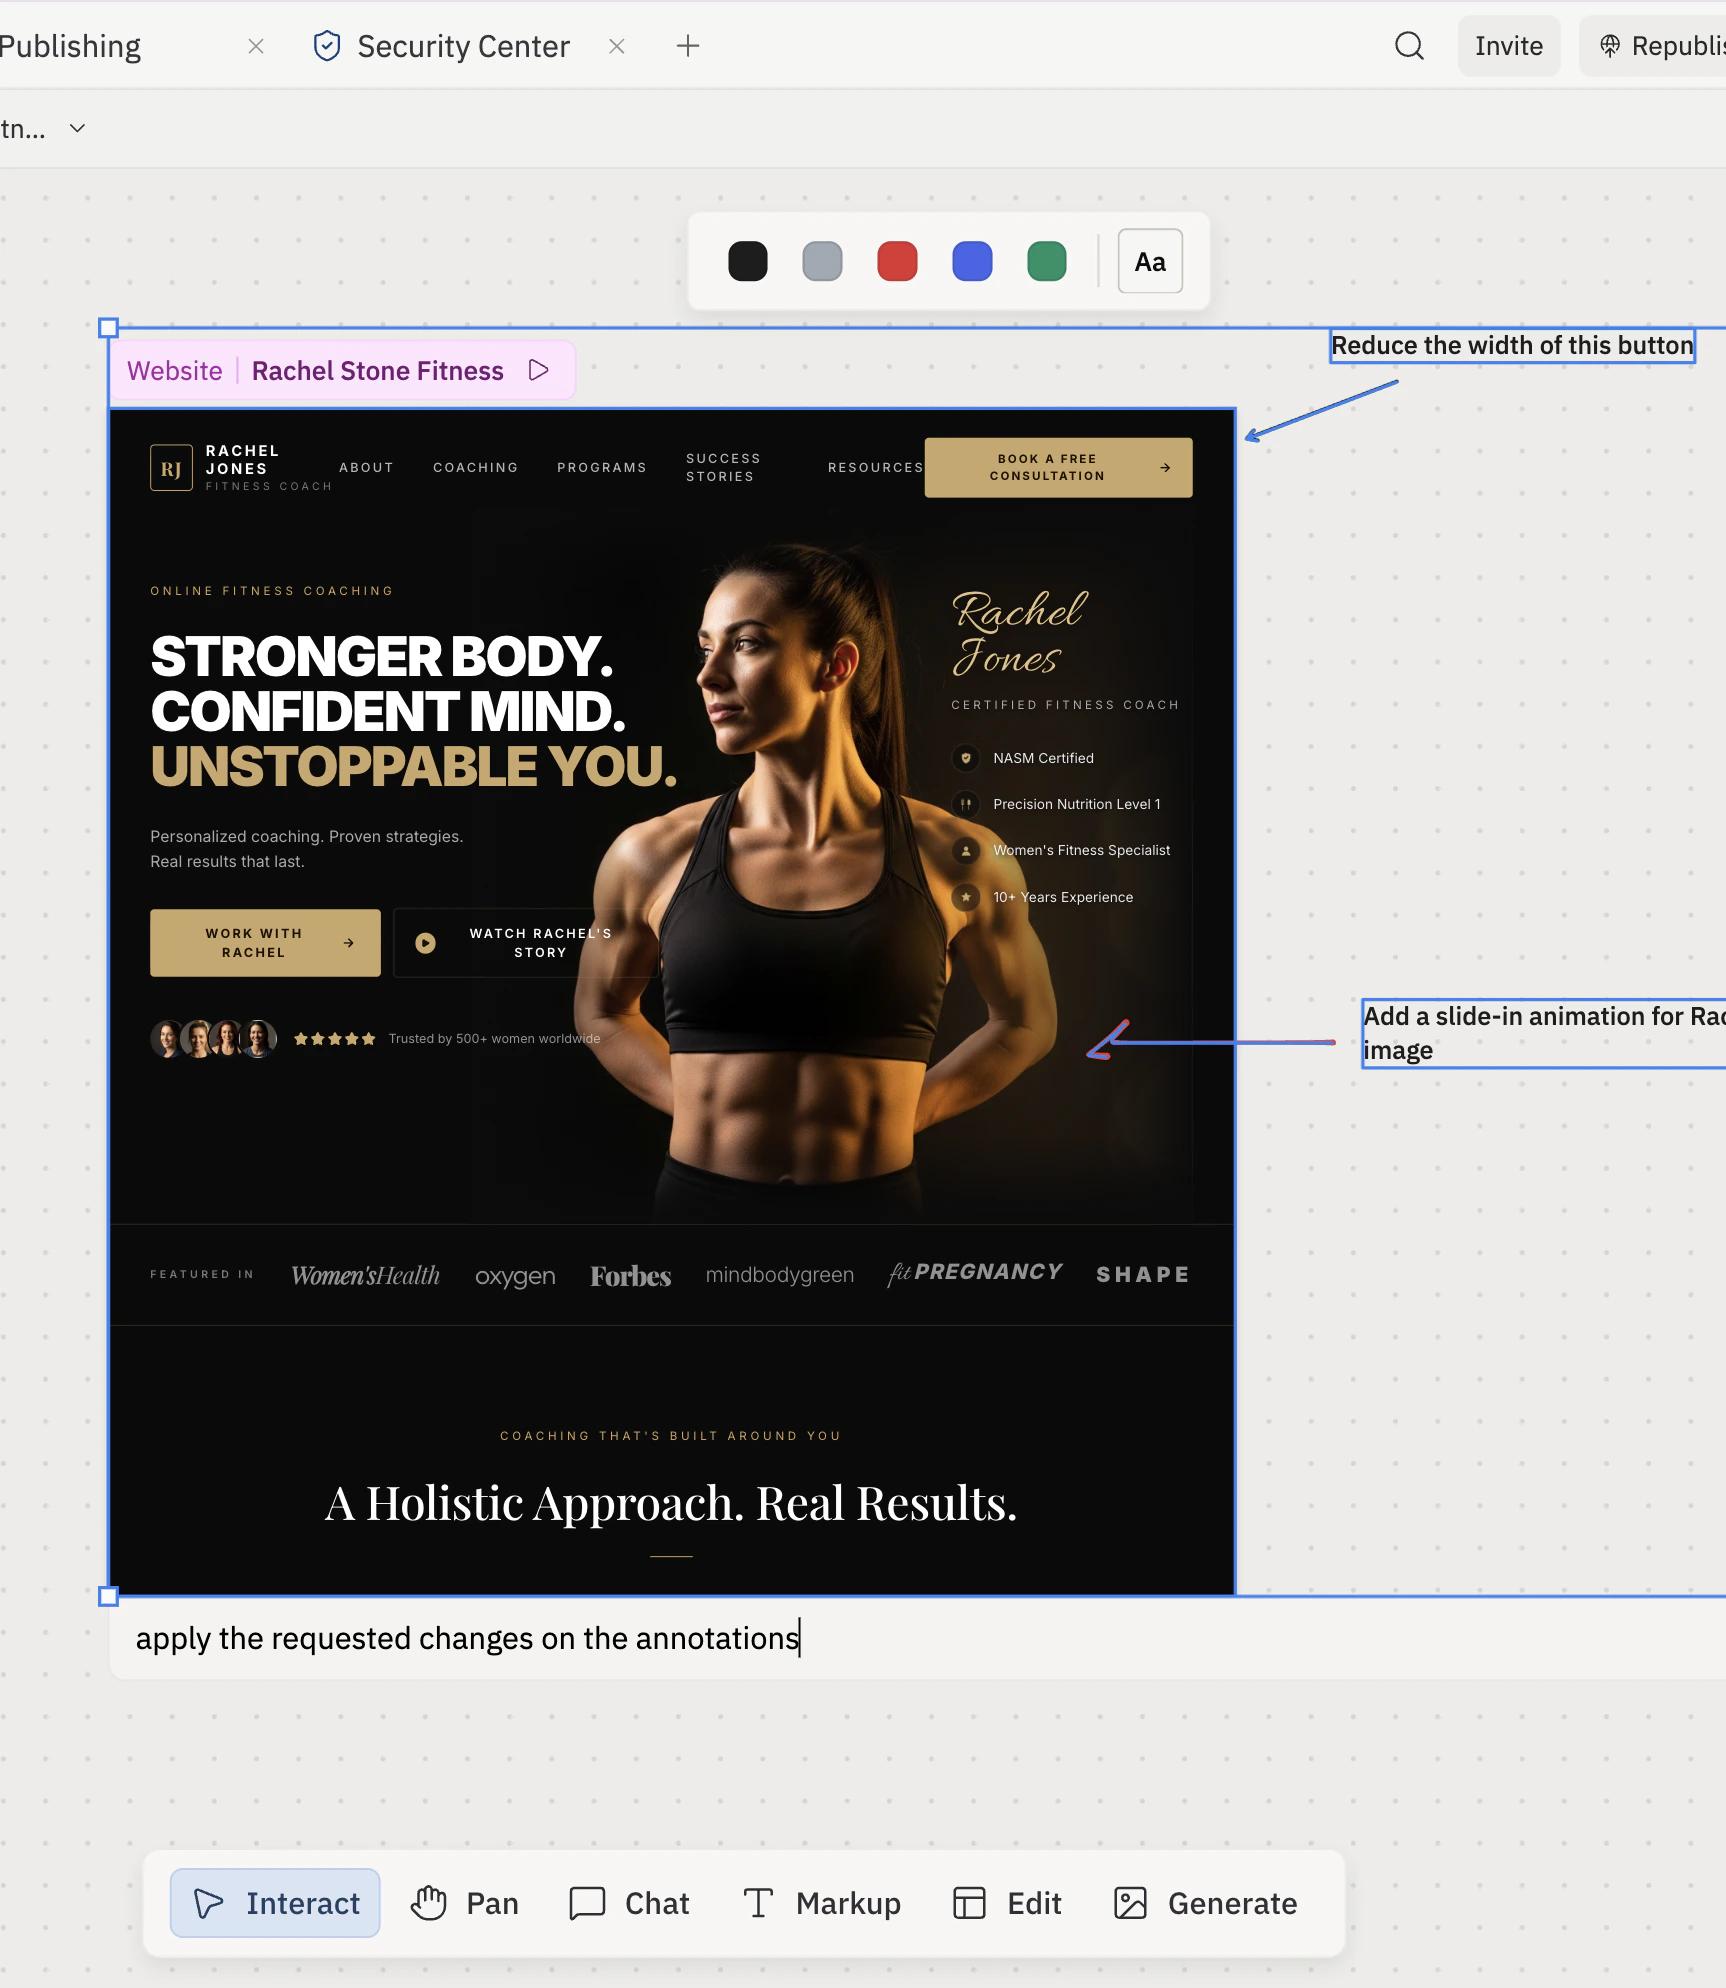
6
Reimagine in different directions
Click the design on Canvas, select Reimagine, then choose Explore different approaches to ask Agent for alternate visual directions.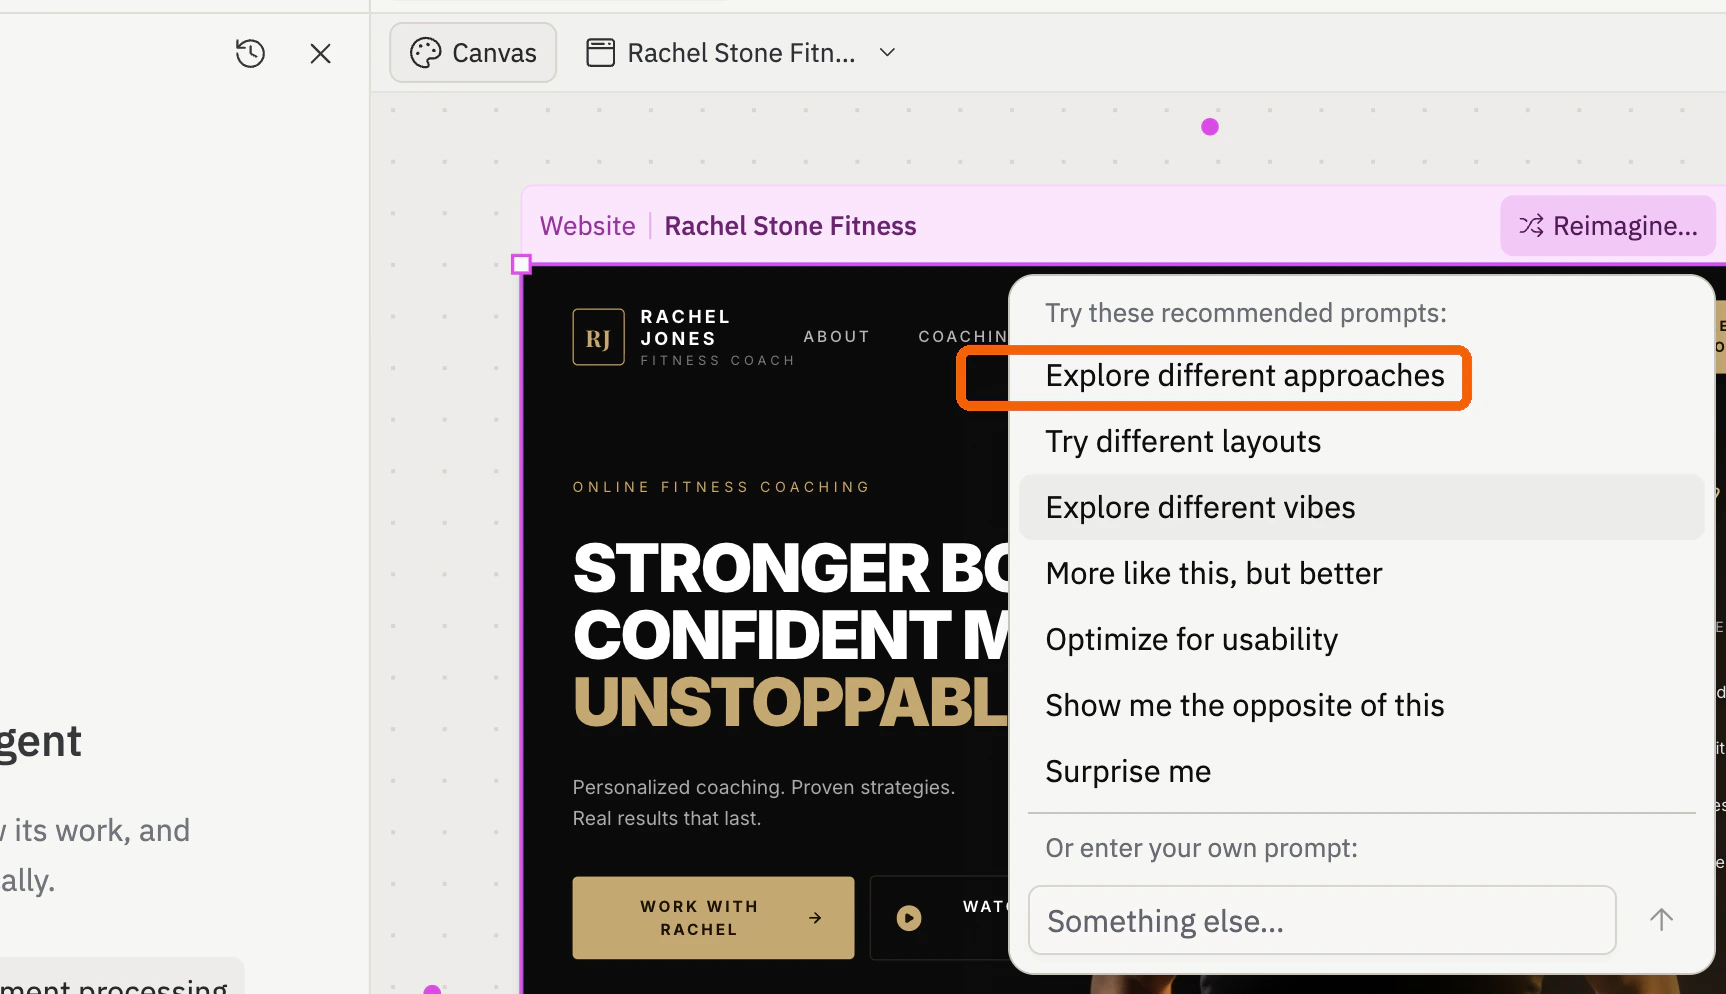
7
Review the alternates and iterate
Wait for Agent to finish generating. Explore different approaches updates the same artifact with new variants — switch between them from the artifact dropdown above the mockup. Explore different vibes generates separate visual mockups that appear on the canvas next to the original.Once the variants land, pick a direction and keep iterating. Add another annotation on the chosen frame, marquee-select it together with the design, and send a new request — for example, “Apply the requested changes from the annotations.” Agent uses the variant context plus your fresh annotations as one prompt.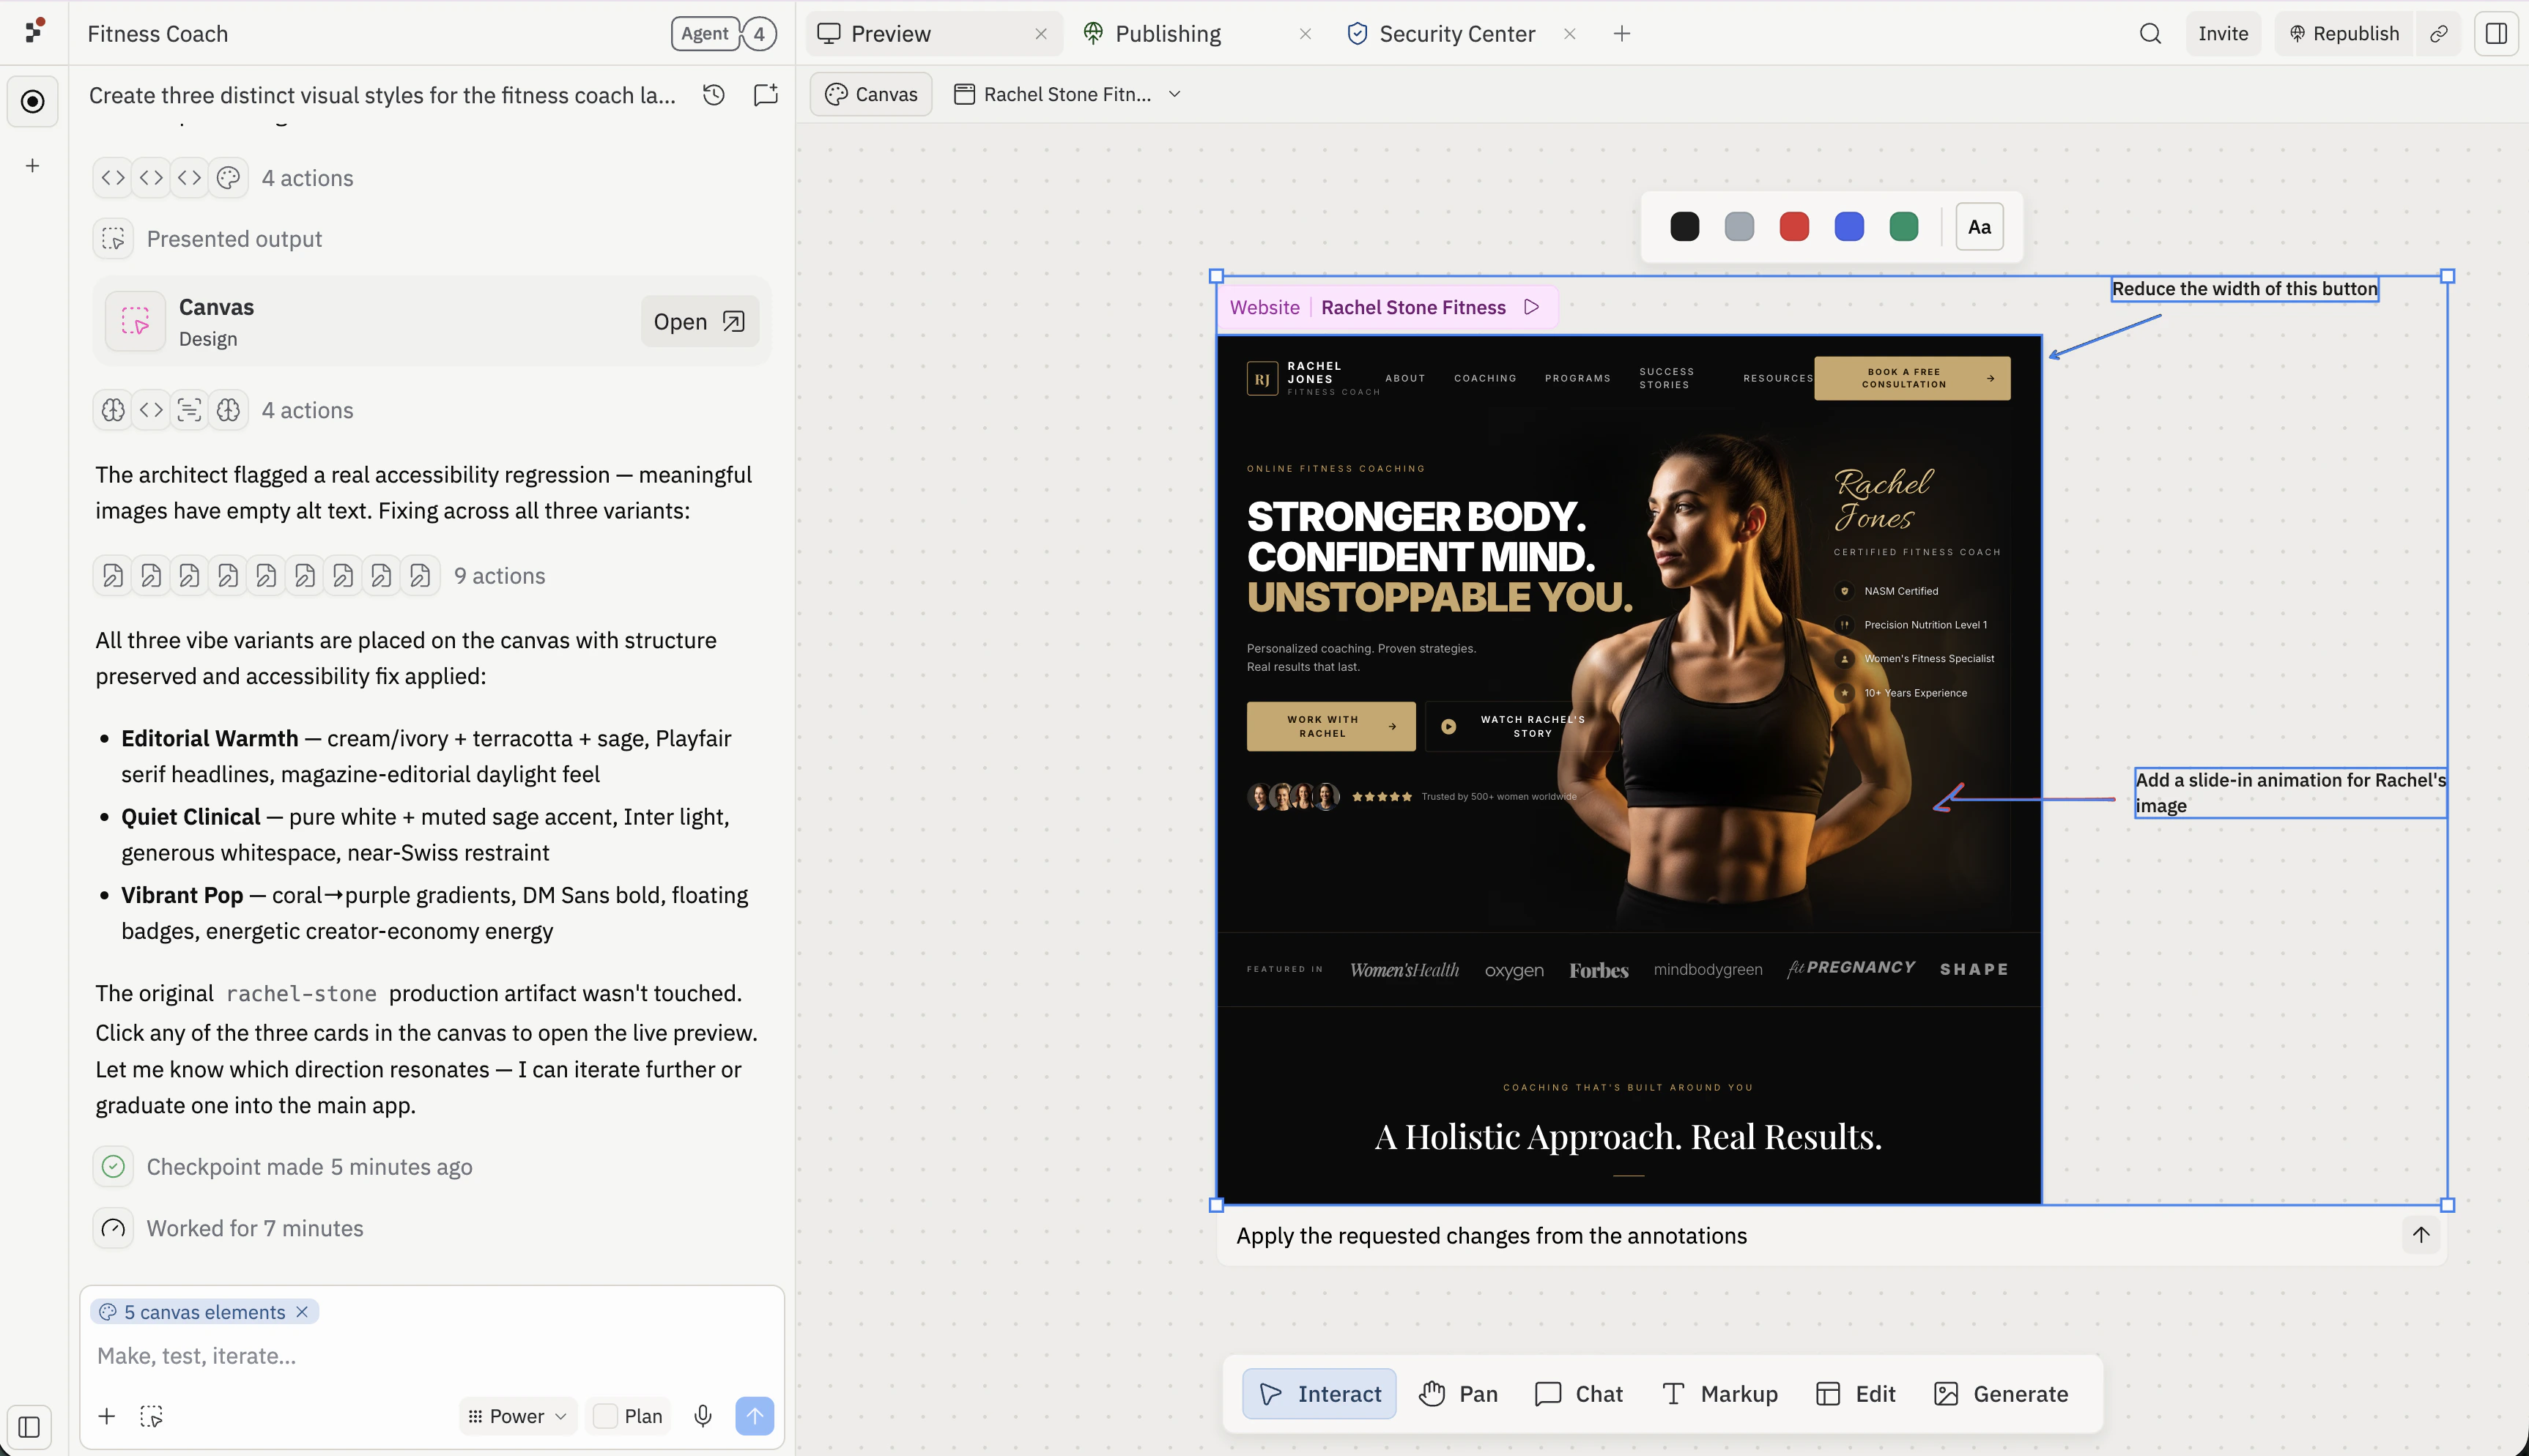
8
Publish your work
When the page works in Preview, click Publish (or Republish on subsequent deploys) in the top-right of the workspace to push the latest version to your public URL. Open the published URL in a new tab and submit one test response to confirm the live page captures it before sharing.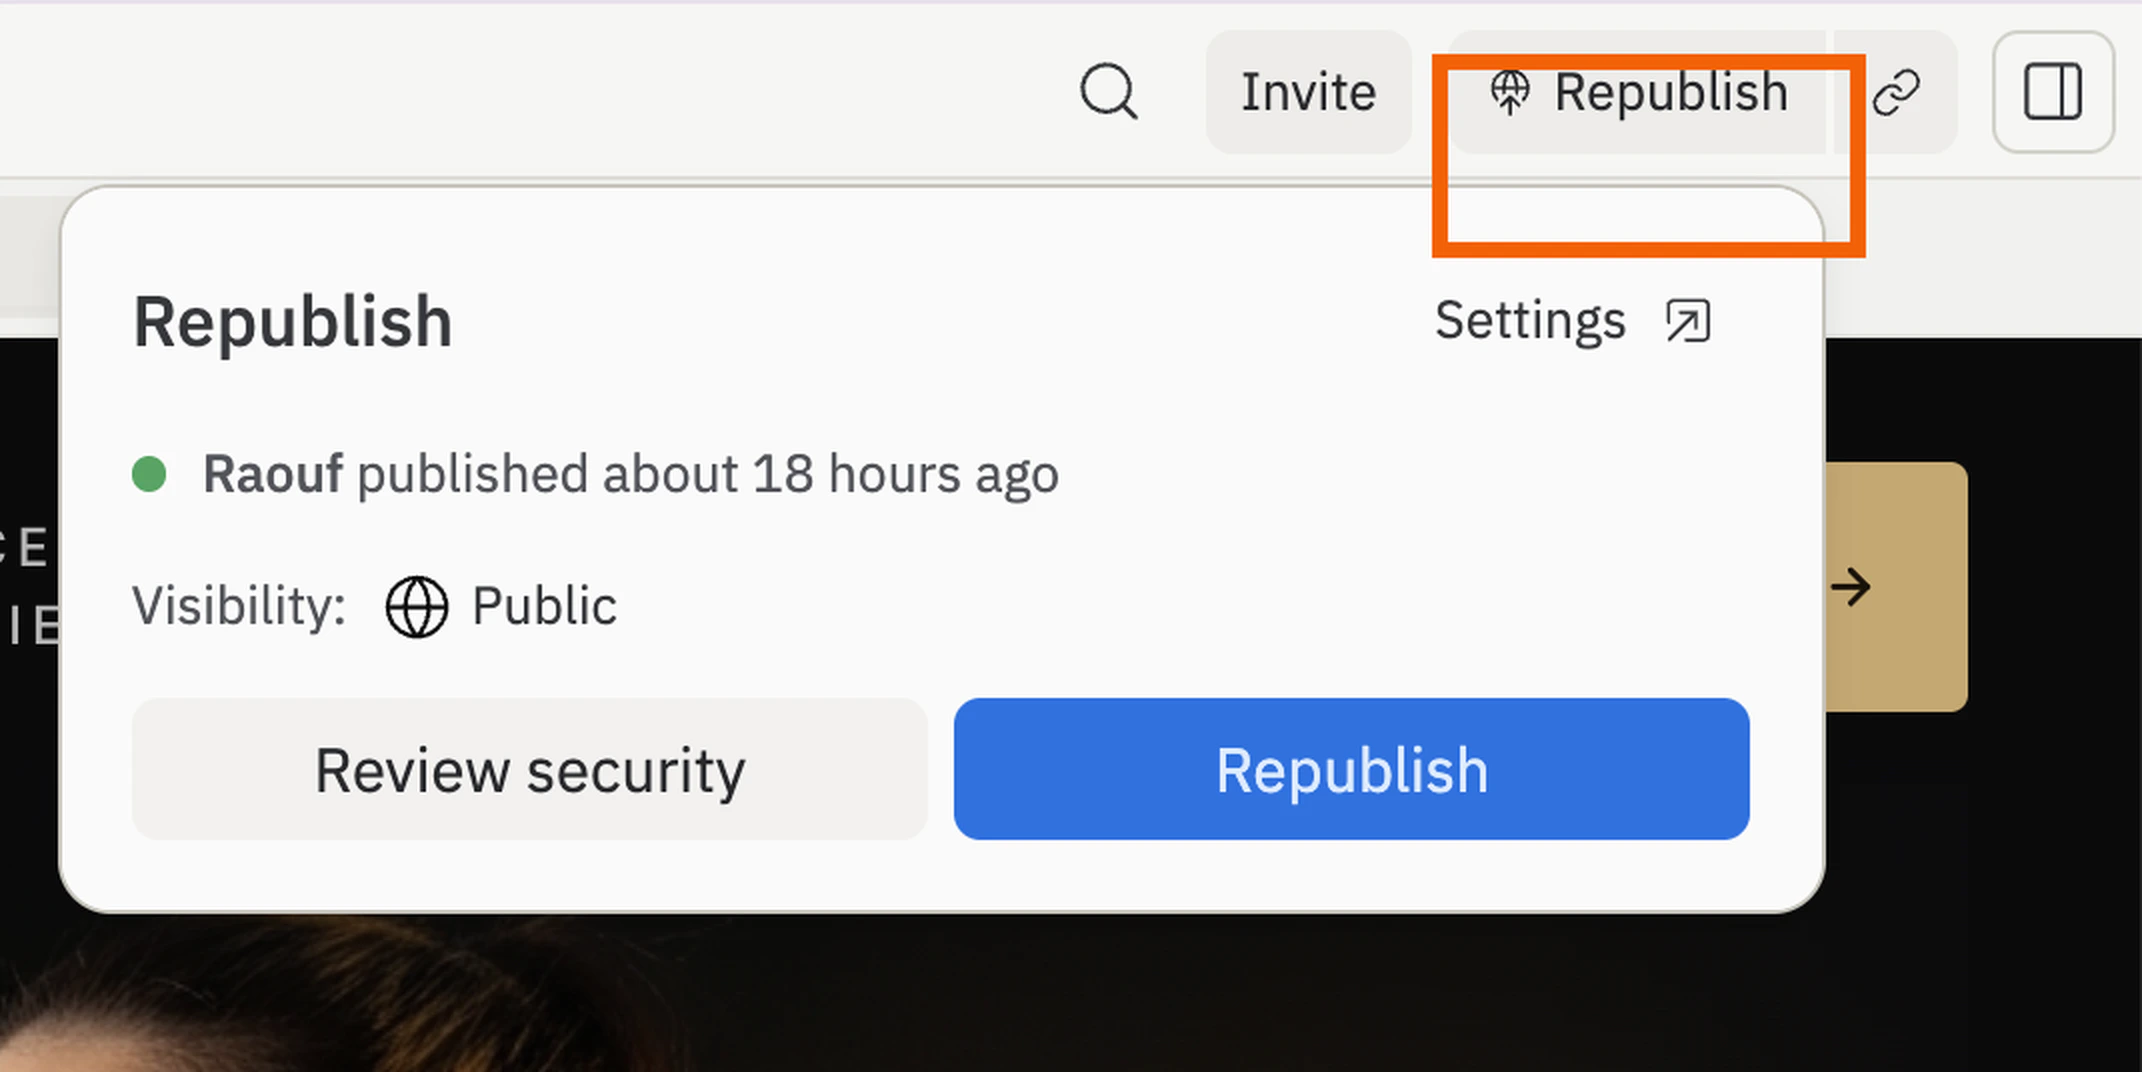
Next steps
Add integrations
Send follow-up emails or sync responses to a CRM.
Add a custom domain
Give the page a branded campaign URL before sharing it.
Add a database
Store more structured responses you can sort and export.
Test one change at a time
Create a second variant and compare messaging head-to-head — change one element per round so you know what moved the needle.