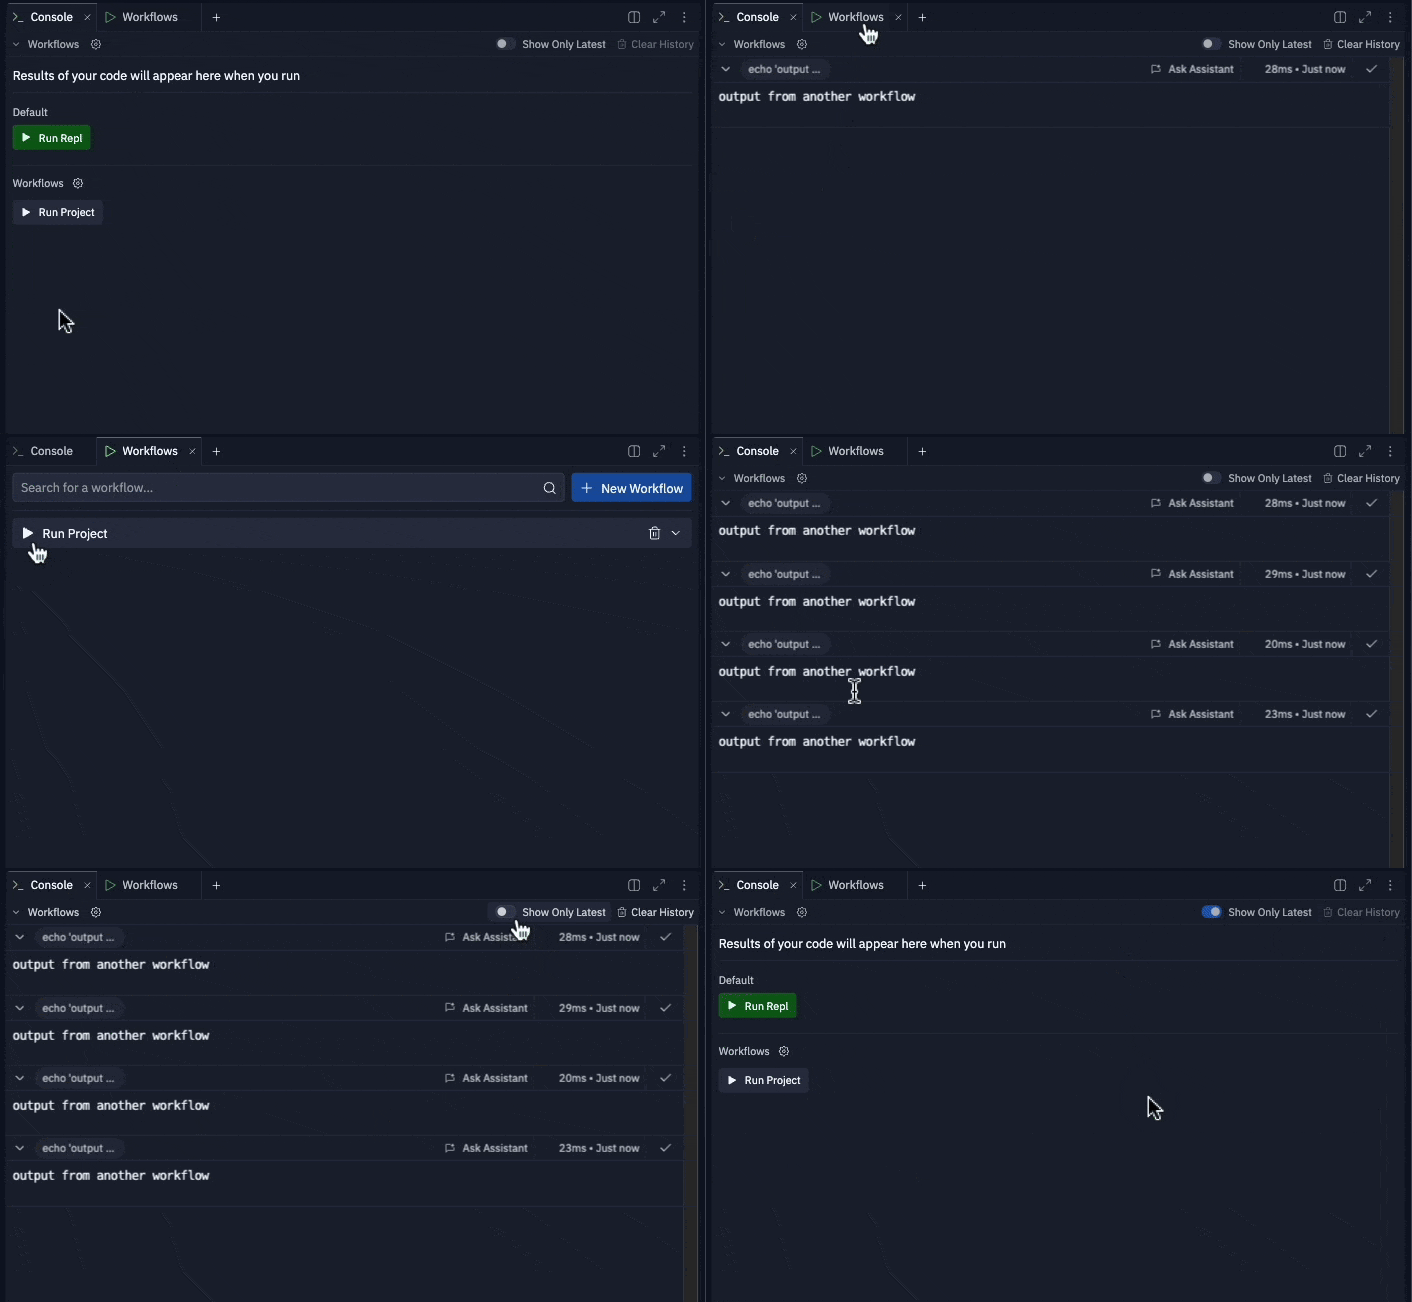
python main.py or as complex as executing a multi-step procedure.
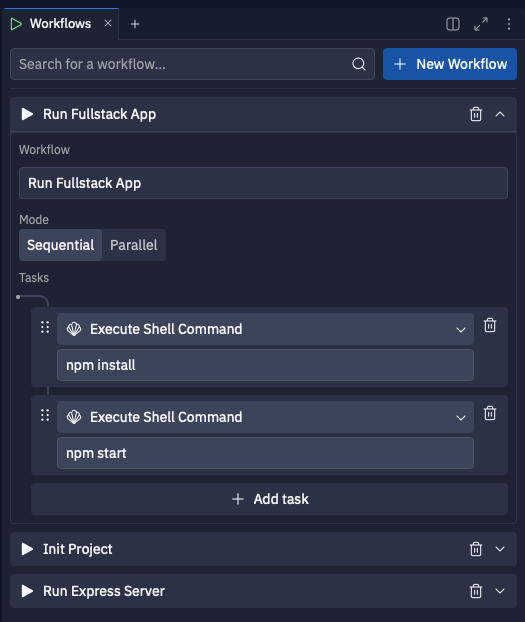
- Run multiple services in parallel (e.g., frontend + backend)
- Execute files or commands sequentially (e.g., run linter → run tests, compile → execute code)
Command + K.
Available Task Types
There are current 3 type of tasks available,Execute Shell Command, Install Packages, and Run Workflow.
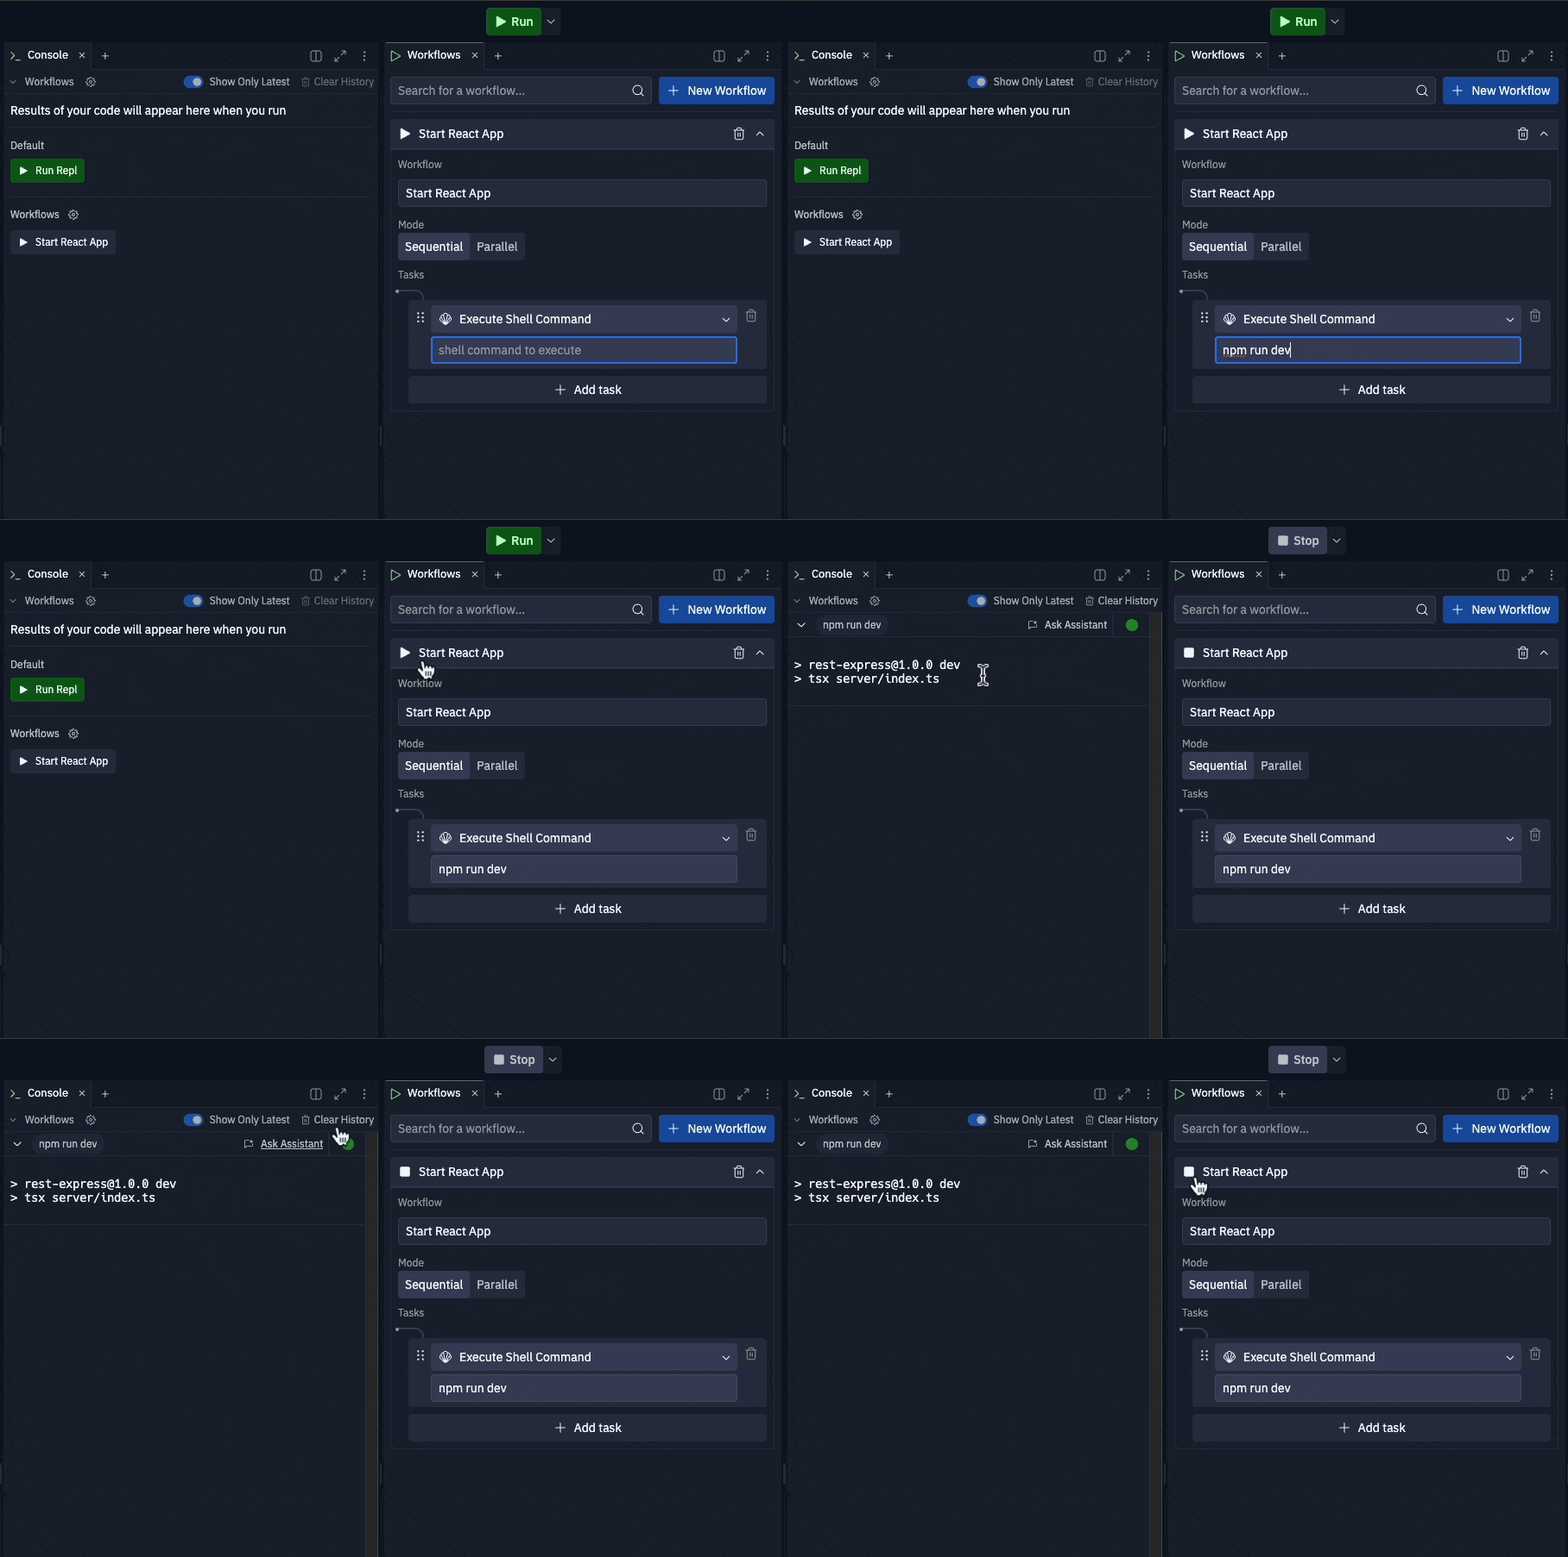
Execute Shell Command
Execute Shell Command stores a shell command and executes it using the same environment as the Shell pane. This task type offers a wide range of use-cases, from running individual files:
Install Packages
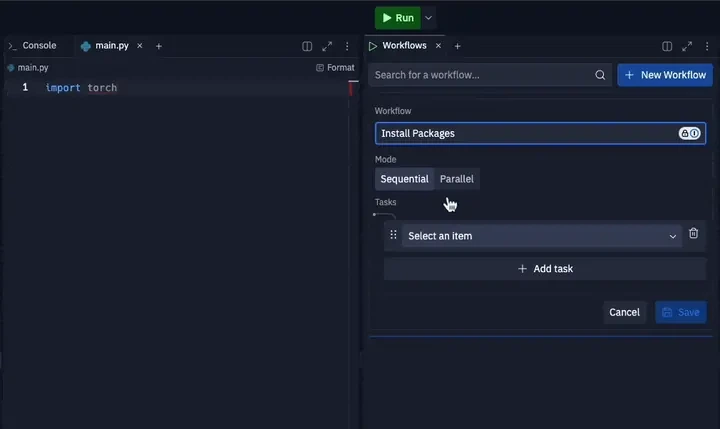
Install Packages utilizes Replit’s built-in dependency management system, automatically detecting your project dependencies and installing the necessary packages for your project. See Dependency Management for more details on how UPM guesses packages to install for your project under the hood.
Example use case:
Run Workflow
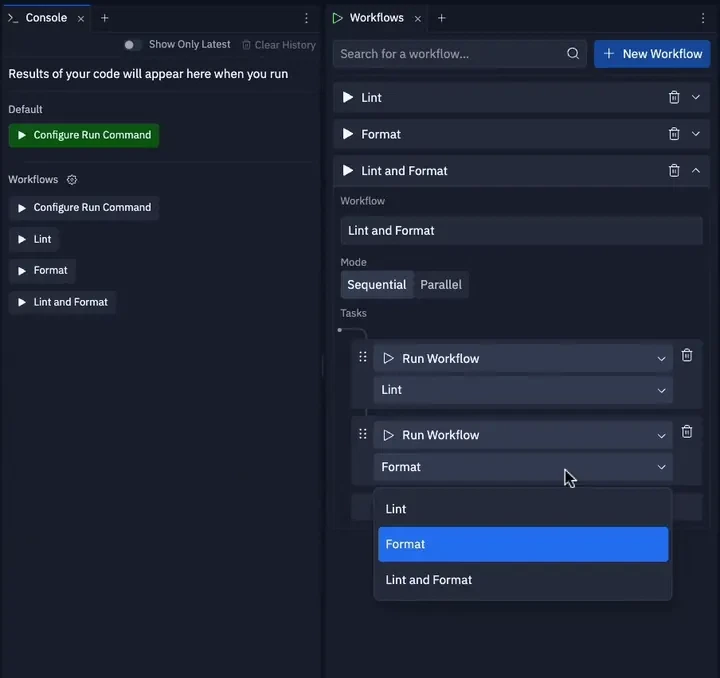
Run Workflow allows you to run another workflow from the current workflow. This allows for reusing workflows and combining them to create more complex workflows.
Example use case:
Workflow Execution Mode
Workflows offer two different modes of execution: sequential and parallel.Sequential
Sequential execution will run each task in the defined order, waiting for each task to finish before moving on to the next step, and stopping execution of the sequence if a task within the workflow failed. An example of using this mode is for defining commands that are logically connected, such as git commands for fetching the latest changes from your main branch, then rebasing your current branch on the main branch: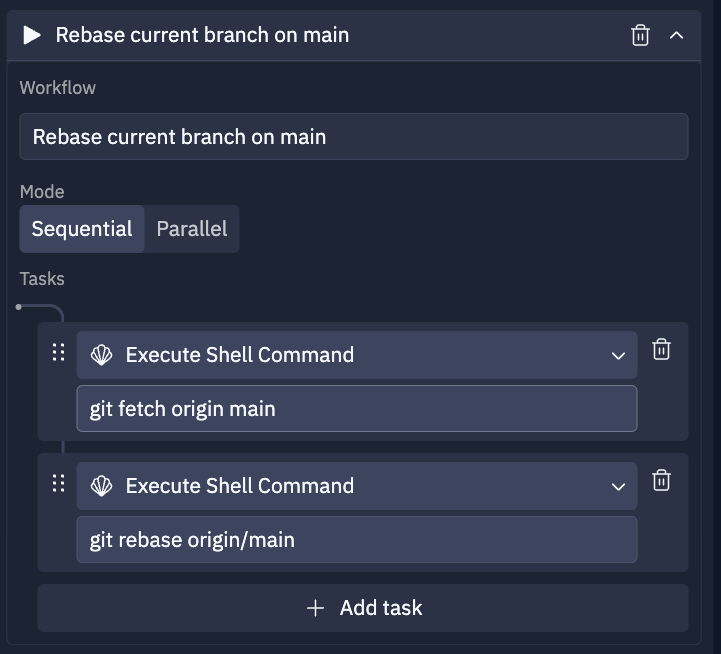
Parallel
Parallel execution will run each task in parallel, such that each task is started and runs independently of other tasks within the workflow. One task failing does not stop the execution of other tasks. An example of using this mode is running a fullstack project that needs to start both the frontend and the backend server: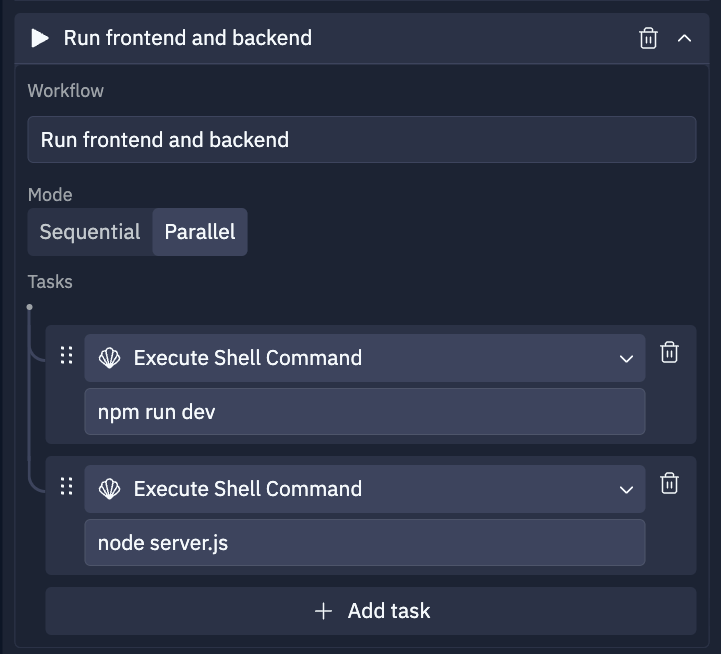
Creating Workflows
Workflows can be created using the workflows pane by clicking on the+ New Workflow button. Start by giving your workflow a descriptive name, chose a suitable mode of execution, and start adding tasks. Tasks can be re-ordered by dragging and dropping them into the desired order.
Assign Workflow to Run Button
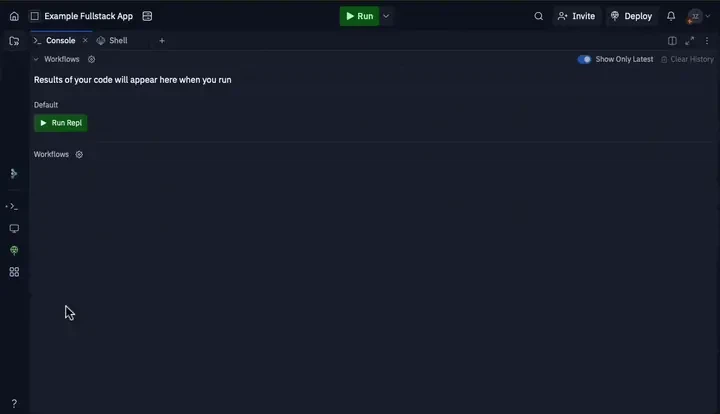
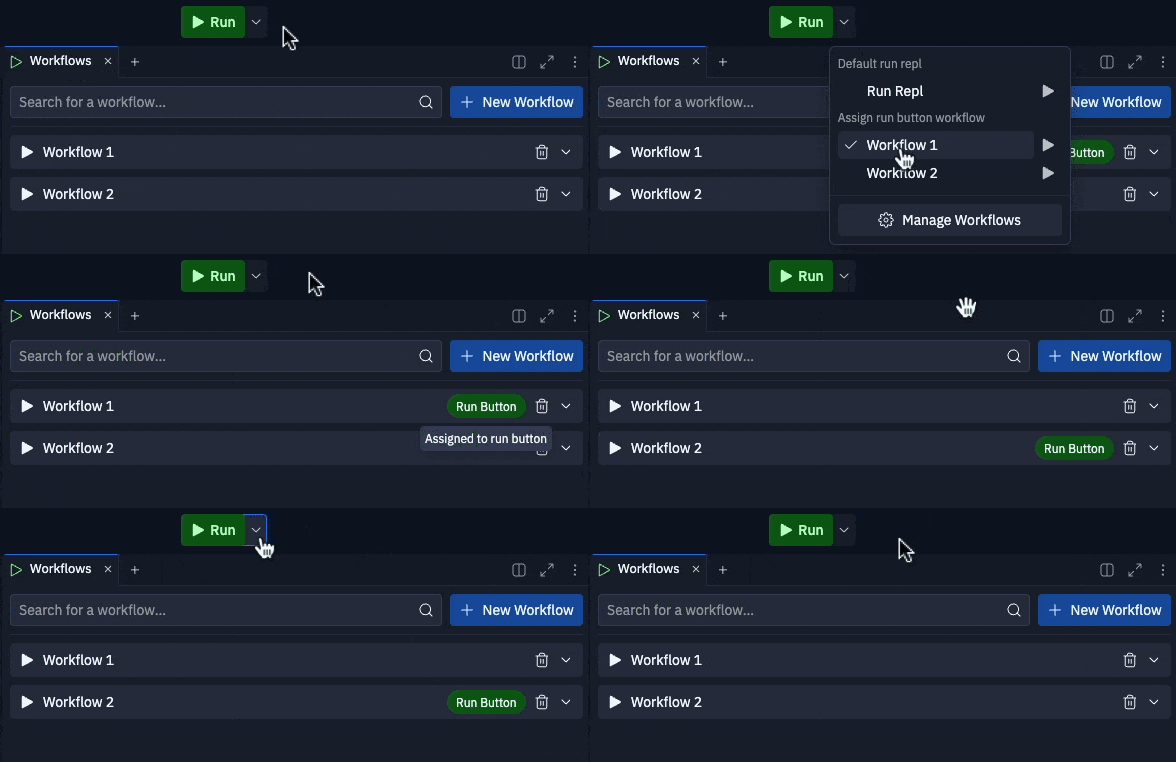
A workflow can also be assigned to the run button to replace the default run button behavior (see Configure a Replit App). To keep the default run command configured within.replit, select the default “Run Replit App” option within the dropdown.
The selected workflow within the dropdown menu next to the run button will be run when the run button is clicked. Click on your desired workflow within the dropdown menu to change which workflow should be run by the run button.
Viewing Workflow Outputs
Workflow outputs will be displayed in theConsole pane. You can toggle the display to only display latest outputs and clear the console altogether.
