Using Nix with Replit

Replit supports all programming languages through our integration with Nix. Nix is a tool for managing software packages and system configurations. It's like Python's virtualenv and pip, but instead of focusing on one programming language, it can handle all of them, and the system configuration and environment.

Nix is declarative: instead of listing a series of steps to take, you describe the end result. Nix will know what to do to make it happen. Nix is reproducible: given the same instructions (and inputs, for example, the same Nix package set), it will give you the exact same result, regardless of when or where you run it.

Previously, Replit used a single Docker image to power Repls, but users couldn't customize it, and changes were slow, since they had to be made by a Replit employee.

Since moving to Nix, all Nix Replit Repls share the same Nix packages under the hood, called the Nix store. This is mounted as a virtual drive. There are many packages in this store, including different versions of some packages, and

Nix makes managing multiple versions of the same package easy. Required packages listed in the repl's Nix configuration are linked from the store into the repl's environment, and this environment is cached for near-instant Repltartup times.

The Nix package set is a large collection of Nix expressions that describe how to build packages from source, sometimes also called derivations. Nix builds packages in a special build environment that is isolated from the rest of the system to ensure that the system doesn't interfere with the build, and that no unspecified dependencies are included. Compiled binaries are dynamically linked against specific versions of their libraries, rather than against the system-wide libraries, so that we don't have to deal with dependency conflicts. This all means that the builds are reproducible (in most cases, even on a bit-for-bit level).

Because builds are reproducible, Nix doesn't usually build everything from source by default. That would take way too long! Instead, it'll try to download pre-built binaries from a binary cache. Each specific Nix package has a unique identifier, which is a hash of its inputs. If any of its inputs change (which includes its build script and source code), it'll get a new unique identifier and be considered a new version. Nix downloads binaries according to this hash.

The expressions in the Nix package set are designed to be adjustable. It's easy to change an expression's inputs so that it depends on a different version of a dependency, builds from the latest release instead of the current stable version, or builds or runs with different options. When you override an expression like this, it'll build a different version of the package, one that's probably not in the default binary cache. If it doesn't already exist in your Nix store, you will need to wait for it to be built when your Repl starts.

You can override the Nix package set to add new expressions for software that hasn't been packaged, including private projects.

For a deeper dive into how Replit and Nix work together, have a look at the building with Nix on Replit tutorial.tutorials/python/build-news-digest-app-with-nix

Let's start by forking an official template (or a start with a [blank Nix repl]/programming-ide/getting-started-nix)).

Configuration

Once you have forked a template, there are two config files that you can use to customize the environment:

  • replit.nix, which configures the Nix environment.
  • .replit, which configures the run command.

To edit these files and customize the environment, enable "Show hidden files" in the Files pane options.

The replit.nix file

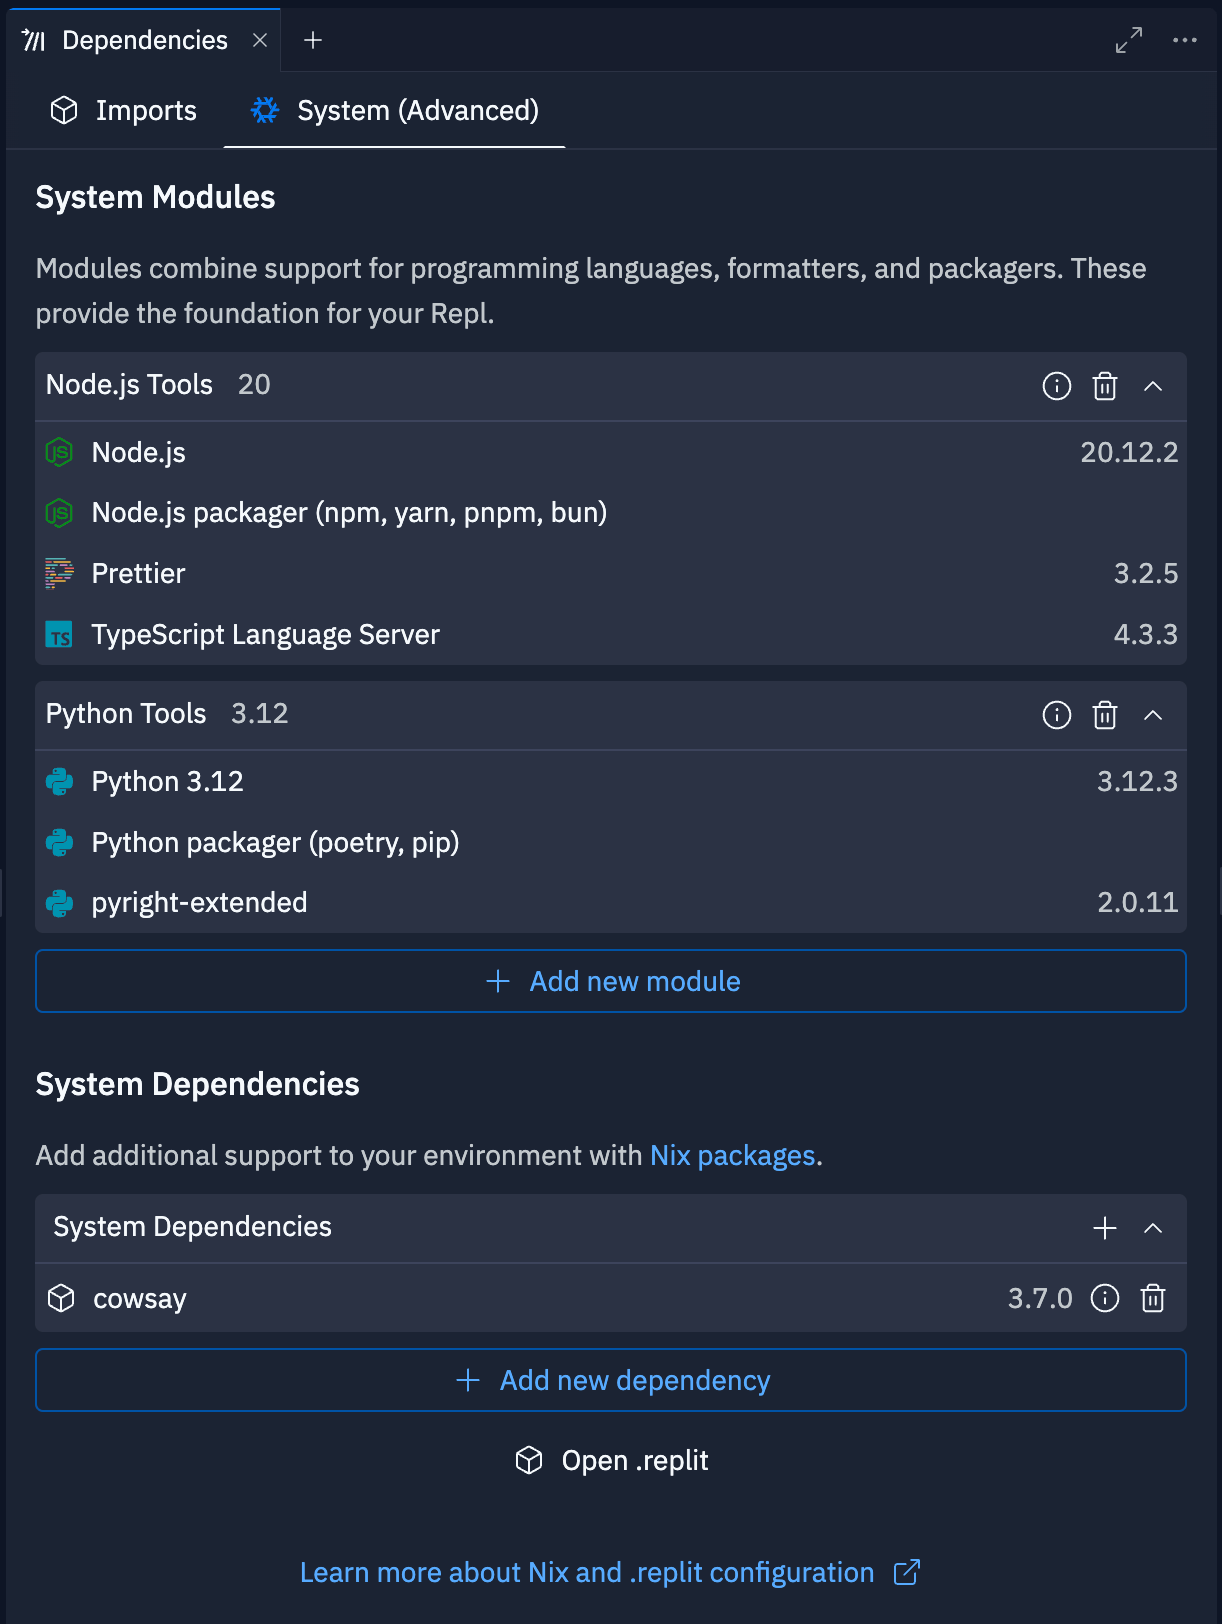
The replit.nix file configures the Nix environment, it tells our Replwhat packages to install. It should look something like this:

{ pkgs }: {
deps = [
pkgs.cowsay
];
}

This is an anonymous Nix function that takes the Nix package set as its input and returns an array of packages to build an environment with.

Nix has packaged over 50,000 projects. You can search for Nix packages on the NixOS website (DuckDuckGo users can use the !nixpkg bang command).

If you're used to the Nix way of doing things, you can replace the replit.nix file with a shell.nix or default.nix file, with the order of priority being: replit.nix -> shell.nix -> default.nix.

The shell.nix file allows for greater customization of the shell environment than the replit.nix file.

The default.nix file will use nix-env to construct an environment where the derivation in default.nix is built and added to the shell.

Configuring Nix

You may need to change the way Nix is configured. Not all packages can be installed by default, either because they're currently broken or insecure, not suitable for the current platform, or because they don't have a free licence. By default, Nix will not install any of these packages.

To allow for the installation of such packages, you will have to edit ~/.config/nixpkgs/config.nix.

For example, to allow all unfree packages, you need set .config/nixpkgs/config.nix to:

{
allowUnfree = true;
}

Any Nix file in .config/nixpkgs will be processed by Nix.

The .replit file

The .replit file is a TOML file that defines which command will be executed when we click the "Run" button, and [much more]/programming-ide/configuring-repl). The run command in this file should look something like the example below. You can use any binary made available by your replit.nix file in this run command.

run = "cowsay Welcome to nix on Replit!"

If you forked one of our official templates, the .replit file will already have been configured for you.

Basic .replit file

Let's break down a basic .replit file:

run = ["python", "hello.py"]

compile = ["echo", "it compiled"]

language = "python"

entrypoint = "hello.py"

The run key is the only required key in .replit files. The run key tells Replit what command to run when the run button is pressed.

run = ["python", "hello.py"]

Note that in HTML Repls no run key is necessary, and it will be ignored if it is provided.

The compile key tells Replit what command to run before run. This is optional. If this exits with a non-0 exit code, Replit won't run the run command.

compile = ["echo", "it compiled"]

The language key is a reserved key that normally does nothing, but tells Replit what language to choose when importing a Git repo.

language = "python"

The entrypoint is the file that is opened by default when you open the repl.

entrypoint = "hello.py"

Intermediate .replit

Most fields that take commands can be strings or lists, but lists are preferred. The list format is [command, args, ...]

Configuring the packager

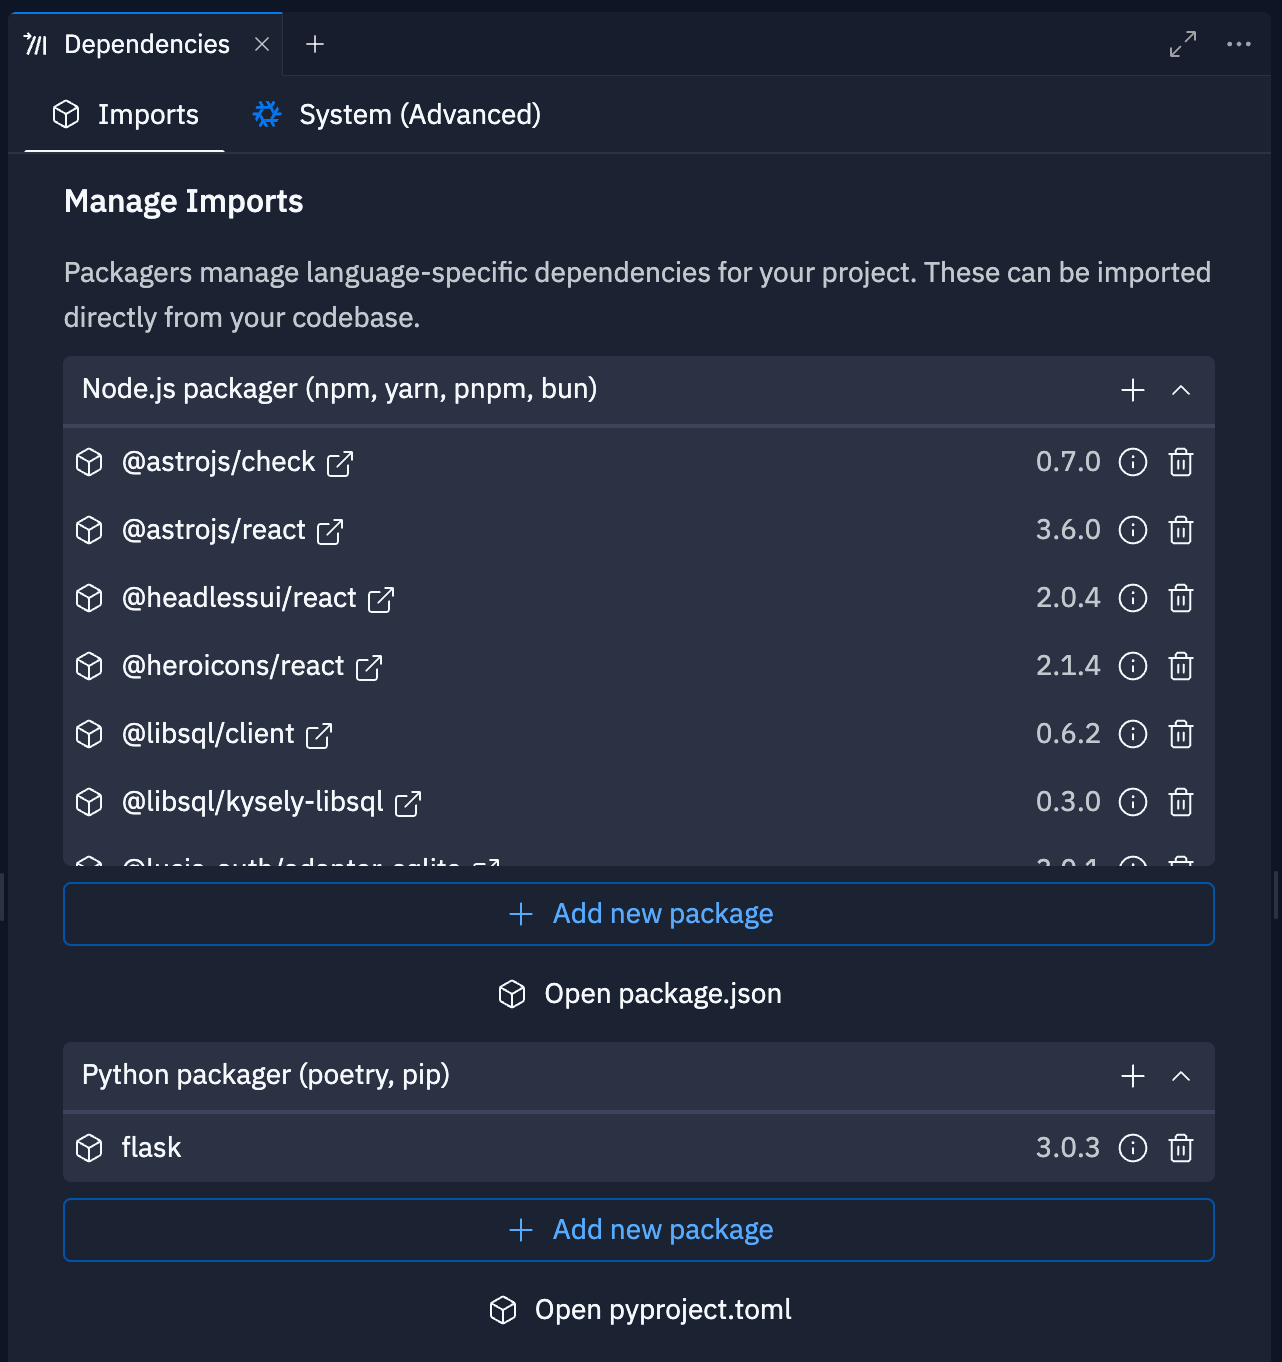
The .replit file can also set the packager. Replit uses UPM, the Universal Package Manager, to abstract over different languages' differences in package management.

[packager]
language = "nodejs-npm"

The language key tells UPM what language this Repluses. This must be a language that is supported by UPM.

You can also enable the following quality of life features:

  [packager.features]
# Enable package searching tab
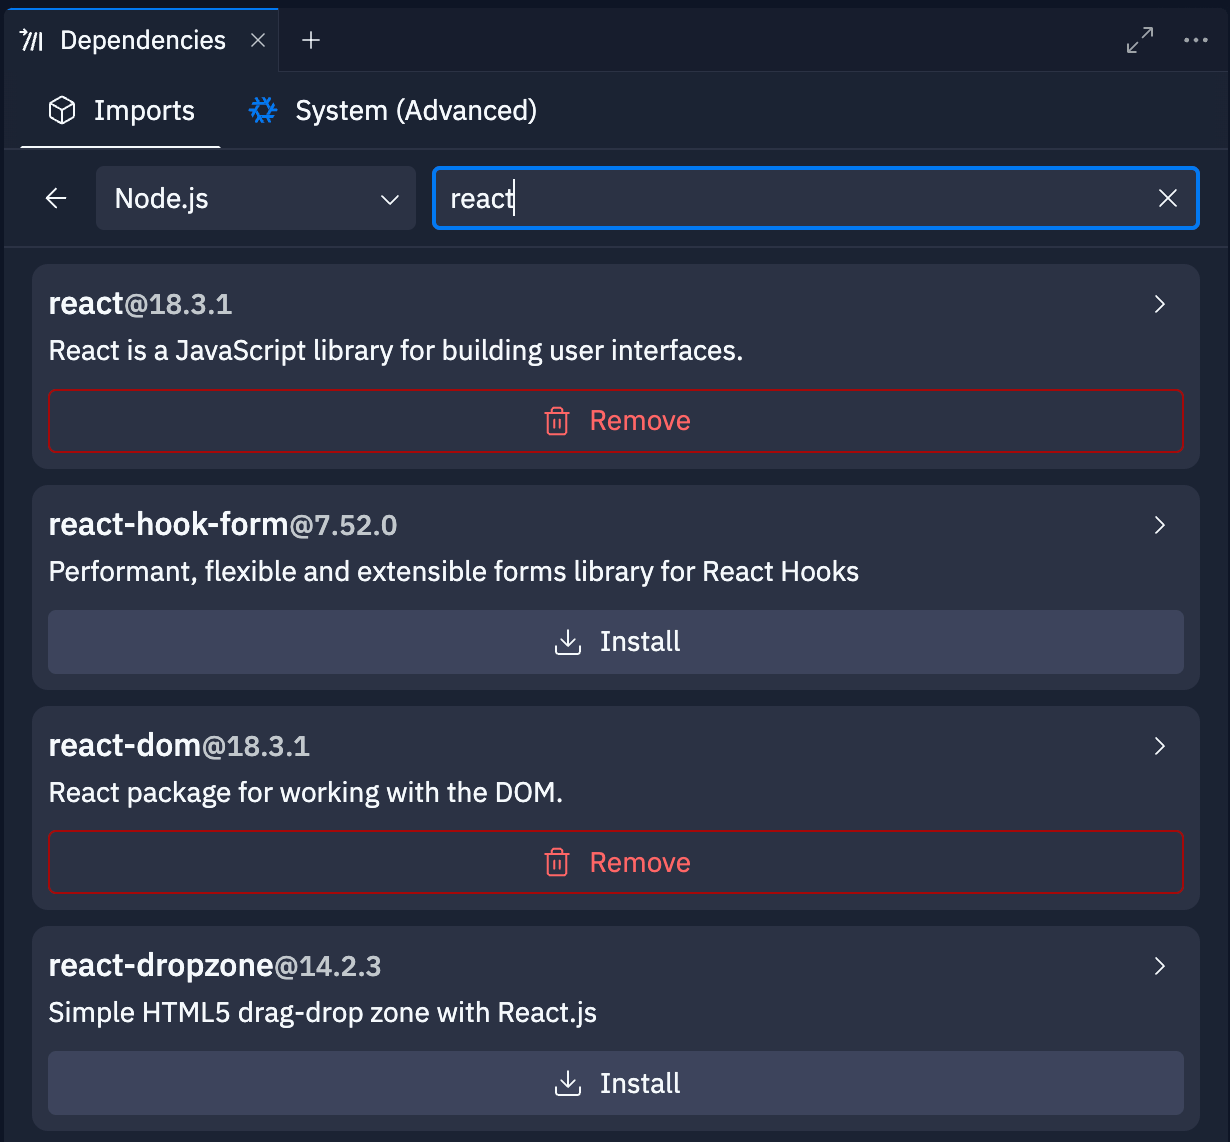
packageSearch = true
# Enable UPM import guessing
guessImports = true
Telling Replit about your language

You'll need to tell Replit which files are in which language. For example, for TypeScript you would define the following:

[languages.typescript]
# This glob lets replit know what files the LSP should be active on
# The format is usually **/*.ext
pattern = "**/*.ts"
# This lets replit know what language the file is
syntax = "typescript"

The pattern is a glob, usually in the format **/*.ext. The syntax defines which language will be used for syntax highlighting.

Language servers help developer tools implement features like autocomplete, go to definition, and documentation on hover. To enable this in your repl, first make sure that you've set up your language as above, and then you can set up the language server for your language. Remember that you'll have to add your language server to your replit.nix file in order for it to be available. You can search the Nix package set for language servers.

[languages.typescript.languageServer]
start = [ "typescript-language-server", "--stdio" ]
Public environment variables

If you need environment variables that are not sensitive, you can set them in the .replit file:

[env]
ENV_VAR = "EXISTS!"

You can interpolate environment variables into new ones using the ${ENV_VAR_NAME} syntax:

[env]
OLD_VAR = "this"
MY_ENV_VAR = "${OLD_VAR} but better"

This will set MY_ENV_VAR to "this but better".

The one exception is PATH. As a convenience, when you set PATH to a value, Replit will actually append this to the PATH instead of overwriting it.

[env]
PATH = "~/${REPL_SLUG}/some_new_path"

Running your project

Once both these files are configured and you've written your code, you can run your Repl with the "Run" button.

Both the console and the shell will pick up changes made to your replit.nix file. However, the shell will only be able to detect and apply the changes when it presents you with a new prompt. Just press enter in the Shell tab and it will re-create the environment, applying your changes.

Examples

Here are some examples of what you could create!

Run a Node.js app

.replit:

run = "node index.js"

replit.nix:

{ pkgs }: {
deps = [
pkgs.nodejs-16_x
];
}

index.js:

console.log(`Hello from Node.js ${process.version}!`);

Nethack

You could play the classic roguelike game NetHack:

.replit:

run = "nethack-x11"

replit.nix:

{ pkgs }: {
deps = [
(pkgs.nethack.override {
x11Mode = true;
})
];
}

i3 window manager

You can even run a desktop environment, such as i3:

.replit:

# We need to kill Replit's window manager first
run = "pkill fluxbox && i3"

replit.nix:

{ pkgs }: {
deps = with pkgs; [
xterm
i3
i3status
dmenu
firefox
neovim
];
}

Advanced

Check these articles for more in-depth examples, including using web servers and databases:

Learn more about Nix

If you'd like to learn more about Nix, here are some great resources:

  • Nix tour - An interactive introduction to the Nix programming language.
  • Nix Pills - A guided introduction to Nix, starting from first principles.
  • Nixology - A series of videos introducing Nix in a practical way.
  • Nix Package Manager Guide - A comprehensive guide of the Nix Package Manager.
  • Nix.dev - An opinionated guide for developers getting things done using the Nix ecosystem.
  • Nix shorts - A collection of short notes about Nix, down to what is immediately needed for users.