Import your GitHub repository
⏰ Estimated time: two minutes You can import your GitHub repositories and turn them into Replit Apps to run, test, and publish your code. This quickstart covers the fastest methods to get your GitHub projects running on Replit. For comprehensive import options including other platforms like Figma, Bolt, and Lovable, see the Import feature documentation.
Rapid import
Rapid import works instantly with public repositories. Combine the Replit import URL with your GitHub repository URL to start the import process.Import using rapid import
Import using rapid import
-
Copy the repository GitHub URL, starting with
github.com. -
Type
https://replit.com/in the browser address bar and paste your copied GitHub URL at the end (no spaces). Example: GitHub repository URL:https://github.com/exampleUser/my-appImport URL:https://replit.com/github.com/exampleUser/my-app - Press Enter to start the automatic import process.
Guided import
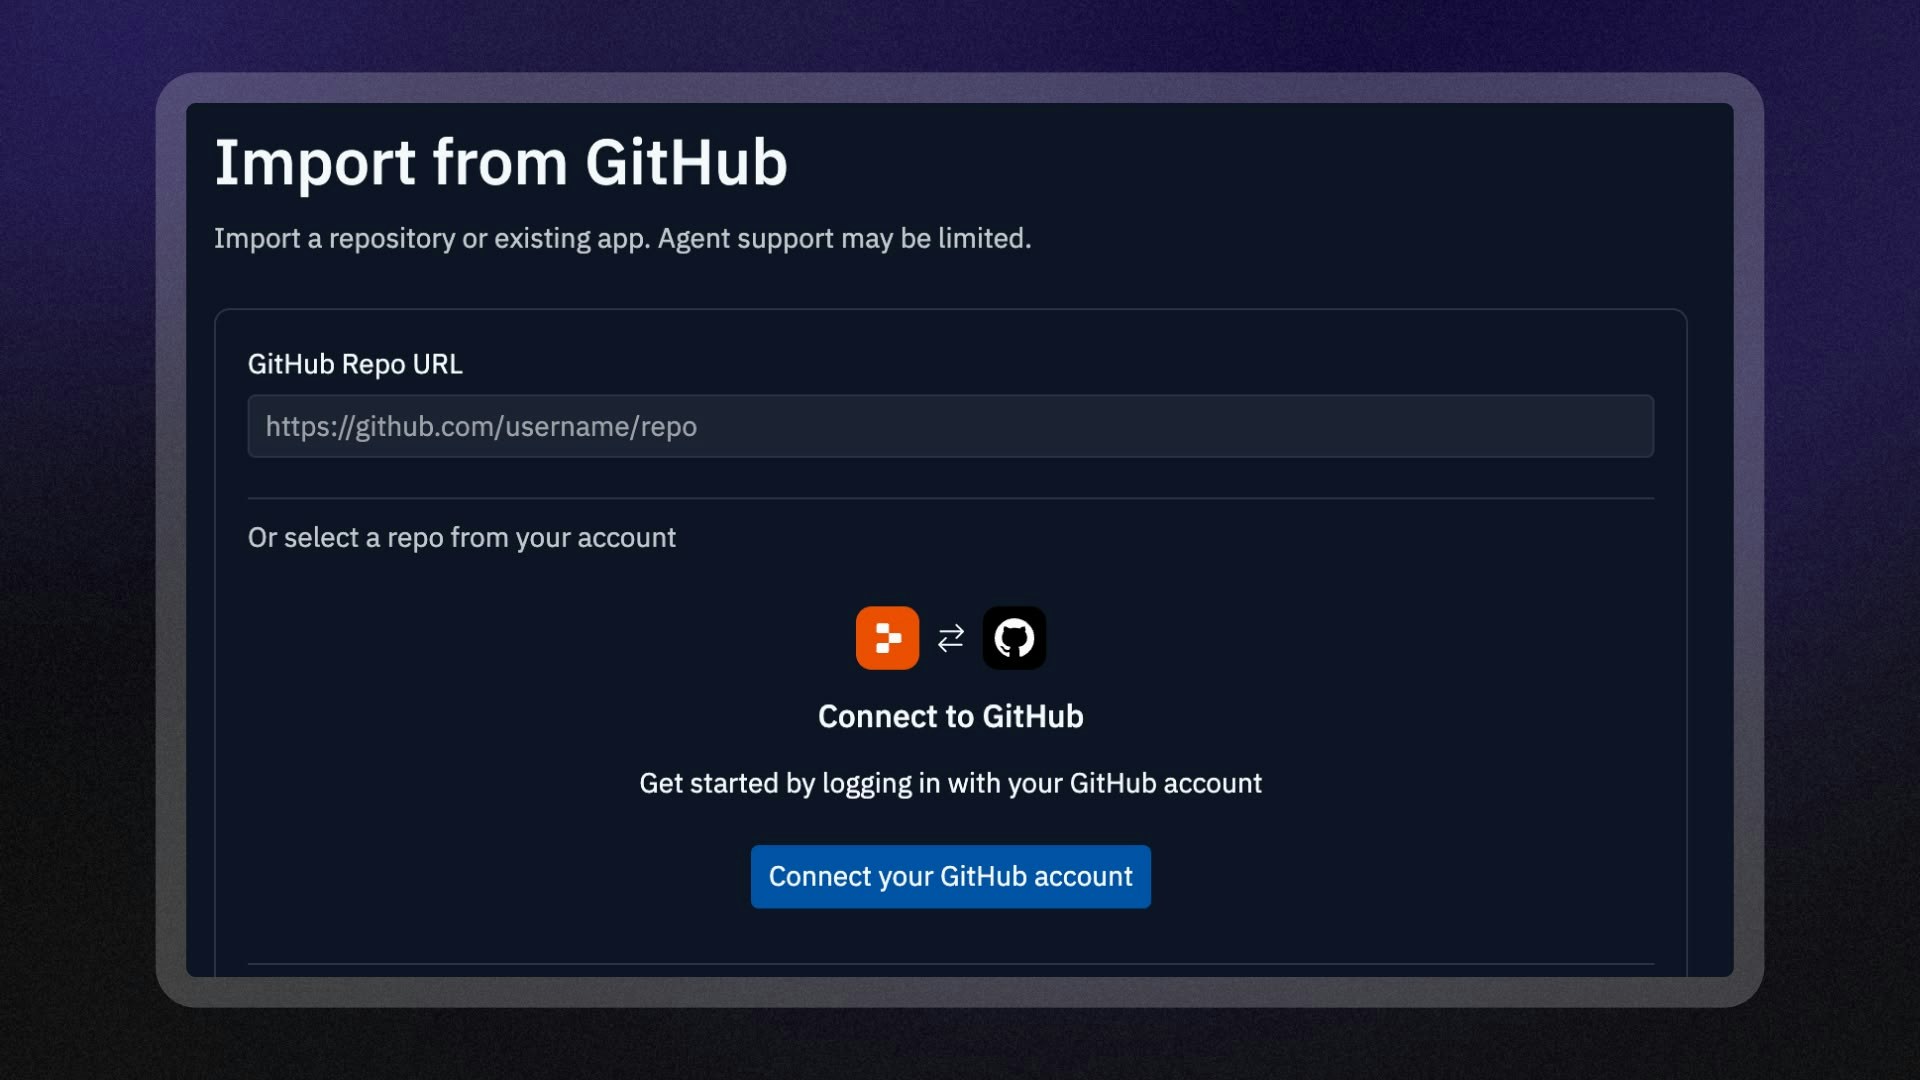
Guided import steps you through the process of selecting a repository to import and supports public and private repositories.Import using guided import
Import using guided import
- Navigate to https://replit.com/import.
- Select GitHub from the available import sources.
- Connect your GitHub account to authorize access to your repositories.
- Select the repository you want to import.
- Select Import to start the conversion process.
- Configure your privacy settings and click Import to start the automatic import process.
Configure and run your app
During the import process, Replit attempts to set your app’s language, dependencies, and workflow. If your app doesn’t run as expected, Replit offers the following workspace tools to help you resolve the issues:- Agent: Diagnose and fix setup issues using AI-powered assistance.
- Configure Repl: Configure your app’s language, dependencies, and workflow.
- Secrets: Securely add environment variables your app depends on.
- Workflows: Configure the Run button to your preferred command.
Continue your journey
Now that you’ve set up your app, learn more about what you can do with your Replit App from the following resources:- Using the Git interface: Learn how to manage your Git repositories in Replit
- Make your Replit App Public: Share your Replit App as a Template for others to remix
- Replit Deployments: Publish your Replit App to the cloud with a few clicks
- Secrets: Securely store sensitive information, including API keys and database credentials
- Collaborate: Work with others on your GitHub-imported projects