Use Design mode to shape how your app looks, screen by screen.
How your app looks is as much a part of it as what it does. PixelGames is a Game Boy on a
phone: the cream shell, the olive-green screen, and the chunky buttons are the whole point.
A generic app layout would lose it.
1
Switch to Design mode
Switch to Design mode on the toggle at the top left of your workspace:
The Design and Build toggle with Design selected in the PixelGames workspace.
2
Describe what you want to Agent
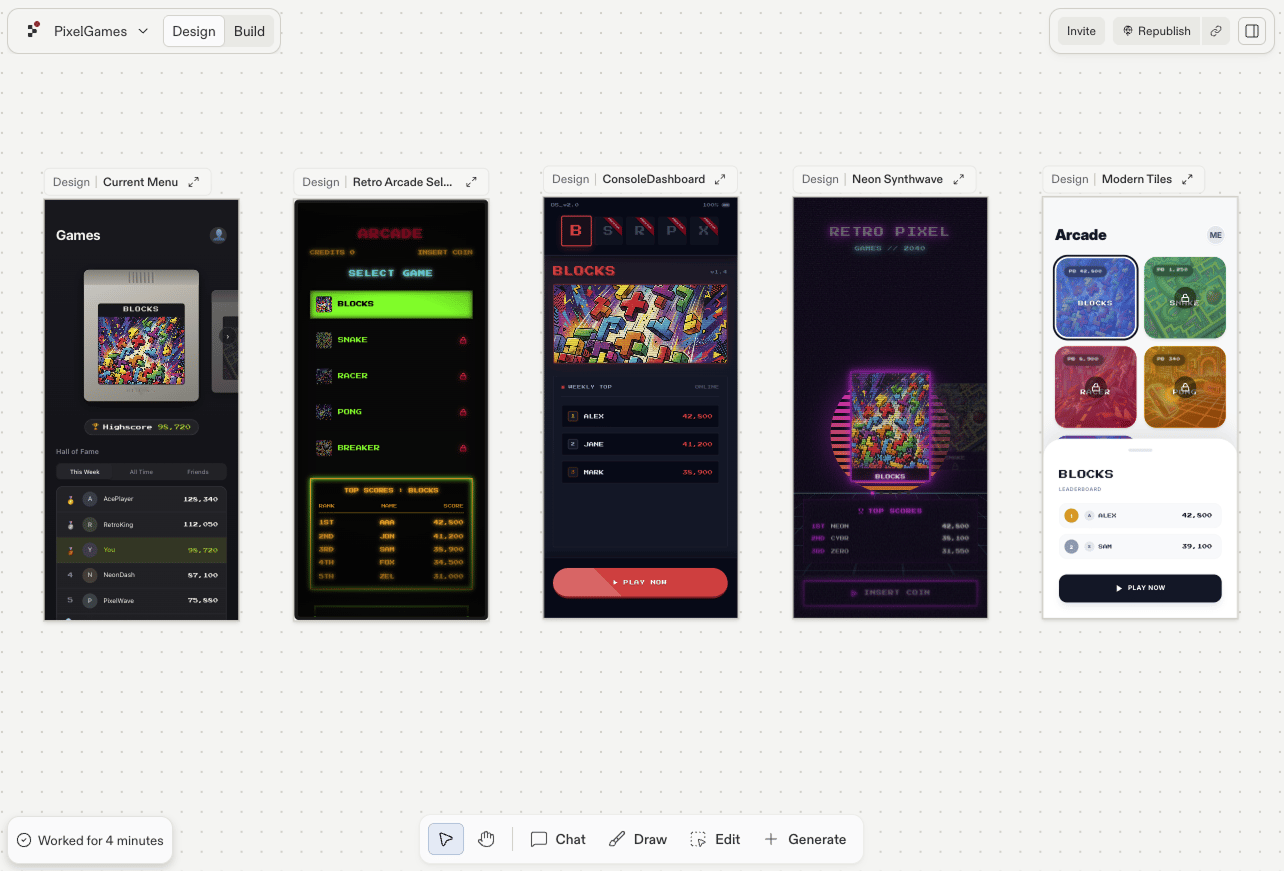
Describe the result and Agent handles the rest. Ask for several versions at once to find a direction.
3
Compare the versions
Agent lays them out side by side on the canvas, so you judge them as whole screens rather
than one at a time.
4
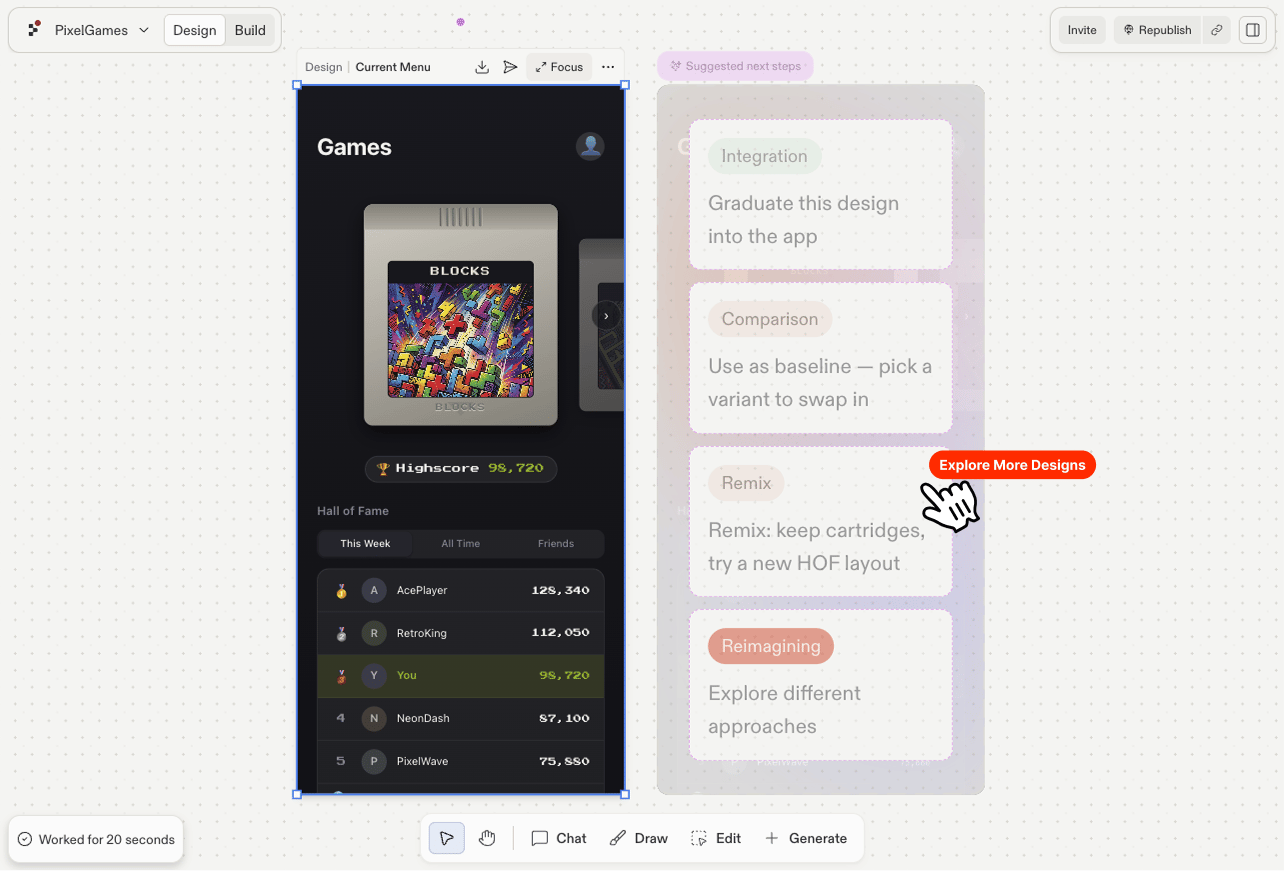
Pick one and see where to take it
Select a design, then use the suggestions that appear next to it to try other variations.
A selected design, with suggested next steps beside it.
5
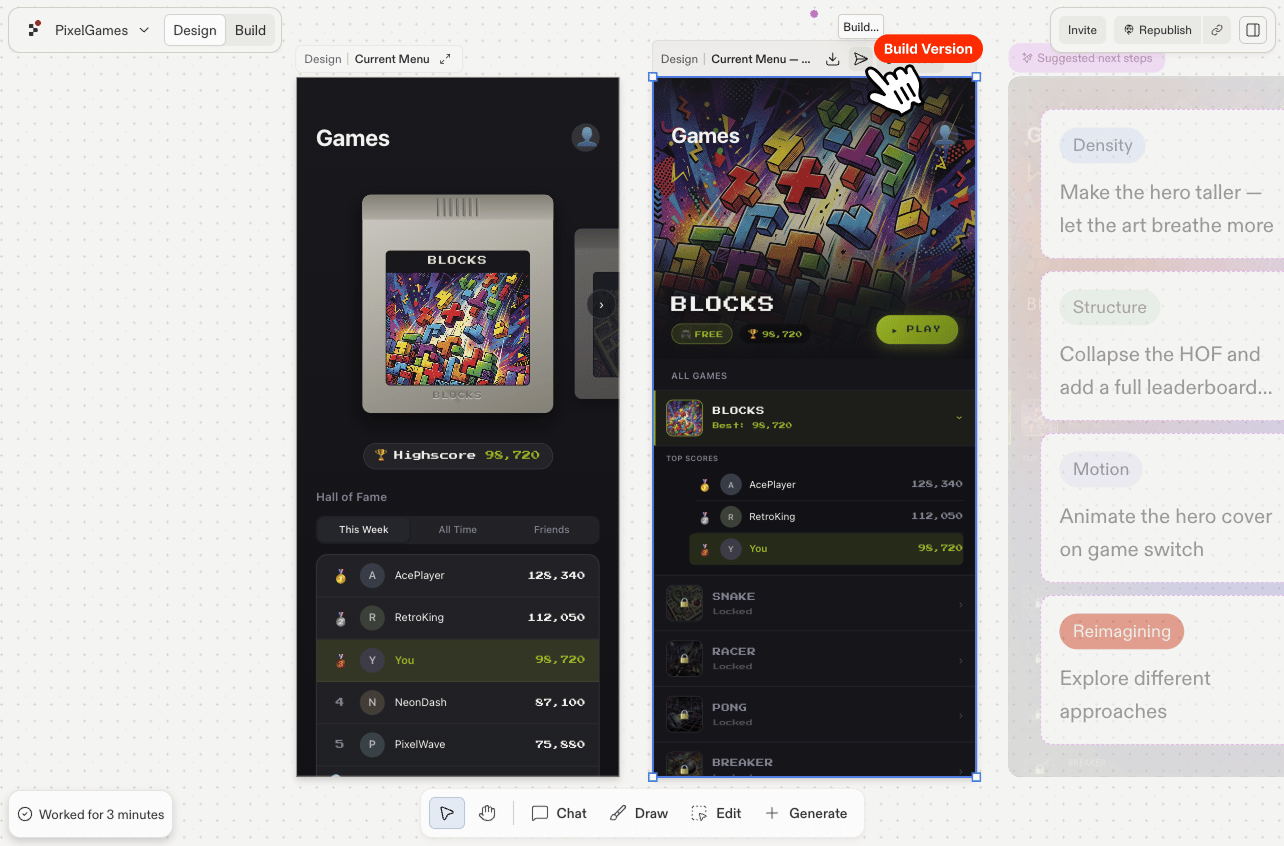
Build the version you want
Once a version is right, click the send icon in the toolbar above it. Agent takes that
design off the canvas and builds it as a real screen in your app.
The send icon turns the selected design into a real screen.