

Choose one method per environment
Use one method in each environment, not both at once. Combining them in the same environment causes connection conflicts.
You can use different methods across environments, such as the connector’s sandbox in development and your own live keys in production.
Best for
- Founders who run bookings, rentals, or appointments and need deposits that protect their time.
- Builders who want payments working in a sandbox today and live payments without a manual key setup.
- Teams with an existing Stripe account or requirements that need a manually managed SDK and webhook integration.
Replit Stripe connector
Use this method to take a refundable deposit at booking and charge the balance later, without pasting API keys.Connectors
Before you start
Start from an App with a backend, sign-in, and a database, so each booking can store its payment status. Then pick the math:- Deposit at booking: a flat amount, such as $500, or a percentage of the total.
- Balance later: the rest of the price, charged to the saved card when the customer arrives.
- Refund window: how late a customer can cancel and still get the deposit back. 48 hours is a common default.
Prompt the agent
Agent proposes the Stripe connector and sets up a Stripe sandbox for you. You don’t need to copy keys from the Stripe Dashboard.What to expect
Agent adds checkout, the deposit and balance flows, and the refund rule. Test them in Preview with Stripe’s test card4242 4242 4242 4242, any future expiry, and any 3-digit CVC:
- Make a booking and pay the deposit. Confirm the booking shows the deposit as paid and a card on file.
- Charge the balance from the booking. Confirm it shows as paid.
- Cancel a second booking outside the refund window. Confirm the refund in your Stripe sandbox dashboard.
- Cancel a third booking inside the window. Confirm the app keeps the deposit and explains why.
- Pay with Stripe’s decline test card
4000 0000 0000 0002. Confirm the booking isn’t confirmed.
Make it work for you
Troubleshooting
- The deposit succeeds but the booking isn’t confirmed: ask Agent to connect the Stripe payment success event to the booking status in the database, then test another booking.
- Agent asks you to paste Stripe keys or set up a webhook: tell Agent to use the Replit Stripe connector instead. Mixing the connector and your own keys in the same environment causes conflicts.
- Publishing asks you to connect a live Stripe account: the sandbox only takes test payments. Connect your live account from the Publish pane, as described in Go live.
- You need subscriptions for a mobile app: use RevenueCat subscriptions instead.
Your own Stripe keys
Connect Stripe yourself: store your own API keys in Secrets, take payments with the Stripe SDK, and receive payment events through a webhook. Use this path when you already manage a Stripe account and want full control over the setup.Before you start with your own keys
Copy your test API keys from the Stripe Dashboard and add them to your app’s Secrets. Add the webhook signing secret later, when you start the listener described below.
Keep test keys in development. Configure live keys separately in your published app’s secrets.
To add a key, select Tools in the Project Editor, then Secrets under Setup.
Select New Secret, enter the exact name in Key, enter your Stripe key in Value, and select Add Secret.
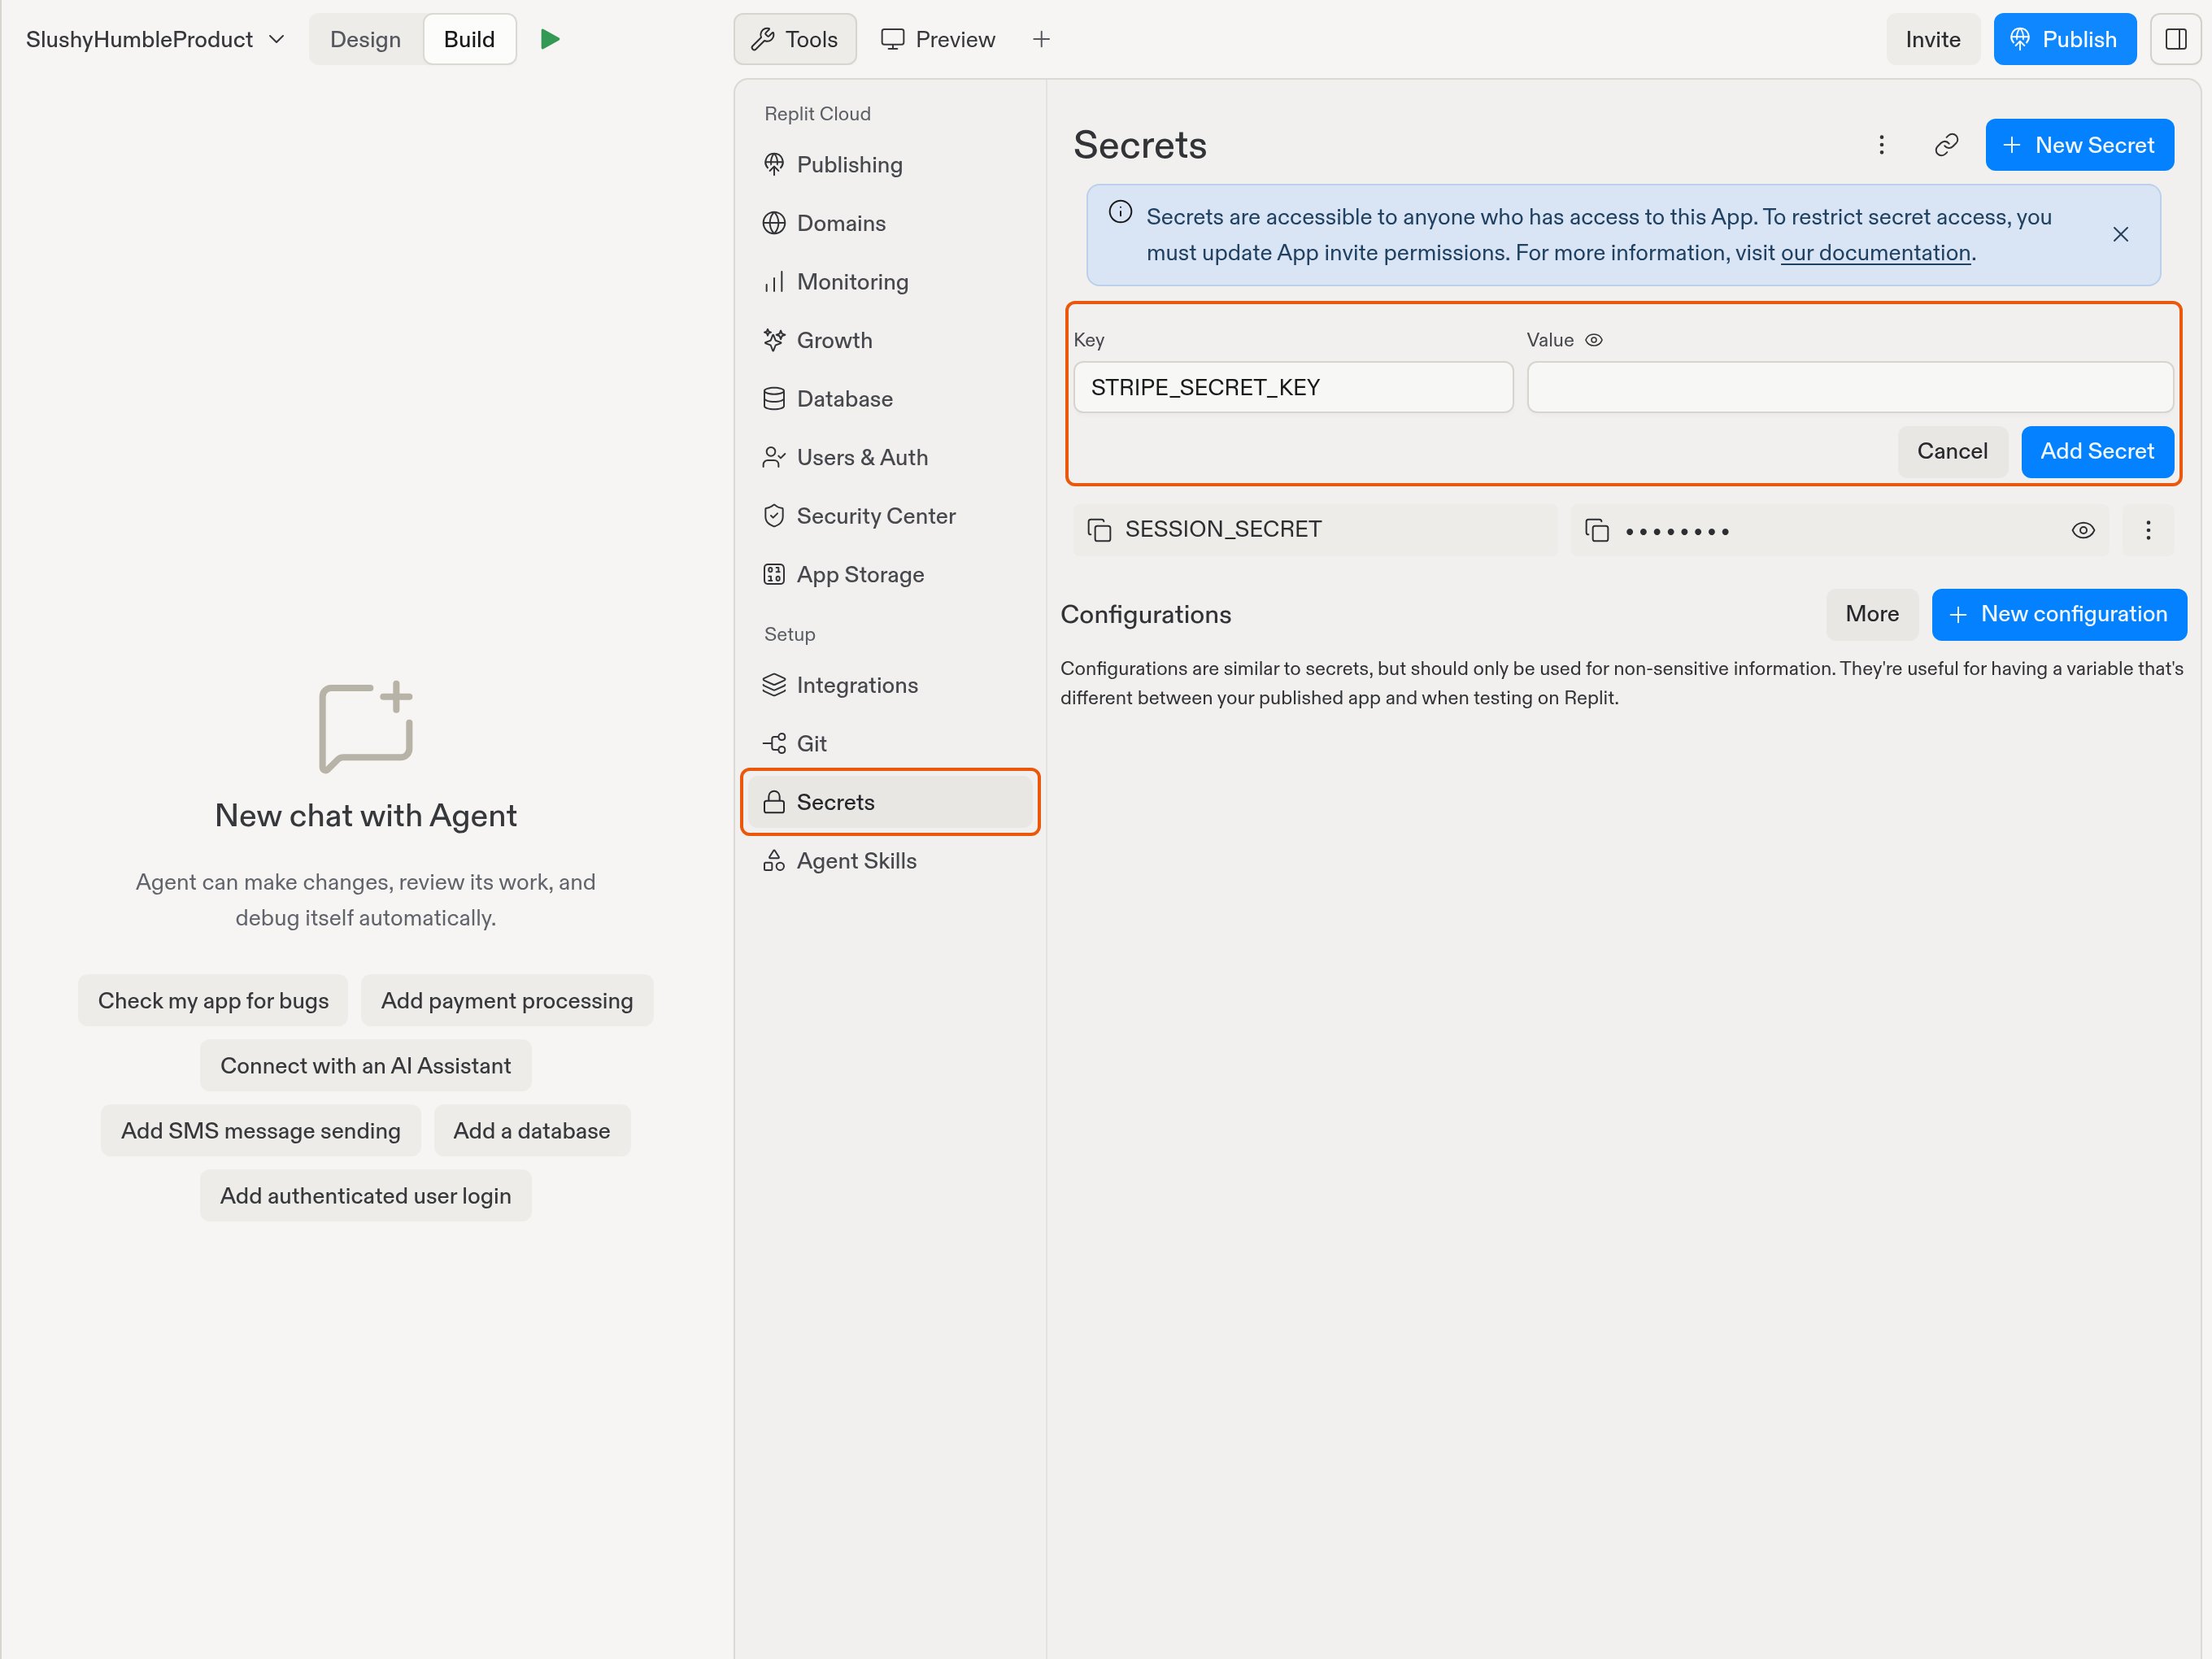
Enter the exact secret name in Key. The example leaves Value empty; enter your own key there.
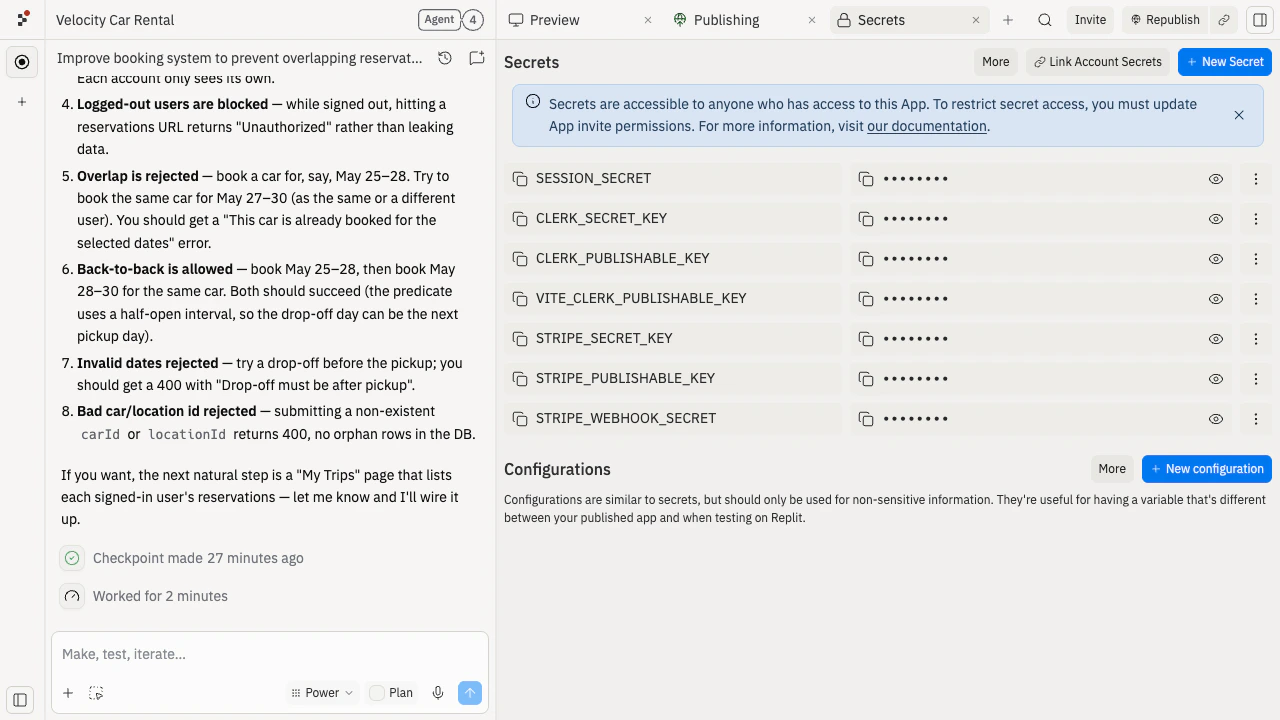
Prompt the agent for manual setup
Test the manual integration
Agent adds checkout and a webhook endpoint. For development, follow Stripe’s webhooks quickstart to install and authenticate the Stripe CLI in your project’s Shell. Ask Agent for your server’s local port and webhook path. Run the listener in that same environment, replacing the example port and path with your app’s values:stripe listen as STRIPE_WEBHOOK_SECRET in your development
Secrets, then restart your app so it reads the value. Keep both the app and the listener running
while you test in Preview. The listener forwards test events to the development server, so you
don’t need a published URL or a public development webhook endpoint yet.
Watch the walkthrough to see the full setup:
Test with Stripe’s test card 4242 4242 4242 4242, any future expiry, and any 3-digit CVC.
Confirm the order shows as paid in your app and the Stripe CLI reports a successful response
from your webhook endpoint.
Publish with your own live keys
Keep your development test keys and listener secret unchanged. In Publishing > Adjust settings > Production app secrets, setSTRIPE_SECRET_KEY and STRIPE_PUBLISHABLE_KEY to your live keys.
See Manage production secrets.
Register a separate live-mode webhook endpoint in Stripe using your published app URL plus the
webhook path. Set STRIPE_WEBHOOK_SECRET in Production app secrets to that endpoint’s signing
secret, not the CLI listener’s secret, then publish or republish.
If this is your first publish, establish the published URL first, then finish the endpoint and
secret setup and republish before accepting payments.
If development uses the Replit Stripe connector’s sandbox and production uses your own keys,
publishing checks STRIPE_SECRET_KEY:
- It must hold a live secret key (
sk_live_...) or a live restricted key (rk_live_...). Test keys, publishable keys, and keys stored under other names don’t count. - Without a valid live key, publishing stops with Connect a live Stripe account before publishing.
- Products and prices don’t sync from the sandbox to your live account. Create them in your live Stripe account yourself.
Customize the manual integration
Troubleshoot the manual integration
- Publishing says “Connect a live Stripe account before publishing”: check that the secret is named exactly
STRIPE_SECRET_KEYand holds a live key that starts withsk_live_orrk_live_. - Webhook events fail signature checks: make sure
STRIPE_WEBHOOK_SECRETmatches the endpoint’s signing secret, and that you use the live-mode secret in production. - The connector and your own keys are both set up in one environment: remove one of them. To remove the connector, see Update or remove the Stripe connection.
Related
Payments and Stripe help
Answers about setup methods, required secret names, and publishing errors.
Stripe Payments
How the Stripe connector works, from sandbox to live account.