What you’ll achieve
By the end of this guide, you will have:- A mobile app project created with Agent.
- A first version scoped around one phone-friendly flow.
- The app running in a simulator or emulator.
- The app running on your phone with Expo Go.
- A shareable version you can send to someone for feedback.
What you’ll learn
You will learn how to:- Start a mobile app from a prompt.
- Scope the first version around phone constraints.
- Test the app in a simulator or emulator.
- Test the app on a real device with Expo Go.
- Decide when to keep iterating before App Store or TestFlight work.
Who this is for
Use this guide when your idea should be used on a phone. This is useful for trackers, booking flows, field tools, event apps, learning tools, habit apps, and anything people should use away from a desktop.TestFlight and App Store publishing are separate from this guide. When you are ready for that path, see Build and launch a mobile app.
Before you start
You need:- A Replit account.
- A phone with Expo Go installed.
- One mobile flow you can test in a few minutes.
Define the mobile flow
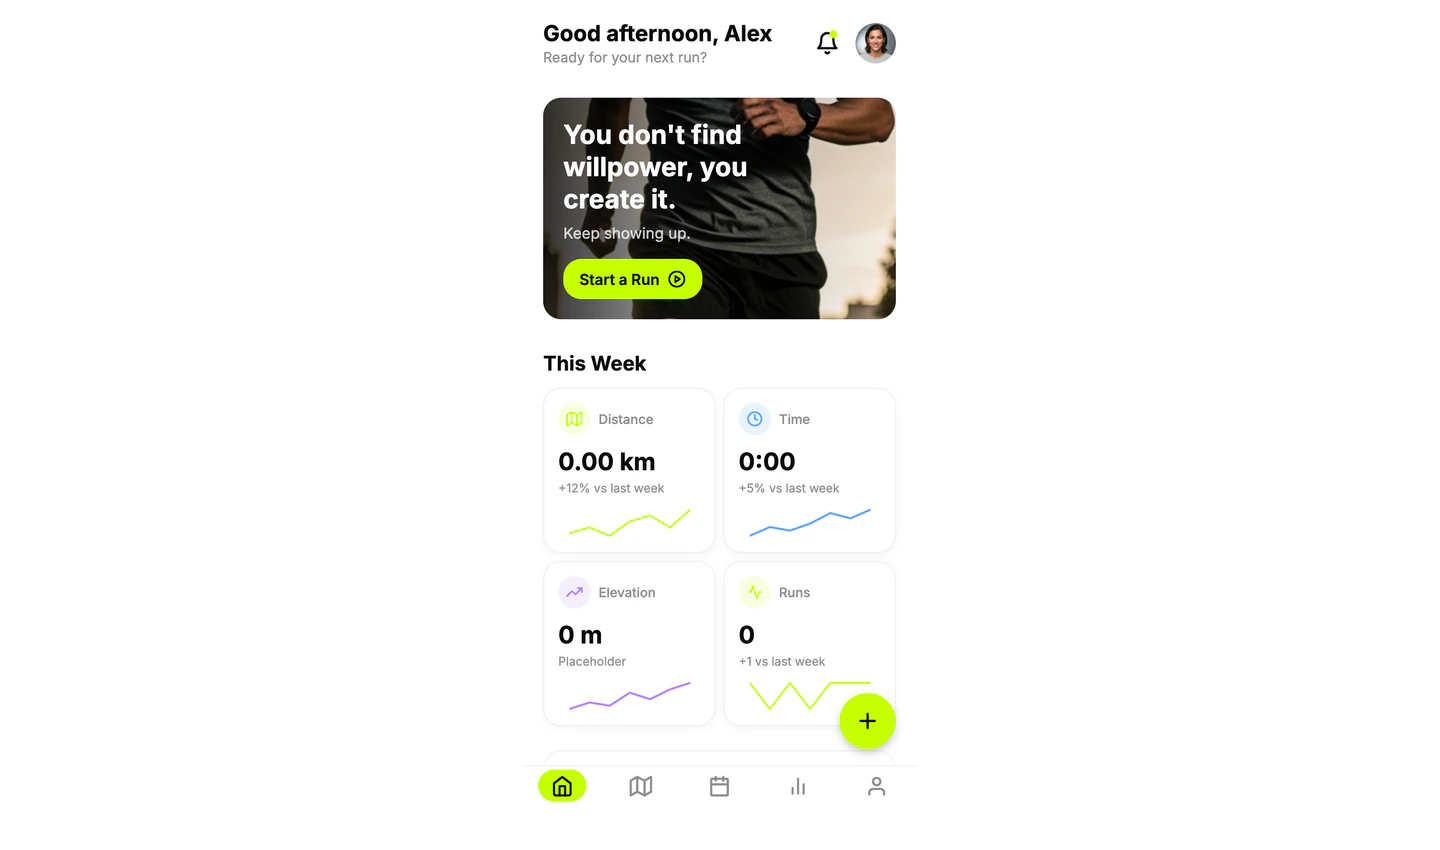
Before building, decide what someone should do on their phone. For Pace Mobile:- Audience: runners who want to log a run quickly.
- Main flow: choose run type → enter distance and time → save run → see today’s summary.
- Mobile constraint: the primary action should be easy to reach with one thumb.
- First version: no accounts, no social feed, no advanced analytics.
Build the first version
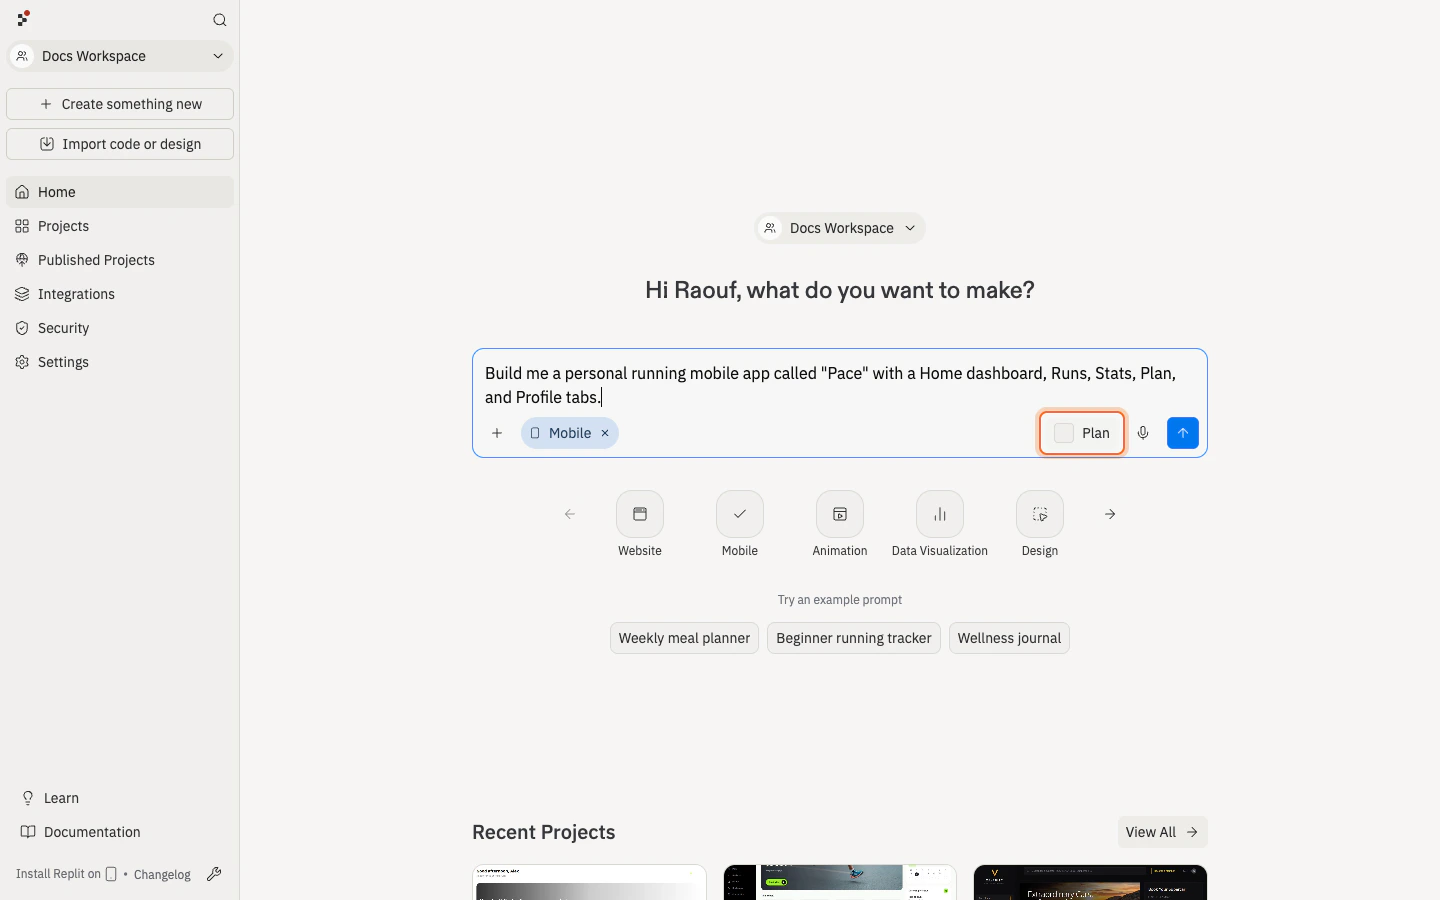
Open Replit and start a new app. Describe what you want to build, then select Mobile app as the app type.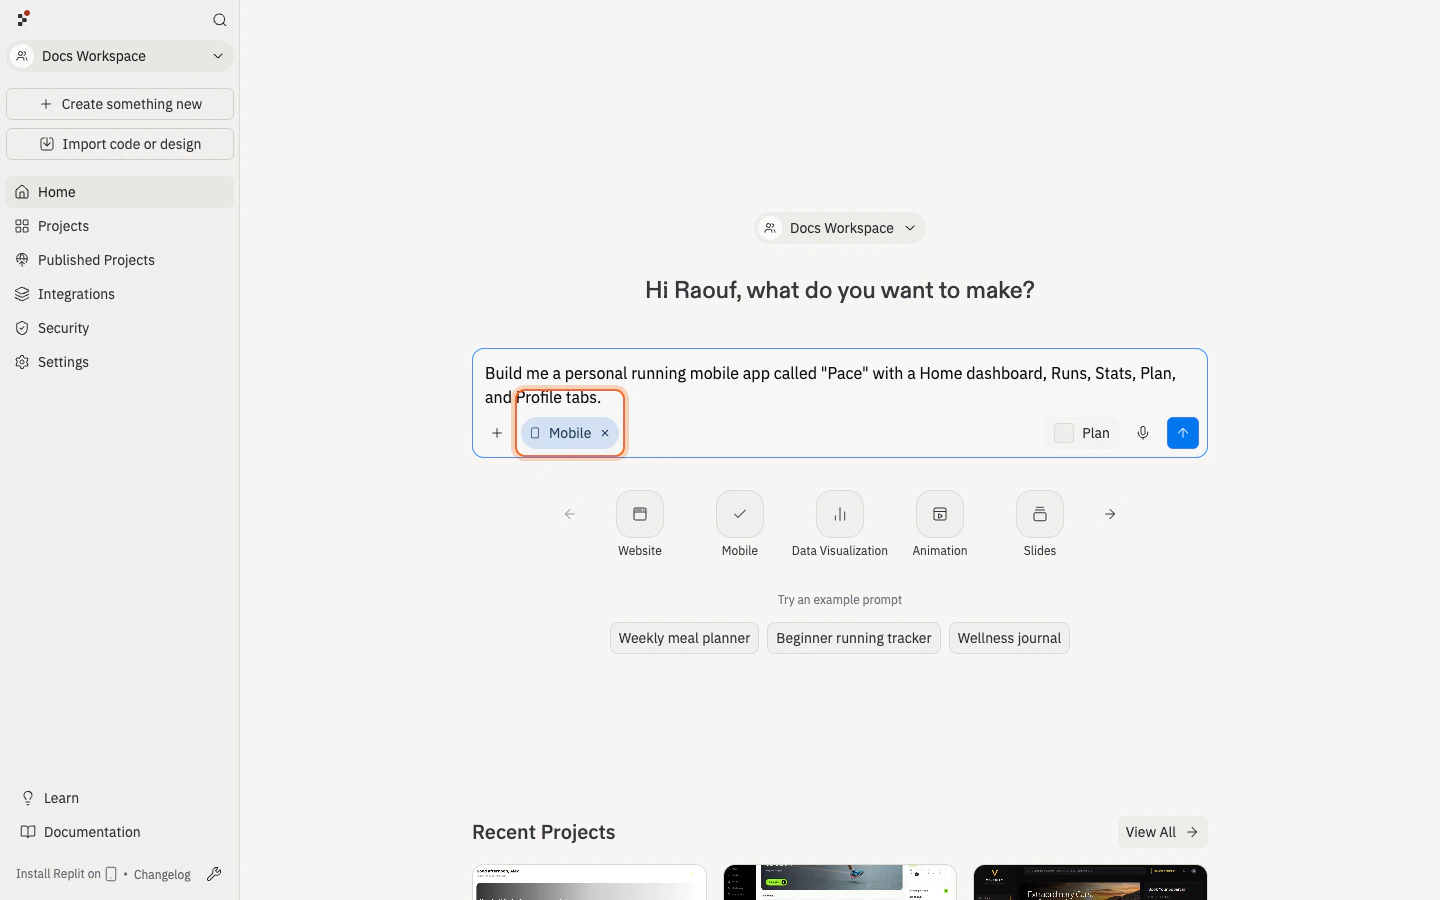
Test in a simulator or emulator
When Agent finishes the first build, open Preview. In the device selector, choose iOS Simulator or Android Emulator. Tap through the app like someone using it on a phone.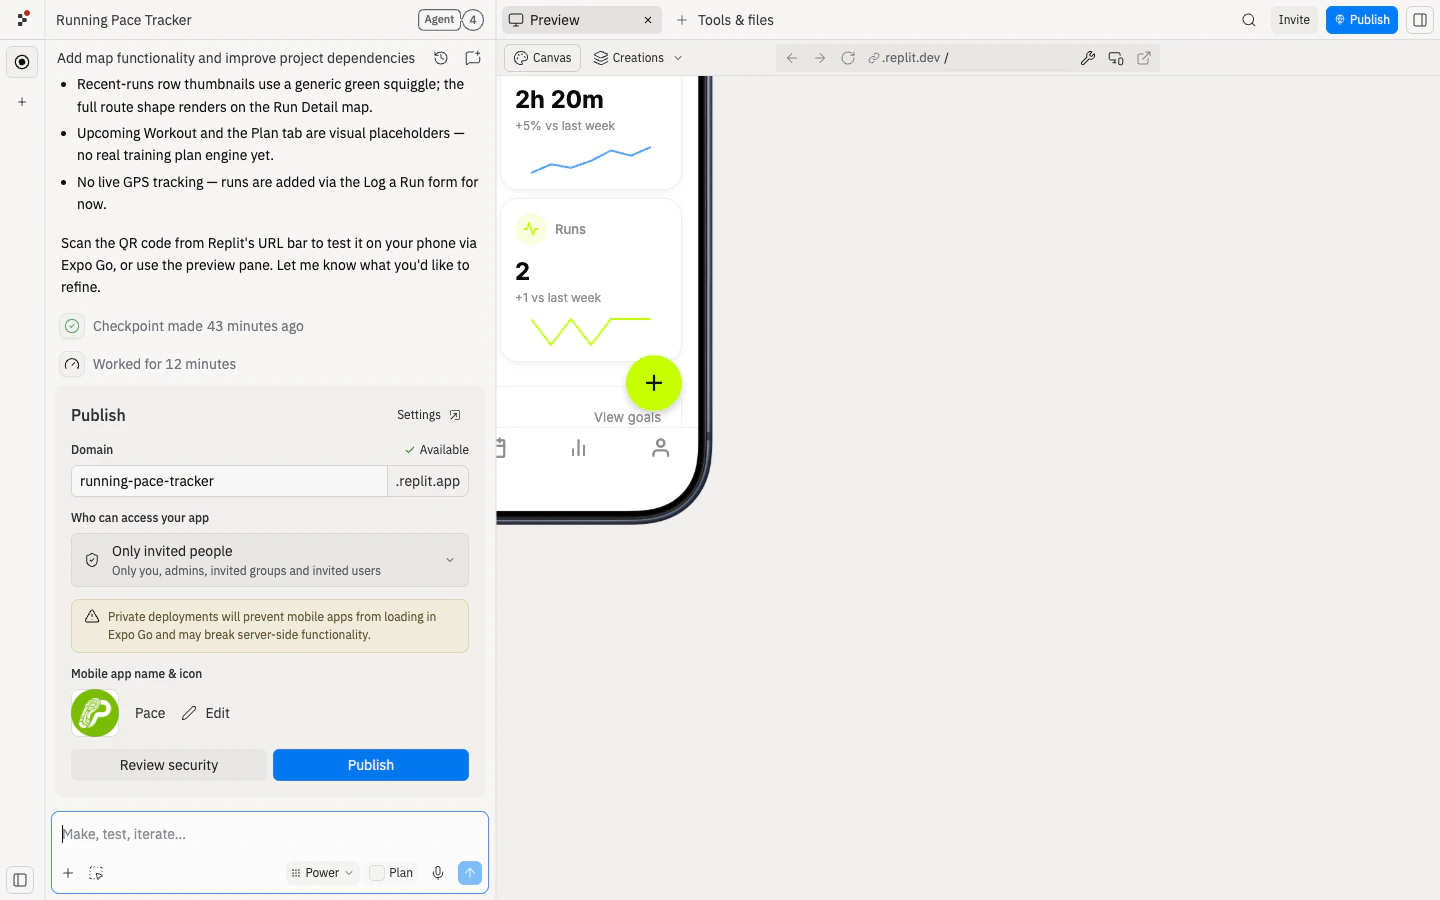
- Start the app without errors.
- Choose a run type.
- Enter distance and time.
- Save the run.
- See today’s summary update.
- Navigate without getting stuck.
- Read text without zooming.
Test on your phone
Simulator testing is useful, but a phone tells you whether the app feels right. Open the mobile device preview panel and scan the QR code with your phone. This opens the app in Expo Go.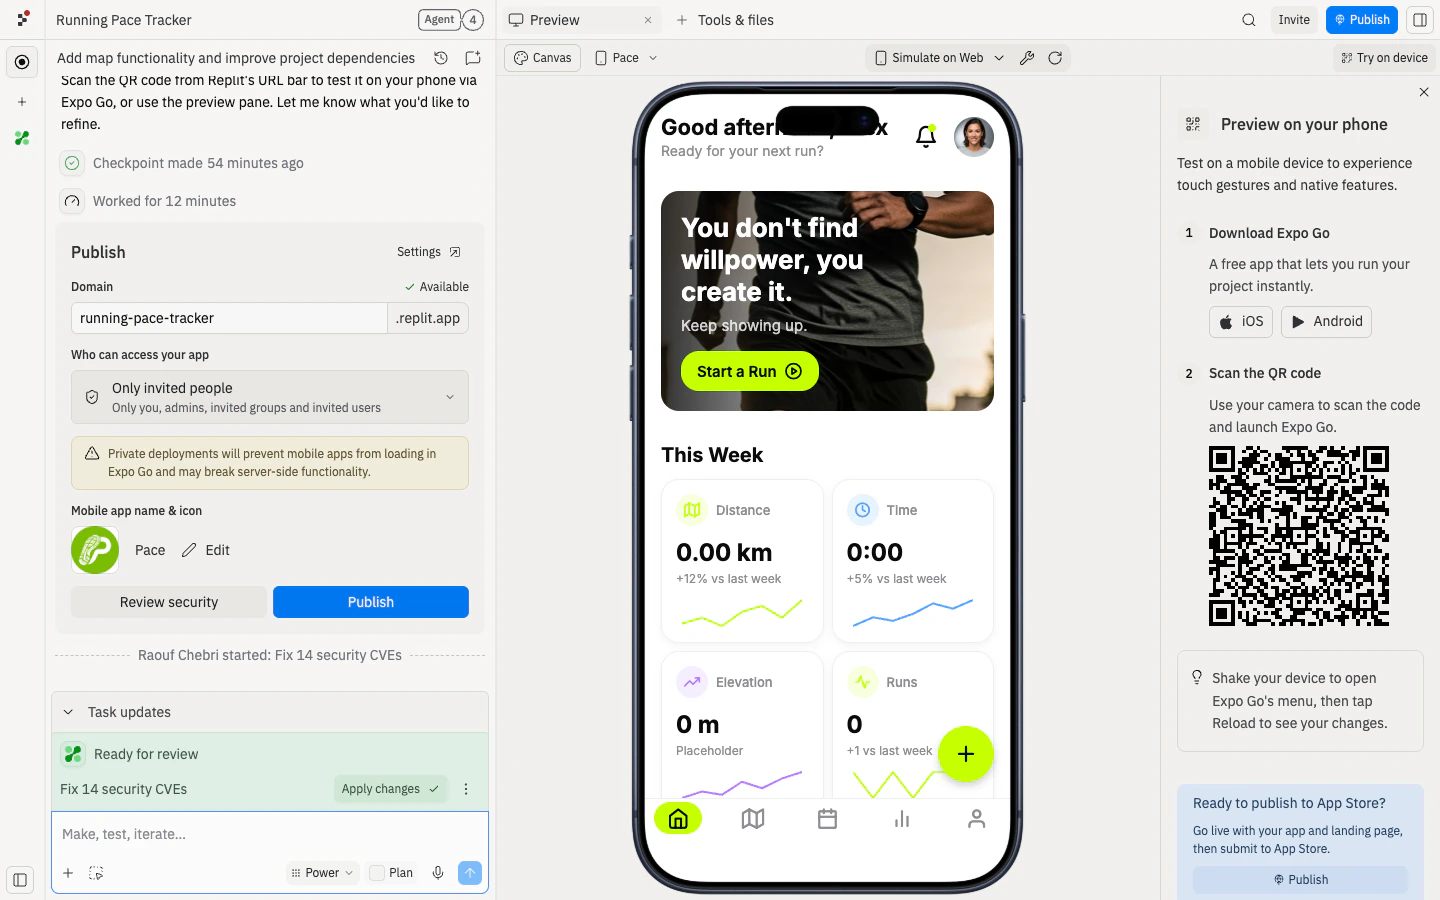
- Can you complete the main flow one-handed?
- Are buttons and inputs large enough to tap?
- Is the main action easy to reach?
- Does the keyboard cover important fields?
- Does the app still make sense on a small screen?
Share for feedback
When the phone flow works, publish the app to create a shareable Expo Go version for early feedback. Share it with one focused task:Open Pace Mobile on your phone, save one run, and tell me anything that felt awkward to tap, read, or understand.Focused feedback is easier to use than general opinions. If the feedback points to one clear issue, ask Agent for the smallest fix and test the app again on your phone.
Publish to the App Store
After you’ve tested Pace Mobile in the simulator and on your phone with Expo Go, you can promote the same app to TestFlight and the App Store. This flow requires an Apple Developer Program membership with two-factor authentication. For background on enrollment, individual vs. organization accounts, TestFlight vs. App Store review, and external testing, see Build and launch a mobile app.Open the Publishing tab and start App Store publishing
After your Expo Go preview is live, open the Publishing tab. Under Production, you’ll see a Ready to publish Pace to the App Store? card. Select Start publishing to the App Store.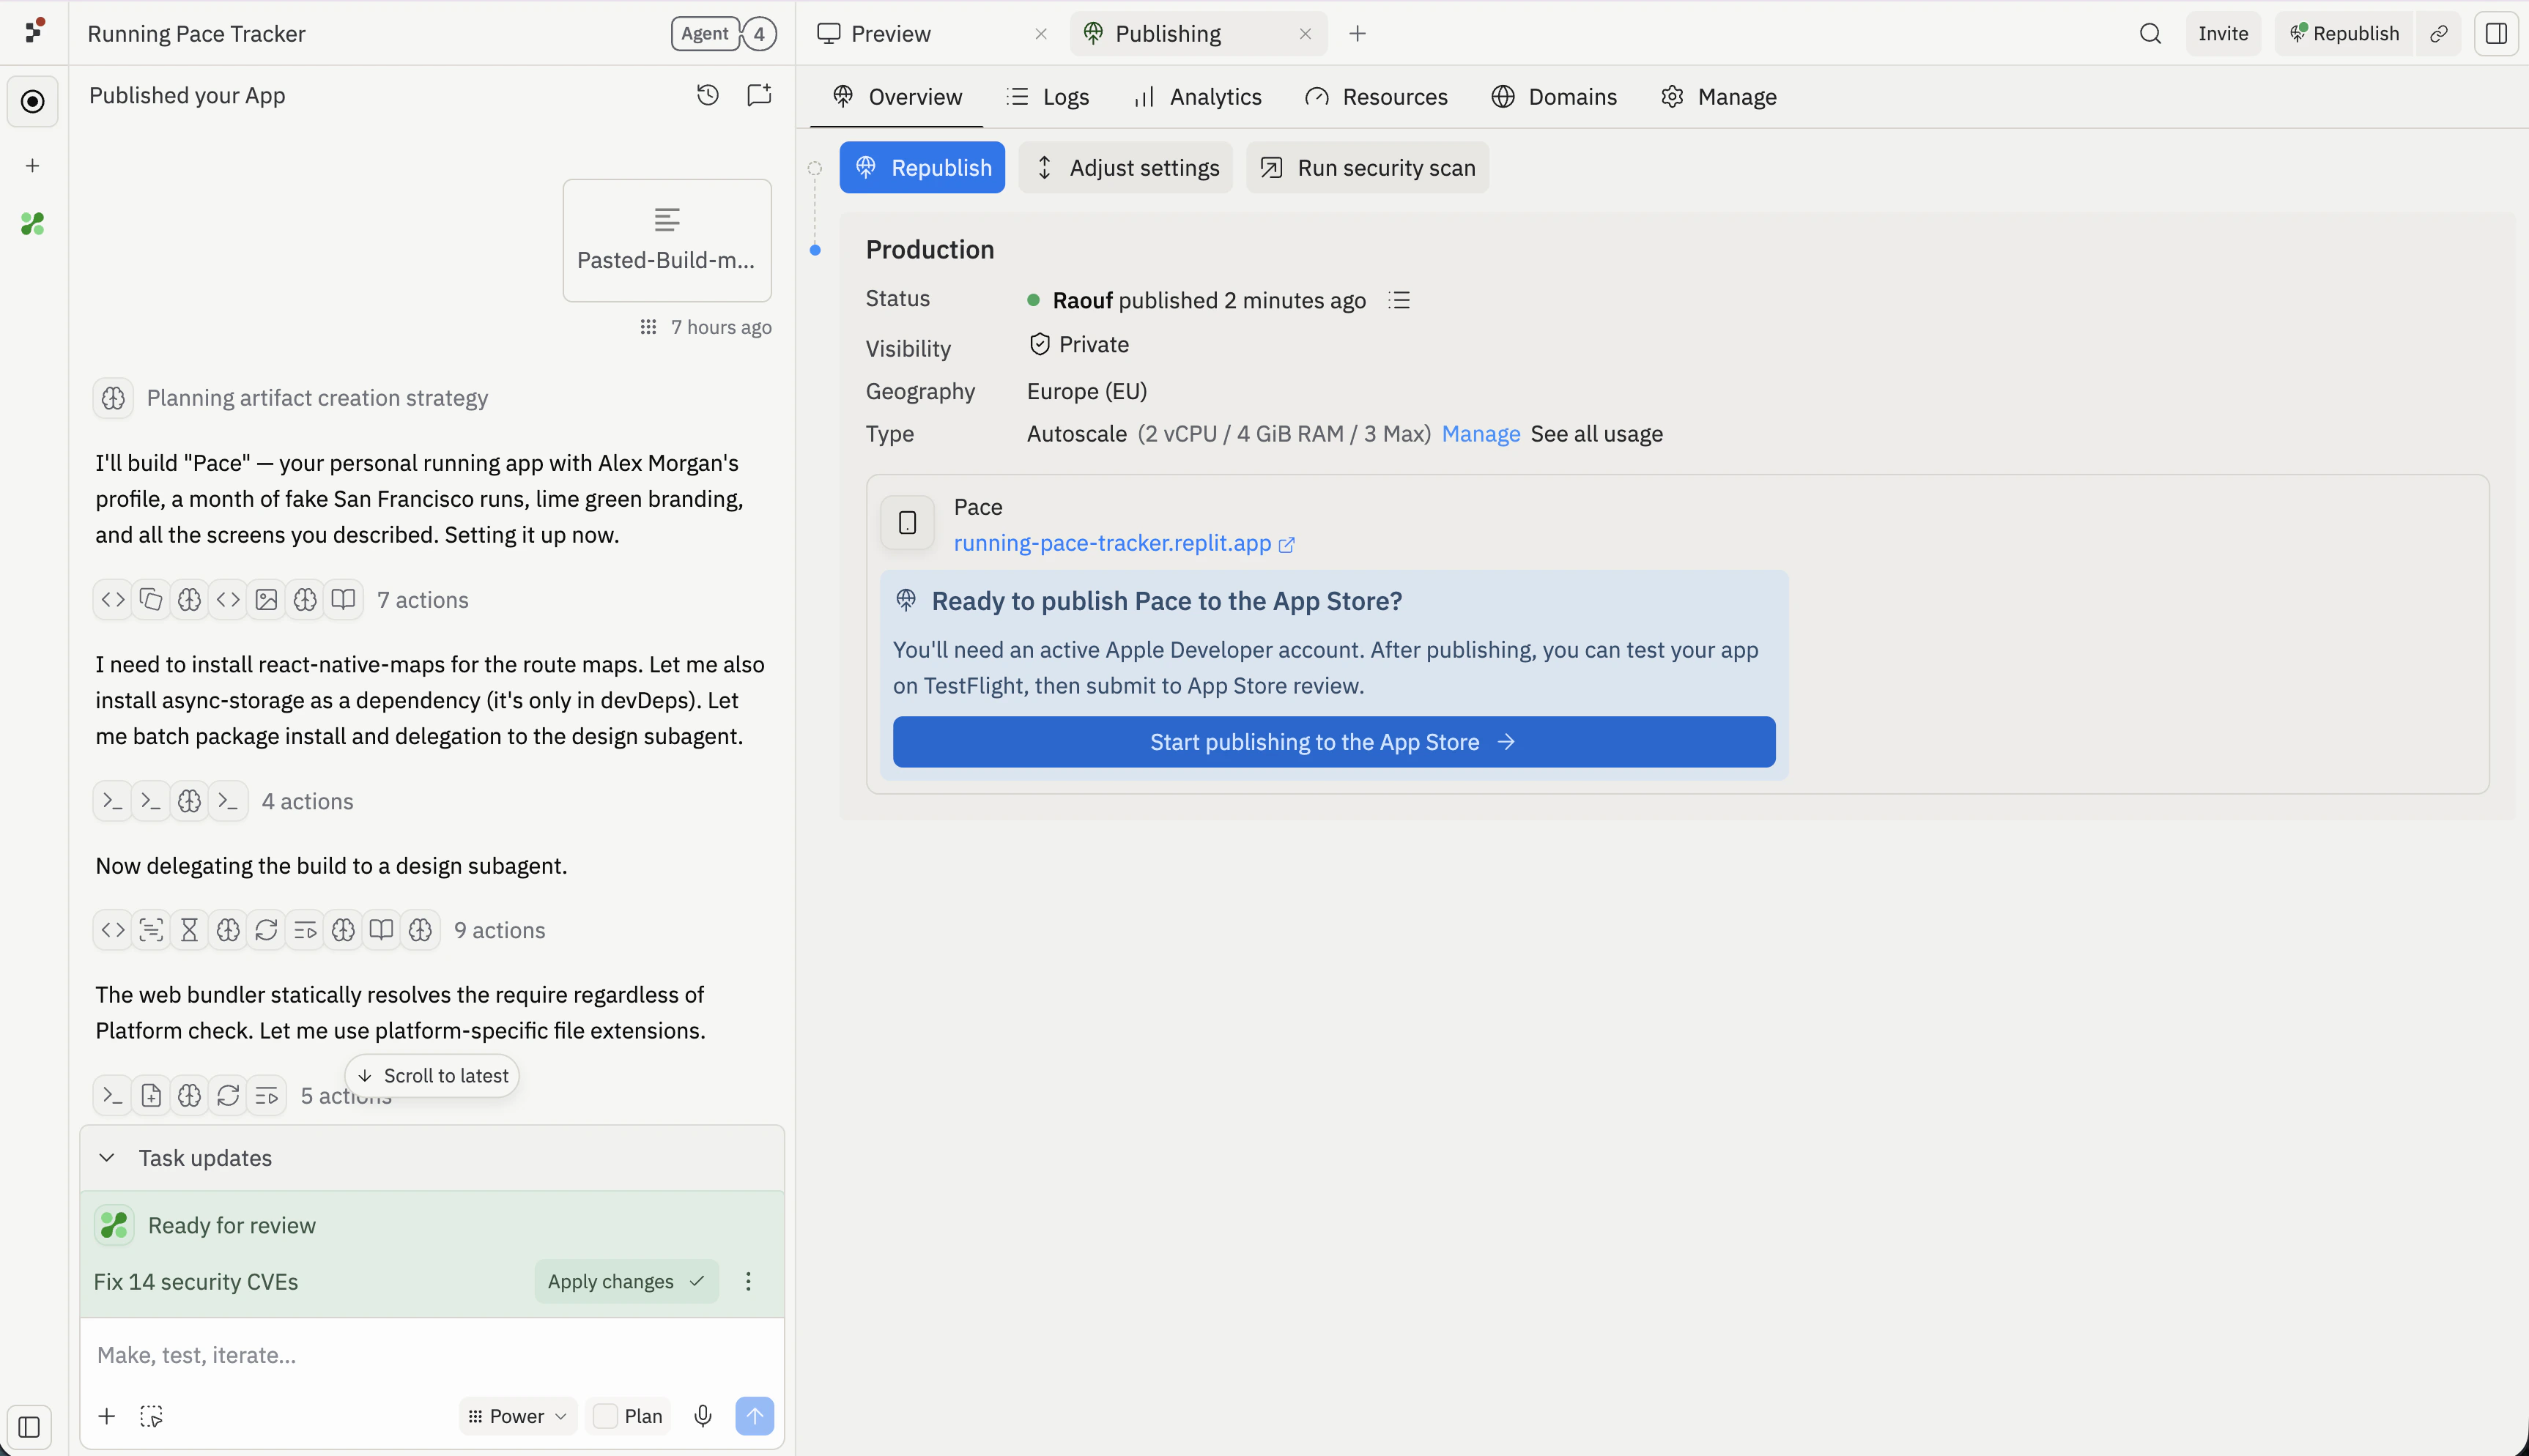
Choose your Expo project
Replit opens Launch — an Expo flow embedded in Replit. Enter or confirm your Expo project name and slug, then select Continue. If you already have an Expo project, select Use existing instead.
Sign in with Apple
Connect the Apple Developer account that will own the App Store listing. The account must be enrolled in the Apple Developer Program, and Apple enforces two-factor authentication — be ready to approve a verification code on a trusted device.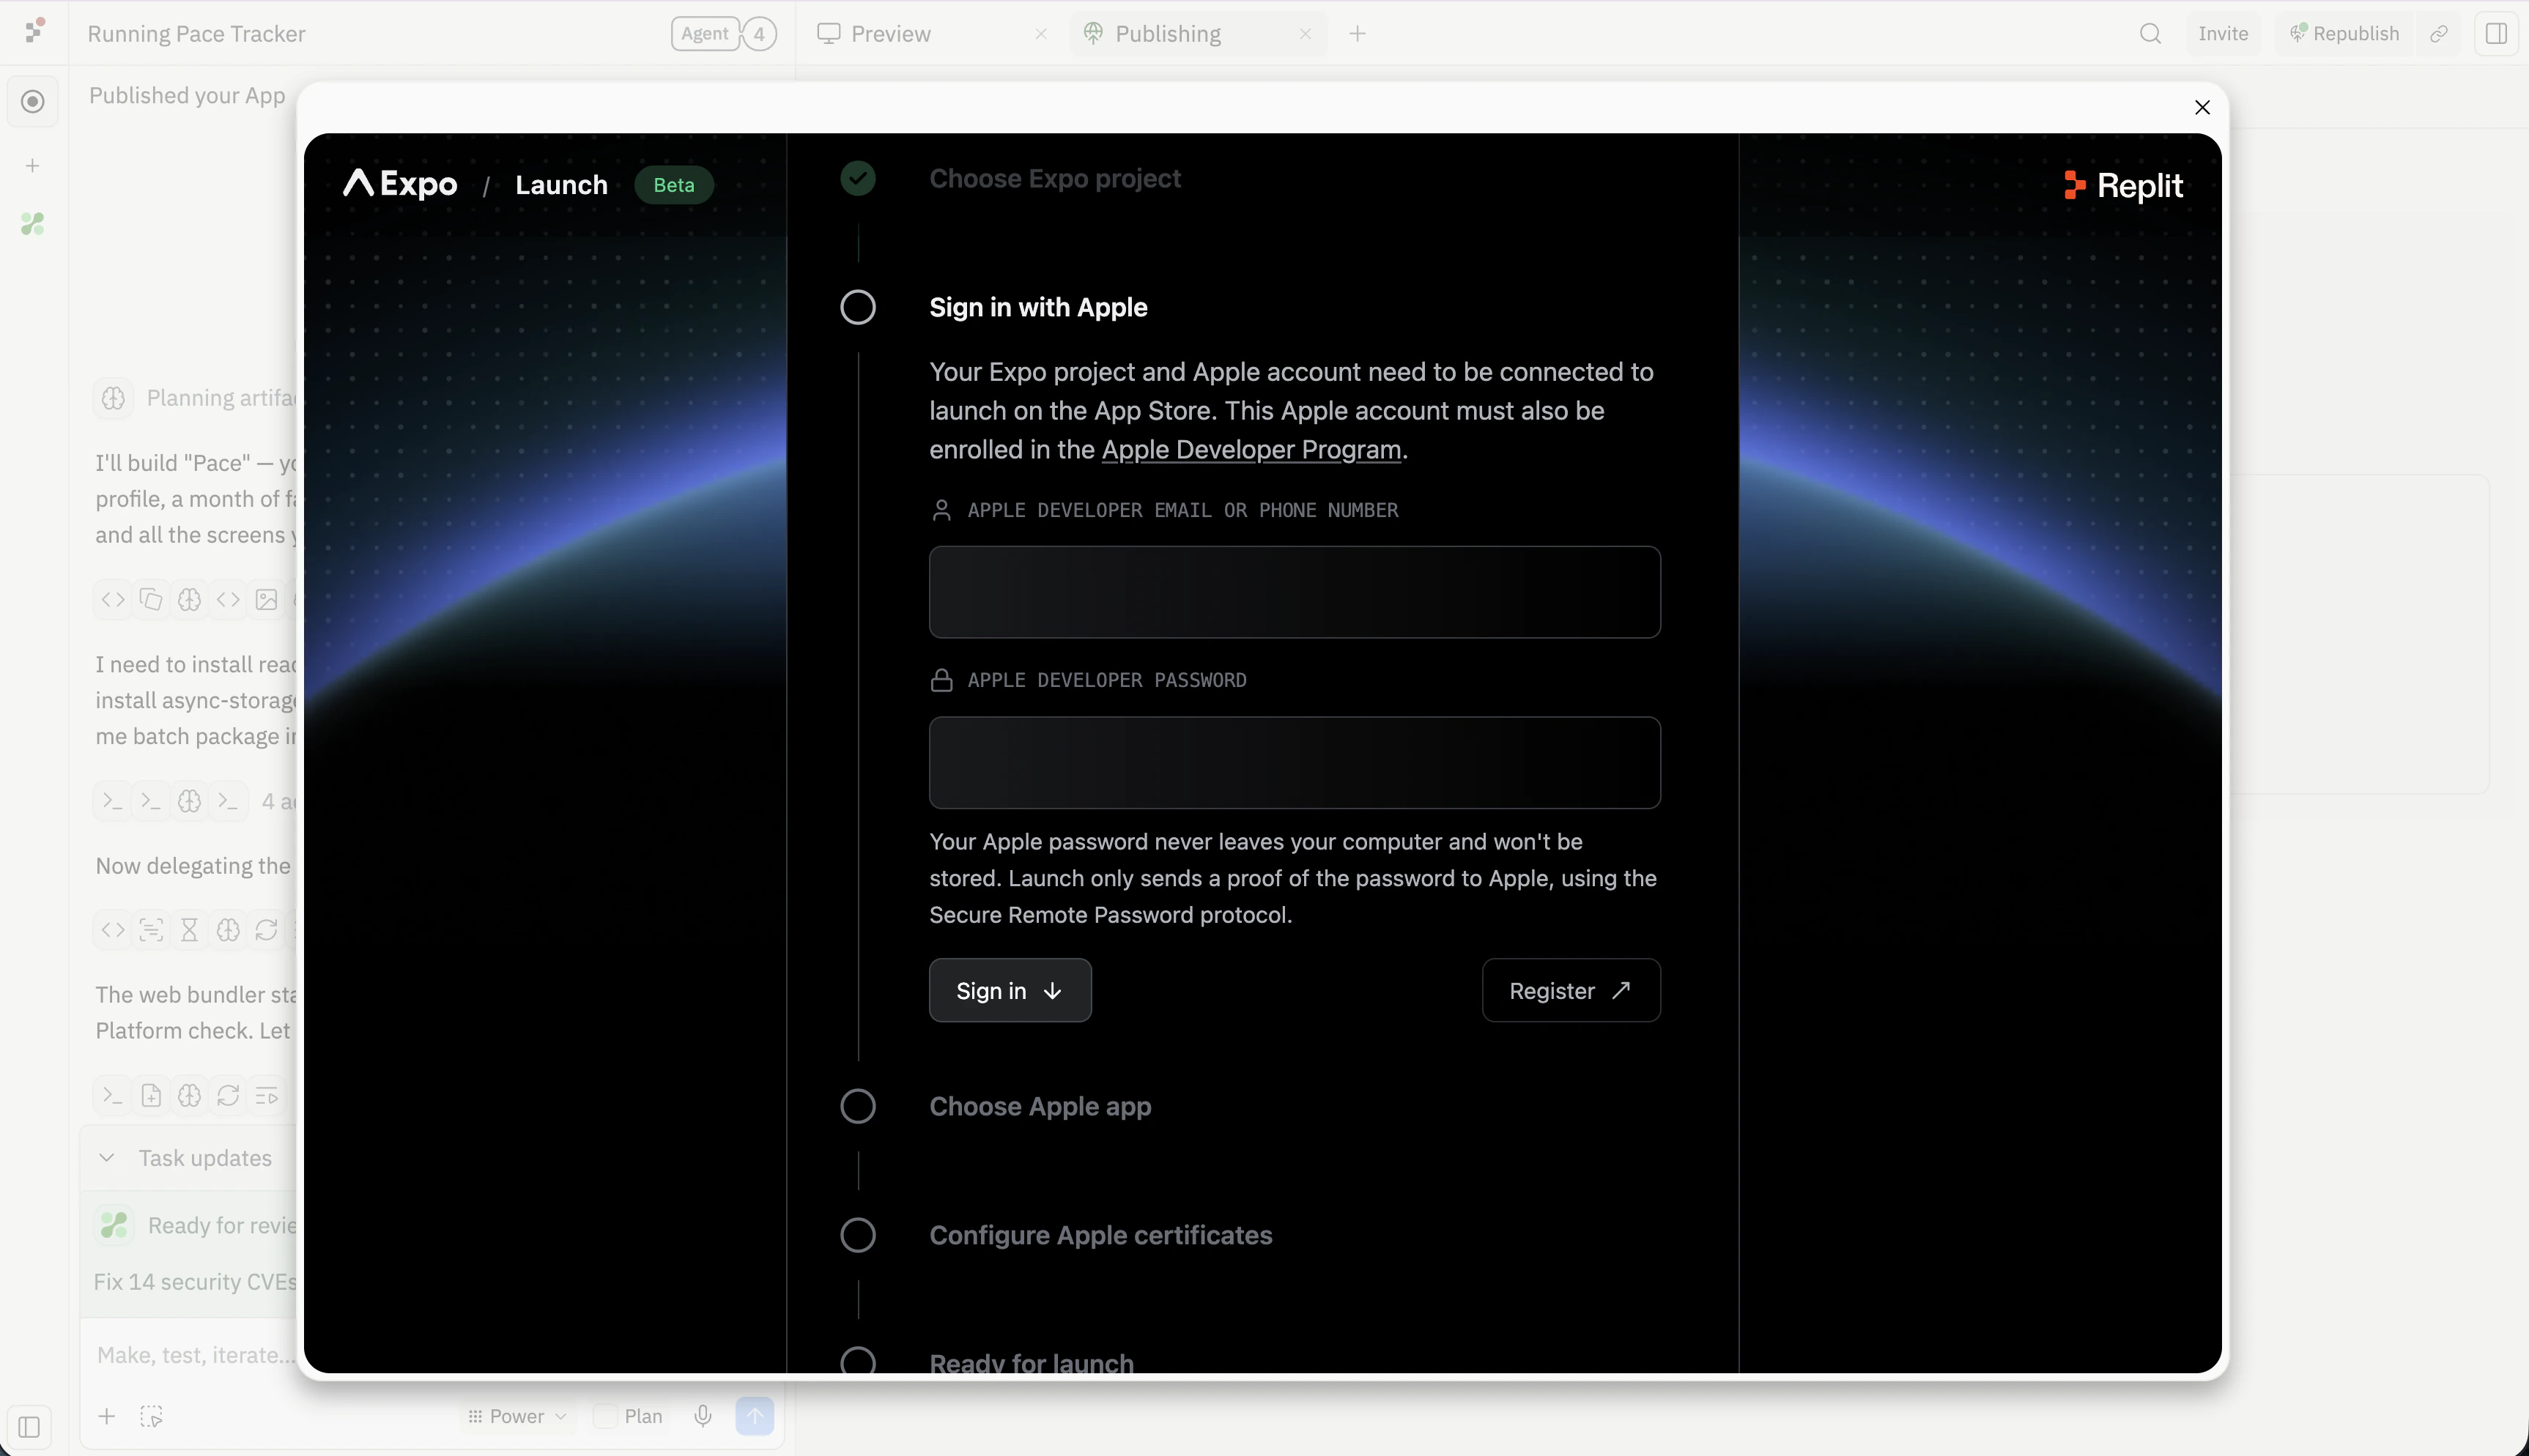
Choose or create your Apple app
Enter the App name and Bundle ID (for example 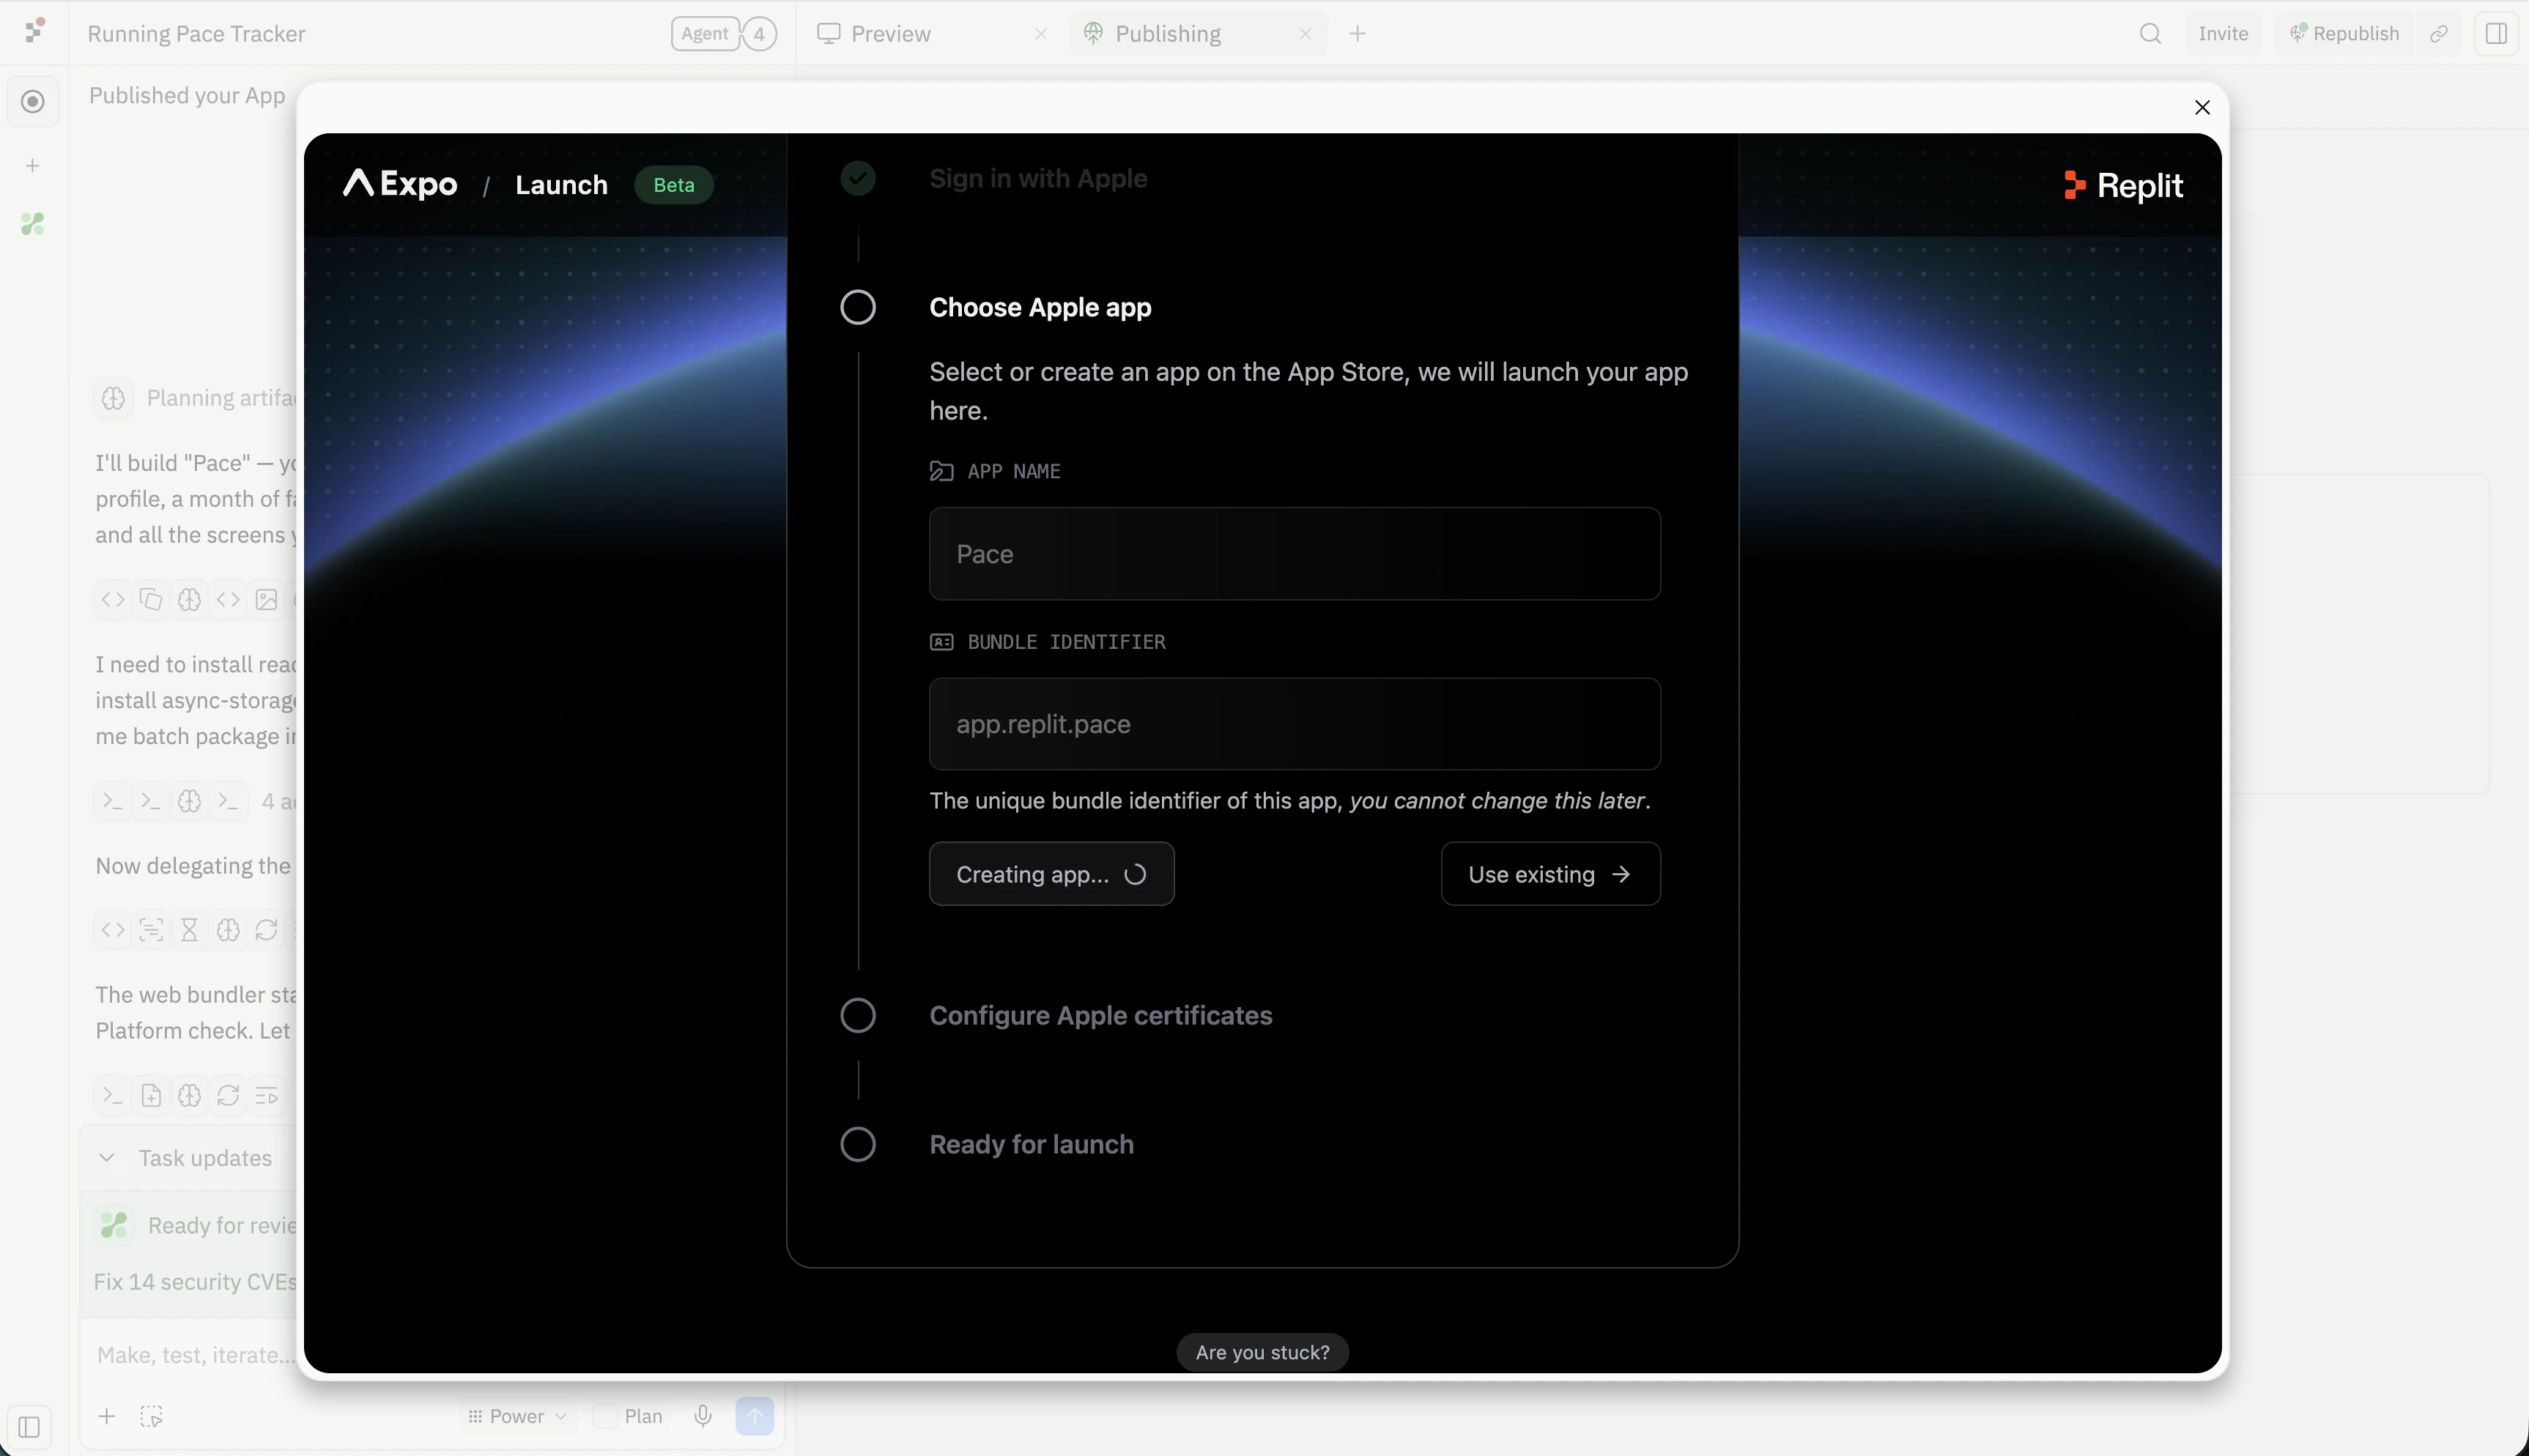
app.replit.pace) that will appear on the App Store. The bundle identifier cannot be changed after the first build, so pick it carefully.Launch to App Store
Replit configures Apple certificates on your behalf. When the Ready for launch step lights up, select Launch to App Store. Replit builds your native app in the cloud and submits the build to App Store Connect for TestFlight beta review.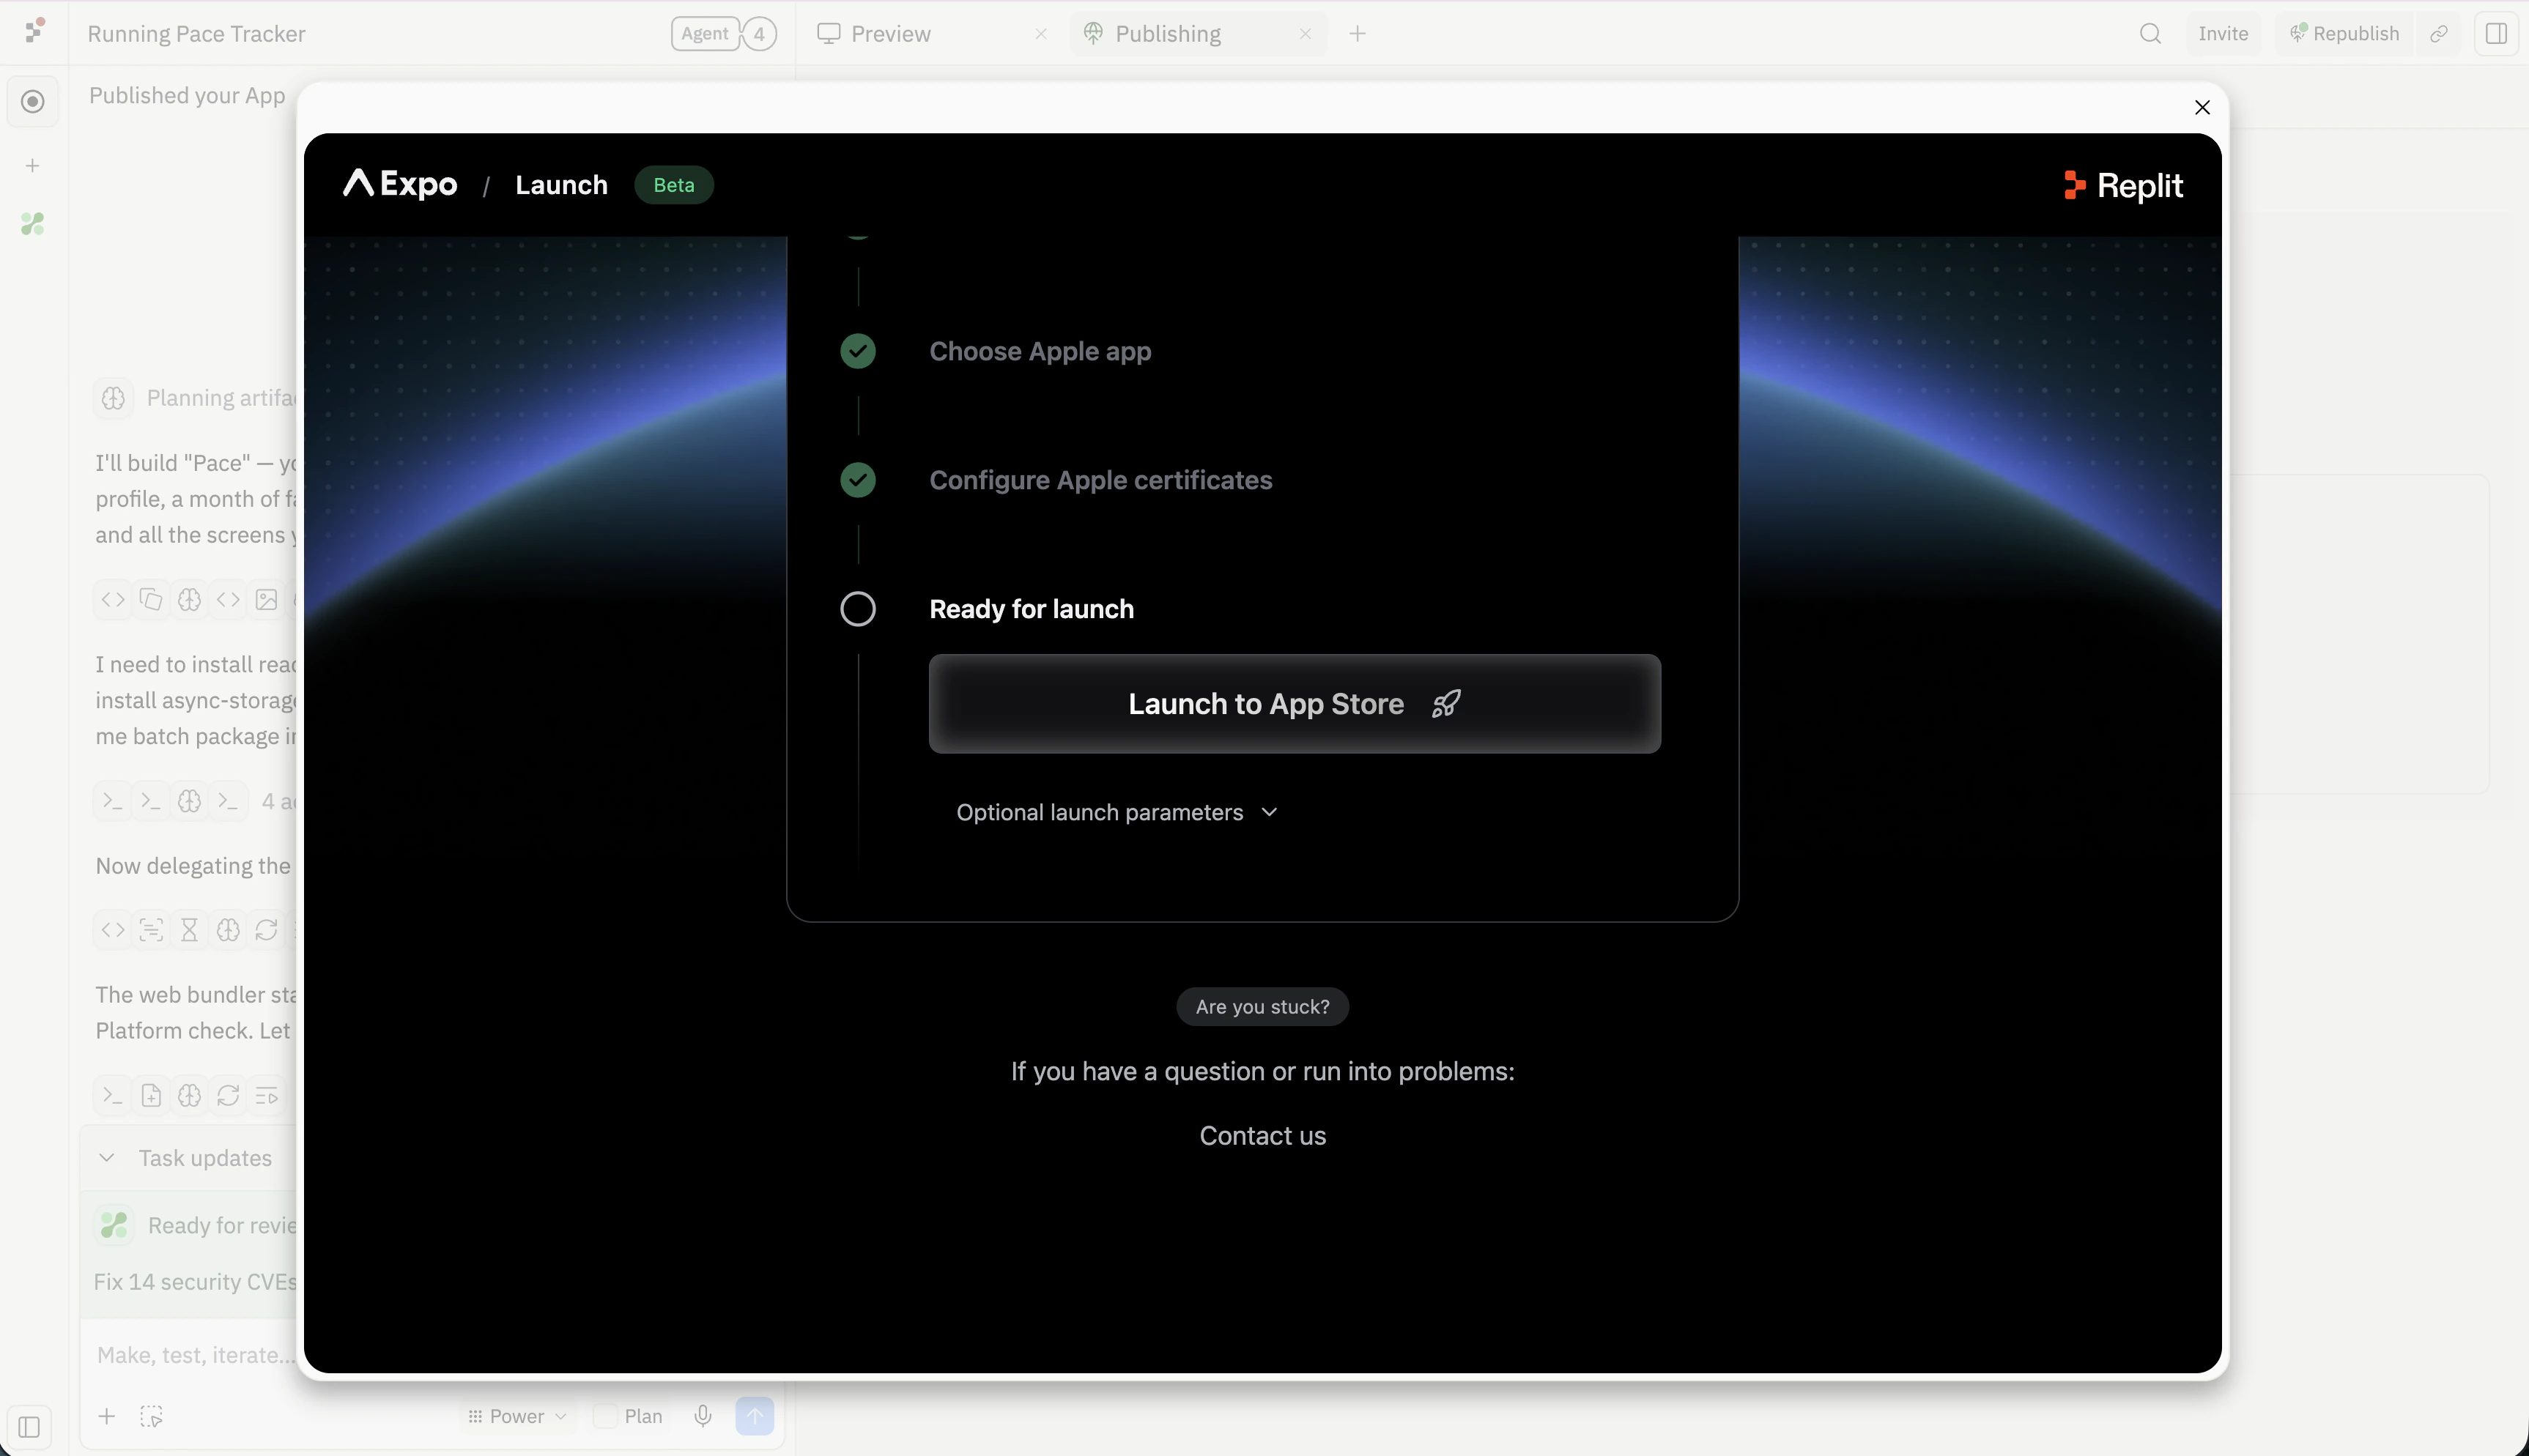

The first build of a version typically requires a TestFlight beta review before testers can install it. After approval, additional builds usually push to testers faster. To share with external testers or submit for App Store release, finish the listing in App Store Connect — see Build and launch a mobile app for the full App Store Connect checklist.
You’re done when
- The app opens in the iOS Simulator or Android Emulator.
- The app opens on your phone with Expo Go.
- You can complete the main mobile flow.
- Text, buttons, and navigation feel comfortable on a phone.
- You published or shared a testable mobile version.
- At least one person can try it and give feedback.
- (Optional) You submitted the app to TestFlight via the App Store flow.
Improve it next
Add login
Let each person see their own progress.
Add a database
Save run history beyond the first test session.
Add integrations
Connect the app to notifications, health data, or external services.
Build and launch a mobile app
Move a working mobile app toward TestFlight and the App Store.
Need further help?
- Agent builds a web app instead: start again and select Mobile app as the app type before building.
- Expo Go preview looks stale: shake your phone, open the developer menu, and select Refresh.
- Tap targets feel too small: ask Agent to increase touch targets and keep primary actions within thumb reach.
- Navigation feels crowded: ask Agent to reduce the app to the fewest screens needed for the main flow.
- The simulator works but the phone does not: test hardware-specific behavior on a real device and see Native Mobile Apps.
- Publishing fails: see Mobile app troubleshooting.