This guide demonstrates how to use the JavaScript client library to upload, list, download, and delete files in your App Storage bucket.
This client library, written in TypeScript, can be used for projects that use JavaScript runtimes such as Bun, Deno, and Node.js 14 and later.
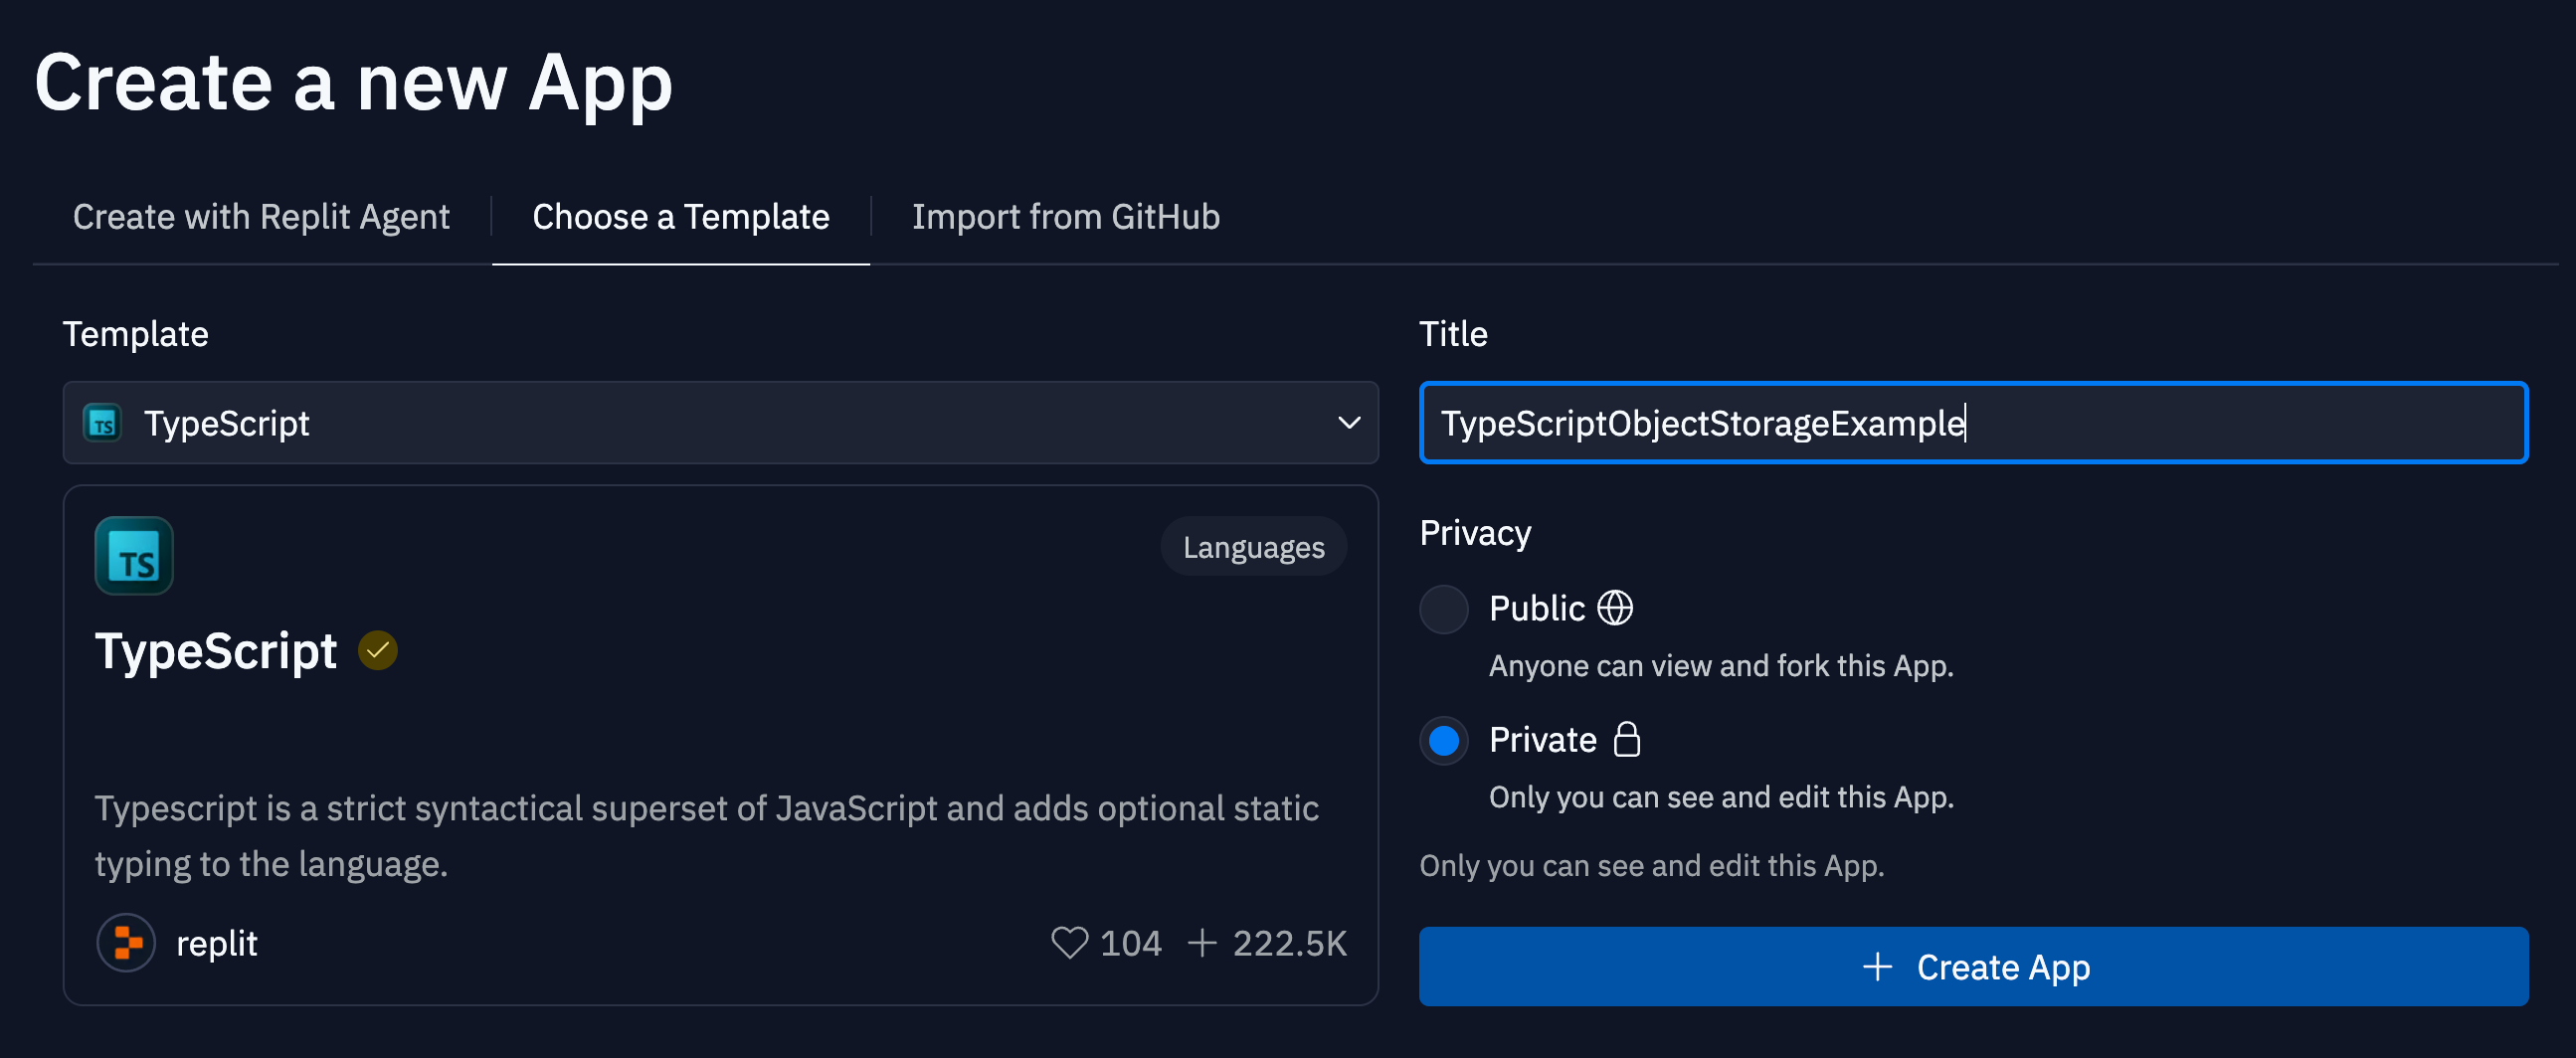
Create a TypeScript Replit App
- Select
 Create App from the home screen.
- Navigate to the Choose a Template tab.
- Type “TypeScript” in the template search field and select it as shown below:
- Select
 Create App.
Install the official client library
To install the client library, follow the one-click setup or package manager instructions below.
Access the App Storage tool
- Navigate to the App Storage tab.
- Select the
 Commands view in the App Storage tab.
The installation screen should resemble the following screenshot:Install the dependencies
- Select “JavaScript” from the programming language dropdown on the top left.
- Select Install @replit/object-storage package.
- When completed, the button text should read Package installed.
Use this option if your Replit App uses Node Package Manager (npm) to manage its dependencies.Open the Shell tool in your workspace and enter the following command:npm install @replit/object-storage
Use this option if your Replit App uses yarn to manage its dependencies.Open the Shell tool in your workspace and enter the following command:yarn add @replit/object-storage
Create a bucket
Before storing files, you must create a bucket. Follow the steps below to create a new bucket:
- Navigate to the App Storage tool
- Select Create new bucket
- Enter a name for the bucket in the Name field
- Select Create bucket
Add and run the example code
Locate index.ts
Open the  Files tool from the left dock.Select
 index.ts to open it in a file editor. Add the client code
Replace the contents of index.ts with the following code:import { Client } from "@replit/object-storage";
const client = new Client();
// Upload a text file that contains the text "Hello, World!"
const { ok: uploadOk, error: uploadError } = await client.uploadFromText(
"file.txt",
"Hello World!",
);
if (!uploadOk) console.error("Upload failed:", uploadError);
// List the files in the bucket
const { ok: listOk, value: listValue, error: listError } = await client.list();
if (!listOk) console.error("List failed:", listError);
else console.log("Bucket contents:", listValue);
// Retrieve and print the contents of the uploaded file
const {
ok: downloadOk,
value,
error: downloadError,
} = await client.downloadAsText("file.txt");
if (!downloadOk) console.error("Download failed:", downloadError);
else console.log("file.txt contents:", value);
Run the app
Select Run to execute the example code.Navigate to the Console tab to view the output, which should resemble the output below:Bucket contents: [ { name: 'file.txt' } ]
file.txt contents: Hello World!
file.txt file appears in your bucket in the Objects view of the
App Storage tool.Reload the page to update the object list if file.txt fails to appear.
Delete the object
To remove the file.txt file from the bucket,
-
Replace the content of
index.ts with the following code:
import { Client } from "@replit/object-storage";
const client = new Client();

// Delete file.txt from the bucket
const { ok: deleteOk, error: deleteError } = await client.delete("file.txt");
if (!deleteOk) console.error("Delete failed:", deleteError);
else console.log("Delete succeeded");
-
Select Run to execute the example code.
-
Navigate to the Console tab to view the output, which should resemble the output below:
-
Verify that the
file.txt object no longer appears in the bucket.
Next steps
To learn more about Replit App Storage, see the following resources:
Create App from the home screen.

Create App.
Commands view in the App Storage tab.
