What you can build
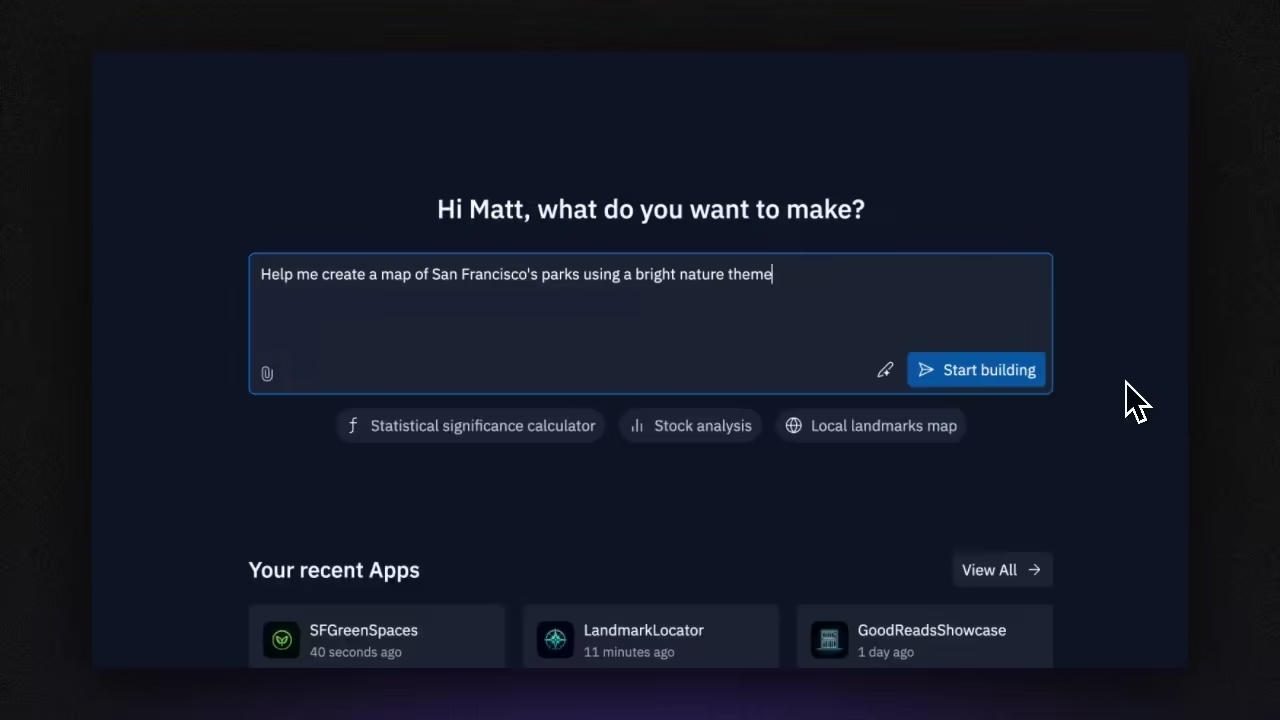
With Agent, you can:- Transform ideas into apps: Describe your vision in plain language and watch Agent build a complete application
- Accelerate development: Get instant code explanations, intelligent autocomplete, and contextual help
- Debug efficiently: Identify and fix issues with AI-powered analysis and suggestions
- Learn as you build: Receive detailed explanations and best practice recommendations
Getting started
The fastest way to experience Replit AI is to create your first app with Agent:- Start with Agent: Follow the Create with AI quickstart to build an app from scratch
- Choose your build mode: Select Fast for lightweight apps or prototypes (~3-5 mins) or use the default full build for a thorough implementation of your request (~10+ mins)
- Experience Agent 3’s autonomy: Customize Agent’s Autonomy Level while it tests itself with App Testing
- Set up billing: Configure usage alerts and budgets to control your AI spending
Accessing Agent
You can access Agent from any Replit App:- Tools dock: Find Agent in the left sidebar of your Workspace
- Create new app: Start with Agent directly from the “Create a new App” screen
Agent is now available on all projects. Use General Agent to work with any framework or project type, including existing apps and Developer Framework templates.
Key capabilities
Agent offers powerful features that revolutionize your development workflow: Complete app generation- Natural language descriptions become functional applications
- Intelligent architecture decisions and best practices
- Automatic environment setup and dependency management
- Seamless integration of databases, file storage, and third-party services
- Chat-based interface for complex requests
- File attachments and web content integration
- Rollback capabilities for safe experimentation
- Real-time progress tracking and feedback
- App Testing: Automated computer use testing for the Agent to spin up a browser and test its own work, just like a real user
- Autonomy Level: Customize how independently Agent works and reviews code, from hands-on control to extended autonomous development
- Agents & Automations: for building your own autonomous systems
Use cases
Build a complete app with Agent
Describe your app idea in natural language and let Agent handle the implementation:
Add complex integrations
Integrate payment processing, APIs, or advanced features using natural language:Pricing and billing
Agent uses transparent, effort-based pricing designed to provide value at every level: Agent: Effort-based pricing that charges based on the complexity and scope of your requests- Simple changes cost less than complex builds
- One meaningful checkpoint per request
- Extended autonomous builds with less supervision and self-testing capabilities
- Advanced capabilities for complex builds
- Agent 3 features: App Testing, build modes, and Agents & Automations