Projects will be removed on March 3rd, 2026. We’re replacing Projects (collaboration feature for merging apps) with improved functionality soon. All of your existing apps and data will remain accessible, but you’ll no longer be able to merge changes between them. No action needed at this time.
Introduction
Projects are currently a beta feature available to Teams. A Project is a set of connected, Replit Apps for better collaborative development and versioning. Within a Project, you can:
- “Fork” a Replit App (i.e. make a copy) to work on a feature in isolation, and merge your changes back in when ready
- View all ongoing development in one place
Projects leverage a technology called git to manage version control, but you don’t need to know anything about git to use Projects!
Advantages of Projects
Projects are a great option:
- When you are collaborating with a team where you each need your own copy of the code when working on features
- When you want an easy way to leverage version control. Using a version control system has many advantages: you can trace the history of all files in your codebase to see what changed and why, you experiment and collaborate using branching & merging, you can rollback to a previous version easily when something breaks, etc.
Project Structure
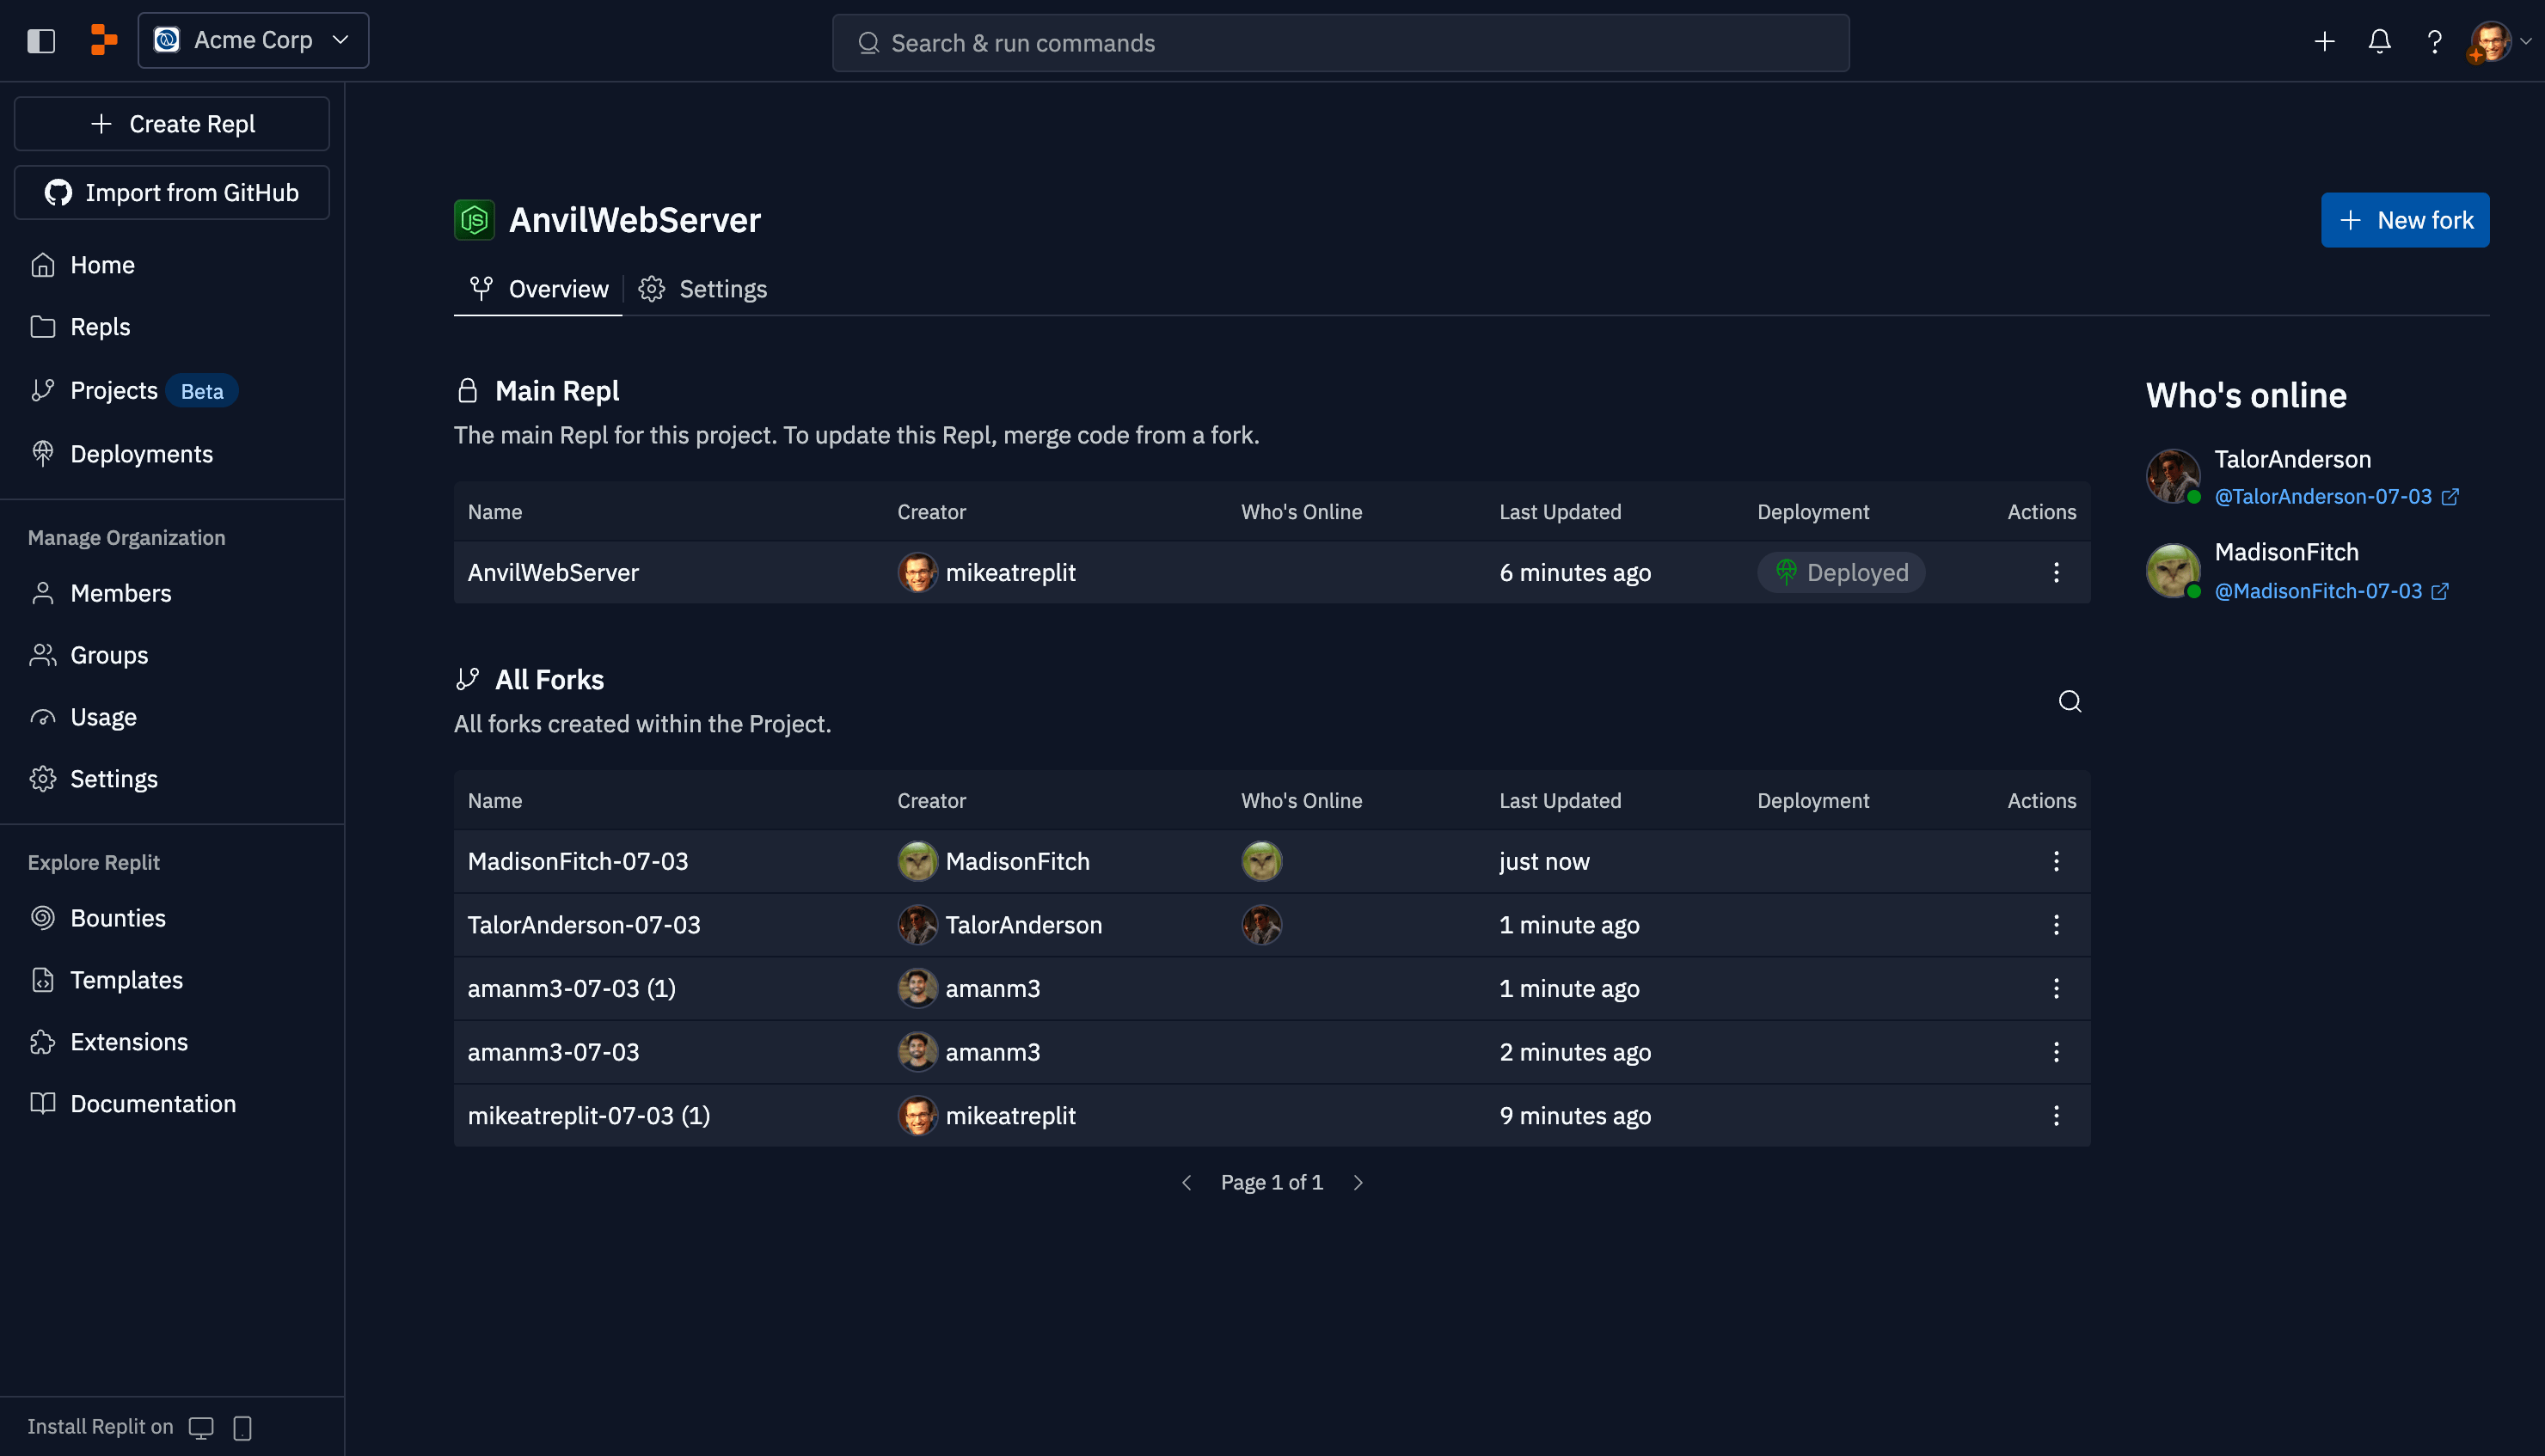
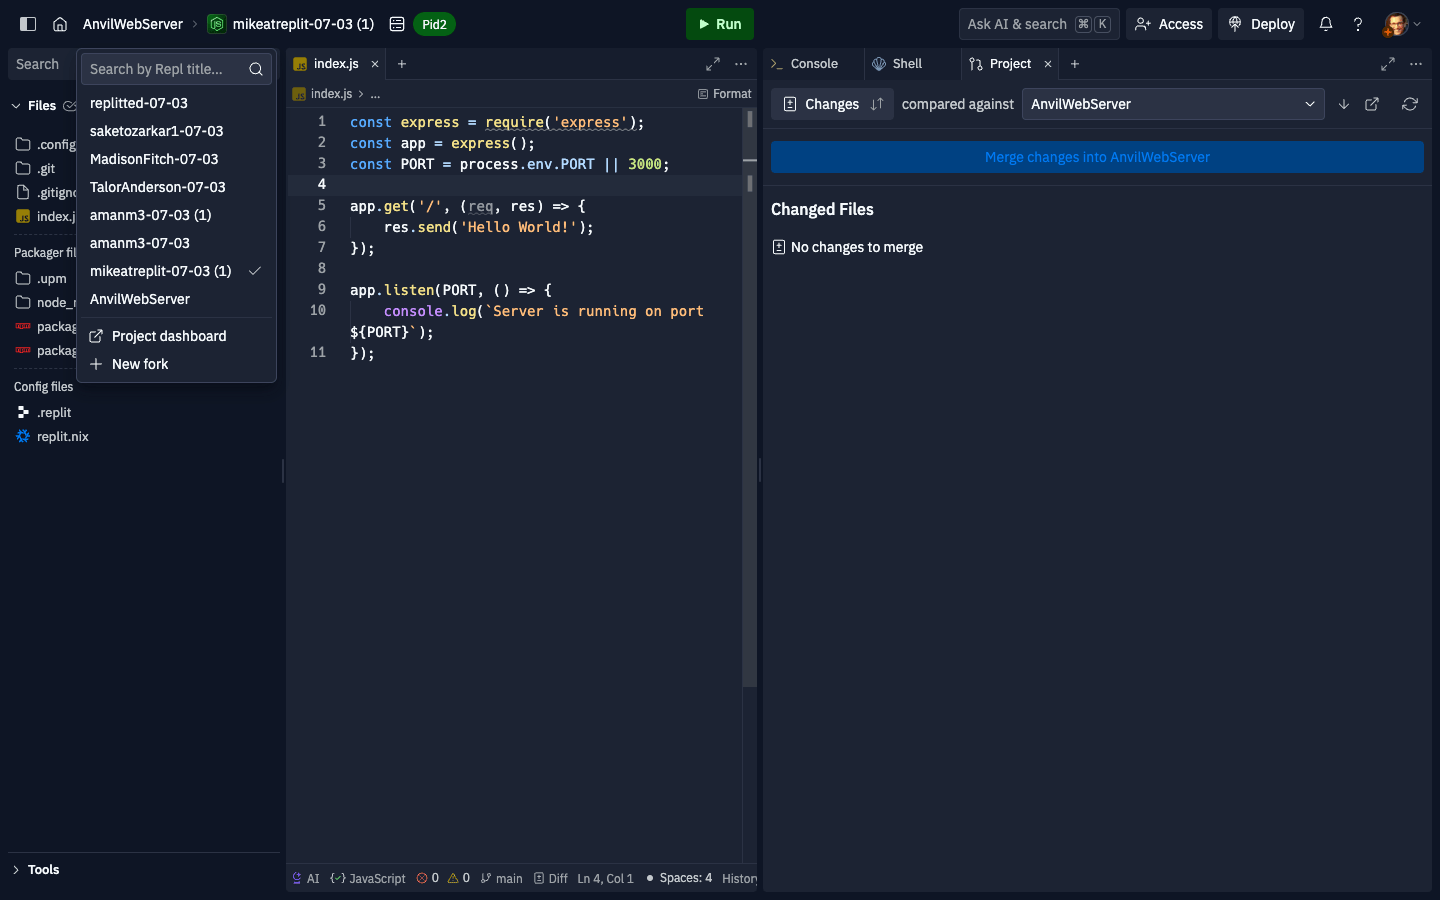
Every Project is organized around having a main Replit App that is the source of truth. In this example Project, “AnvilWebServer” is the main Replit App. Each team member has their own fork where they can work, e.g. “MadisonFitch-07-03” is a fork off of the main Replit App.
The best practice for working within a Project is to:
- Make changes in a fork, e.g. “MadisonFitch-07-03”
- Use the Project tool in the workspace to preview your changes
- Use that tool to merge your changes into the main Replit App when they are ready
Creating a Project
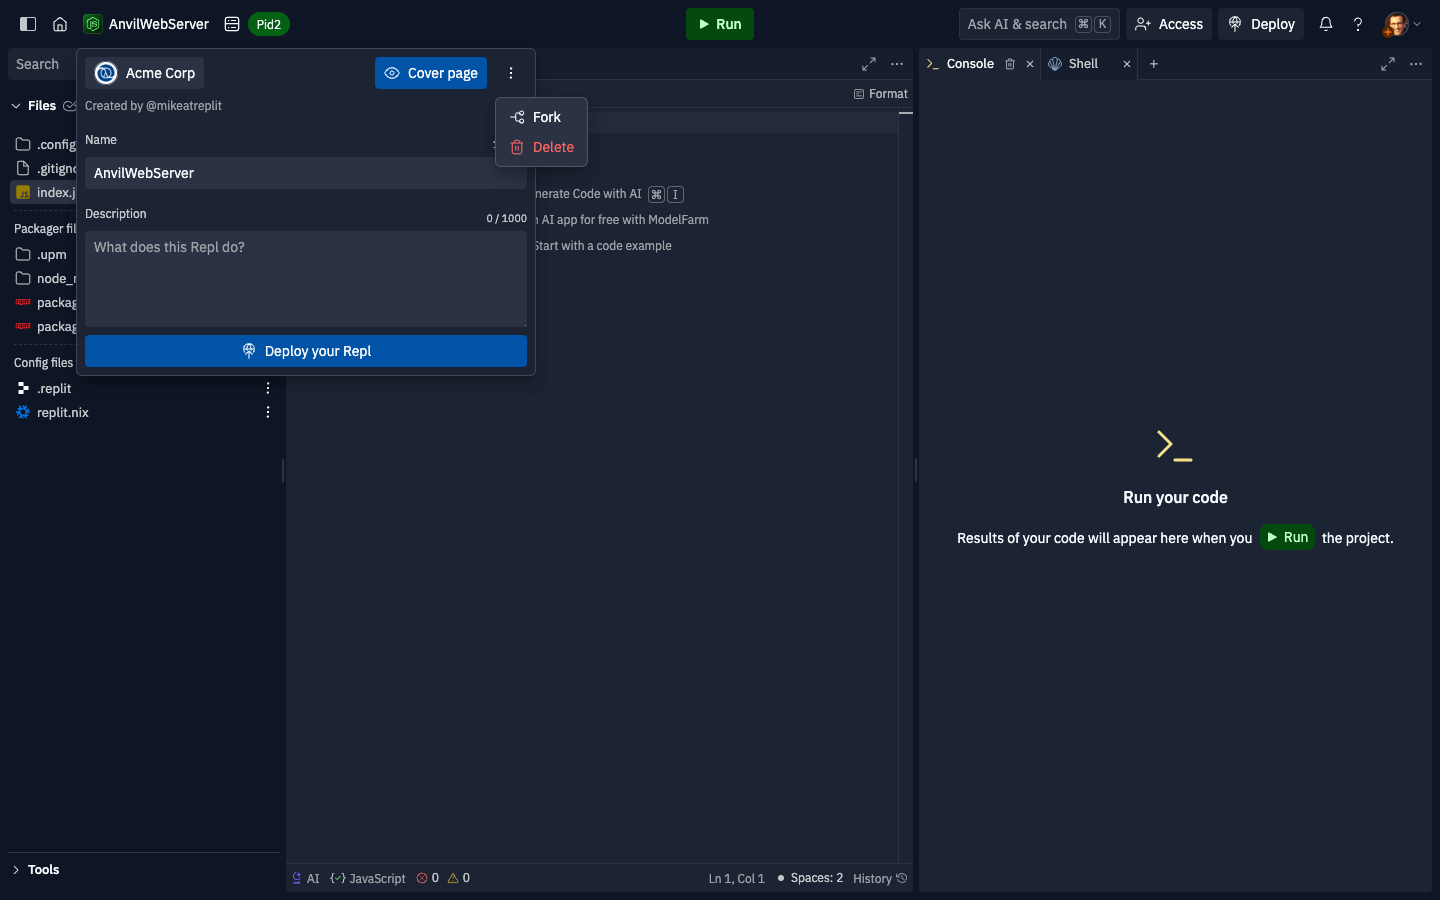
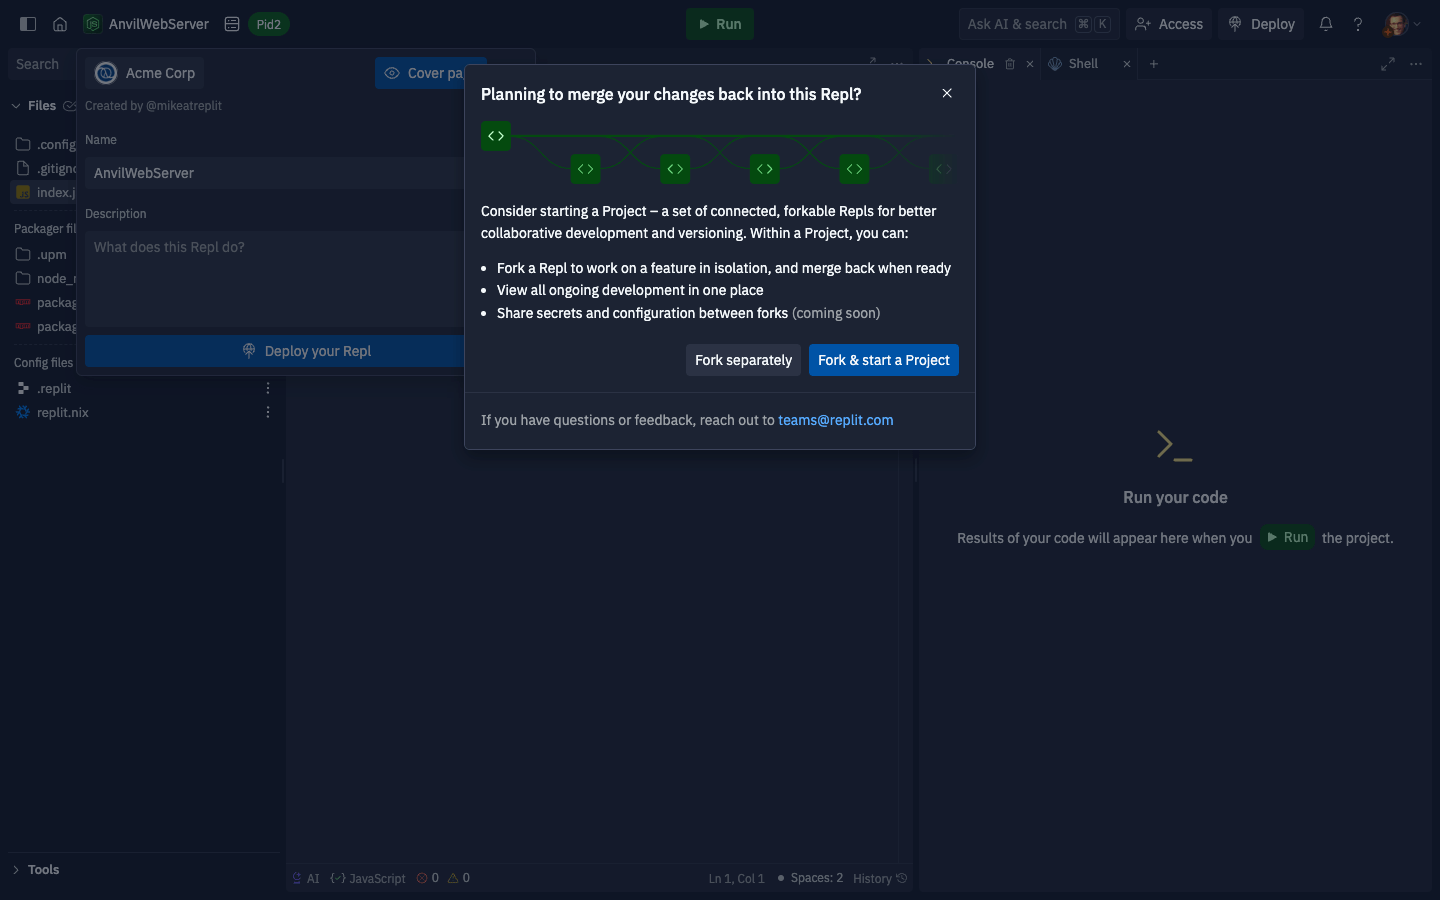
To get started, fork any Replit App in your organization and you’ll be prompted to turn it into a Project:
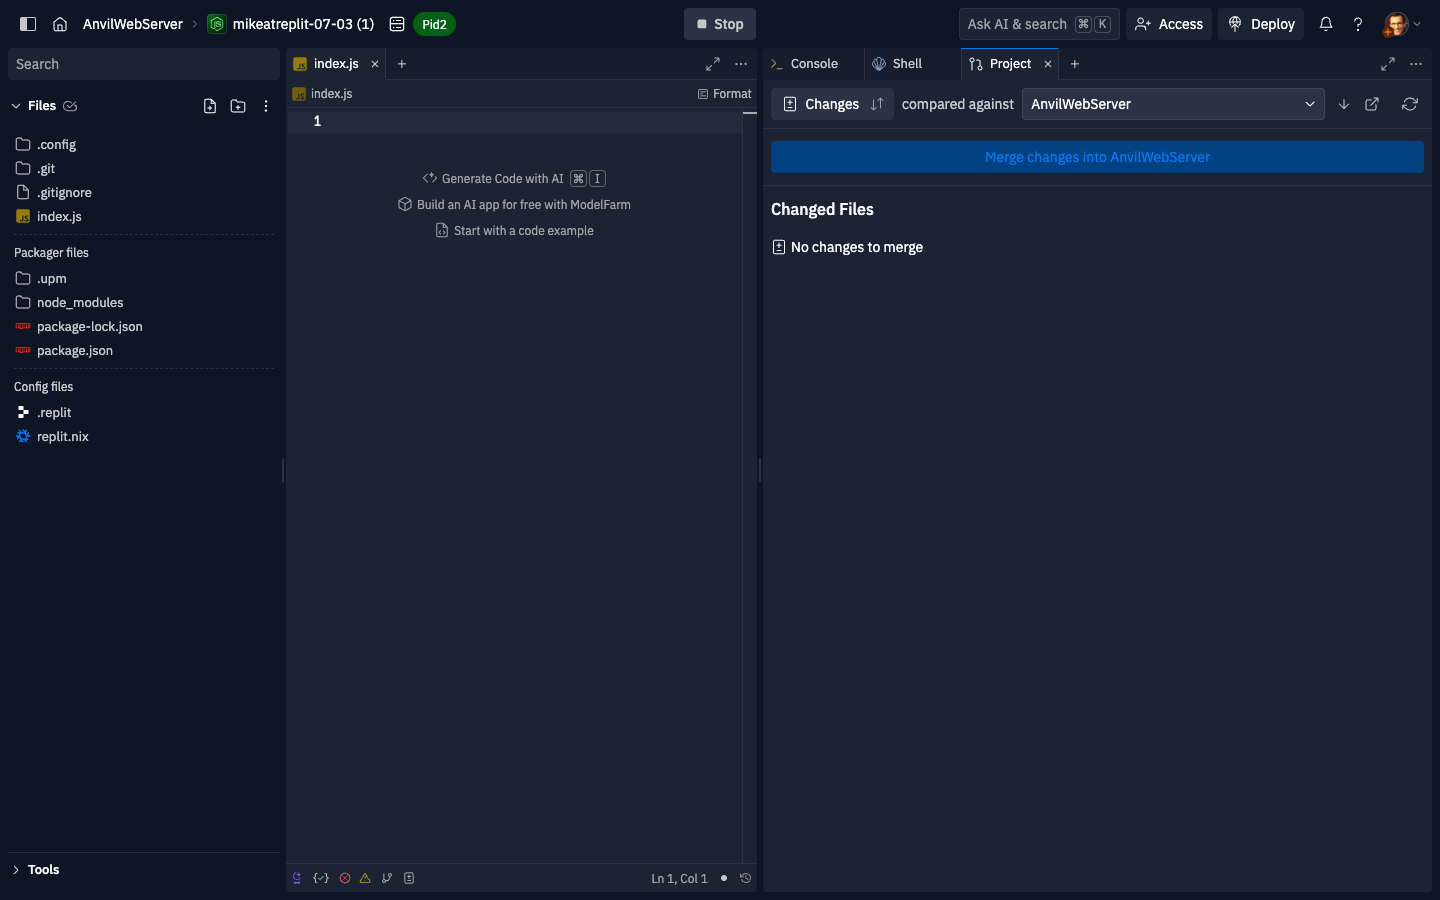
If you choose the “Fork & start a Project” option, the Replit App you are in will become your main Replit App for the Project and you will be moved to a new fork where you can work on a feature.
Previewing and merging changes
When you open the fork in the workspace, you’ll see a Project tool open which informs you that you have no changes from the main Replit App yet:
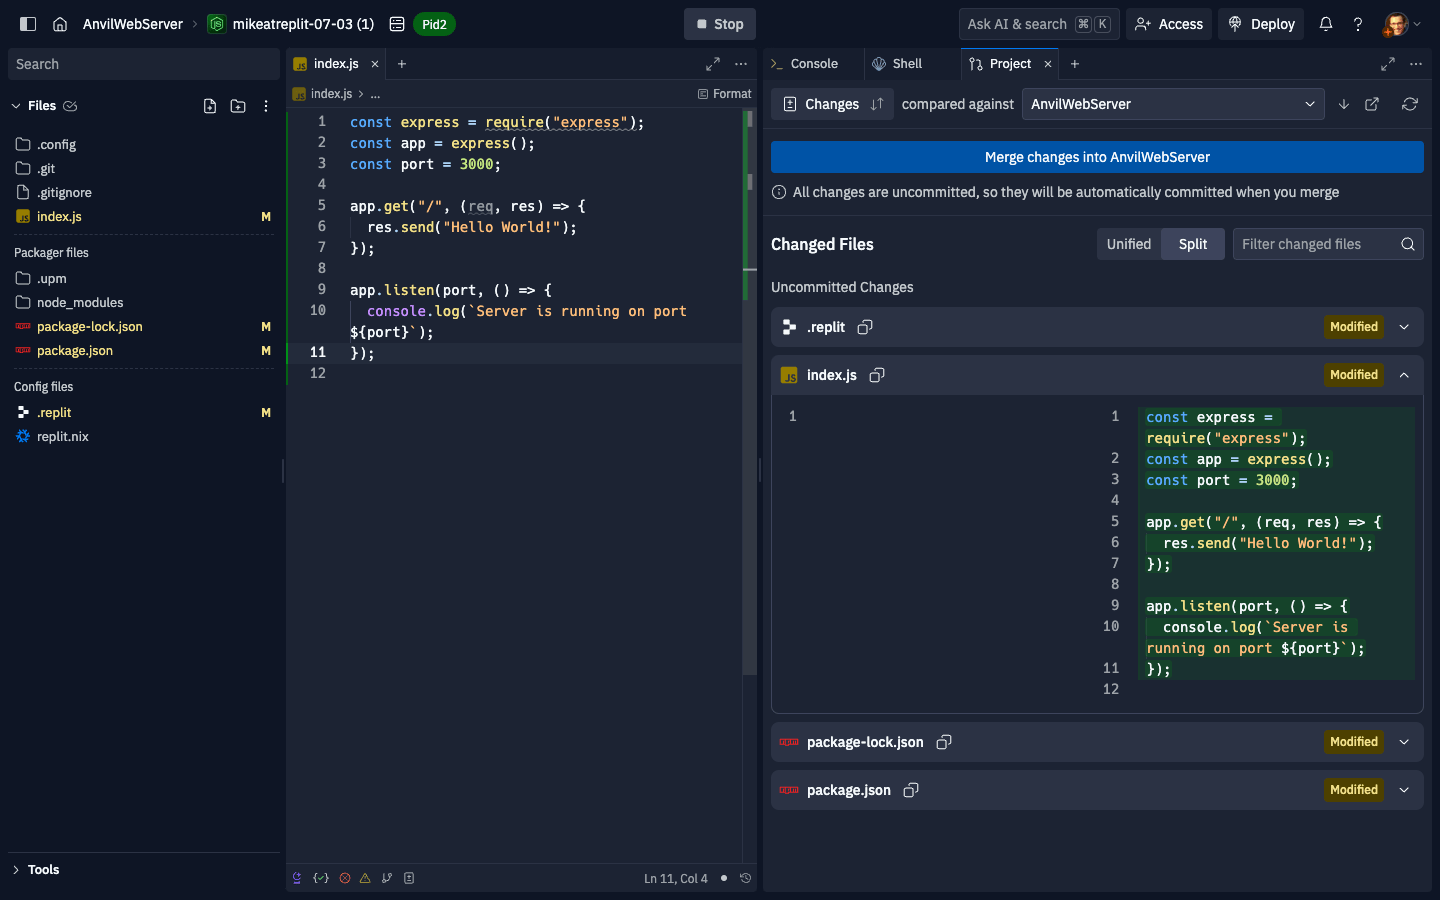
If you were to make some changes, you would see them previewed in the Project tool. You can create a basic express server and see the changes:
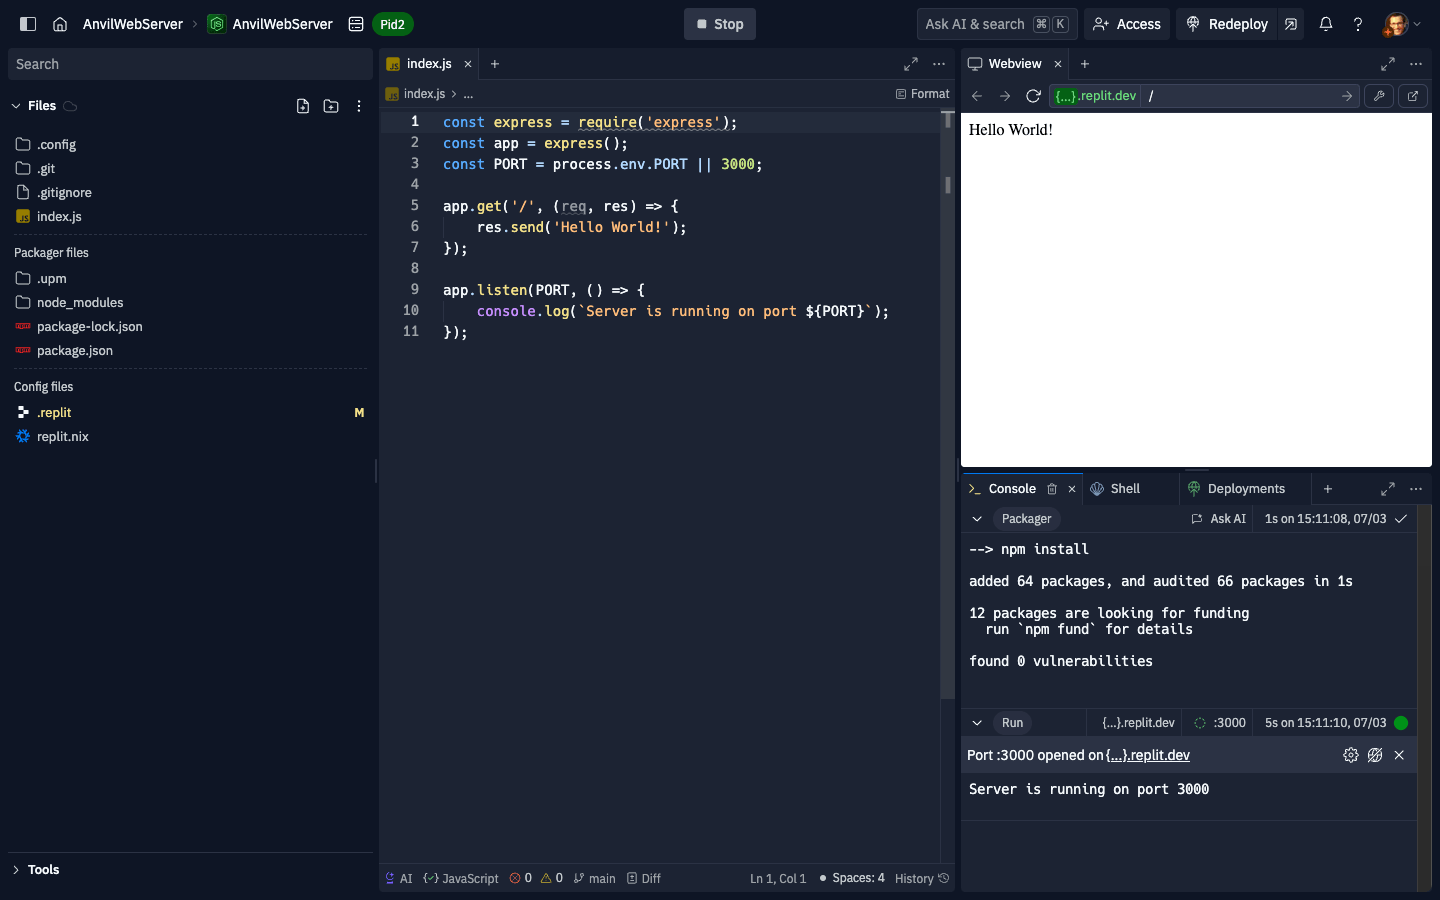
You can run your Replit App and test your changes. When you are ready, you can click the “Merge changes…” button, and your changes will be pulled into the main Replit App. In the main AnvilWebServer Replit App, you would be able to now see the express server changes, and you can run the Replit App to see the server in action:
Using git
In the previous section, the “Merge changes…” button did some magic by executing a few git commands. You don’t need to know anything about git to use Projects, but if you are familiar with git, you can take more control over how changes are made in a Project.
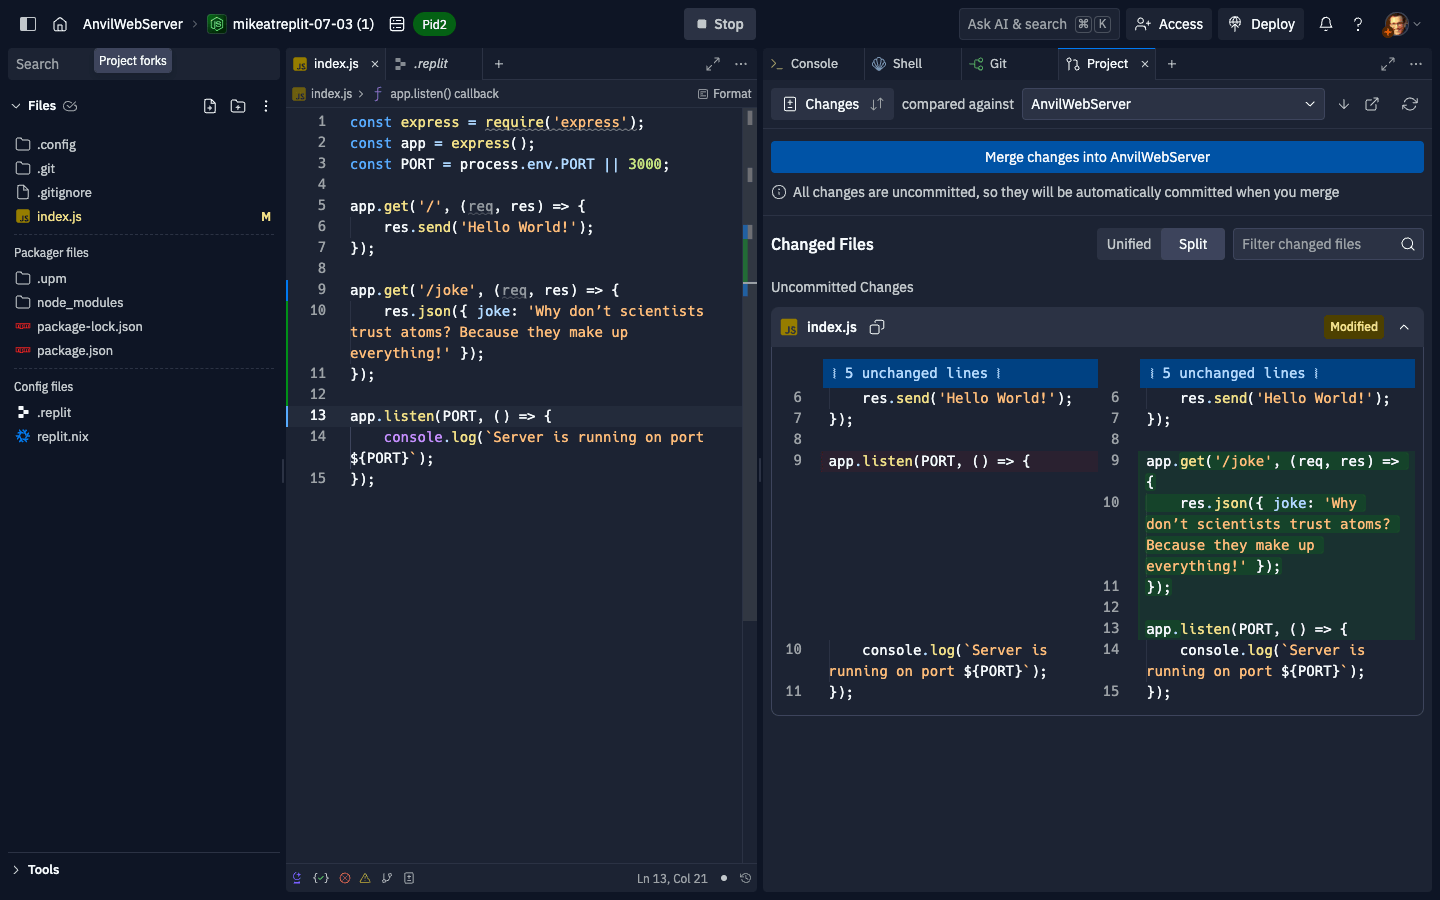
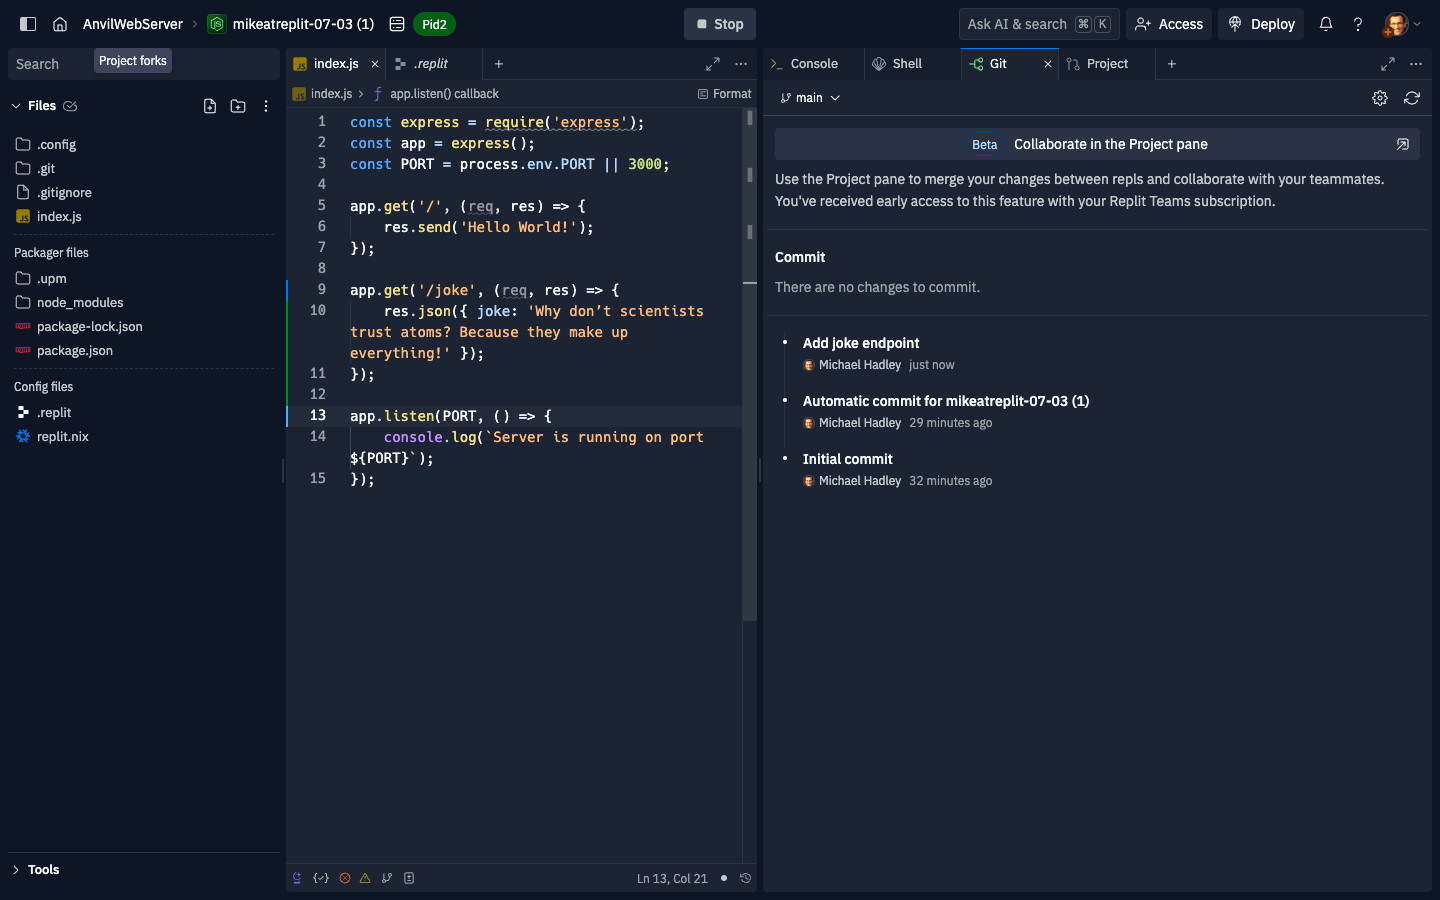
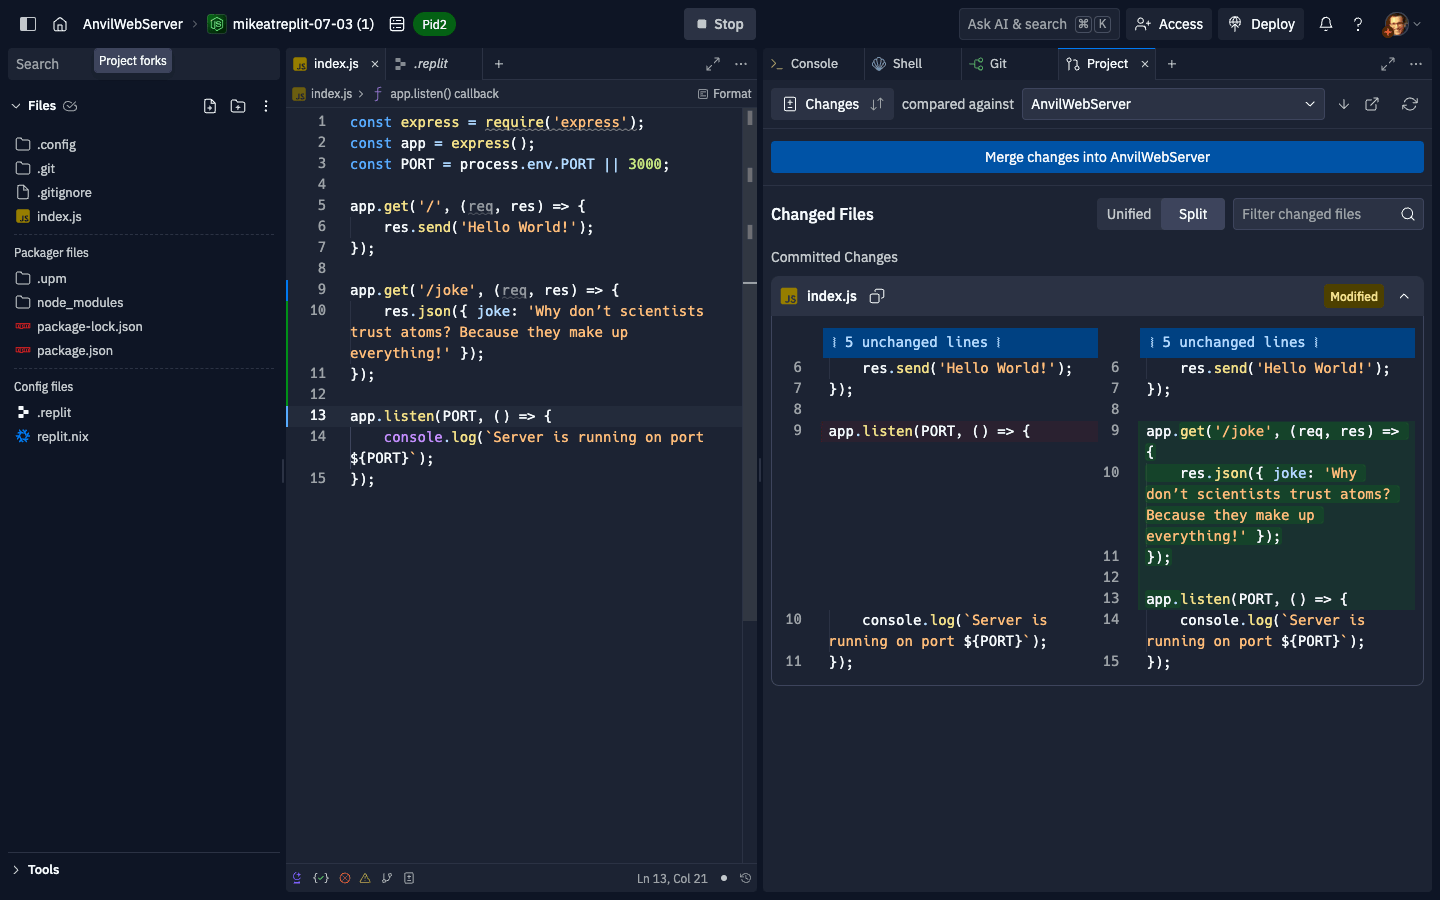
If you modify you fork again to add a joke endpoint, you’ll see changes in the Project tool:
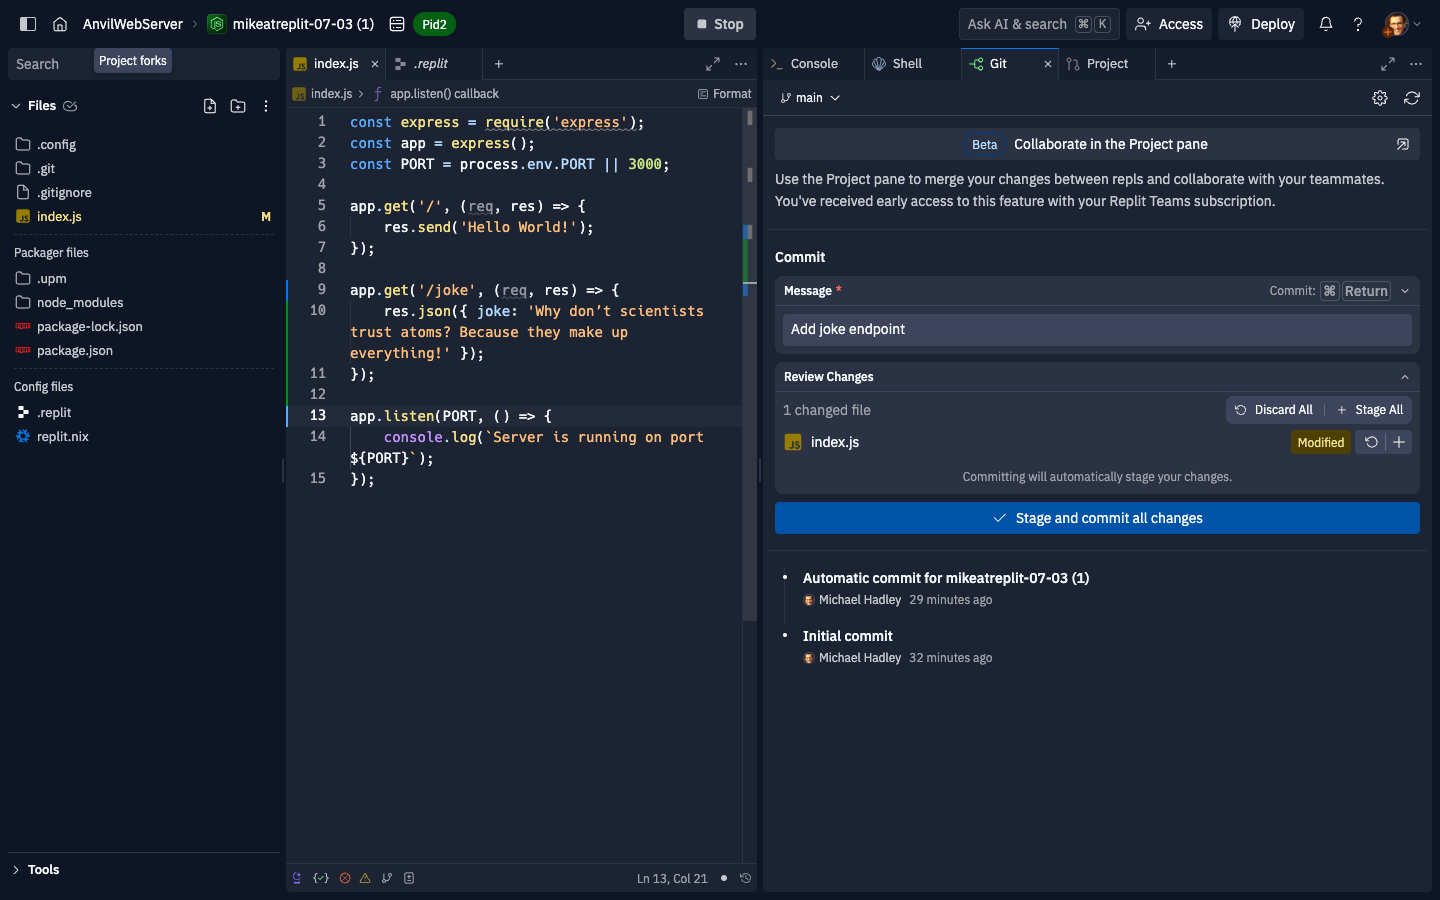
Instead of hitting “Merge,” you can use the git tool (or use the git command in the shell) to commit specific changes when merging:
If you switch back to the Projects tool, you will see “Committed” changes and now can click the “Merge” button to pull only your committed changes into the main Replit App.
Project Navigation in the Workspace
When in the workspace, the header bar will provide some extra navigation options and controls:
- Switch to other Replit Apps in the Project
- Go to the dashboard
- Create a new fork
Project Dashboard
You can visit the Project’s dashboard from the sidebar, or via the workspace header link. You’ll see:
- The main replit app
- All forks
- Everyone who is online currently in the Project
- Settings
