> ## Documentation Index
> Fetch the complete documentation index at: https://docs.replit.com/llms.txt
> Use this file to discover all available pages before exploring further.

# Conversations

> Utilisez les Conversations pour poser des questions, exécuter des routines et transformer des idées ou des informations en résultats utiles.

export const PromptingCardVisual = () => <div className="chat-use-case-visual" aria-hidden="true" style={{
  background: "radial-gradient(circle at 48% -30%, rgba(255,255,255,.78), transparent 54%), linear-gradient(140deg, #ff764d, #ff3c00 60%, #c92d00)"
}}>
    <div style={{
  position: "relative",
  width: "72%",
  margin: "auto",
  padding: 12,
  border: "1px solid rgba(255,255,255,.56)",
  borderRadius: 14,
  background: "rgba(255,255,255,.2)"
}}>
      <span style={{
  display: "block",
  width: "66%",
  height: 7,
  borderRadius: 999,
  background: "rgba(255,255,255,.8)"
}} />
      <span style={{
  display: "block",
  width: "92%",
  height: 7,
  marginTop: 7,
  borderRadius: 999,
  background: "rgba(255,255,255,.38)"
}} />
      <span style={{
  display: "block",
  width: "82%",
  height: 22,
  marginTop: 12,
  border: "1px solid rgba(255,255,255,.62)",
  borderRadius: 8,
  background: "rgba(255,255,255,.16)"
}} />
    </div>
  </div>;

export const ChatConversationsCover = () => <div className="chat-mkt" role="img" aria-label="Replit Conversation window with a message thread and prompt box" style={{
  margin: "28px 0 42px",
  borderTop: 0,
  paddingTop: 0
}}>
    <div className="chat-use-case-visual" style={{
  aspectRatio: "auto",
  minHeight: "clamp(220px, 34vw, 320px)",
  overflow: "hidden",
  background: "radial-gradient(circle at 50% -18%, rgba(255,255,255,.82), transparent 42%), radial-gradient(circle at 4% 96%, rgba(255,184,146,.48), transparent 38%), linear-gradient(140deg, #ff764d, #ff3c00 60%, #c92d00)"
}}>
      <div aria-hidden="true" style={{
  position: "absolute",
  inset: 0,
  background: "linear-gradient(180deg, rgba(255,255,255,.14), rgba(255,255,255,0) 48%, rgba(111,24,0,.2))"
}} />
      <div aria-hidden="true" style={{
  position: "absolute",
  width: "clamp(280px, 72%, 780px)",
  maxWidth: "calc(100% - 12px)",
  height: "68%",
  left: "50%",
  top: "15%",
  transform: "translateX(-50%) rotate(3deg)",
  opacity: 0.46,
  border: "1px solid rgba(255,255,255,.34)",
  borderRadius: 28,
  background: "transparent"
}} />
      <div aria-hidden="true" style={{
  position: "relative",
  zIndex: 1,
  display: "flex",
  width: "100%",
  minHeight: "inherit",
  alignItems: "center",
  justifyContent: "center",
  padding: "clamp(10px, 2vw, 20px)"
}}>
        <div style={{
  width: "clamp(260px, 70%, 760px)",
  maxWidth: "calc(100% - 20px)",
  minWidth: 0,
  boxSizing: "border-box",
  padding: "clamp(16px, 3vw, 26px)",
  border: "1px solid rgba(255,255,255,.54)",
  borderRadius: 24,
  background: "linear-gradient(180deg, rgba(255,255,255,.27), rgba(255,255,255,.1))",
  boxShadow: "0 18px 36px rgba(55,27,18,.2)",
  backdropFilter: "blur(5px)"
}}>
          <div style={{
  display: "flex",
  alignItems: "center",
  gap: 7
}}>
            <span style={{
  width: 8,
  height: 8,
  borderRadius: 999,
  background: "rgba(255,255,255,.92)"
}} />
            <span style={{
  width: 8,
  height: 8,
  borderRadius: 999,
  background: "rgba(255,255,255,.52)"
}} />
            <span style={{
  width: 8,
  height: 8,
  borderRadius: 999,
  background: "rgba(255,255,255,.32)"
}} />
          </div>
          <div style={{
  display: "flex",
  gap: "clamp(12px, 3vw, 20px)",
  marginTop: "clamp(14px, 3vw, 22px)"
}}>
            <div style={{
  display: "grid",
  width: "clamp(34px, 7vw, 52px)",
  minWidth: "clamp(34px, 7vw, 52px)",
  alignContent: "start",
  gap: 10,
  padding: "8px 8px 8px 0",
  borderRight: "1px solid rgba(255,255,255,.32)"
}}>
              <span style={{
  width: 12,
  height: 12,
  borderRadius: 4,
  background: "rgba(255,255,255,.9)"
}} />
              <span style={{
  width: 12,
  height: 12,
  border: "1px solid rgba(255,255,255,.66)",
  borderRadius: 4,
  background: "rgba(255,255,255,.12)"
}} />
              <span style={{
  width: 12,
  height: 12,
  border: "1px solid rgba(255,255,255,.48)",
  borderRadius: 999
}} />
            </div>
            <div style={{
  display: "grid",
  minWidth: 0,
  flex: "1 1 auto",
  gap: 9,
  alignContent: "start"
}}>
              <span style={{
  width: "68%",
  height: 24,
  border: "1px solid rgba(255,255,255,.46)",
  borderRadius: "14px 14px 14px 4px",
  background: "rgba(255,255,255,.18)"
}} />
              <span style={{
  justifySelf: "end",
  width: "58%",
  height: 24,
  borderRadius: "14px 14px 4px 14px",
  background: "rgba(255,255,255,.78)"
}} />
              <span style={{
  width: "76%",
  height: 32,
  border: "1px solid rgba(255,255,255,.4)",
  borderRadius: "14px 14px 14px 4px",
  background: "rgba(255,255,255,.14)"
}} />
            </div>
          </div>
          <div style={{
  display: "flex",
  alignItems: "center",
  justifyContent: "space-between",
  gap: 10,
  marginTop: "clamp(14px, 3vw, 20px)",
  padding: "10px 11px 10px 13px",
  border: "1px solid rgba(255,255,255,.58)",
  borderRadius: 15,
  background: "rgba(255,255,255,.16)"
}}>
            <span style={{
  width: "64%",
  height: 7,
  borderRadius: 999,
  background: "rgba(255,255,255,.7)"
}} />
            <span style={{
  display: "grid",
  width: 24,
  height: 24,
  placeItems: "center",
  flex: "0 0 auto",
  borderRadius: 8,
  background: "rgba(255,255,255,.9)",
  color: "#4b5563",
  fontSize: 15,
  fontWeight: 700
}}>
              ↑
            </span>
          </div>
        </div>
      </div>
    </div>
  </div>;

<ChatConversationsCover />

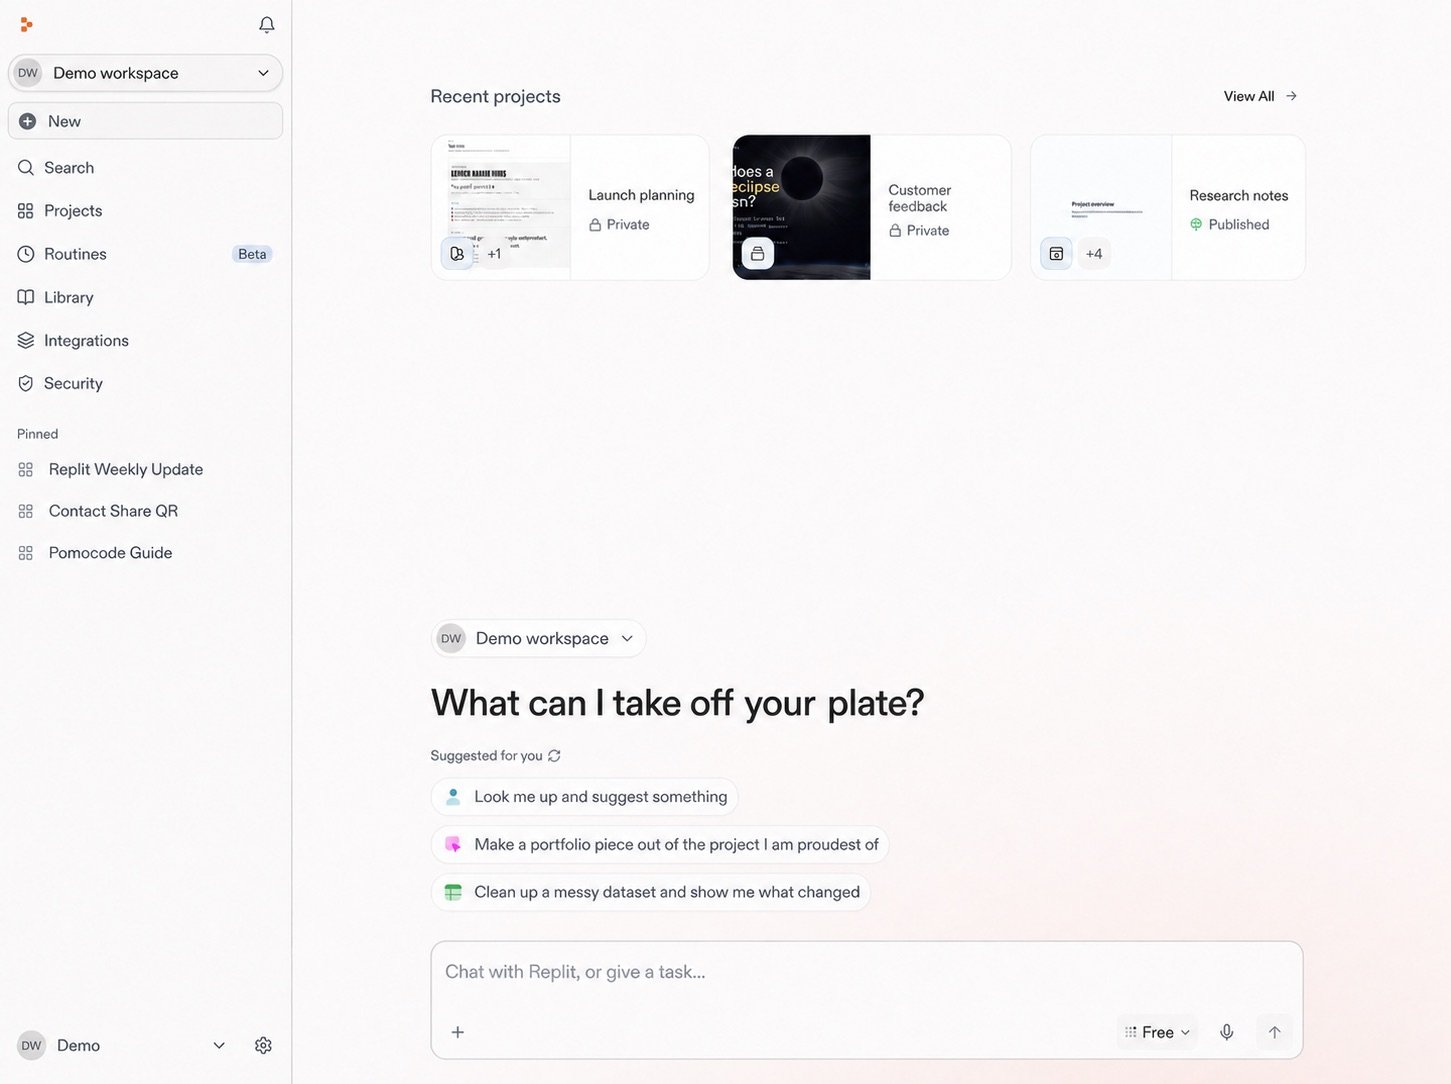
Chaque tâche dans Replit commence par une conversation. À partir de là, vous pouvez poser une question, explorer des informations, planifier une Routine ou décrire un résultat.

* Commencez à construire dans une Conversation.
* Utilisez-la pour poser des questions et exécuter des Routines.
* Réunissez du contexte, joignez des fichiers et clarifiez ce que vous souhaitez créer.
* Lorsque le travail devient conséquent, demandez à Replit de transformer la Conversation en Projet. Le contexte et les fichiers que vous avez réunis sont reportés.

<Note>
  Les Conversations sont privées. Seul vous pouvez y accéder dans votre
  Espace de travail. Pour collaborer, demandez à Replit de créer un Projet.
</Note>

En savoir plus : [Transformer une conversation en projet](/fr/chat/continue-or-create-a-project).

<Frame>
  <img src="https://mintcdn.com/replit/teDUL4A-lNO7dv1O/images/chat/start-new-conversation-home-sanitized-neutral.jpg?fit=max&auto=format&n=teDUL4A-lNO7dv1O&q=85&s=cf93f549696aff0eab748dd953aea0b6" alt="Accueil de l'Espace de travail Replit anonymisé avec les Projets, Conversations, Routines, invites suggérées et la zone de message de Conversation" width="1451" height="1084" data-path="images/chat/start-new-conversation-home-sanitized-neutral.jpg" />
</Frame>

## Démarrer une nouvelle conversation

<Steps>
  <Step title="Sélectionnez Nouveau">
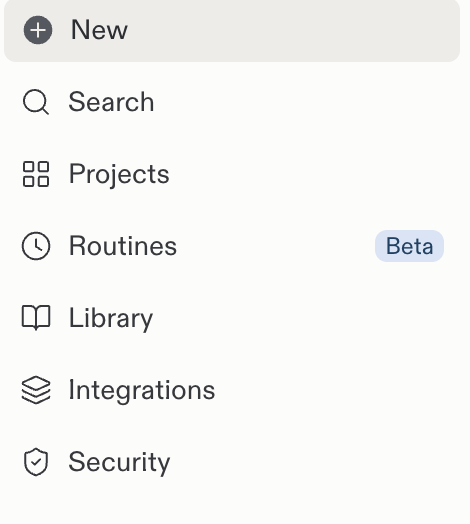
    Sélectionnez **Nouveau** dans la barre latérale de Replit.

    <Frame>
      <img src="https://mintcdn.com/replit/teDUL4A-lNO7dv1O/images/chat/start-new-conversation-sidebar.png?fit=max&auto=format&n=teDUL4A-lNO7dv1O&q=85&s=52b729bd549daddbde87f995c8f0b4b1" alt="Barre latérale de Replit avec le bouton Nouveau au-dessus de Recherche, Projets, Routines et d'autres entrées de navigation" width="470" height="524" data-path="images/chat/start-new-conversation-sidebar.png" />
    </Frame>
  </Step>

  <Step title="Rédigez votre demande">
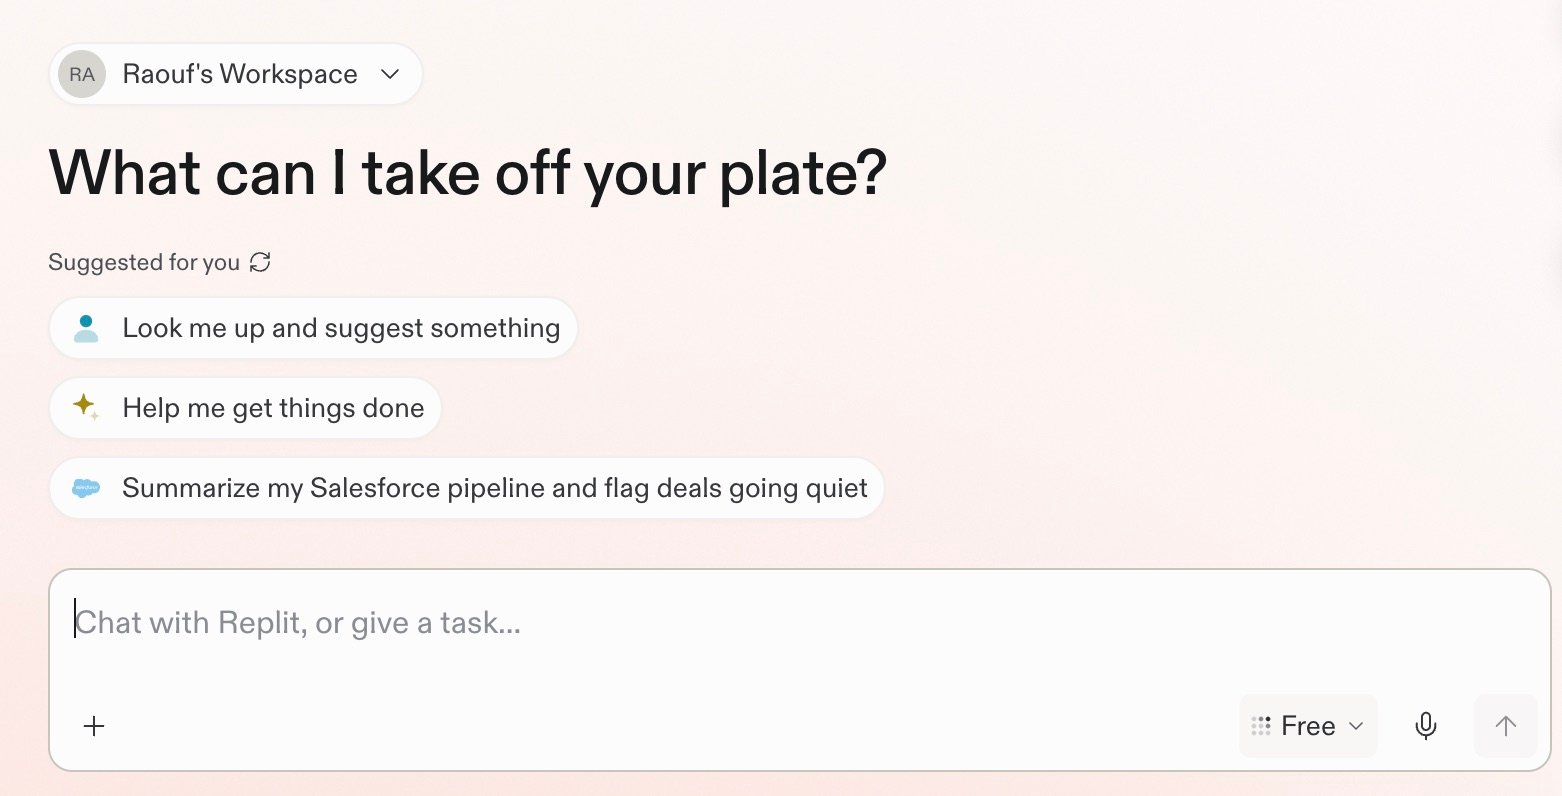
    Utilisez la zone d'invite pour rédiger votre demande. Par exemple, demandez
    à Replit : « Résume notre activité Slack de cette semaine et signale les
    messages qui nécessitent ma réponse. »

    <Frame>
      <img src="https://mintcdn.com/replit/teDUL4A-lNO7dv1O/images/chat/replit-conversation-home.jpg?fit=max&auto=format&n=teDUL4A-lNO7dv1O&q=85&s=ab82b3d581eb83c0d5f90c3e6fcd918e" alt="Écran d'accueil de conversation Replit avec des invites suggérées et une zone de message pour discuter avec Replit ou lui confier une tâche" width="1562" height="796" data-path="images/chat/replit-conversation-home.jpg" />
    </Frame>
  </Step>
</Steps>

## Commencez par ce que vous voulez faire

### Poser une question

Replit peut rechercher et analyser des informations issues du web, des outils connectés et des fichiers téléchargés. Posez une question précise ou fournissez le contexte que Replit doit utiliser.

Par exemple, demandez à Replit de résumer votre activité Slack de cette semaine et de
signaler les messages qui nécessitent votre réponse.

### Exécuter une routine

Une Routine planifie un travail récurrent au sein d'une Conversation. Replit renvoie chaque résultat dans la même Conversation, où vous pouvez le passer en revue et poursuivre le travail. En savoir plus sur les [Routines](/fr/chat/routines).

Par exemple, demandez à Replit de vérifier Slack chaque matin et de vous renvoyer vos priorités.

### Décrire un résultat

Une Conversation peut transformer une idée, une recherche ou un constat en un résultat concret, comme une application, une présentation ou un design.

Par exemple, demandez à Replit de créer un simple suivi de projet pour votre équipe.

### En savoir plus

Explorez un exemple ciblé pour chaque approche.

<section className="chat-mkt chat-workflow-grid has-visuals catalog-three-up">
  <a className="chat-example has-visual" href="/fr/use-cases/prepare-for-a-customer-call">
    <div className="chat-use-case-visual">
      <div className="customer-call-marks customer-call-marks-card" aria-hidden="true">
        <div className="customer-call-mark">
          <Icon icon="salesforce" iconType="brands" size={44} color="#ffffff" />
        </div>

        <div className="customer-call-mark">
          <Icon icon="slack" iconType="brands" size={44} color="#ffffff" />
        </div>

        <div className="customer-call-mark">
          <Icon icon="google-drive" iconType="brands" size={44} color="#ffffff" />
        </div>
      </div>
    </div>

    <div className="chat-example-tag">Poser des questions</div>

    <div className="chat-card-title" style={{ marginTop: 16, fontSize: 20 }}>
      Se préparer pour un appel client
    </div>

    <p>Réunissez des sources connectées et préparez un briefing d'appel ciblé.</p>
    <div className="chat-card-link">Explorer →</div>
  </a>

  <a className="chat-example has-visual" href="/fr/schedule-a-routine">
    <div className="chat-use-case-visual palette-ink">
      <div className="chat-use-case-window">
        <i />

        <i />

        <i />

        <b />

        <b />

        <b />
      </div>

      <em>
        <Icon icon="arrows-rotate" size={24} />
      </em>
    </div>

    <div className="chat-example-tag">Exécuter une routine</div>

    <div className="chat-card-title" style={{ marginTop: 16, fontSize: 20 }}>
      Planifier une routine
    </div>

    <p>
      Planifiez un travail récurrent et passez en revue chaque résultat dans la
      même Conversation.
    </p>

    <div className="chat-card-link">Explorer →</div>
  </a>

  <a className="chat-example has-visual" href="/fr/build/your-first-app">
    <div className="chat-use-case-visual">
      <div className="chat-use-case-window">
        <i />

        <i />

        <i />

        <b />

        <b />

        <b />
      </div>

      <em>
        <Icon icon="code" size={24} />
      </em>
    </div>

    <div className="chat-example-tag">Décrire un résultat</div>

    <div className="chat-card-title" style={{ marginTop: 16, fontSize: 20 }}>
      Construire à partir d'un constat
    </div>

    <p>Créez un tableau de bord, une application ou un outil autour des informations qui comptent.</p>
    <div className="chat-card-link">Explorer →</div>
  </a>
</section>

## Prochaines étapes

Le prompting vous aide à indiquer à Replit ce dont vous avez besoin, à pointer vers du contexte utile et à donner une direction claire. Commencez par là, ou suivez un exemple complet de recherche.

<section className="chat-mkt chat-workflow-grid has-visuals">
  <a className="chat-example has-visual" href="/fr/chat/prompting">
    <PromptingCardVisual />

    <div className="chat-example-tag">Étape suivante recommandée</div>

    <div className="chat-card-title" style={{ marginTop: 11, fontSize: 20 }}>
      Prompting
    </div>

    <p>Apprenez à donner à Replit une direction et un contexte utiles.</p>
    <div className="chat-card-link">Continuer →</div>
  </a>

  <a className="chat-example has-visual" href="/fr/use-cases/prepare-for-a-customer-call">
    <div className="chat-use-case-visual">
      <div className="customer-call-marks customer-call-marks-card" aria-hidden="true">
        <div className="customer-call-mark">
          <Icon icon="salesforce" iconType="brands" size={44} color="#ffffff" />
        </div>

        <div className="customer-call-mark">
          <Icon icon="slack" iconType="brands" size={44} color="#ffffff" />
        </div>

        <div className="customer-call-mark">
          <Icon icon="google-drive" iconType="brands" size={44} color="#ffffff" />
        </div>
      </div>
    </div>

    <div className="chat-example-tag">Rechercher et analyser</div>

    <div className="chat-card-title" style={{ marginTop: 11, fontSize: 20 }}>
      Se préparer pour un appel client
    </div>

    <p>Réunissez des sources connectées et préparez un briefing d'appel ciblé.</p>
    <div className="chat-card-link">Explorer le cas d'usage →</div>
  </a>
</section>

Poursuivez avec [Prompting](/fr/chat/prompting) pour apprendre à transformer une idée initiale en une demande claire pour Replit.
