> ## Documentation Index
> Fetch the complete documentation index at: https://docs.replit.com/llms.txt
> Use this file to discover all available pages before exploring further.
# Create an account
> Get started with Replit Enterprise: create an account or sign in, choose the self-serve Enterprise plan, and complete signup before setting up your Workspace.
Create a Replit account or sign in to an existing one, then complete the **self-serve Enterprise** signup. You can set up your organization's subscription online without contacting sales.
Already have an Enterprise account? Move on to [Create your Workspace](/teams/create-your-workspace). If you have a Replit account but haven't joined Enterprise yet, sign in and follow the signup steps below, or use the Billing upgrade alternative.
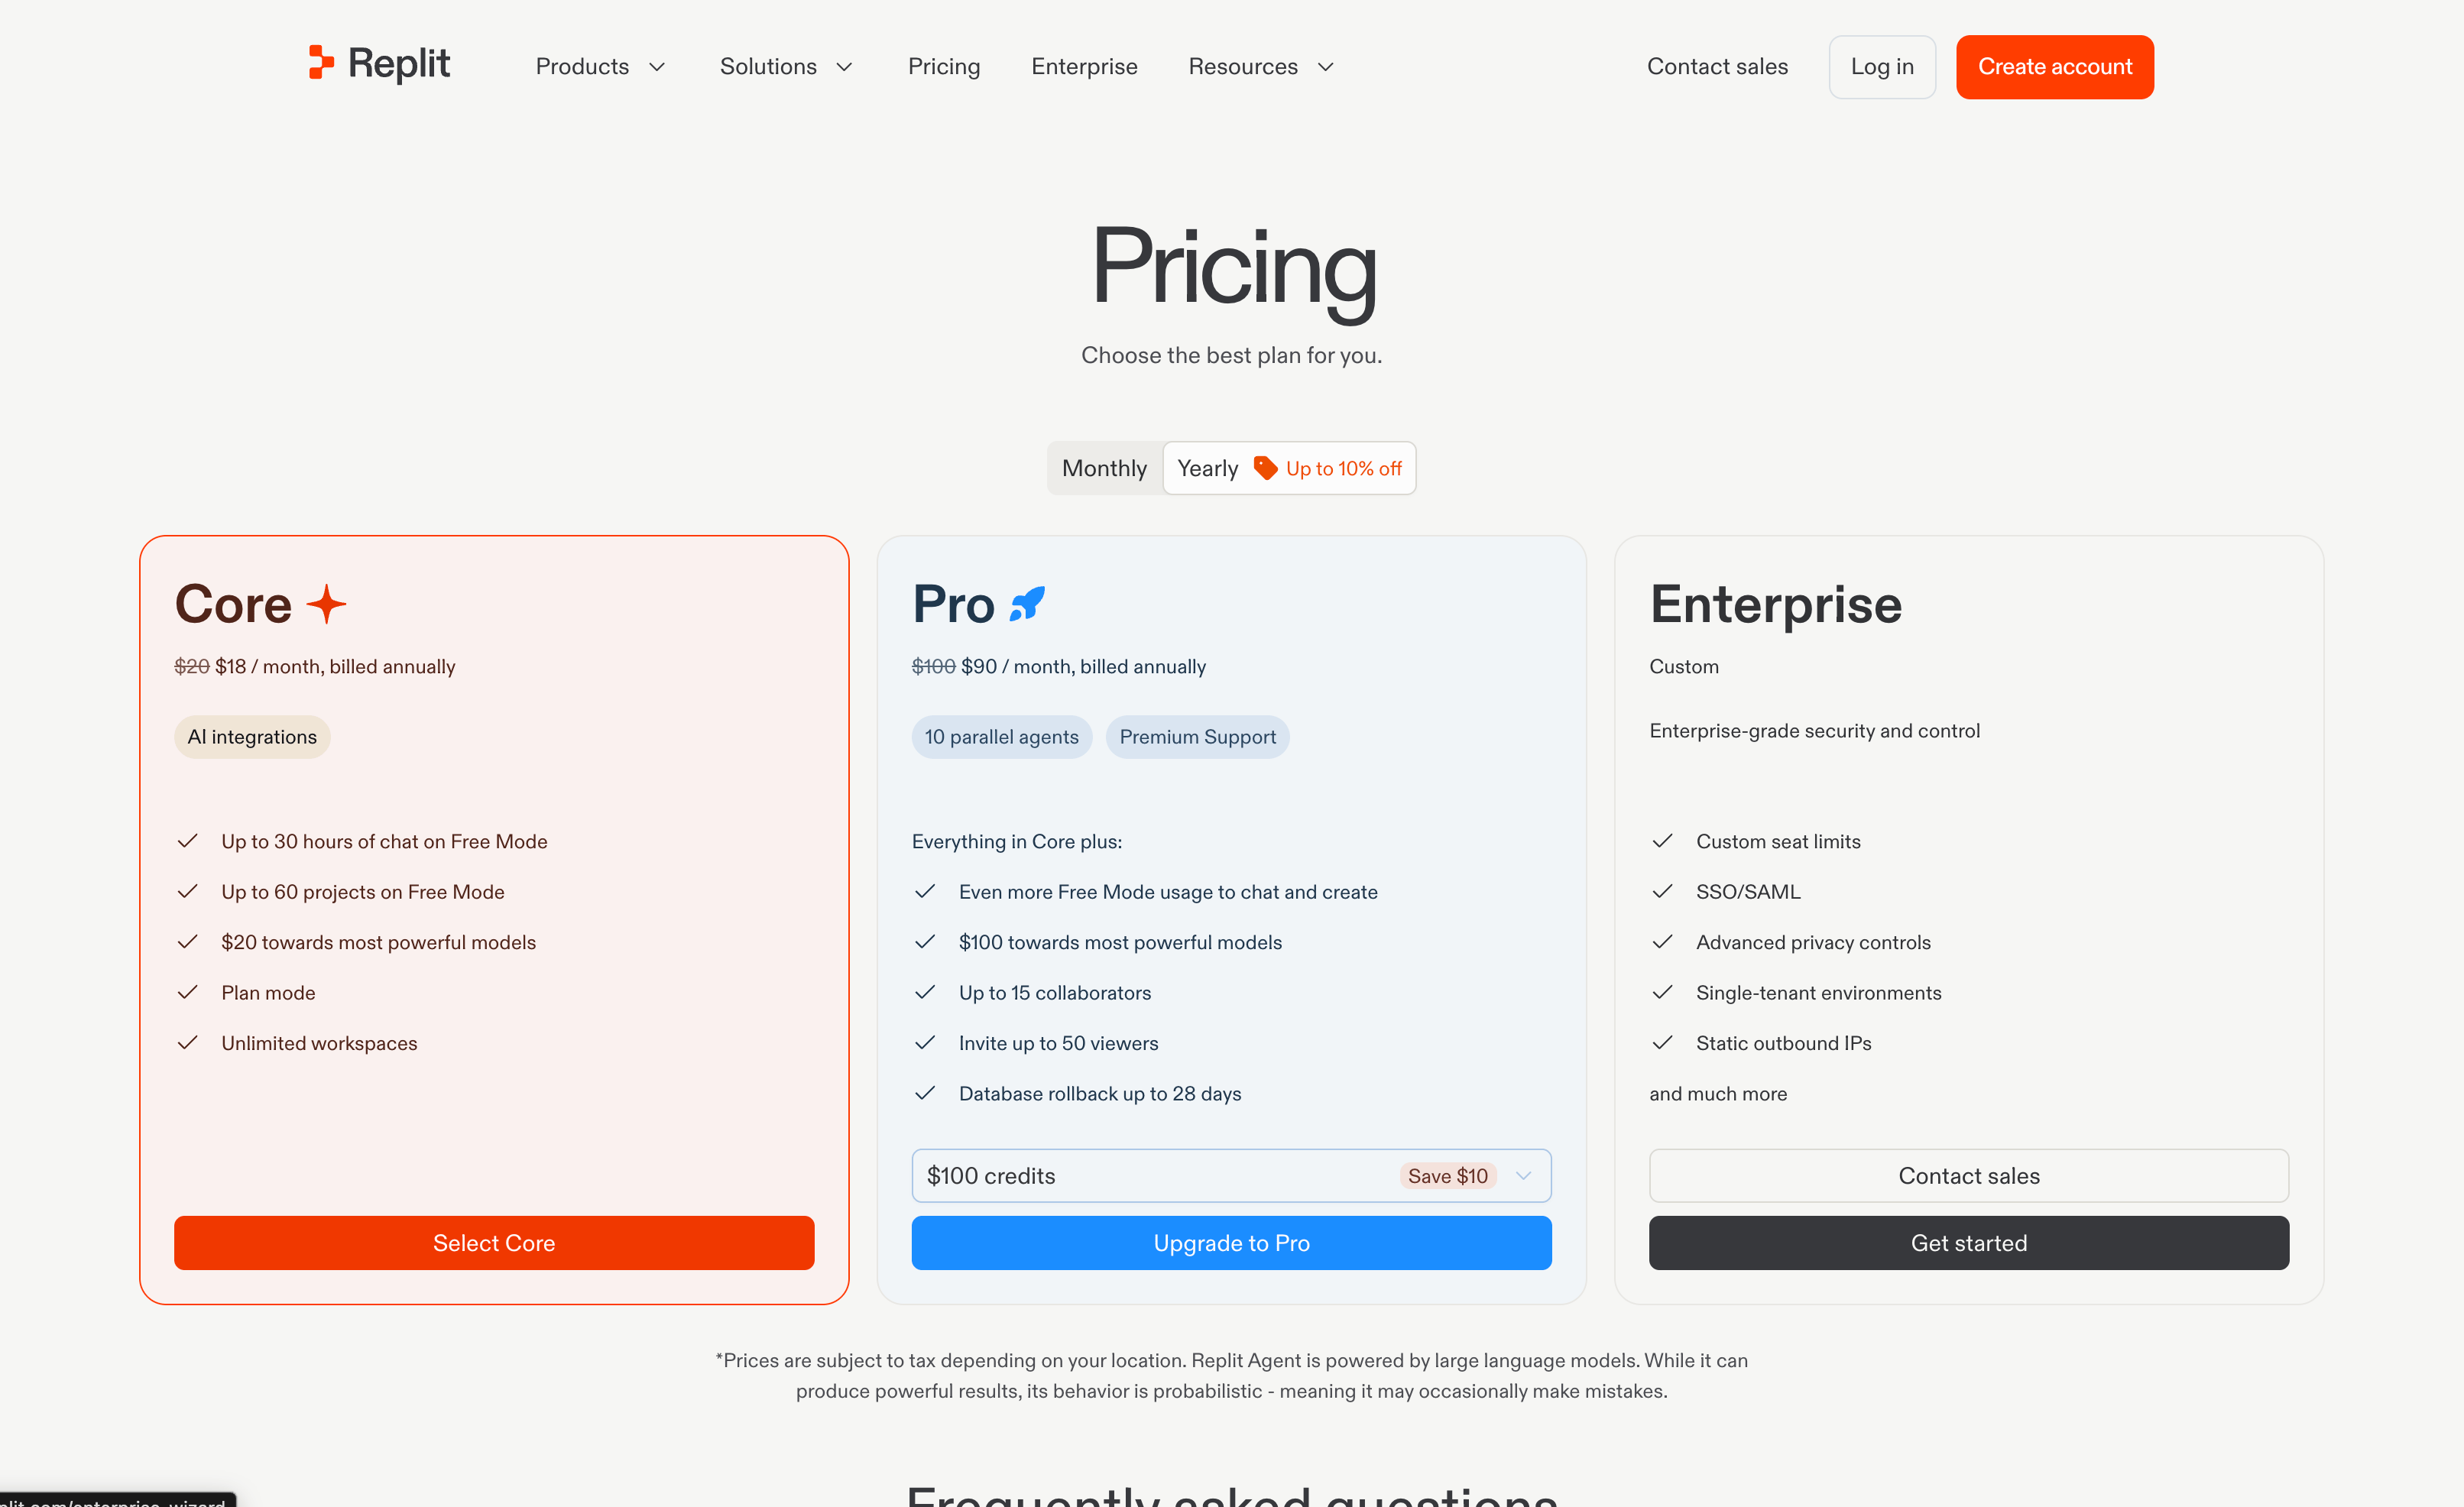
Open the [Replit pricing page](https://replit.com/pricing), locate **Enterprise**, and select **Get started**.
 If your company already has an Enterprise subscription, ask an existing administrator to invite you instead of starting another subscription.
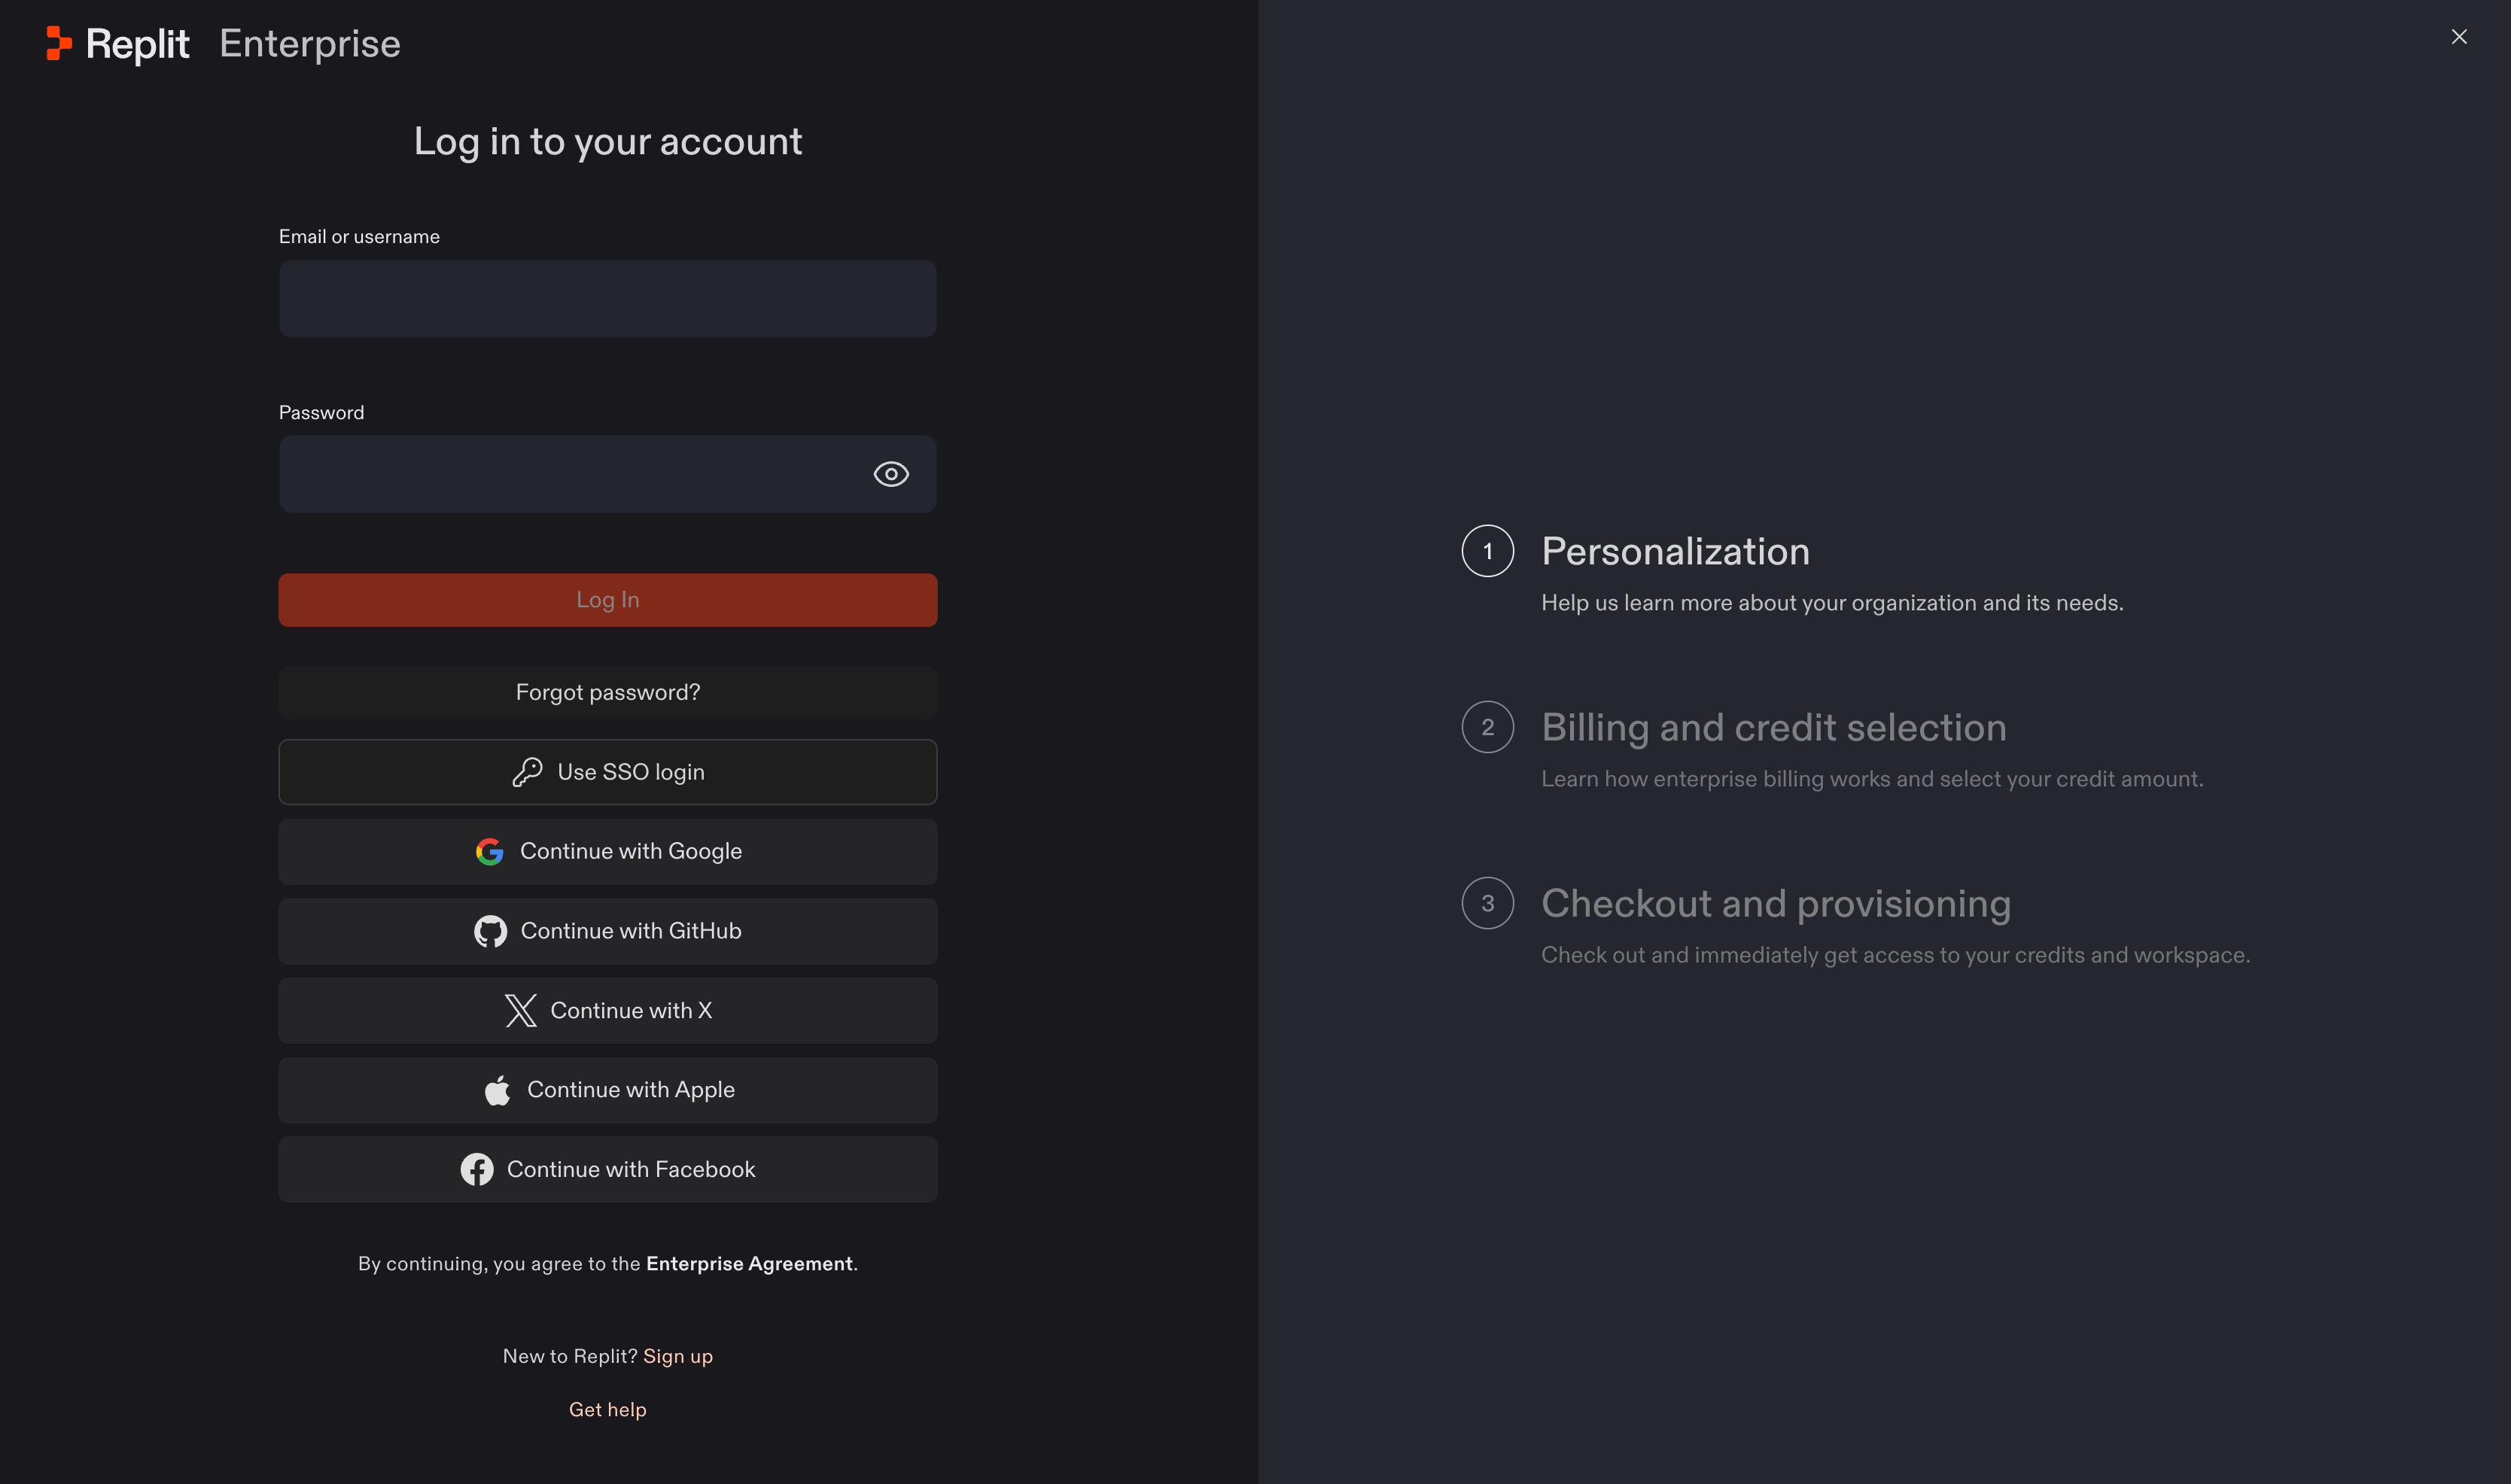
Log in with the Replit account you want to use to administer your organization. If you don't have an account, select **Sign up** at the bottom of the page to create one.
If your company already has an Enterprise subscription, ask an existing administrator to invite you instead of starting another subscription.
Log in with the Replit account you want to use to administer your organization. If you don't have an account, select **Sign up** at the bottom of the page to create one.
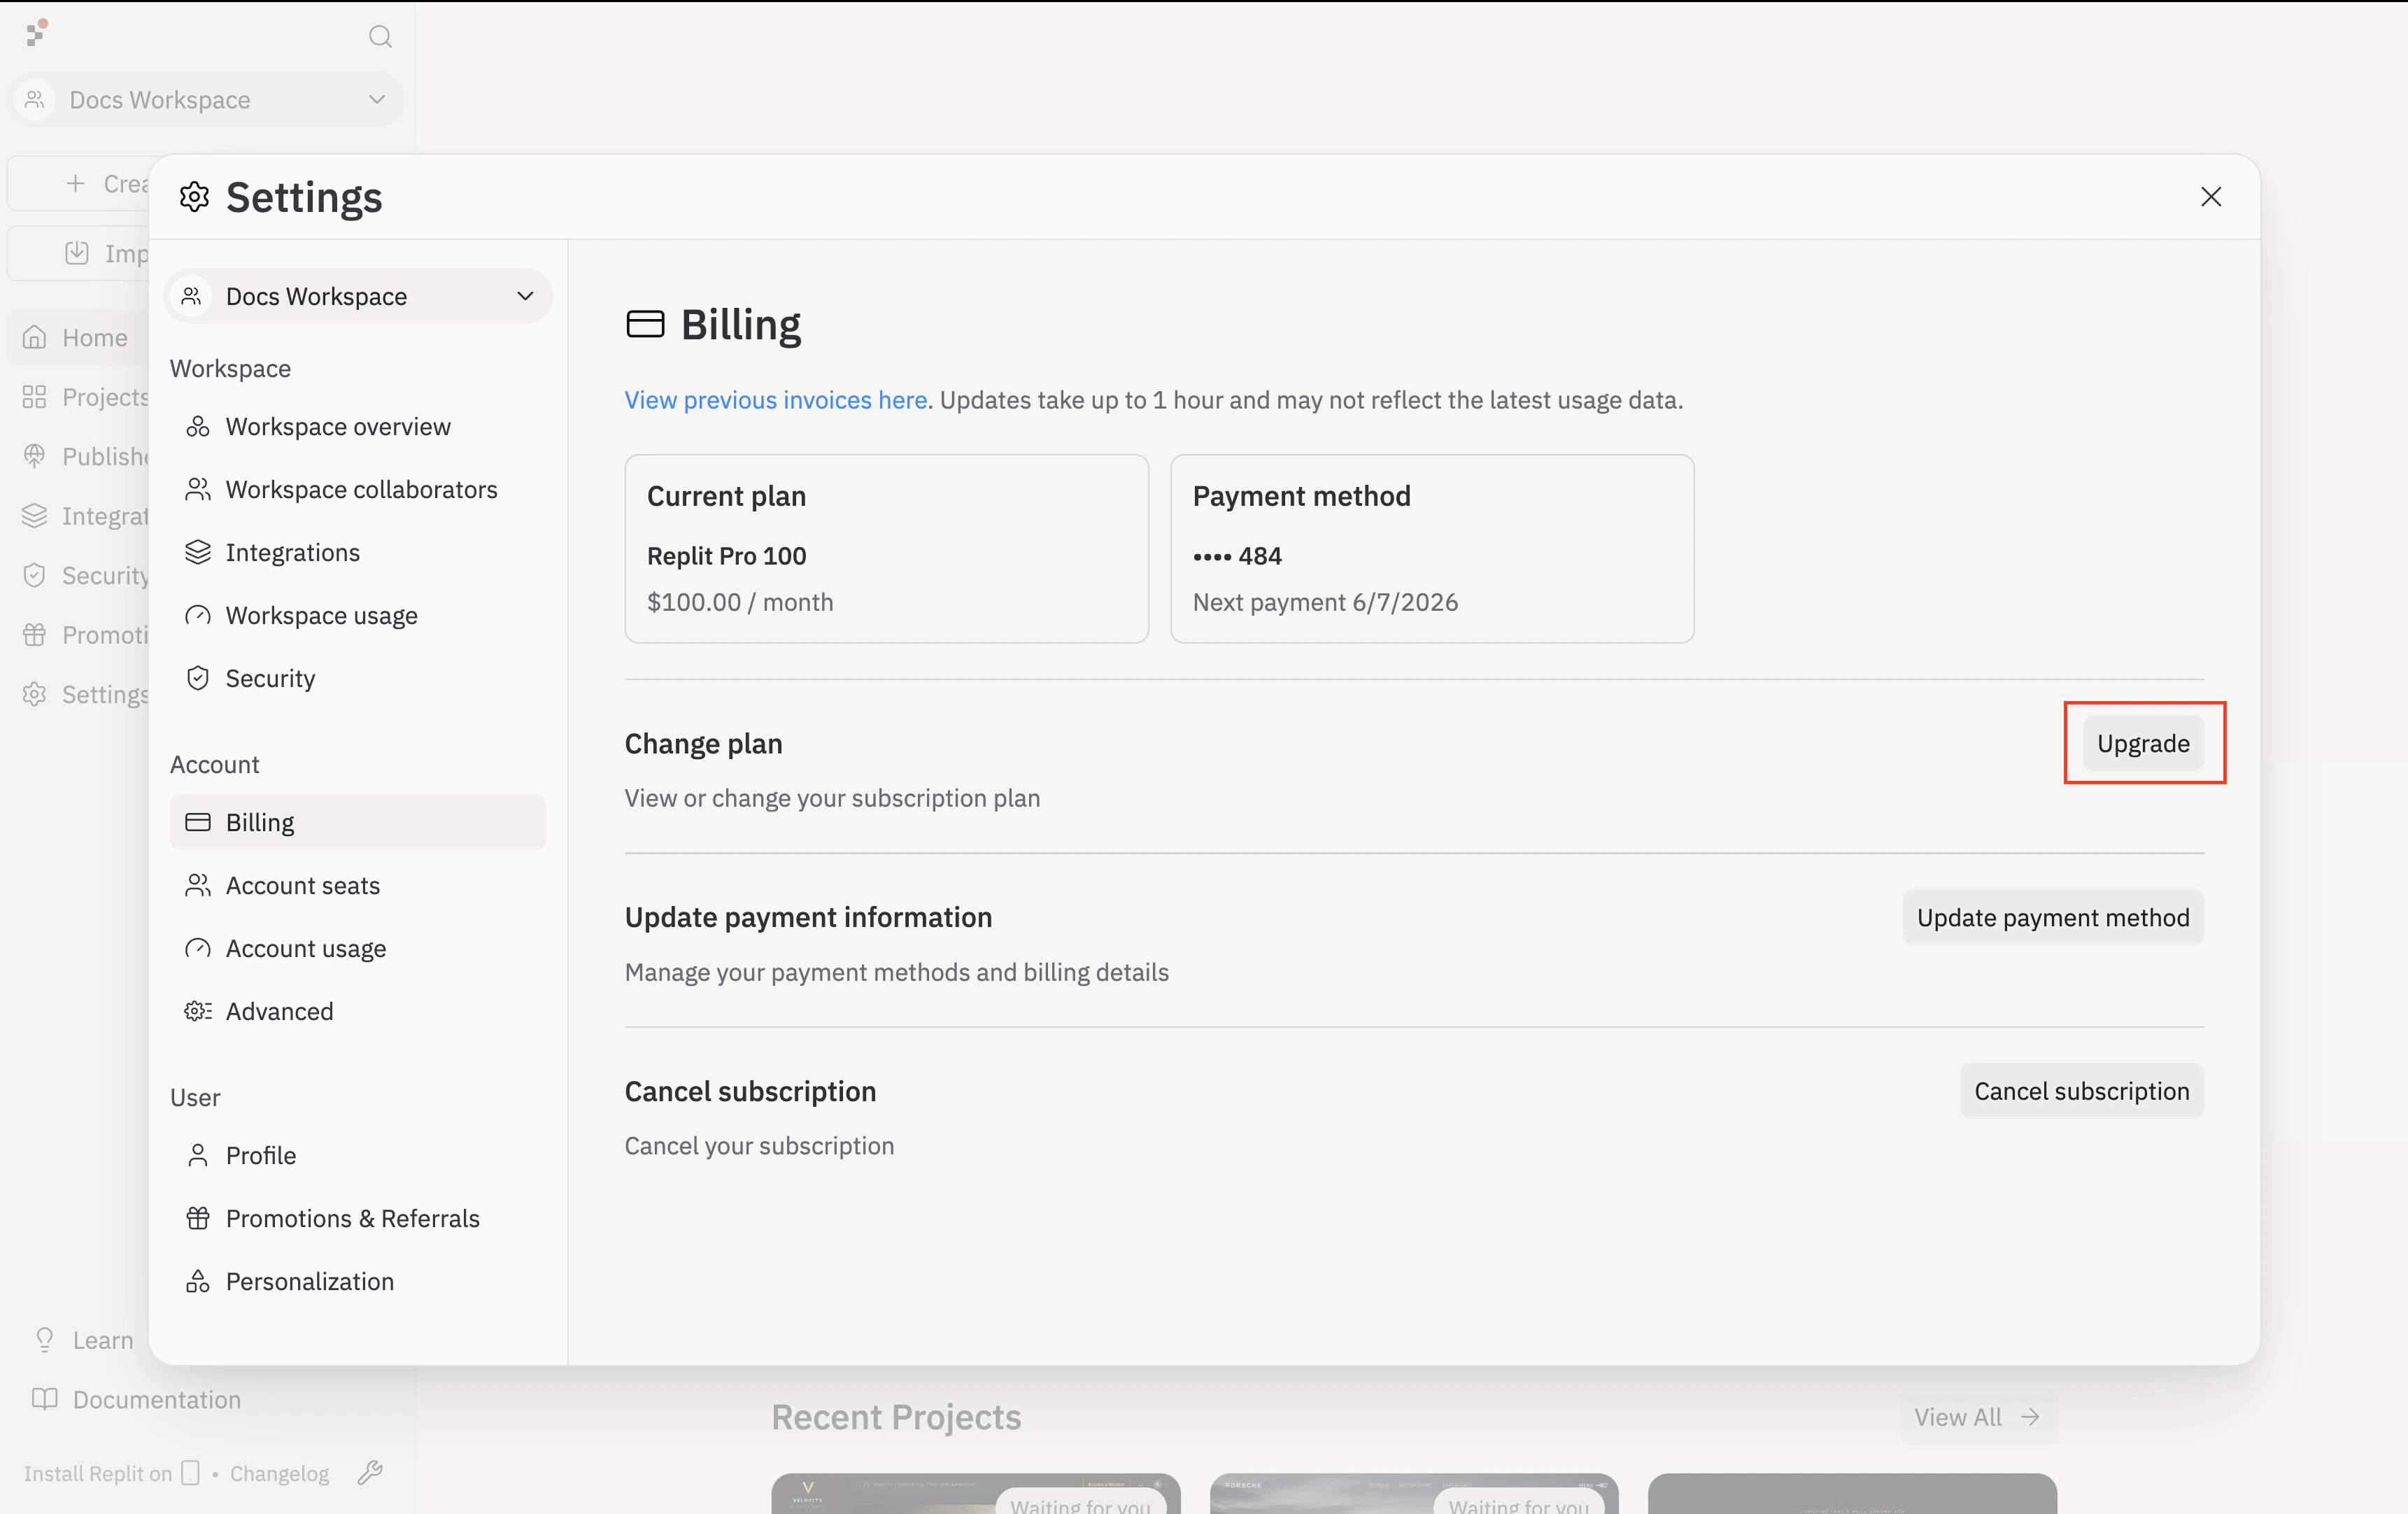
 If you're already signed in to Replit, you can start from **Settings → Billing** under Account instead. Select **Upgrade** next to **Change plan**.
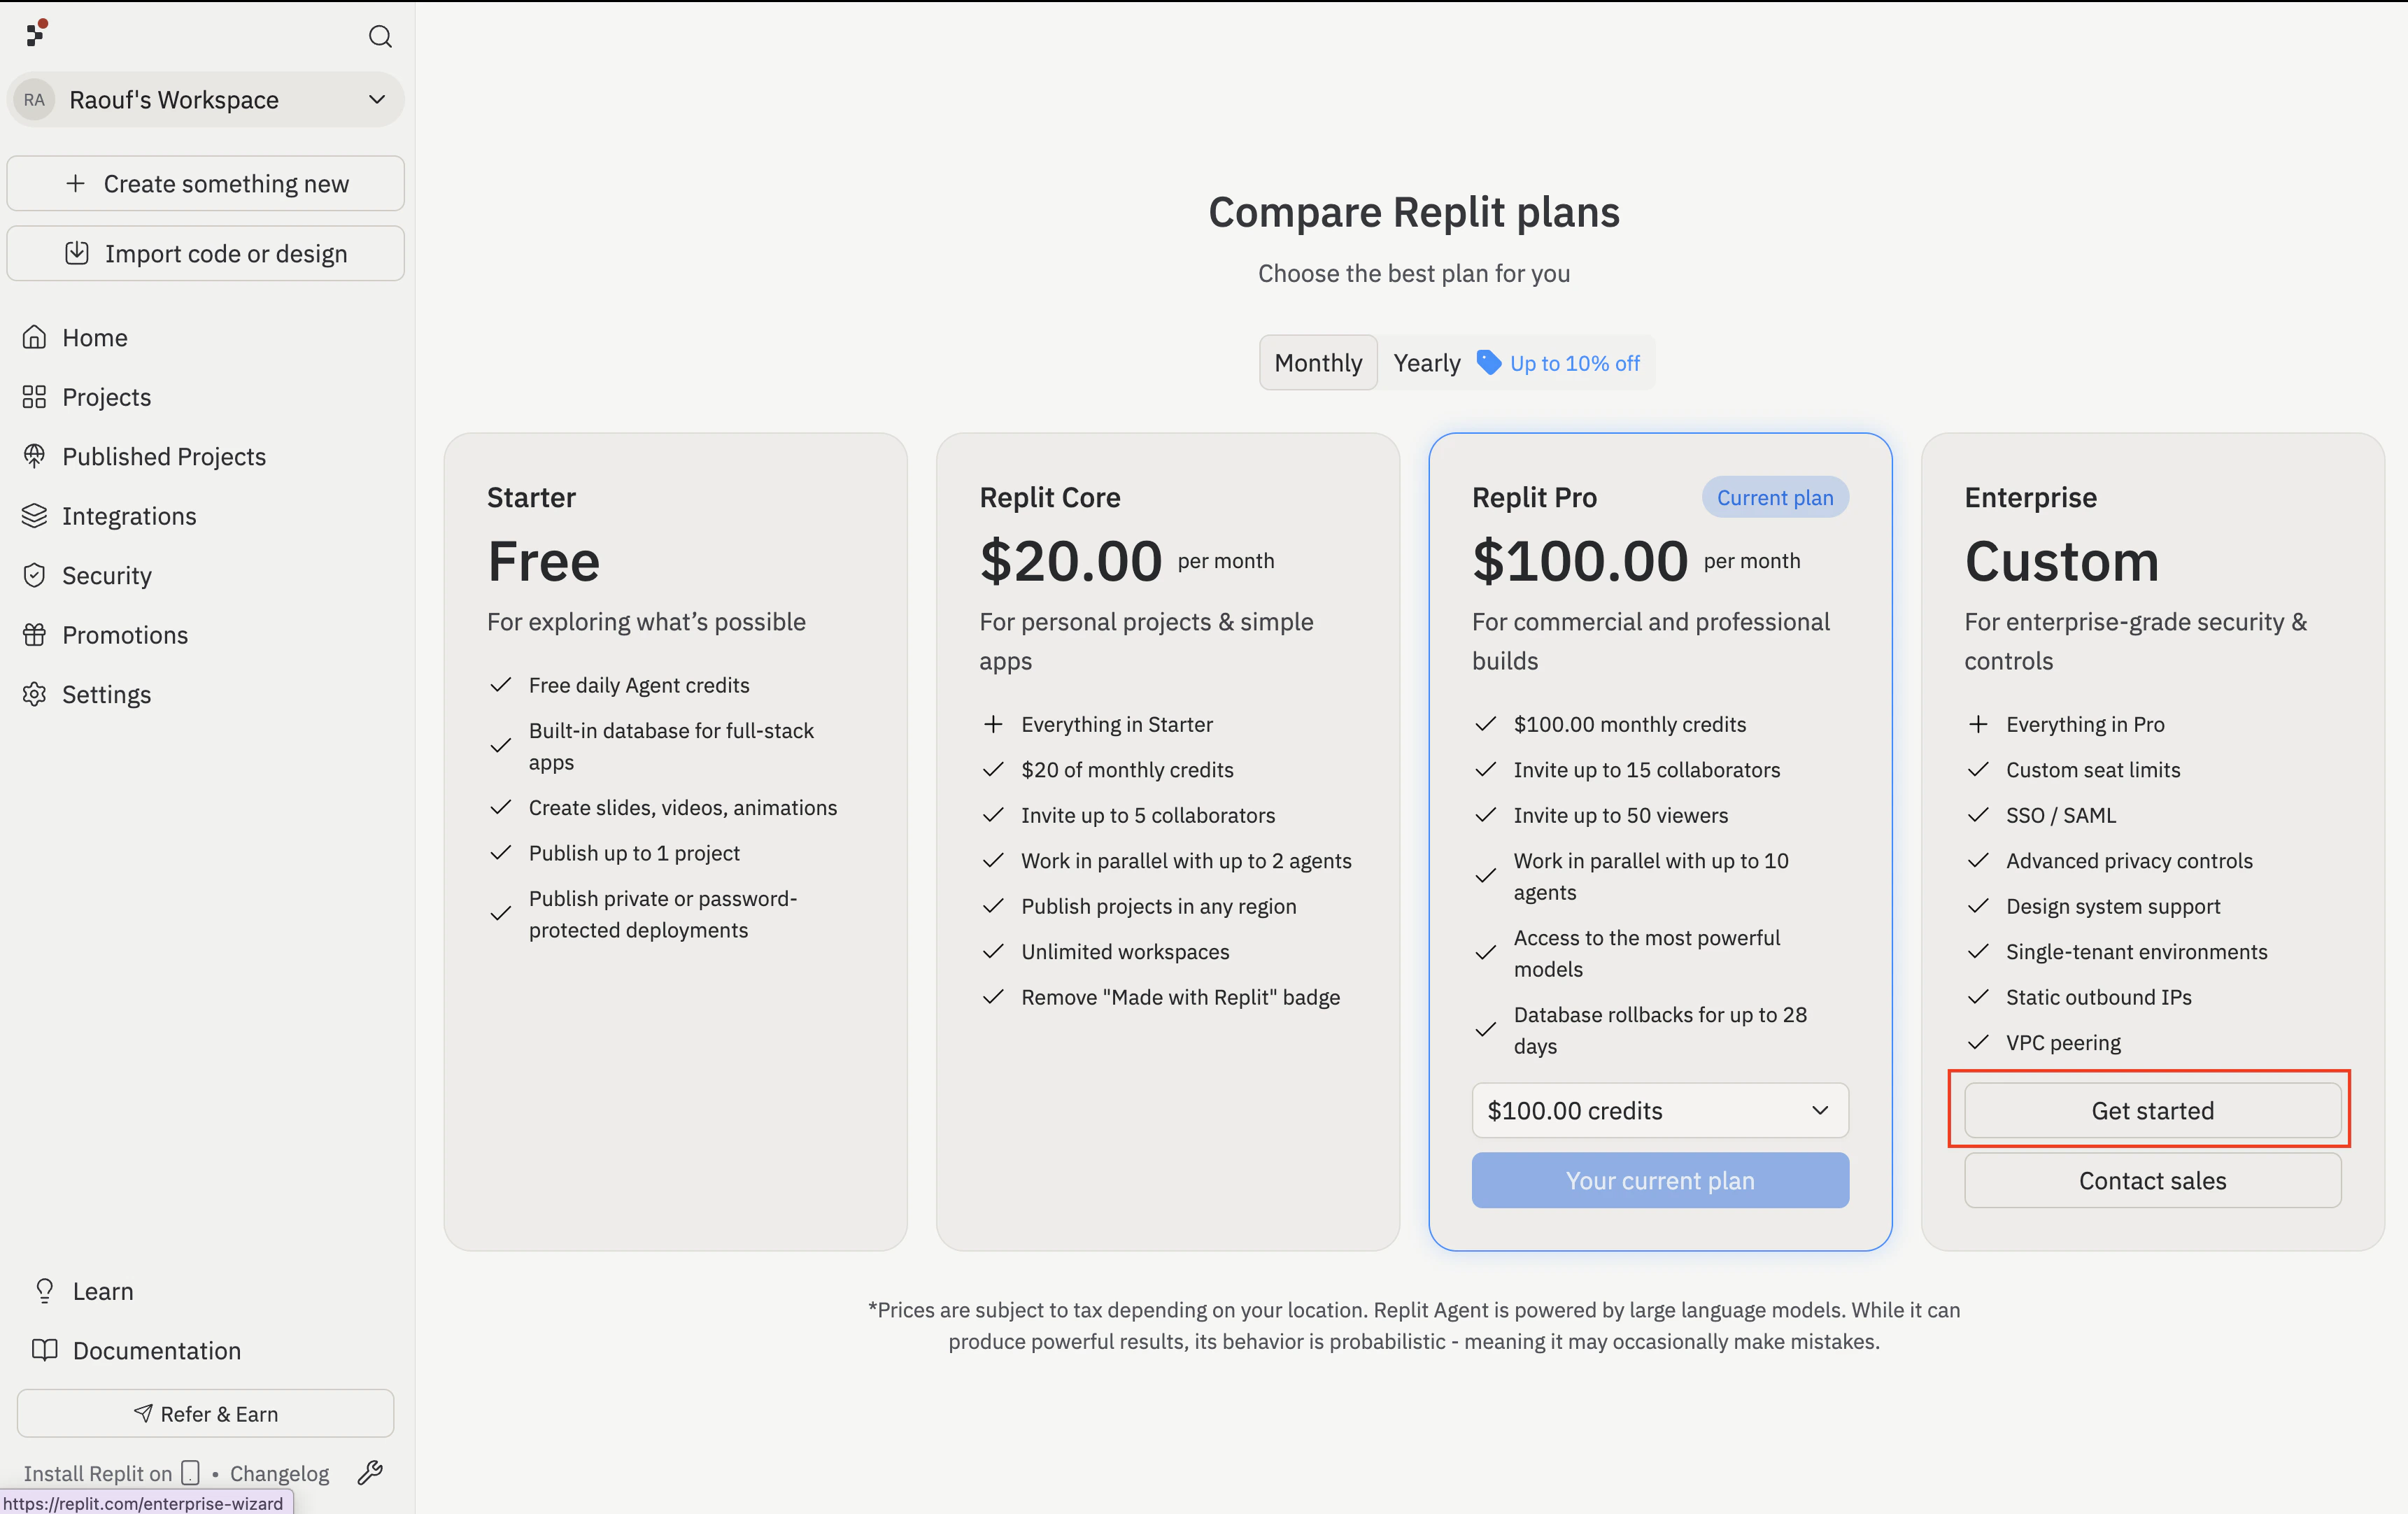
 On the **Compare Replit plans** screen, select **Get started** under **Enterprise / Custom**, then continue with the organization setup below.
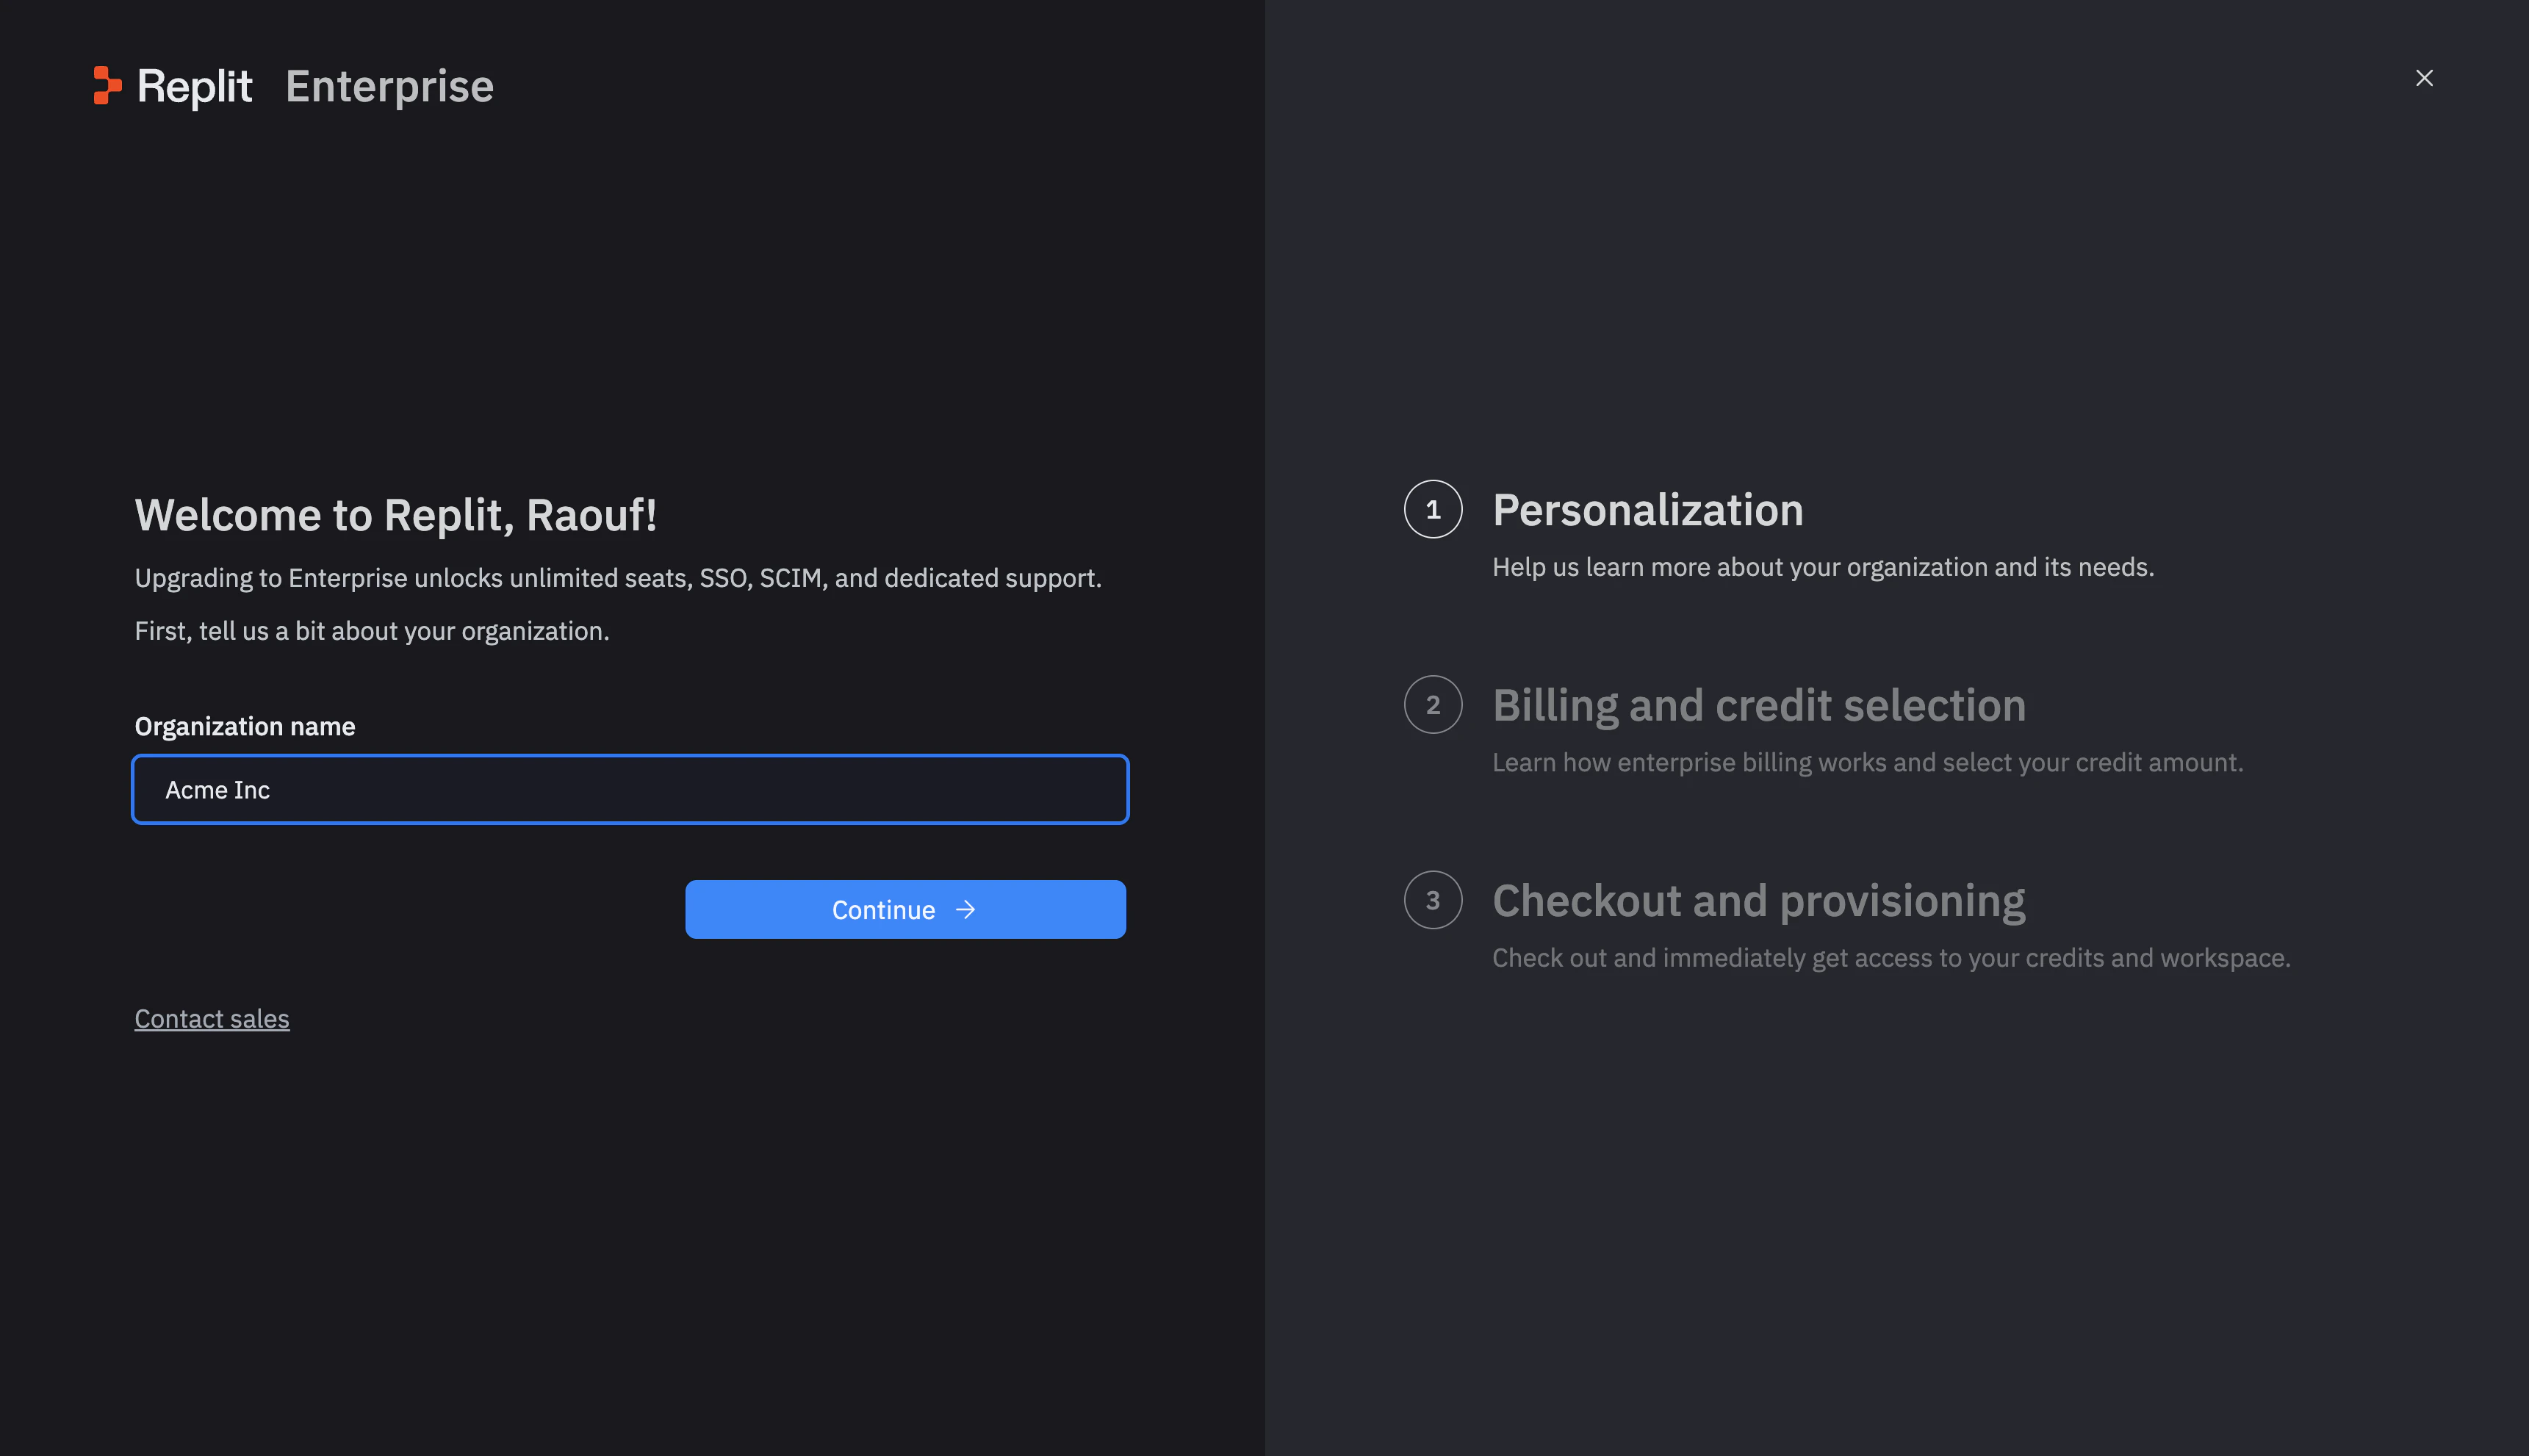
 On the **Personalization** step, enter your **Organization name** and select **Continue**.
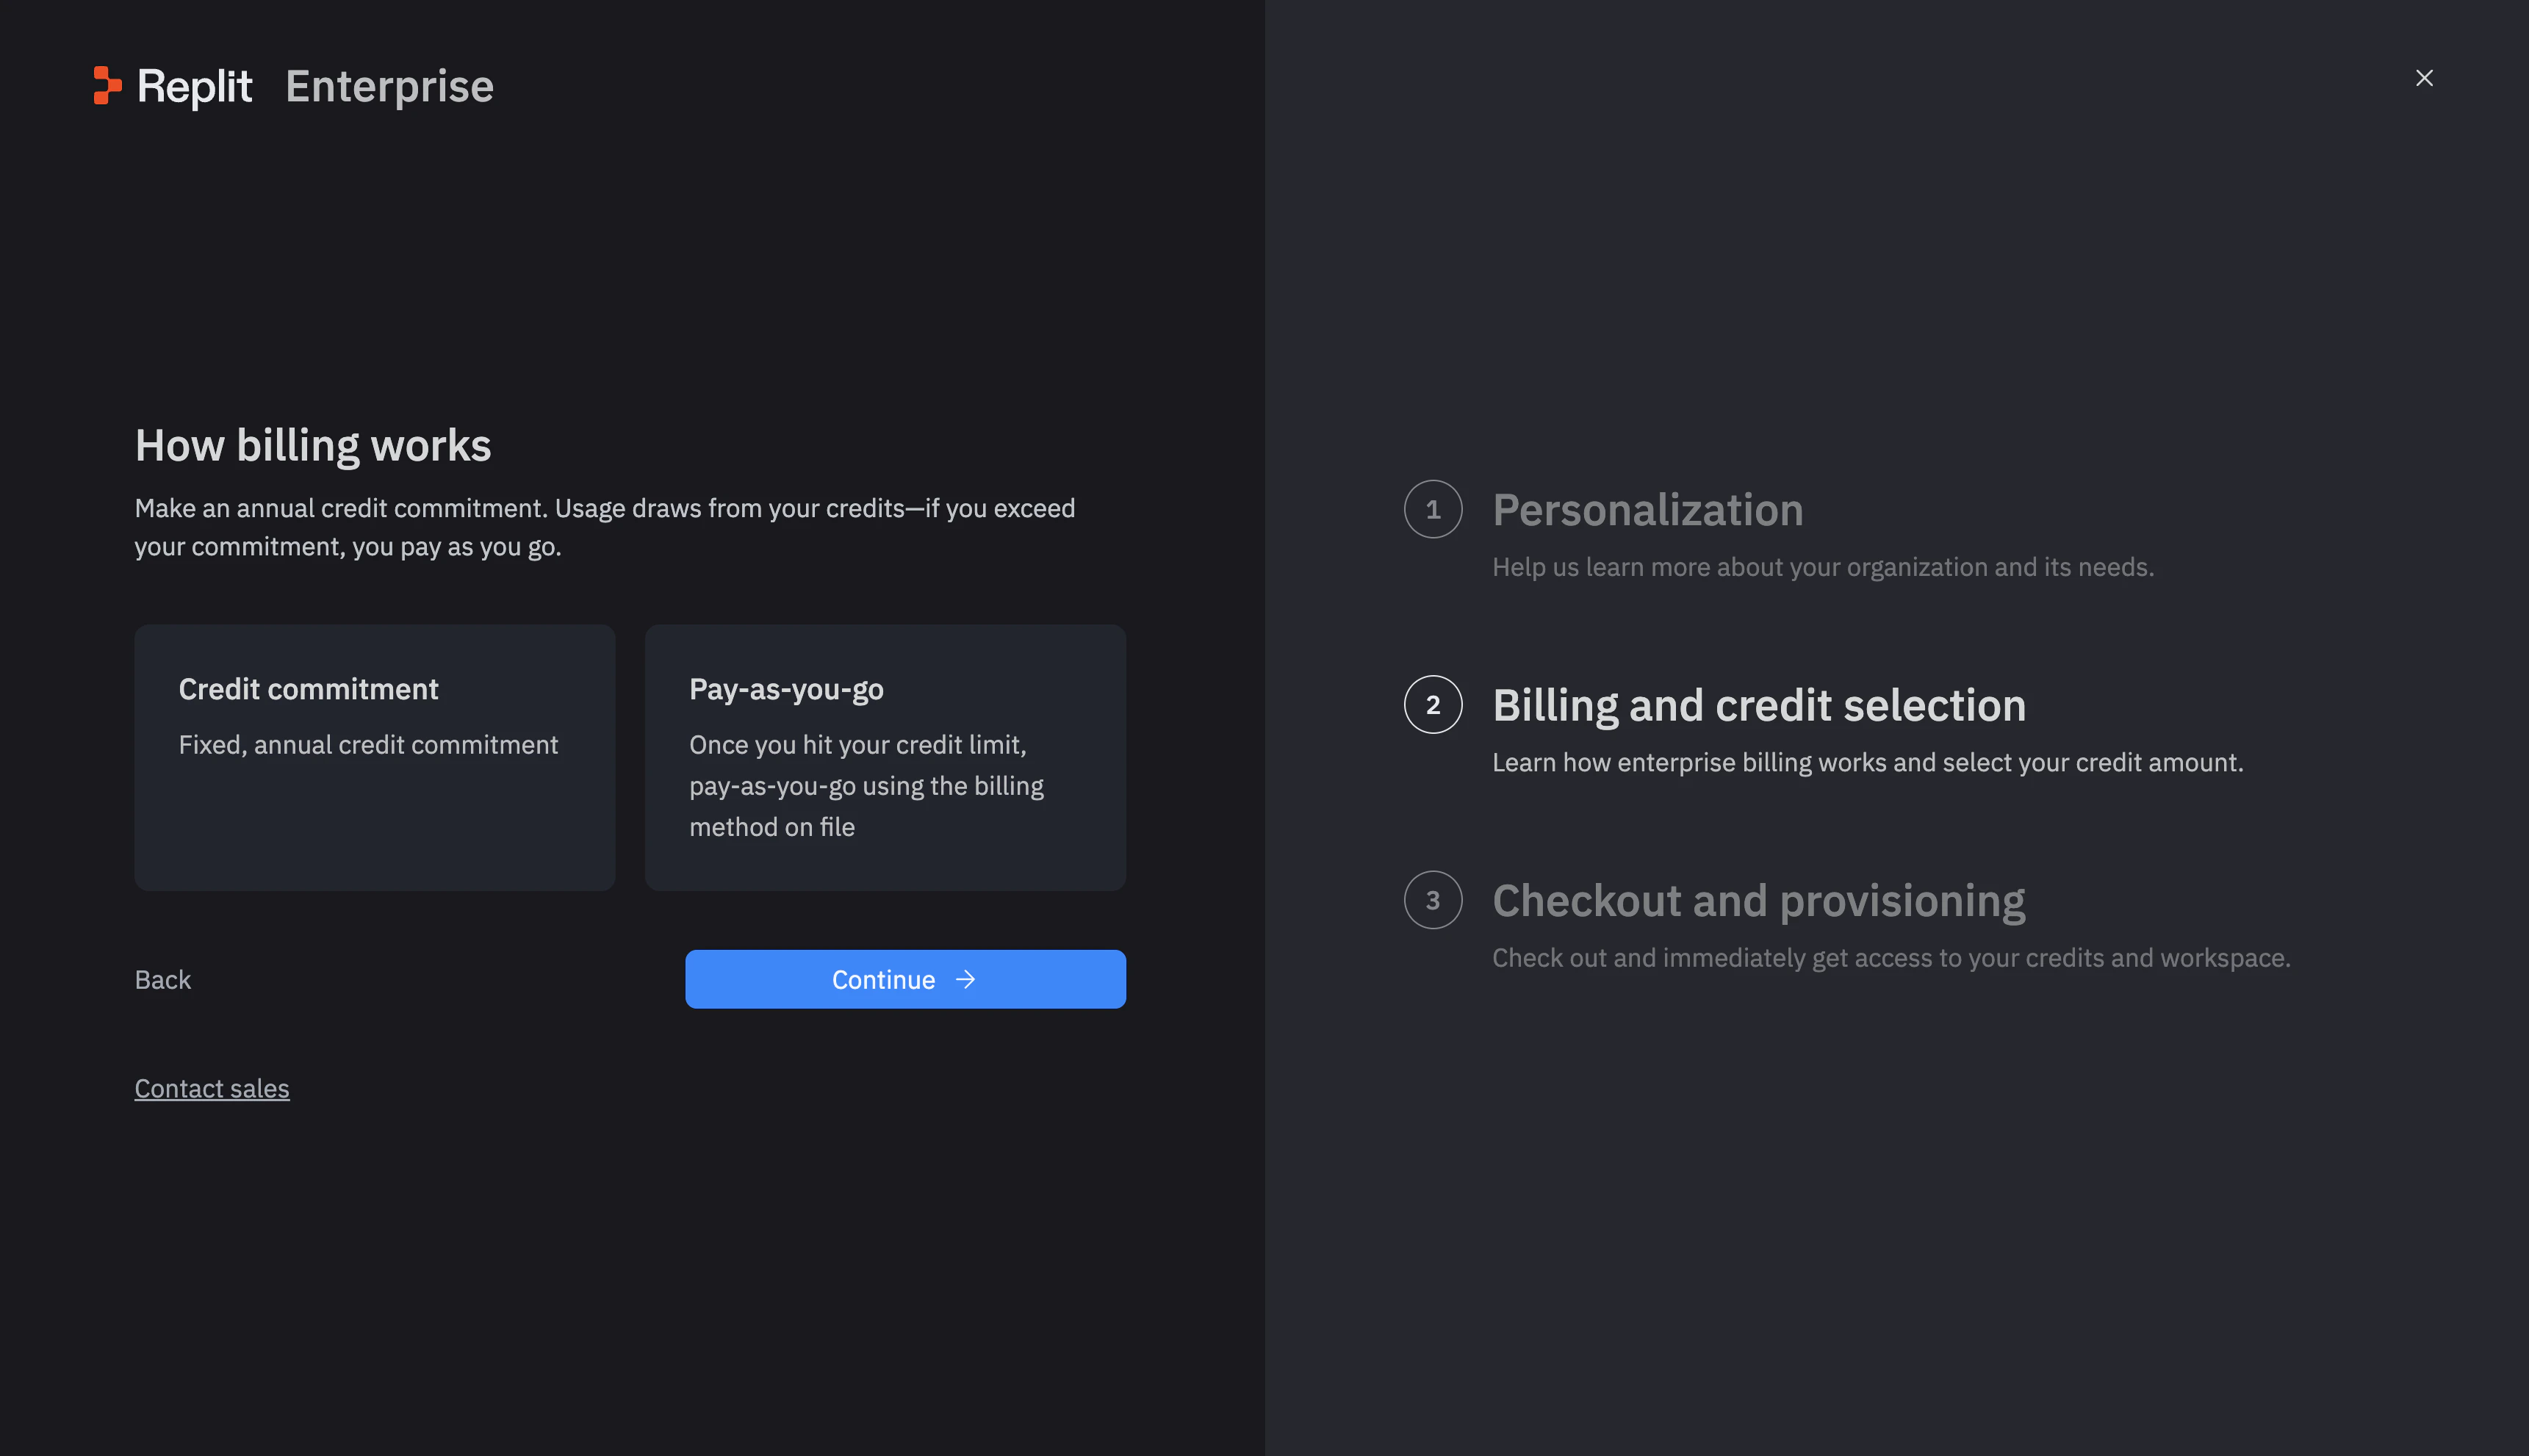
 Review the **How billing works** screen, which explains the annual credit commitment and pay-as-you-go usage after you reach your credit limit. Select **Continue**.
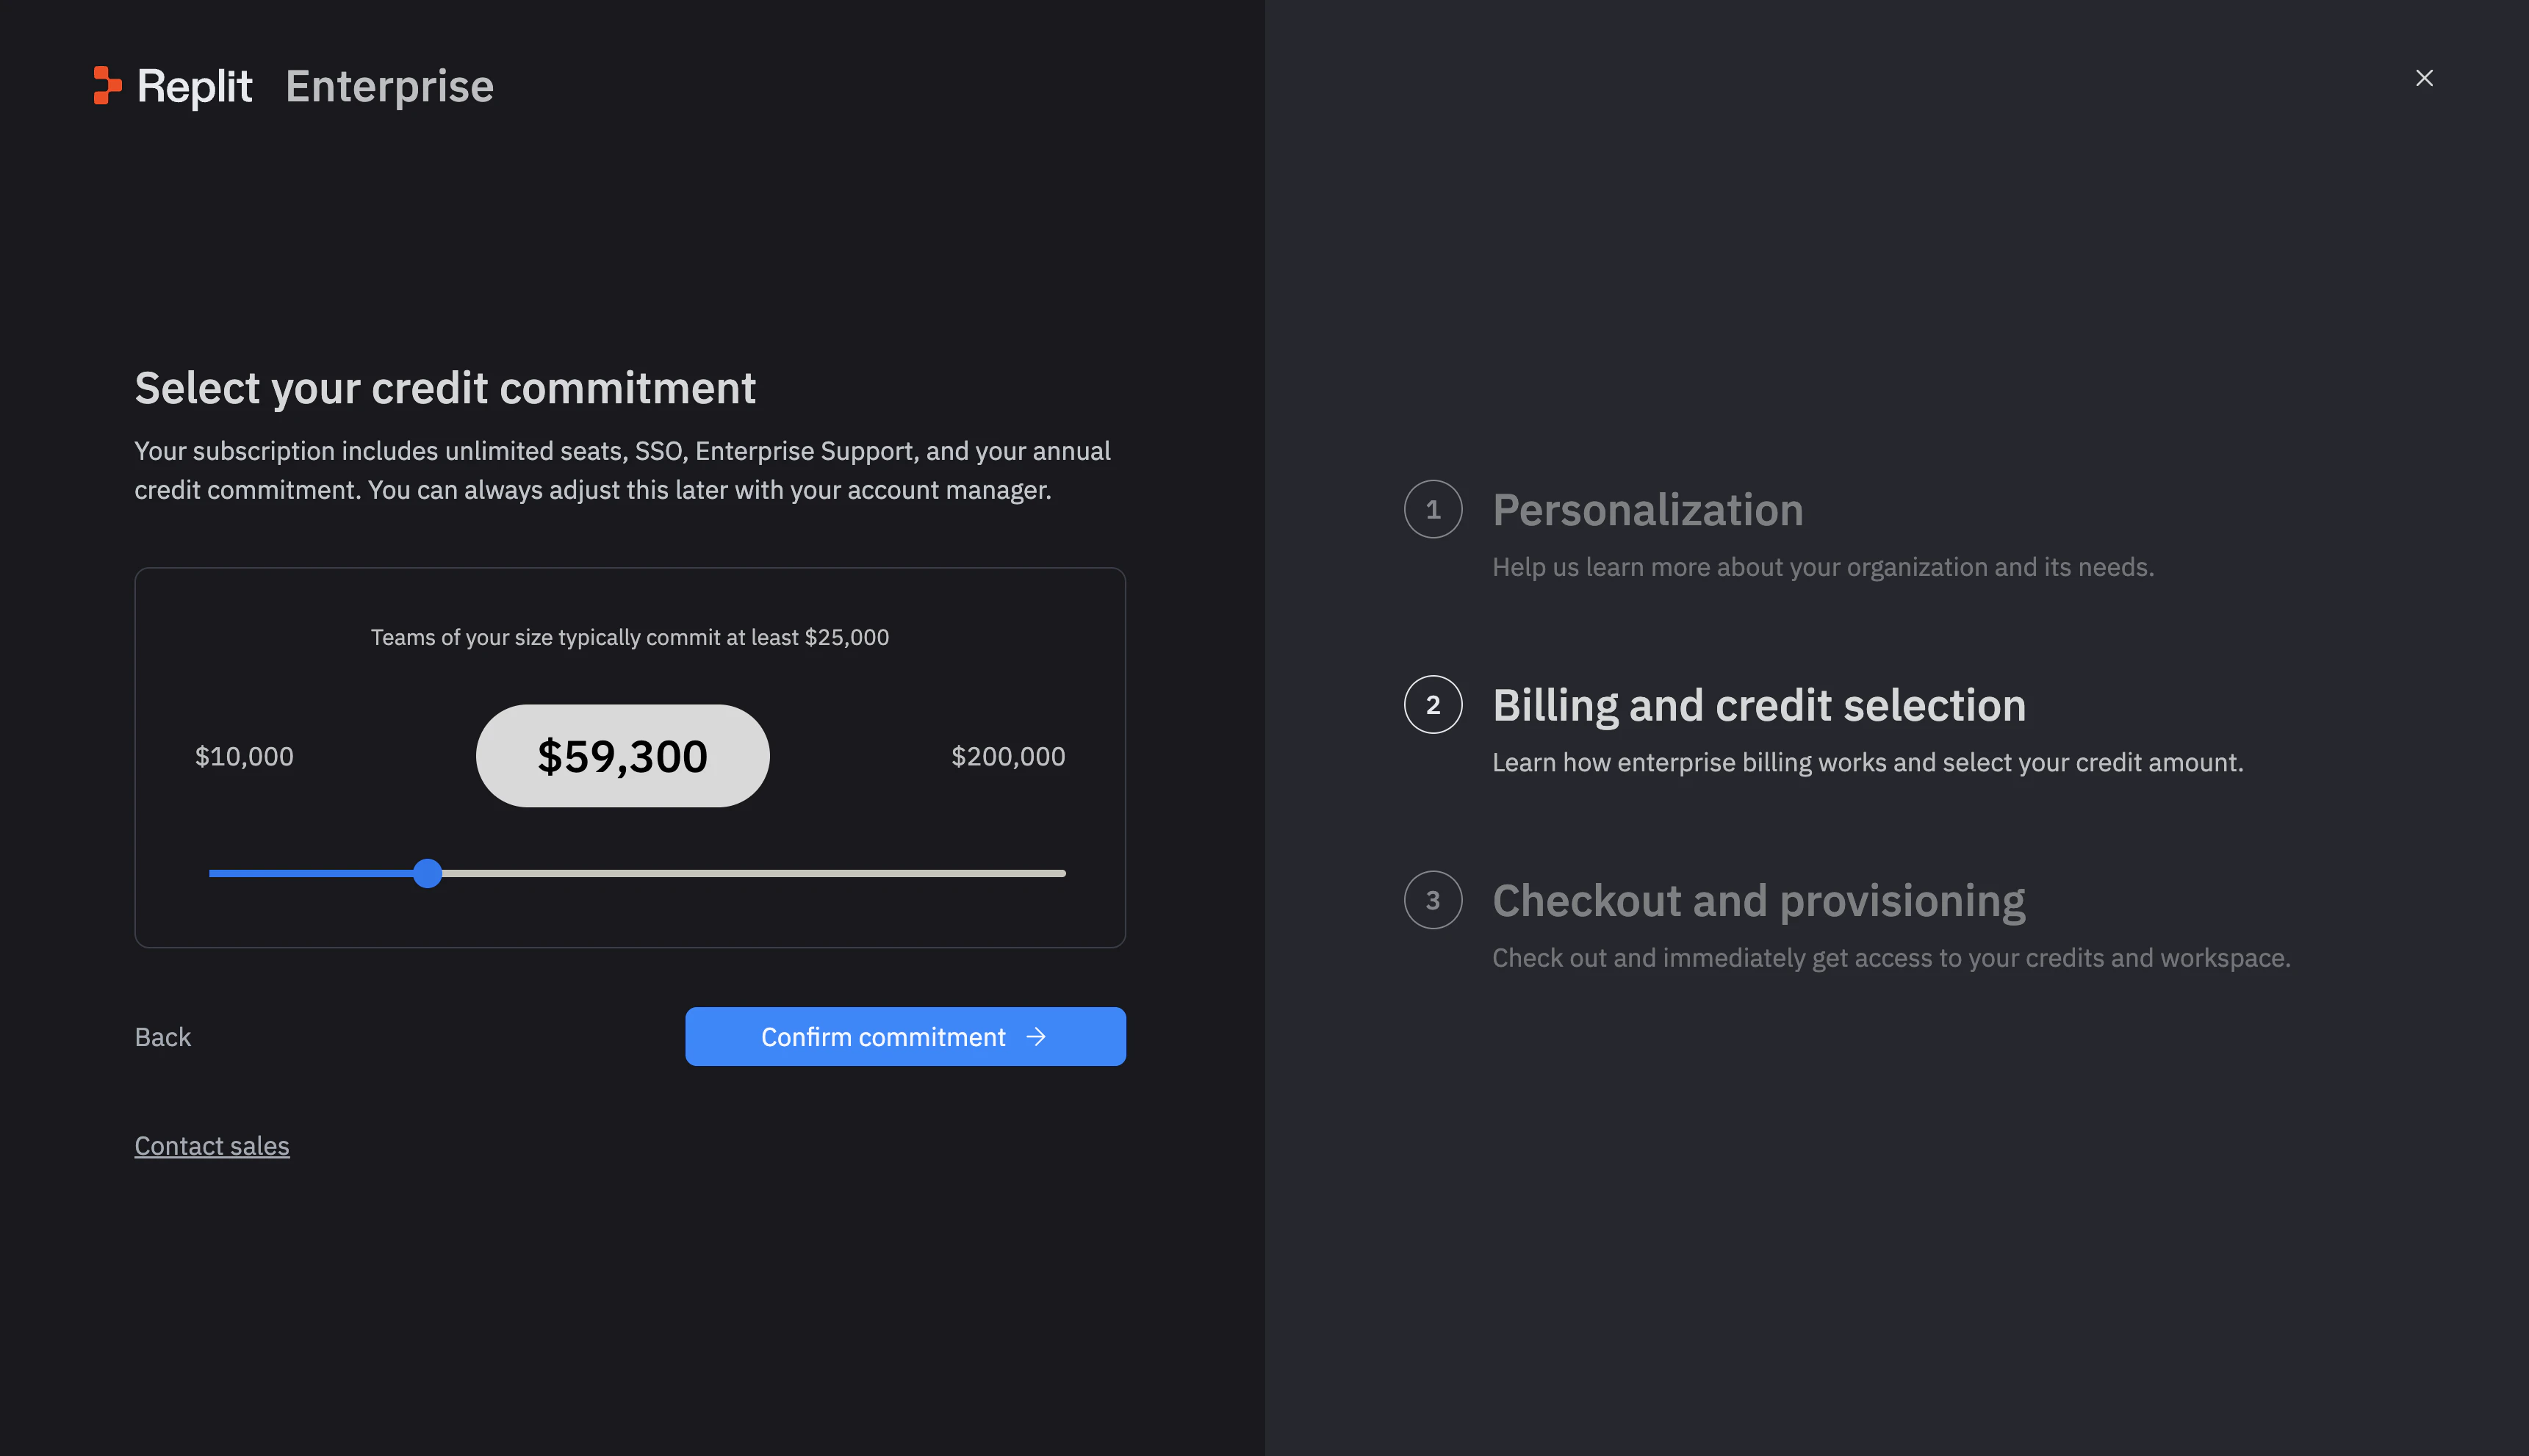
 If you choose a credit commitment, use the slider on **Select your credit commitment** to choose your annual amount. Review the amount before selecting **Confirm commitment**. See [Replit Enterprise billing](/billing/plans/replit-enterprise#upgrade-to-enterprise) for more details.
 On **Checkout and provisioning**, enter your billing details and review the plan, credit commitment, and billing terms before completing your purchase.
After checkout, continue to [Create your Workspace](/teams/create-your-workspace).
## Next step
Set up the shared space where your team builds.
On **Checkout and provisioning**, enter your billing details and review the plan, credit commitment, and billing terms before completing your purchase.
After checkout, continue to [Create your Workspace](/teams/create-your-workspace).
## Next step
Set up the shared space where your team builds.