> ## Documentation Index
> Fetch the complete documentation index at: https://docs.replit.com/llms.txt
> Use this file to discover all available pages before exploring further.
# Stripe Payments Integration
> Learn how to add payments and subscriptions to your app with Stripe using Agent.
export const AiPrompt = ({children}) => {
return
{children}
;
};
Stripe works for builders on the Starter, Core, and Pro plans, and in collaborative workspaces.
## What you can build
Use Agent to add Stripe to your app in one click—no setup required. Build a storefront, accept one‑time payments, or create subscriptions. Agent wires up the integration, data models, and test environment.
## How it works
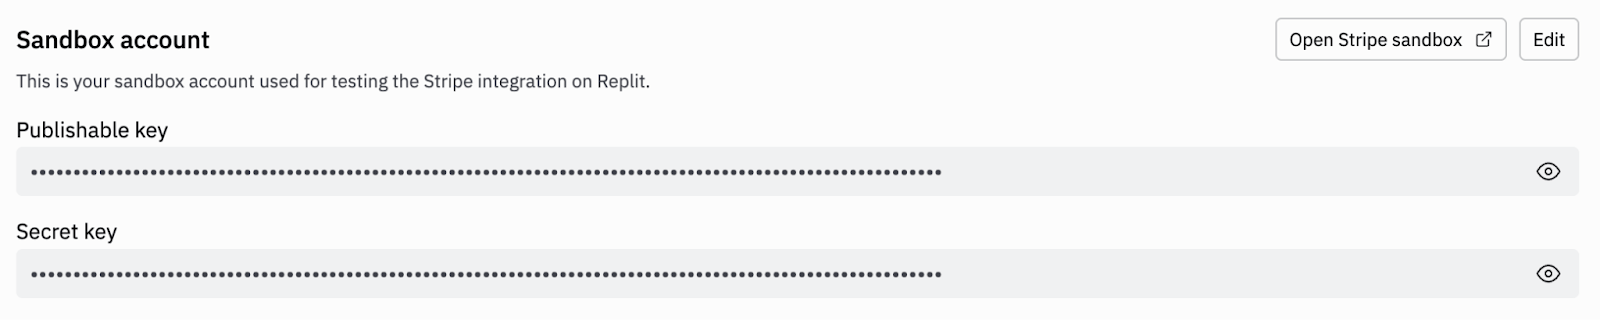
Agent starts with a Stripe sandbox so you can safely test payments without moving real money. You can build and try flows immediately. When you are ready, switch to your live Stripe account to publish and accept real payments.
A Stripe sandbox is an isolated test environment where you can simulate
payments, subscriptions, and events. Learn more in
[Stripe's docs on sandboxes](https://docs.stripe.com/sandboxes).
## Use Stripe with your team
Stripe works in collaborative workspaces, so your whole team can build, test, and monetize the same app together. Everyone in the workspace can work with the connected Stripe account, instead of one person building payments alone.
## Get started
* **Ask Agent to use Stripe**
* Use a slash command on the home screen and select Stripe, or ask directly:
Build a storefront and integrate Stripe for payments
Stripe integration requires an App with backend functionality. Select **App** from the homepage to get started.
## Test payments in the sandbox
1. Open your app’s **Preview** in a new tab.
2. Make a test purchase from your storefront or payment page.
3. Use Stripe’s standard test card:
```text theme={null}
Card number: 4242 4242 4242 4242
Expiry: any future date
CVC: any 3 digits
Name, address: any mock values
```
Sandbox purchases don’t process through real networks or move money. They’re
safe for testing end to end.
## Manage products and pricing
You have two options:
1. From your app, select **Publish**, then choose to claim your Stripe sandbox.
* If you don’t have a Stripe account yet, create one to claim the sandbox.
2. In the Stripe Dashboard, open **Products** to add or edit products and prices.
Changes you make in the Stripe sandbox reflect in your Replit app automatically
and sync to your app’s database.
### View synced Stripe data
* In the Project Editor, open **Database**.
* Select **MyData**.
* Change the schema selector to **Stripe** to see payment objects and related
records.
## Go live
To accept real payments, connect your live Stripe account by installing the
[Replit Integrated Payments](https://marketplace.stripe.com/apps/replit-integrated-payments)
app from the Stripe Marketplace. The install flow connects your live account
automatically — you don't need to copy or paste API keys.
Your sandbox integration is not production‑ready. It cannot accept real
payments until you complete the steps below.
In your app, select **Publish** to start the live connection flow.
Select **Install Stripe app**. A Stripe window opens with the
[Replit Integrated Payments](https://marketplace.stripe.com/apps/replit-integrated-payments)
listing.
When Stripe prompts you to choose an account, select your **live**
Stripe account — not a sandbox or test account.
Follow Stripe's prompts to install the app. If your live account
isn't activated yet, Stripe walks you through KYB (Know Your
Business) verification first.
Keep the Stripe window open until the installation completes.
Replit finalizes the production connection in the background once
Stripe confirms the installation.
Return to Replit. The **Publish** pane shows your live Stripe
account as connected. Publish your app to start accepting real
payments.
Installing the Replit Integrated Payments app replaces the older manual
flow of copying Publishable and Secret keys into Replit. The app sets
up your production keys for you and keeps the sandbox-to-live sync in
place.
## Manage the integration
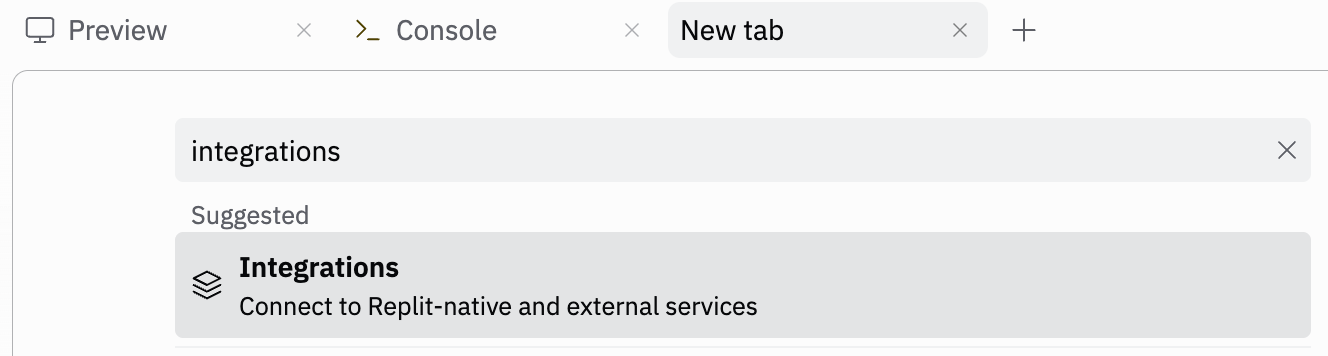
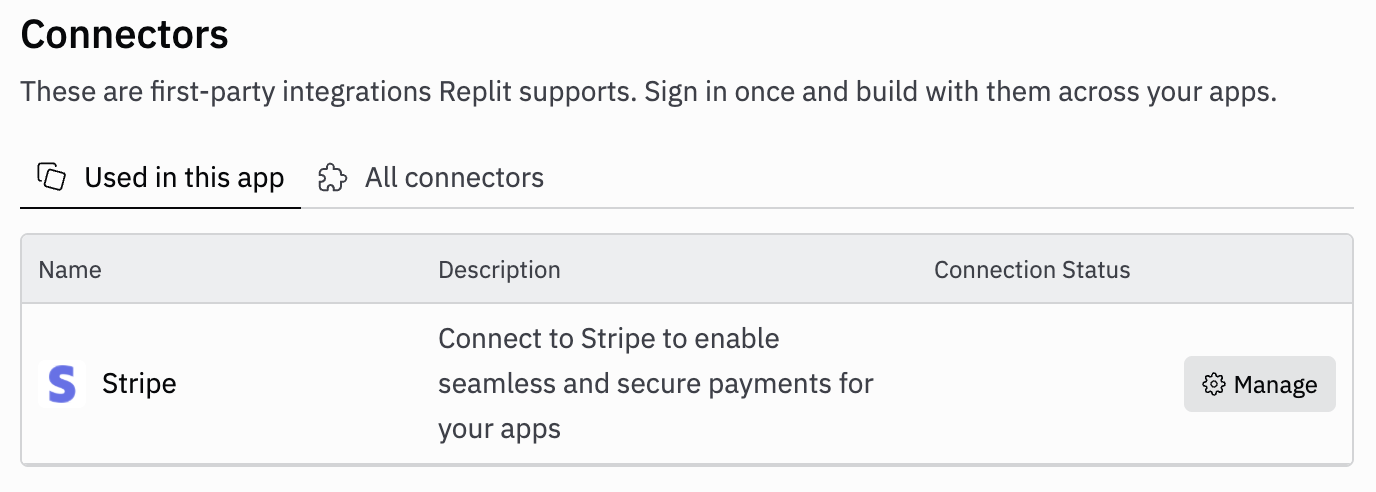
* Go to **Integrations > Stripe** to open the Stripe connector.
* From there, you can test the connection, view status, and manage settings.
## Frequently asked questions
### How do I update the prices of my products?
* Ask Agent: Describe the change and Agent updates your app and Stripe objects.
* Use the Stripe Dashboard: Open **Products** to edit prices and product details.
* In sandbox, changes sync back to your app and database automatically.
* For production, switch to your live account first, then update prices. Publish again if your app needs to pick up new configuration.
### How do I test transactions on Replit?
Open your app’s **Preview** in a new tab. Run the Stripe Checkout flow with the
standard test card (4242 4242 4242 4242), any future expiry, and any CVC. See
[Test payments in the sandbox](#test-payments-in-the-sandbox) above for details.
### What is a live Stripe account?
A live Stripe account is an activated and verified account that can process real
payments using your business details. See Stripe’s guidance on account creation
and activation: [Create and manage your Stripe account](https://docs.stripe.com/get-started/account).
### Do I still need to paste in my Stripe API keys?
No. The Replit Integrated Payments app installs your production keys for you
when you connect your live Stripe account. You don't need to copy live keys
from the Stripe Dashboard.
If you previously connected Stripe by pasting live keys, that connection
continues to work. You can switch to the Stripe app install flow by removing
the Stripe connection and reconnecting from the **Publish** pane. See
[Update or remove the Stripe connection](#update-or-remove-the-stripe-connection)
below.
## Update or remove the Stripe connection
If you're not ready to publish with a live Stripe connection, you have two
options:
### Option A: Remove the Stripe integration manually
You can completely remove the Stripe integration from your project.
Navigate to the project with the Stripe integration you want to remove.
 This opens the connection details.

 Go to Agent chat and ask Agent to remove the Stripe connector code from your application. This will remove your entire Stripe integration.
### Option B: Roll back to a checkpoint before the Stripe integration
If you want to completely undo the Stripe integration and return to a previous state, you can roll back to an earlier checkpoint.
Navigate to the project with the Stripe integration you want to remove.
Go to Agent chat and ask Agent to remove the Stripe connector code from your application. This will remove your entire Stripe integration.
### Option B: Roll back to a checkpoint before the Stripe integration
If you want to completely undo the Stripe integration and return to a previous state, you can roll back to an earlier checkpoint.
Navigate to the project with the Stripe integration you want to remove.

 This opens the connection details.
 Go to Agent chat and look for a checkpoint that was created before the Stripe integration. Select the **clock icon** on the top left of the chat pane to view older chat history.
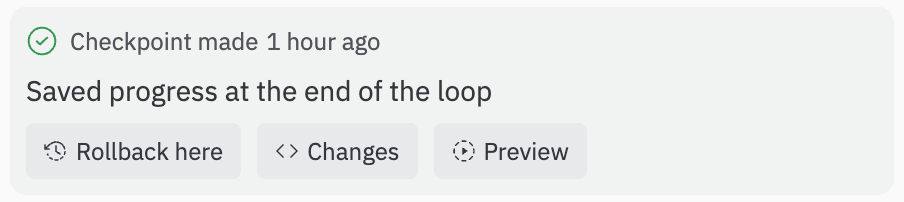
 Once you find a checkpoint that looks good, select **Rollback here** to restore your project to that state.
 ## Notes and limitations
* Sandbox activity does not affect real balances or customers.
* Some Stripe features can't be tested in sandboxes (for example, IC+ pricing
and certain Connect flows). See
[Stripe's sandbox limitations](https://docs.stripe.com/sandboxes).
## Notes and limitations
* Sandbox activity does not affect real balances or customers.
* Some Stripe features can't be tested in sandboxes (for example, IC+ pricing
and certain Connect flows). See
[Stripe's sandbox limitations](https://docs.stripe.com/sandboxes).