> ## Documentation Index
> Fetch the complete documentation index at: https://docs.replit.com/llms.txt
> Use this file to discover all available pages before exploring further.
# アカウントを作成する
> Replit Enterpriseを始めましょう。アカウントを作成またはサインインし、セルフサービスのEnterpriseプランを選択して、Workspaceを設定する前にサインアップを完了します。
Replitアカウントを作成するか既存のアカウントでサインインし、**セルフサービスのEnterprise**サインアップを完了します。営業チームに連絡しなくても、オンラインで組織のサブスクリプションを設定できます。
すでにEnterpriseアカウントをお持ちの場合は、[Workspaceを作成する](/ja/teams/create-your-workspace)に進んでください。Replitアカウントはあるがまだ Enterpriseに参加していない場合は、サインインして以下のサインアップ手順に従うか、代わりにBillingのアップグレードを使用してください。
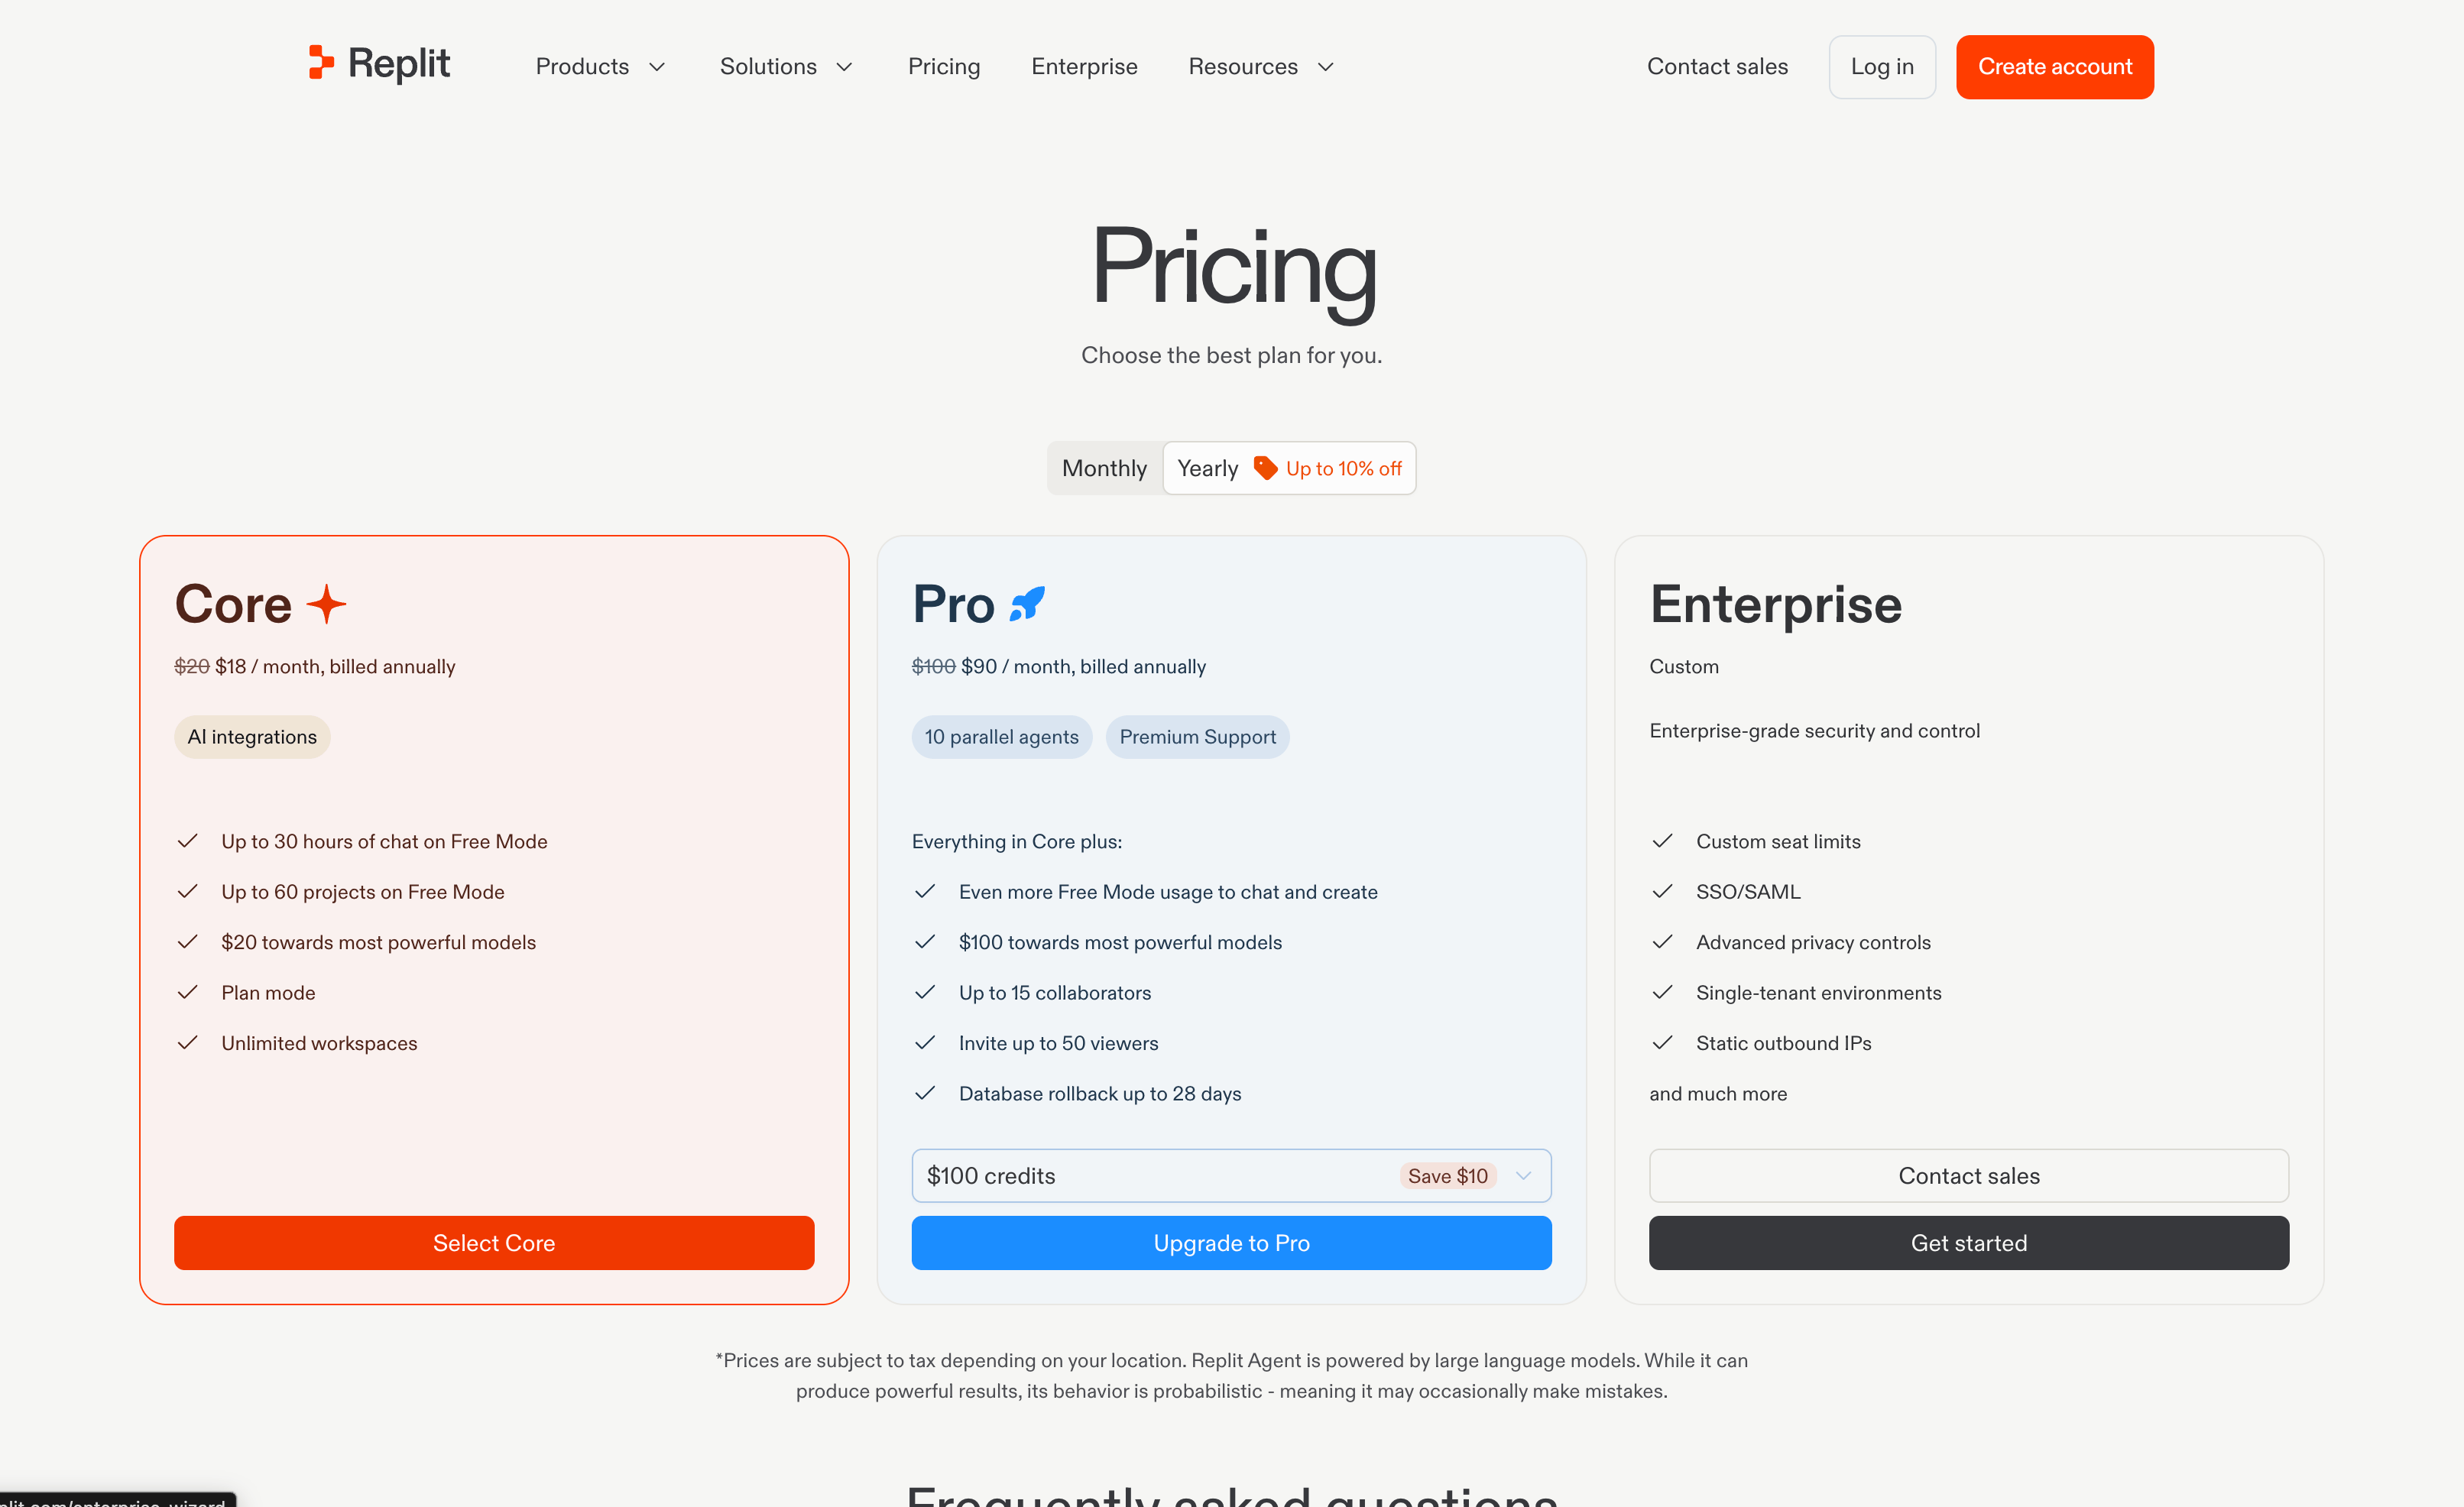
[Replit料金ページ](https://replit.com/pricing)を開き、**Enterprise**を見つけて**Get started**を選択します。
 すでに会社としてEnterpriseサブスクリプションをお持ちの場合は、新しいサブスクリプションを開始するのではなく、既存の管理者に招待してもらってください。
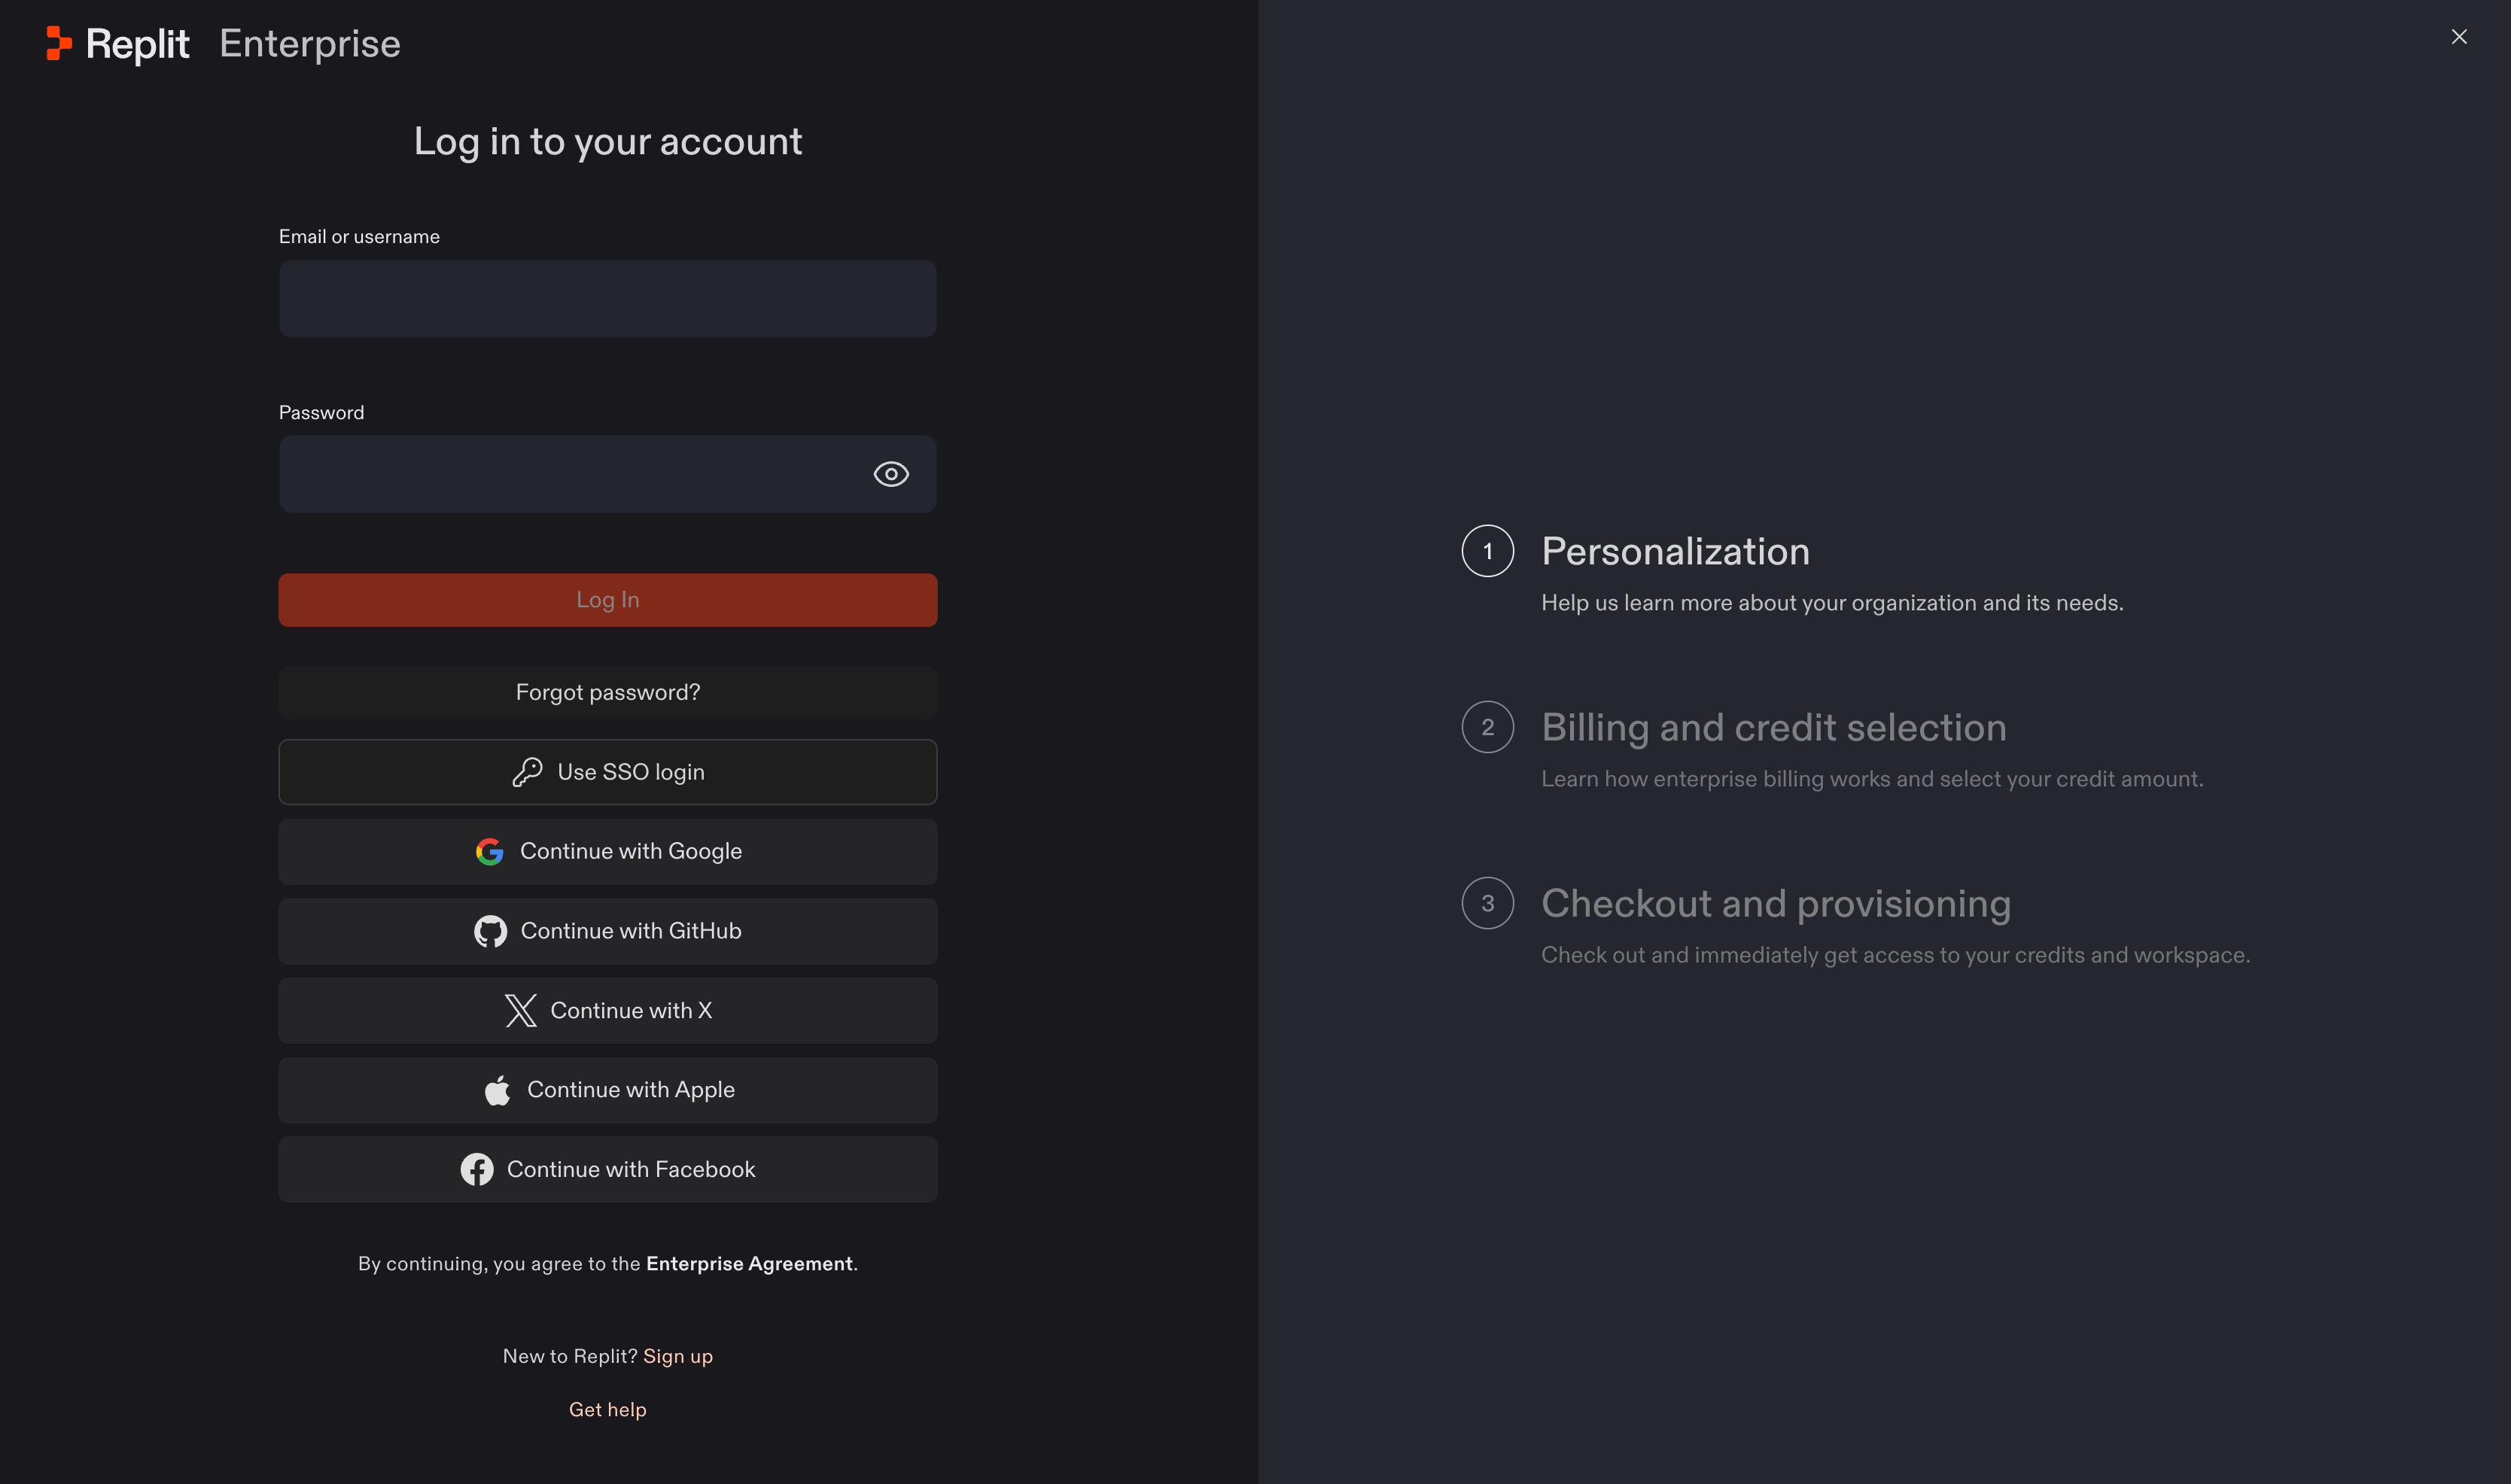
組織の管理に使用したいReplitアカウントでログインします。アカウントをお持ちでない場合は、ページ下部の**Sign up**を選択して作成します。
すでに会社としてEnterpriseサブスクリプションをお持ちの場合は、新しいサブスクリプションを開始するのではなく、既存の管理者に招待してもらってください。
組織の管理に使用したいReplitアカウントでログインします。アカウントをお持ちでない場合は、ページ下部の**Sign up**を選択して作成します。
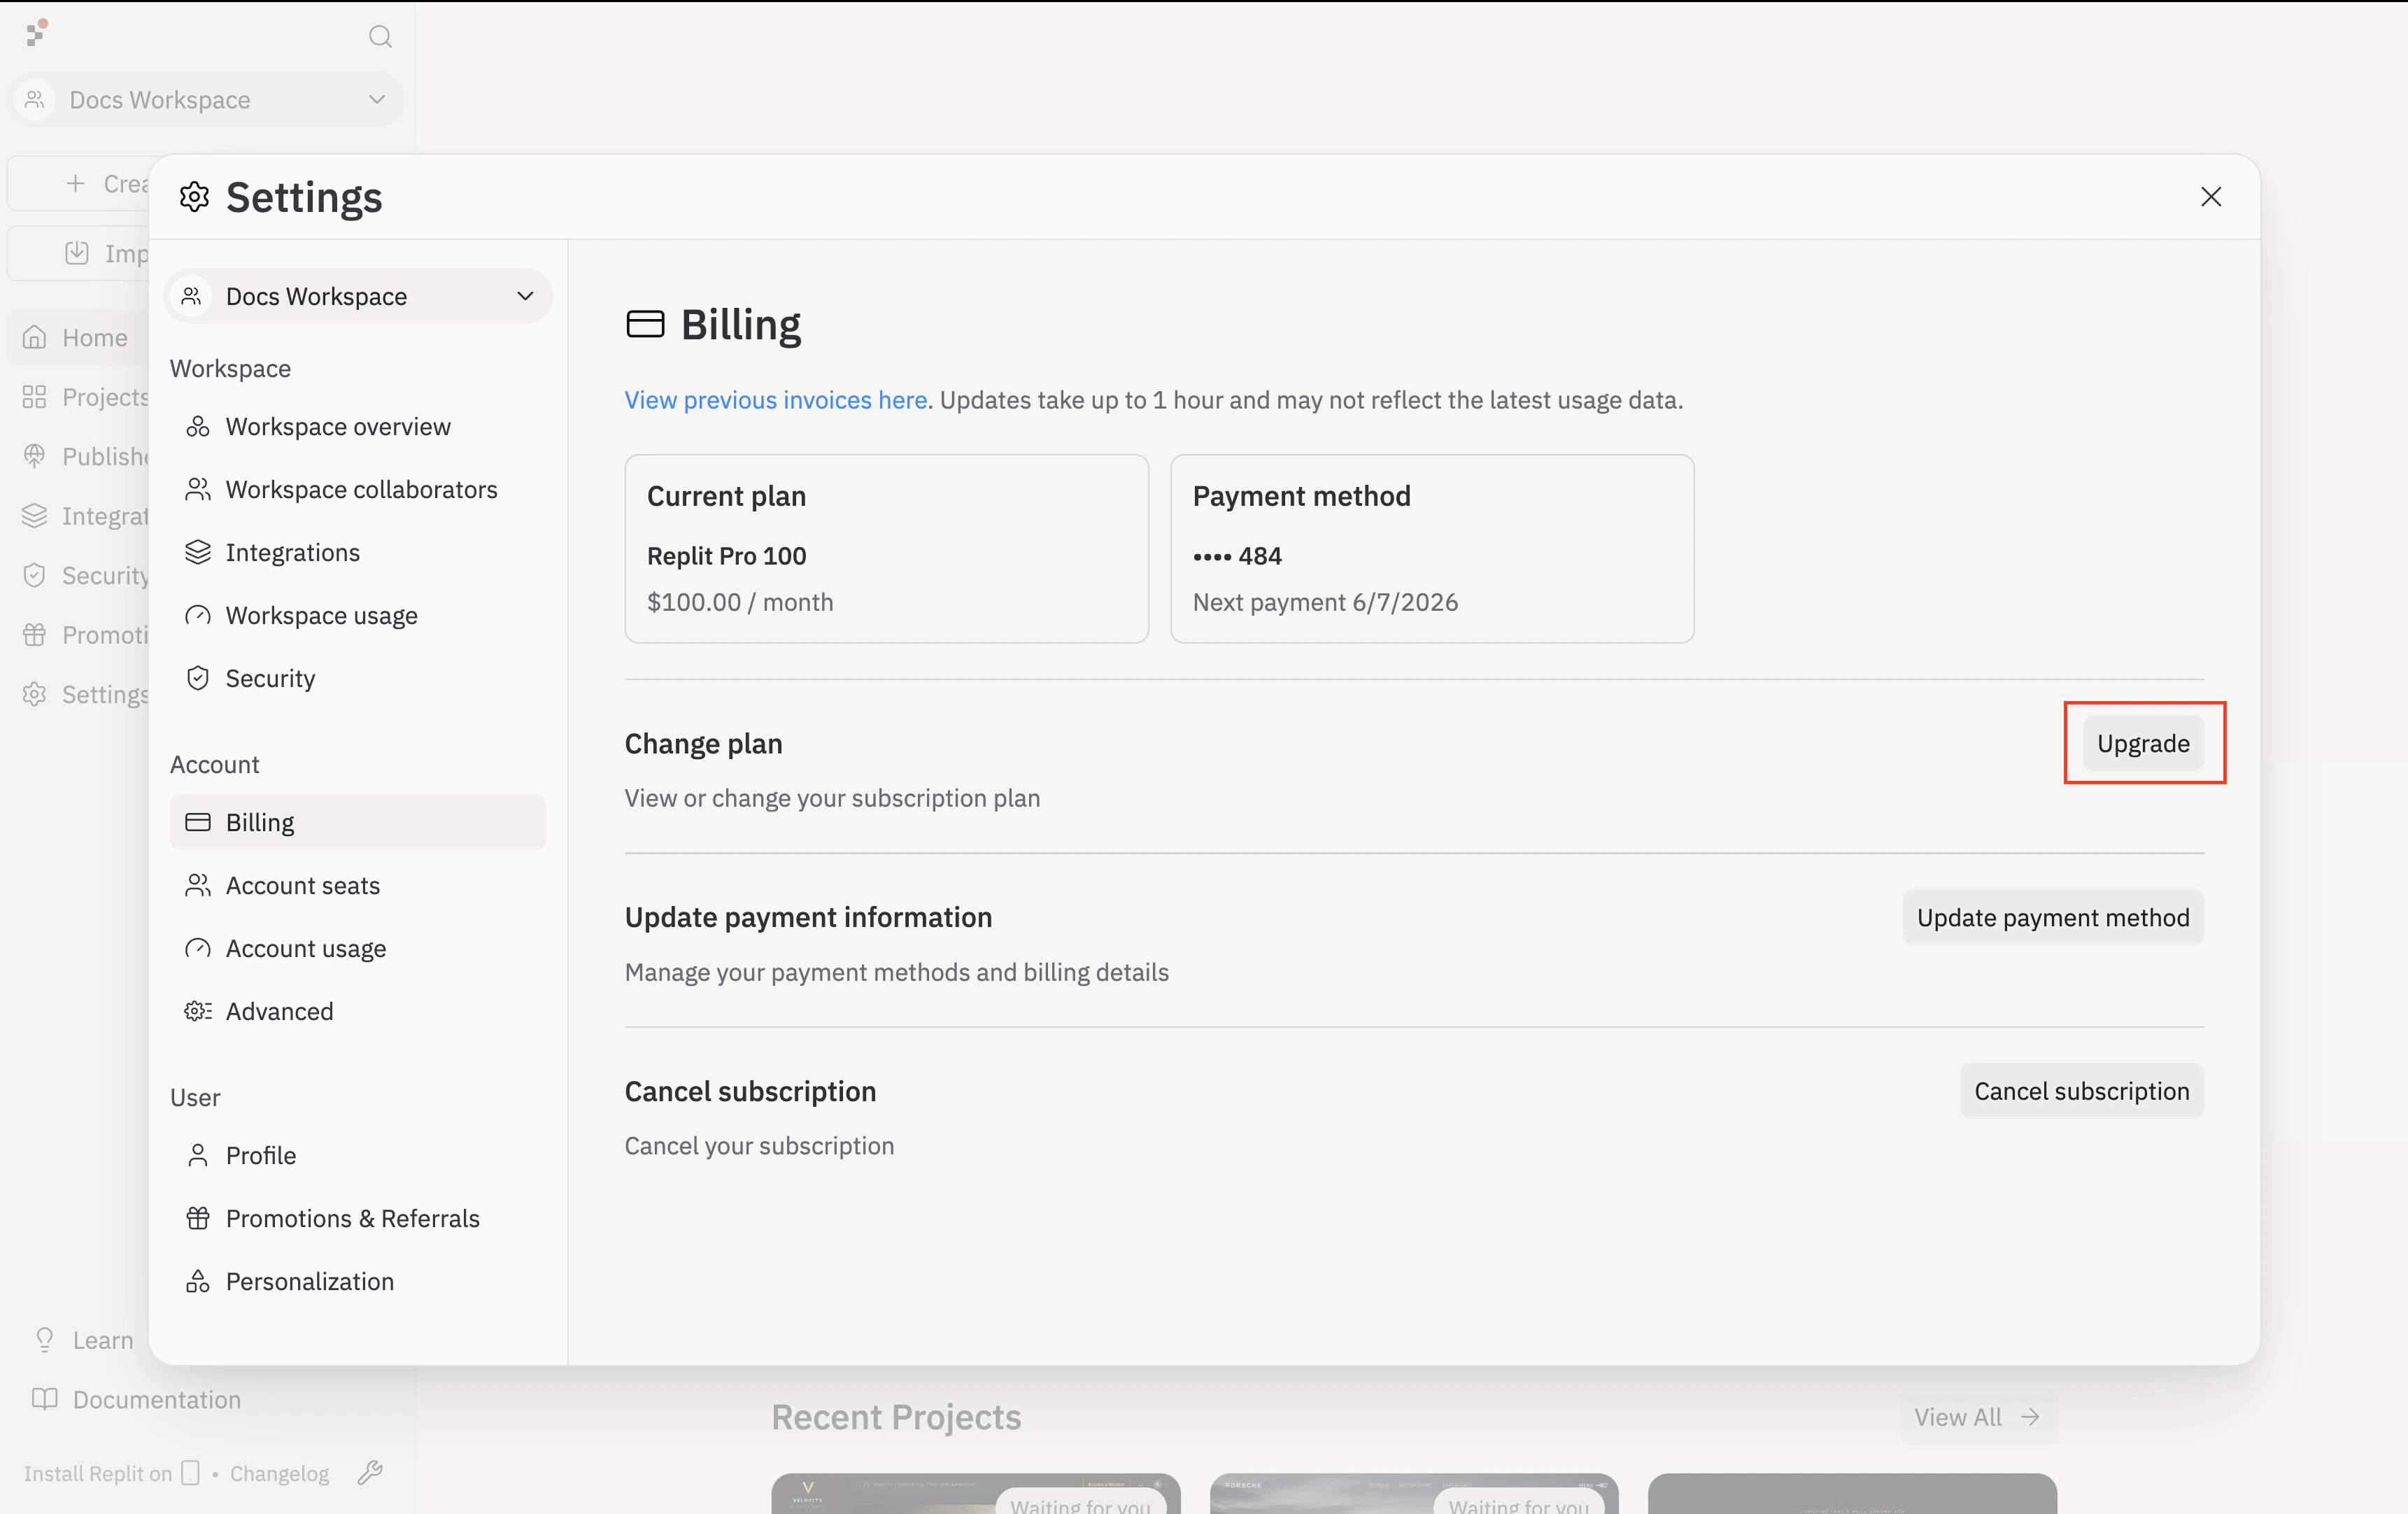
 すでにReplitにサインインしている場合は、代わりにAccount内の**Settings → Billing**から開始できます。**Change plan**の隣にある**Upgrade**を選択します。
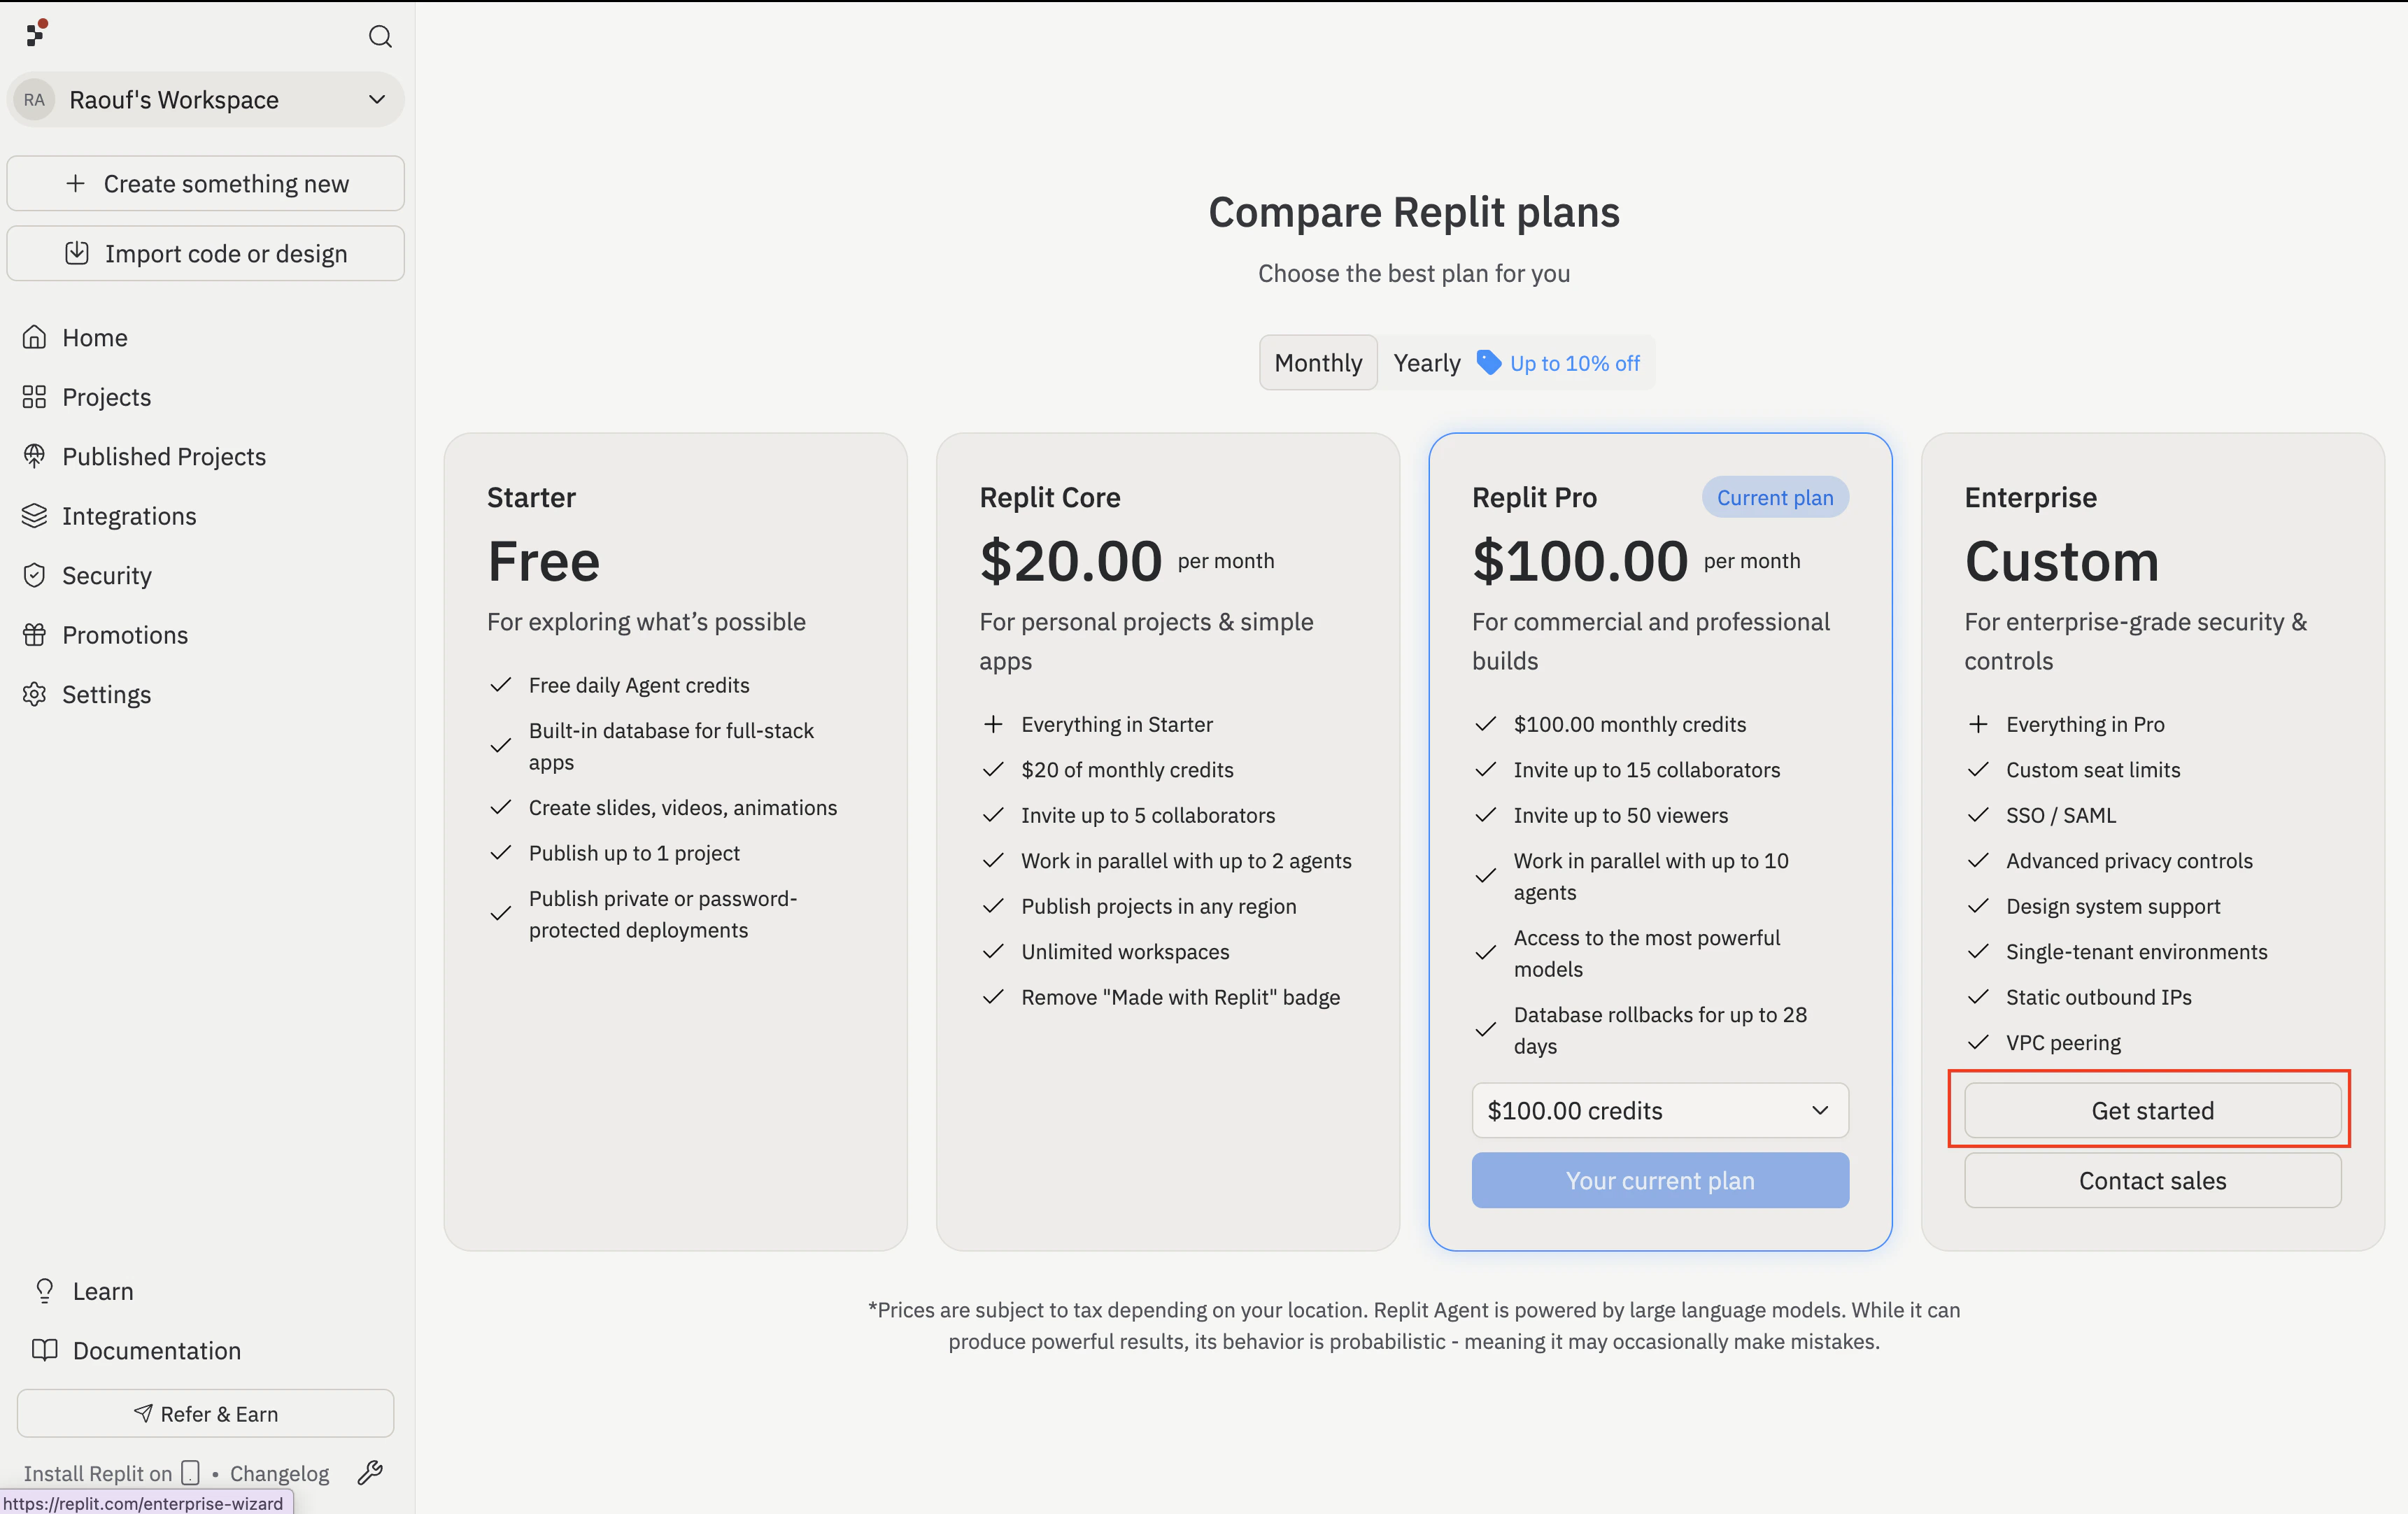
 **Compare Replit plans**画面で、**Enterprise / Custom**の下にある**Get started**を選択し、以下の組織設定に進みます。
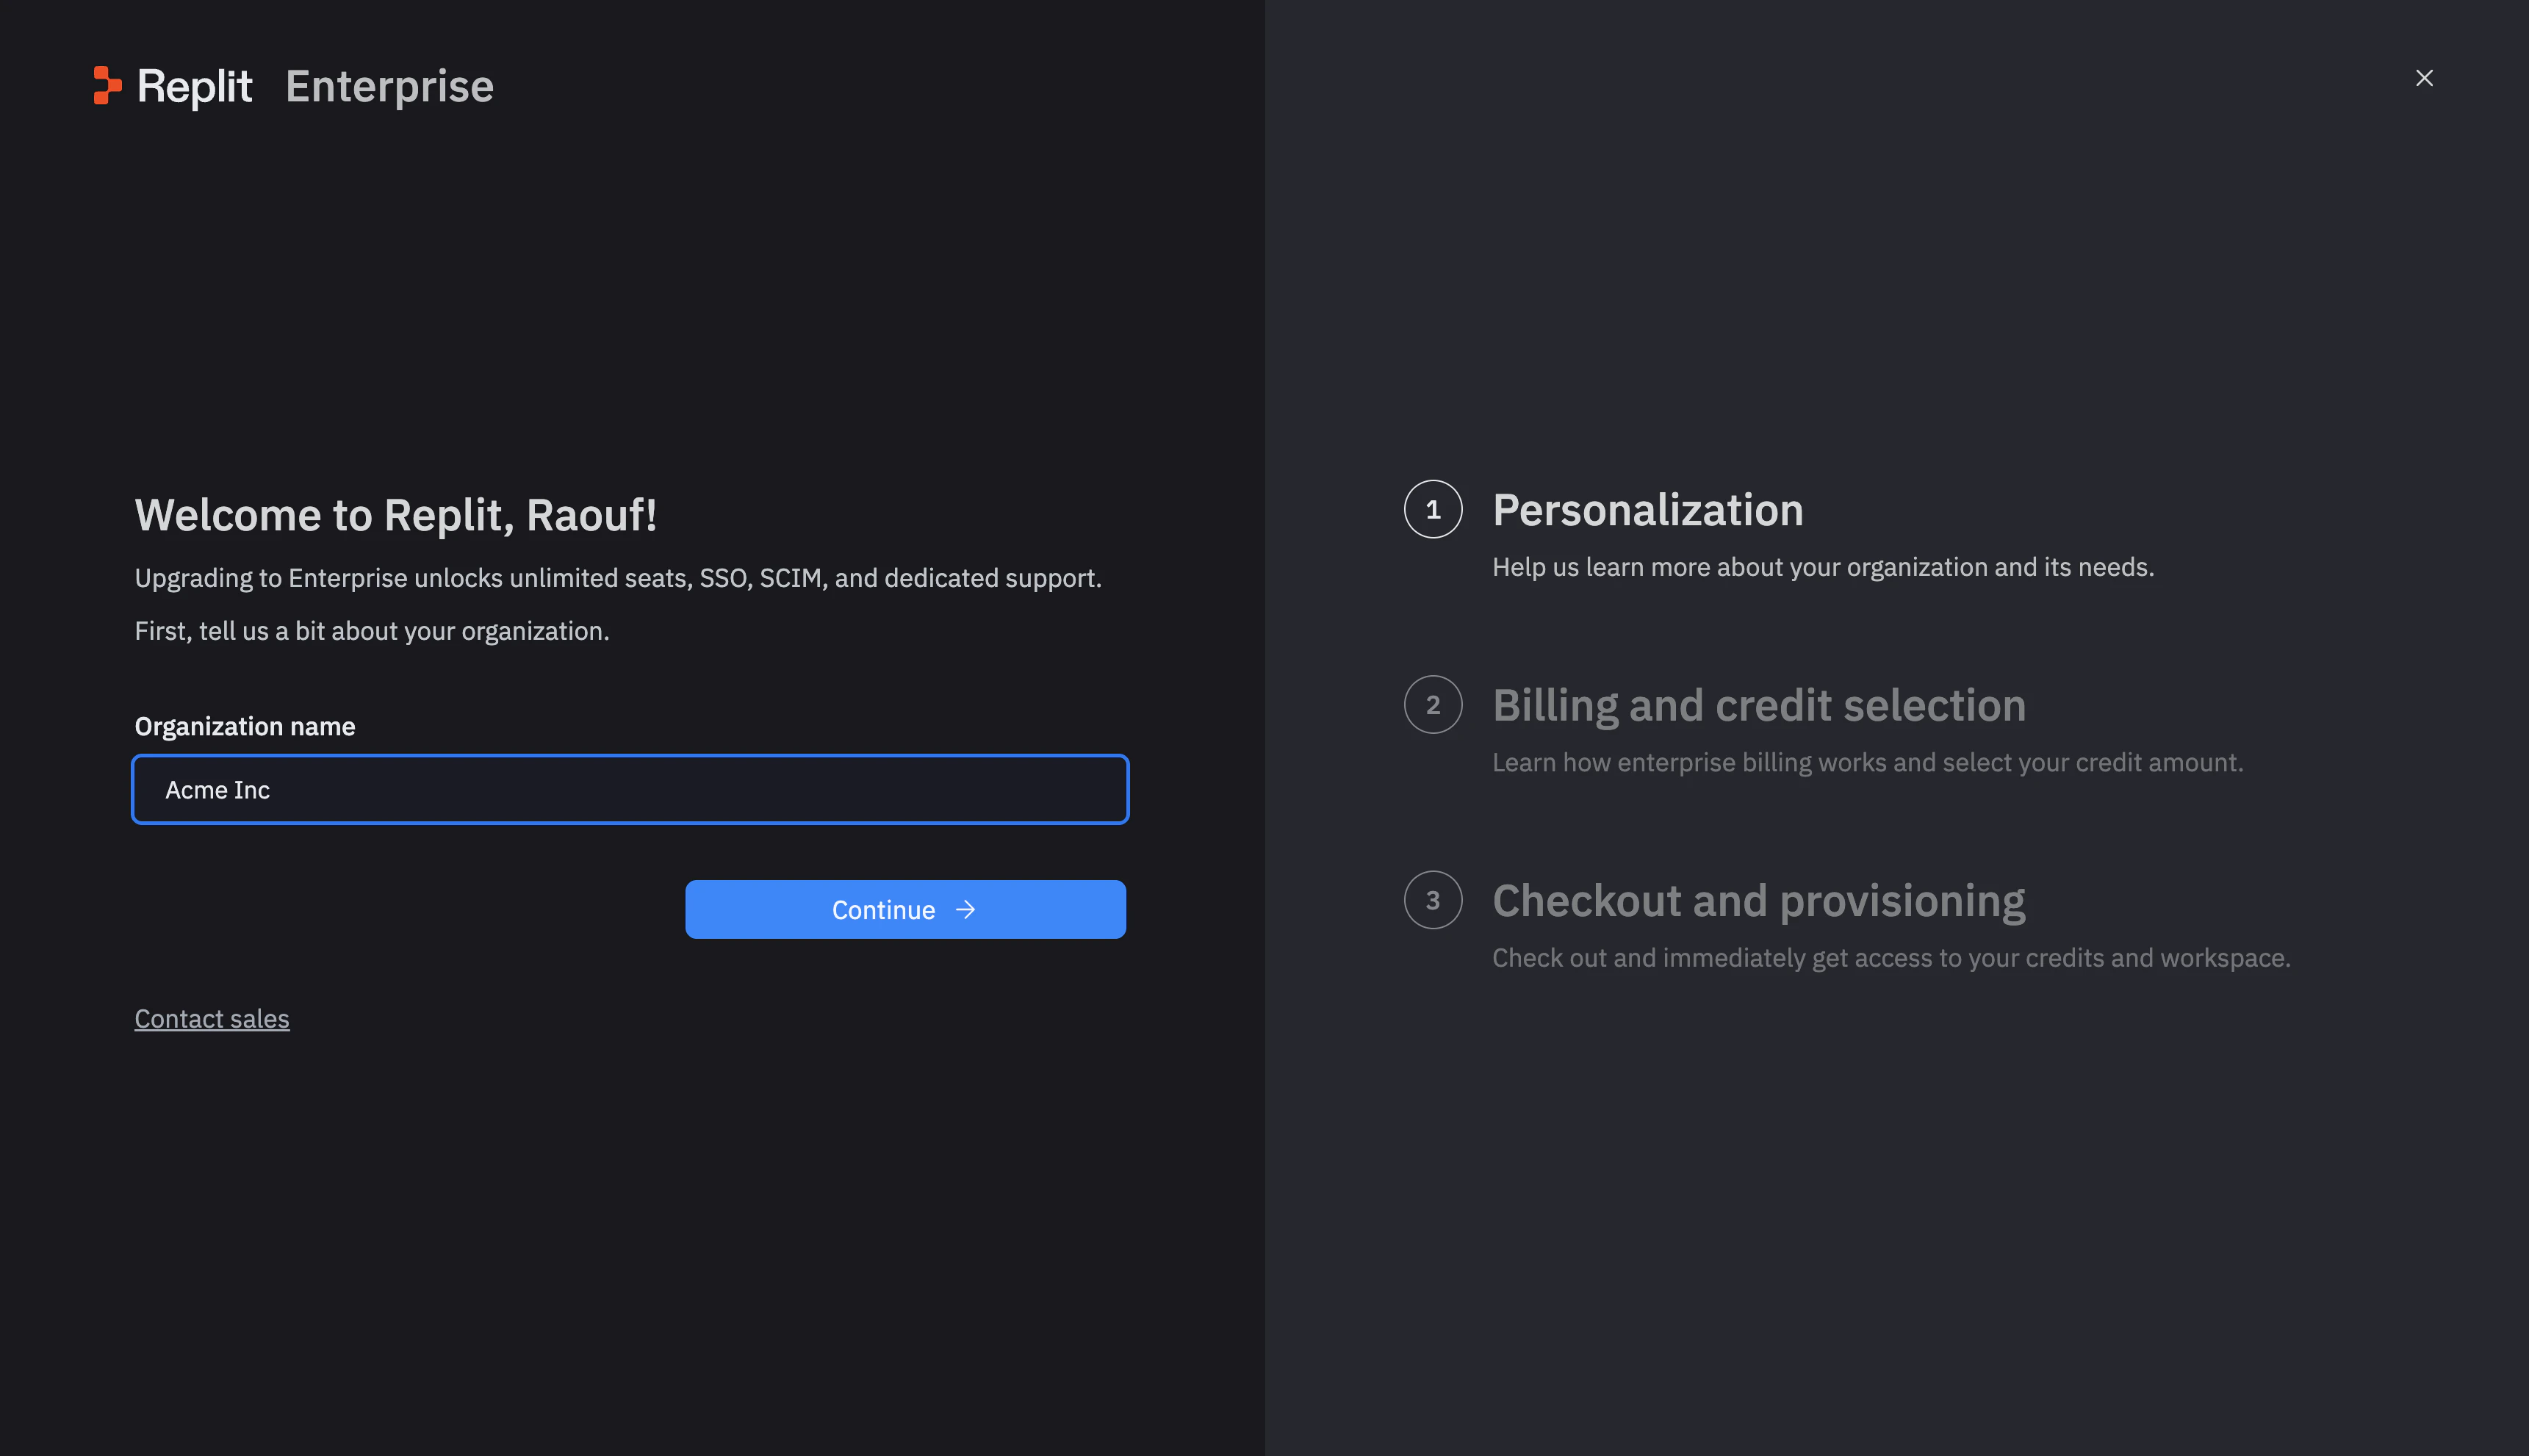
 **Personalization**ステップで、**Organization name**を入力し、**Continue**を選択します。
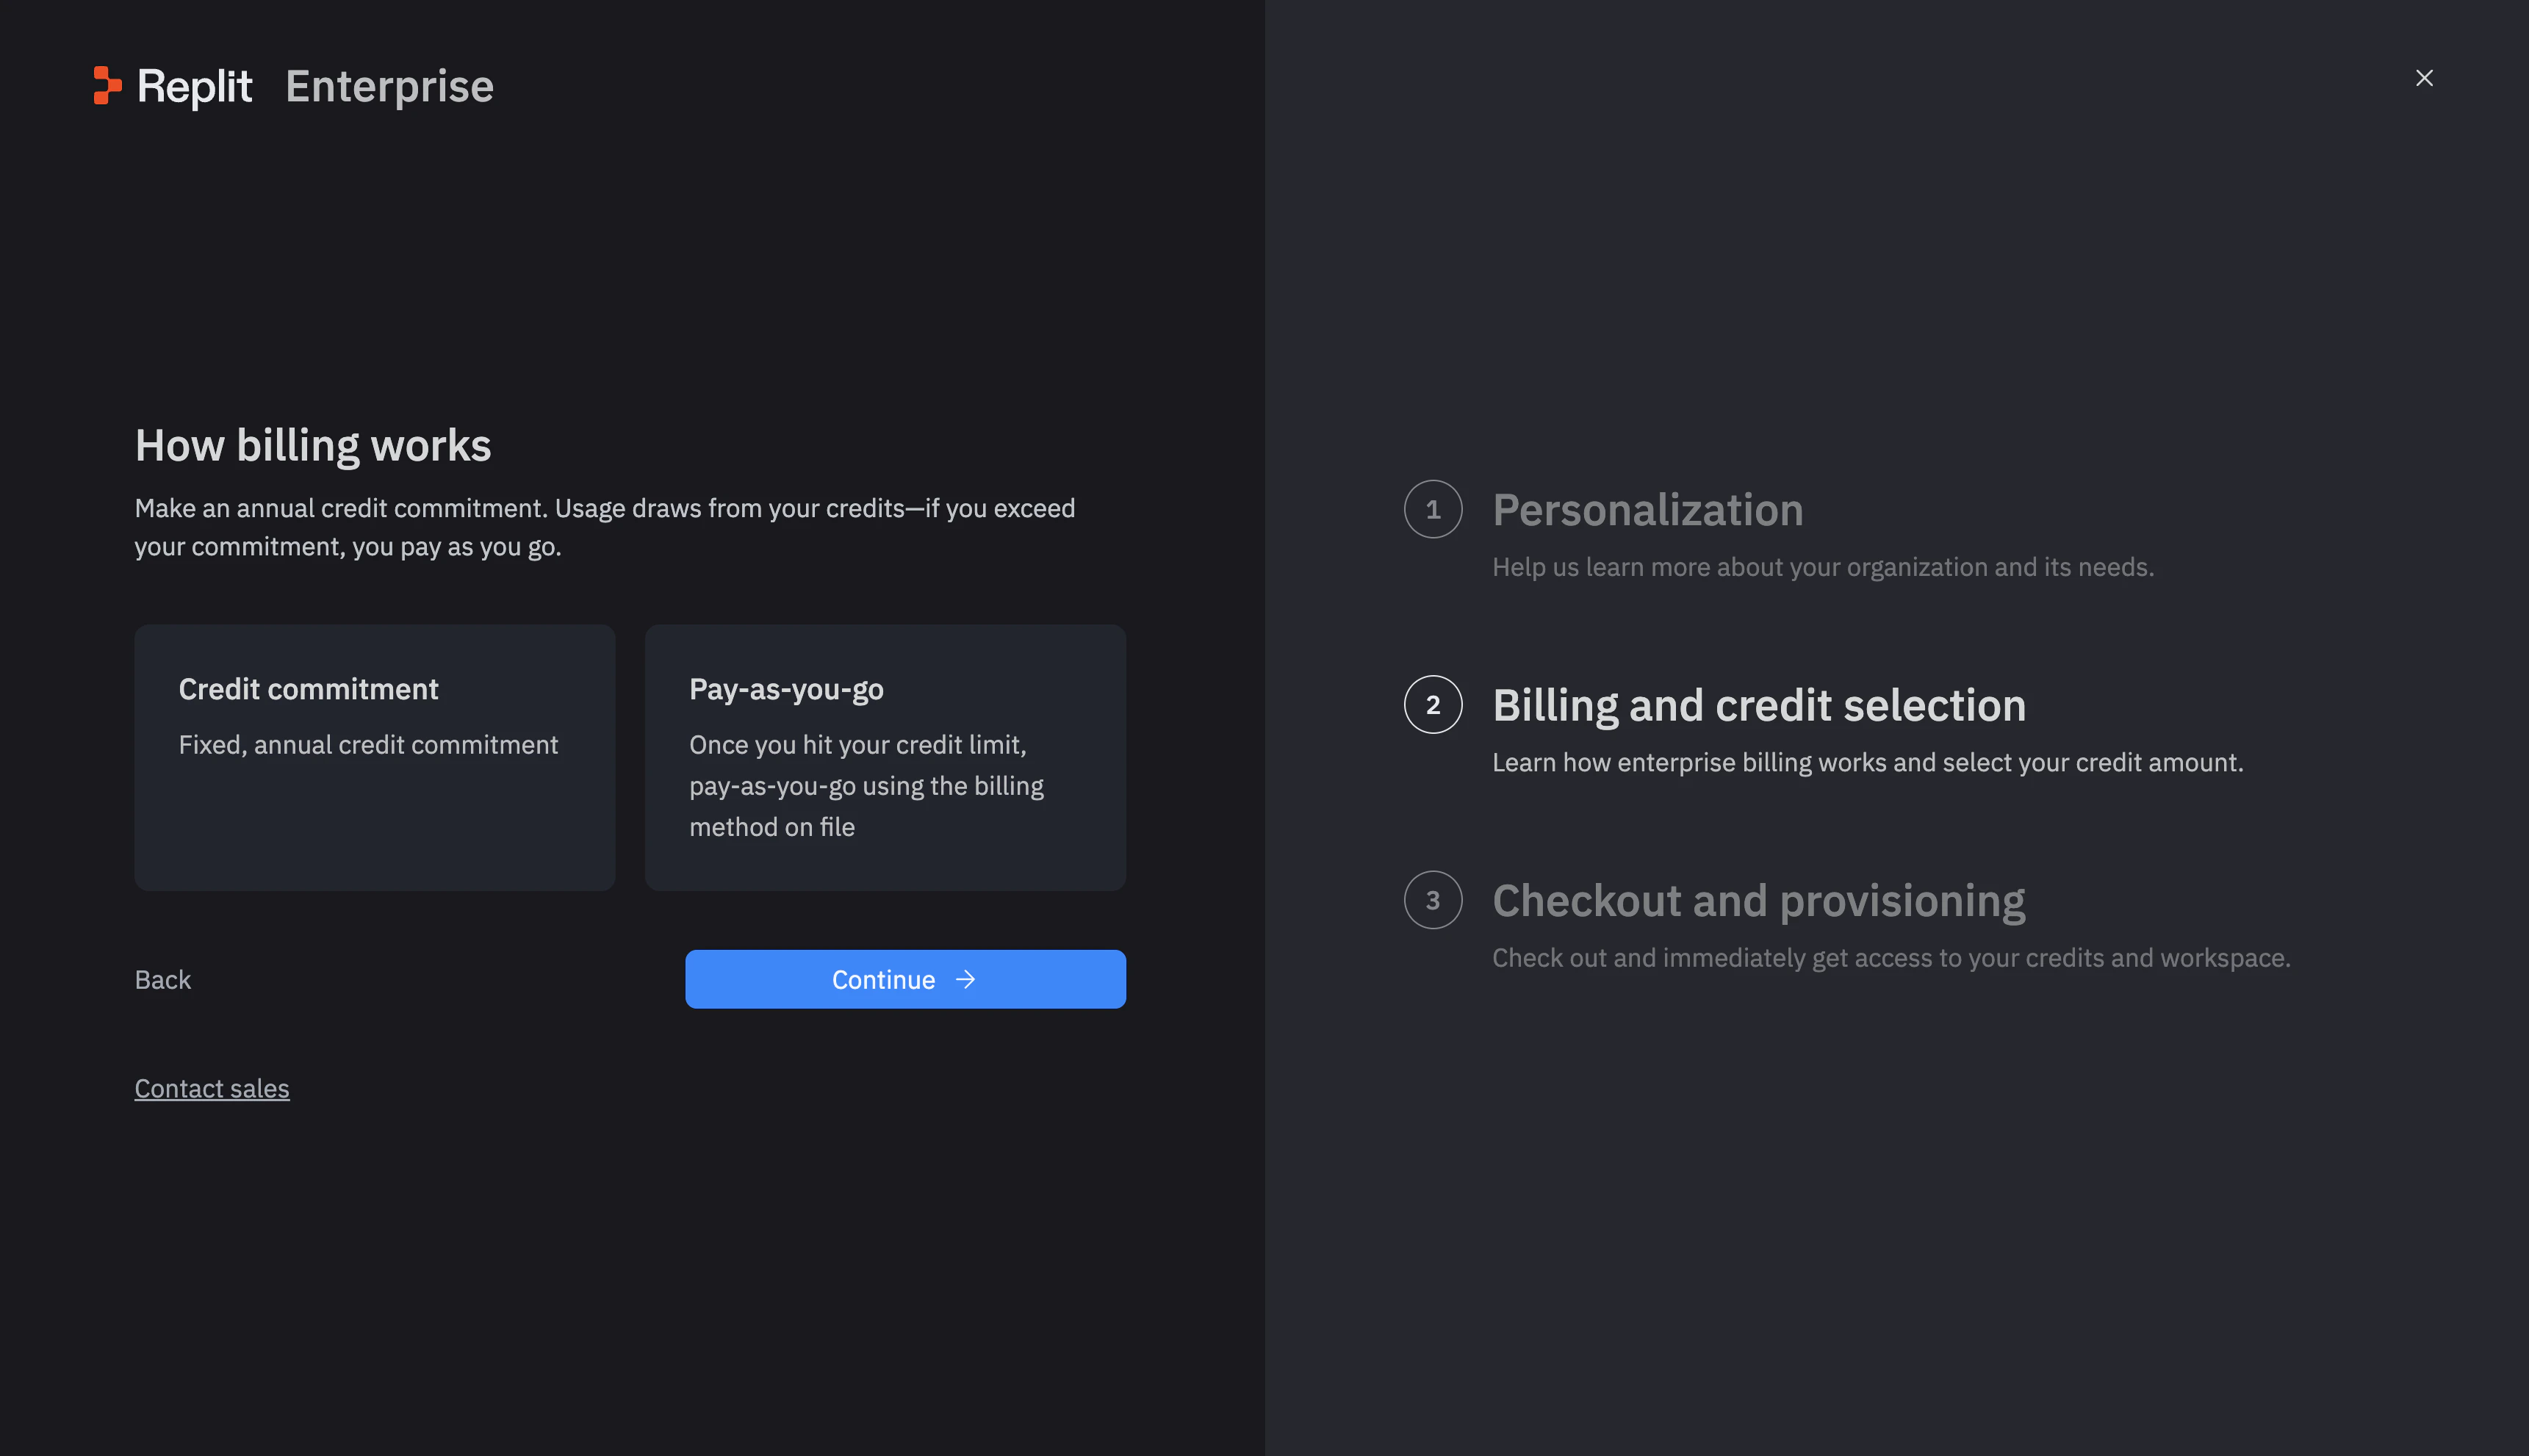
 年間クレジットコミットメントと、クレジット上限に達した後の従量課金について説明する**How billing works**画面を確認します。**Continue**を選択します。
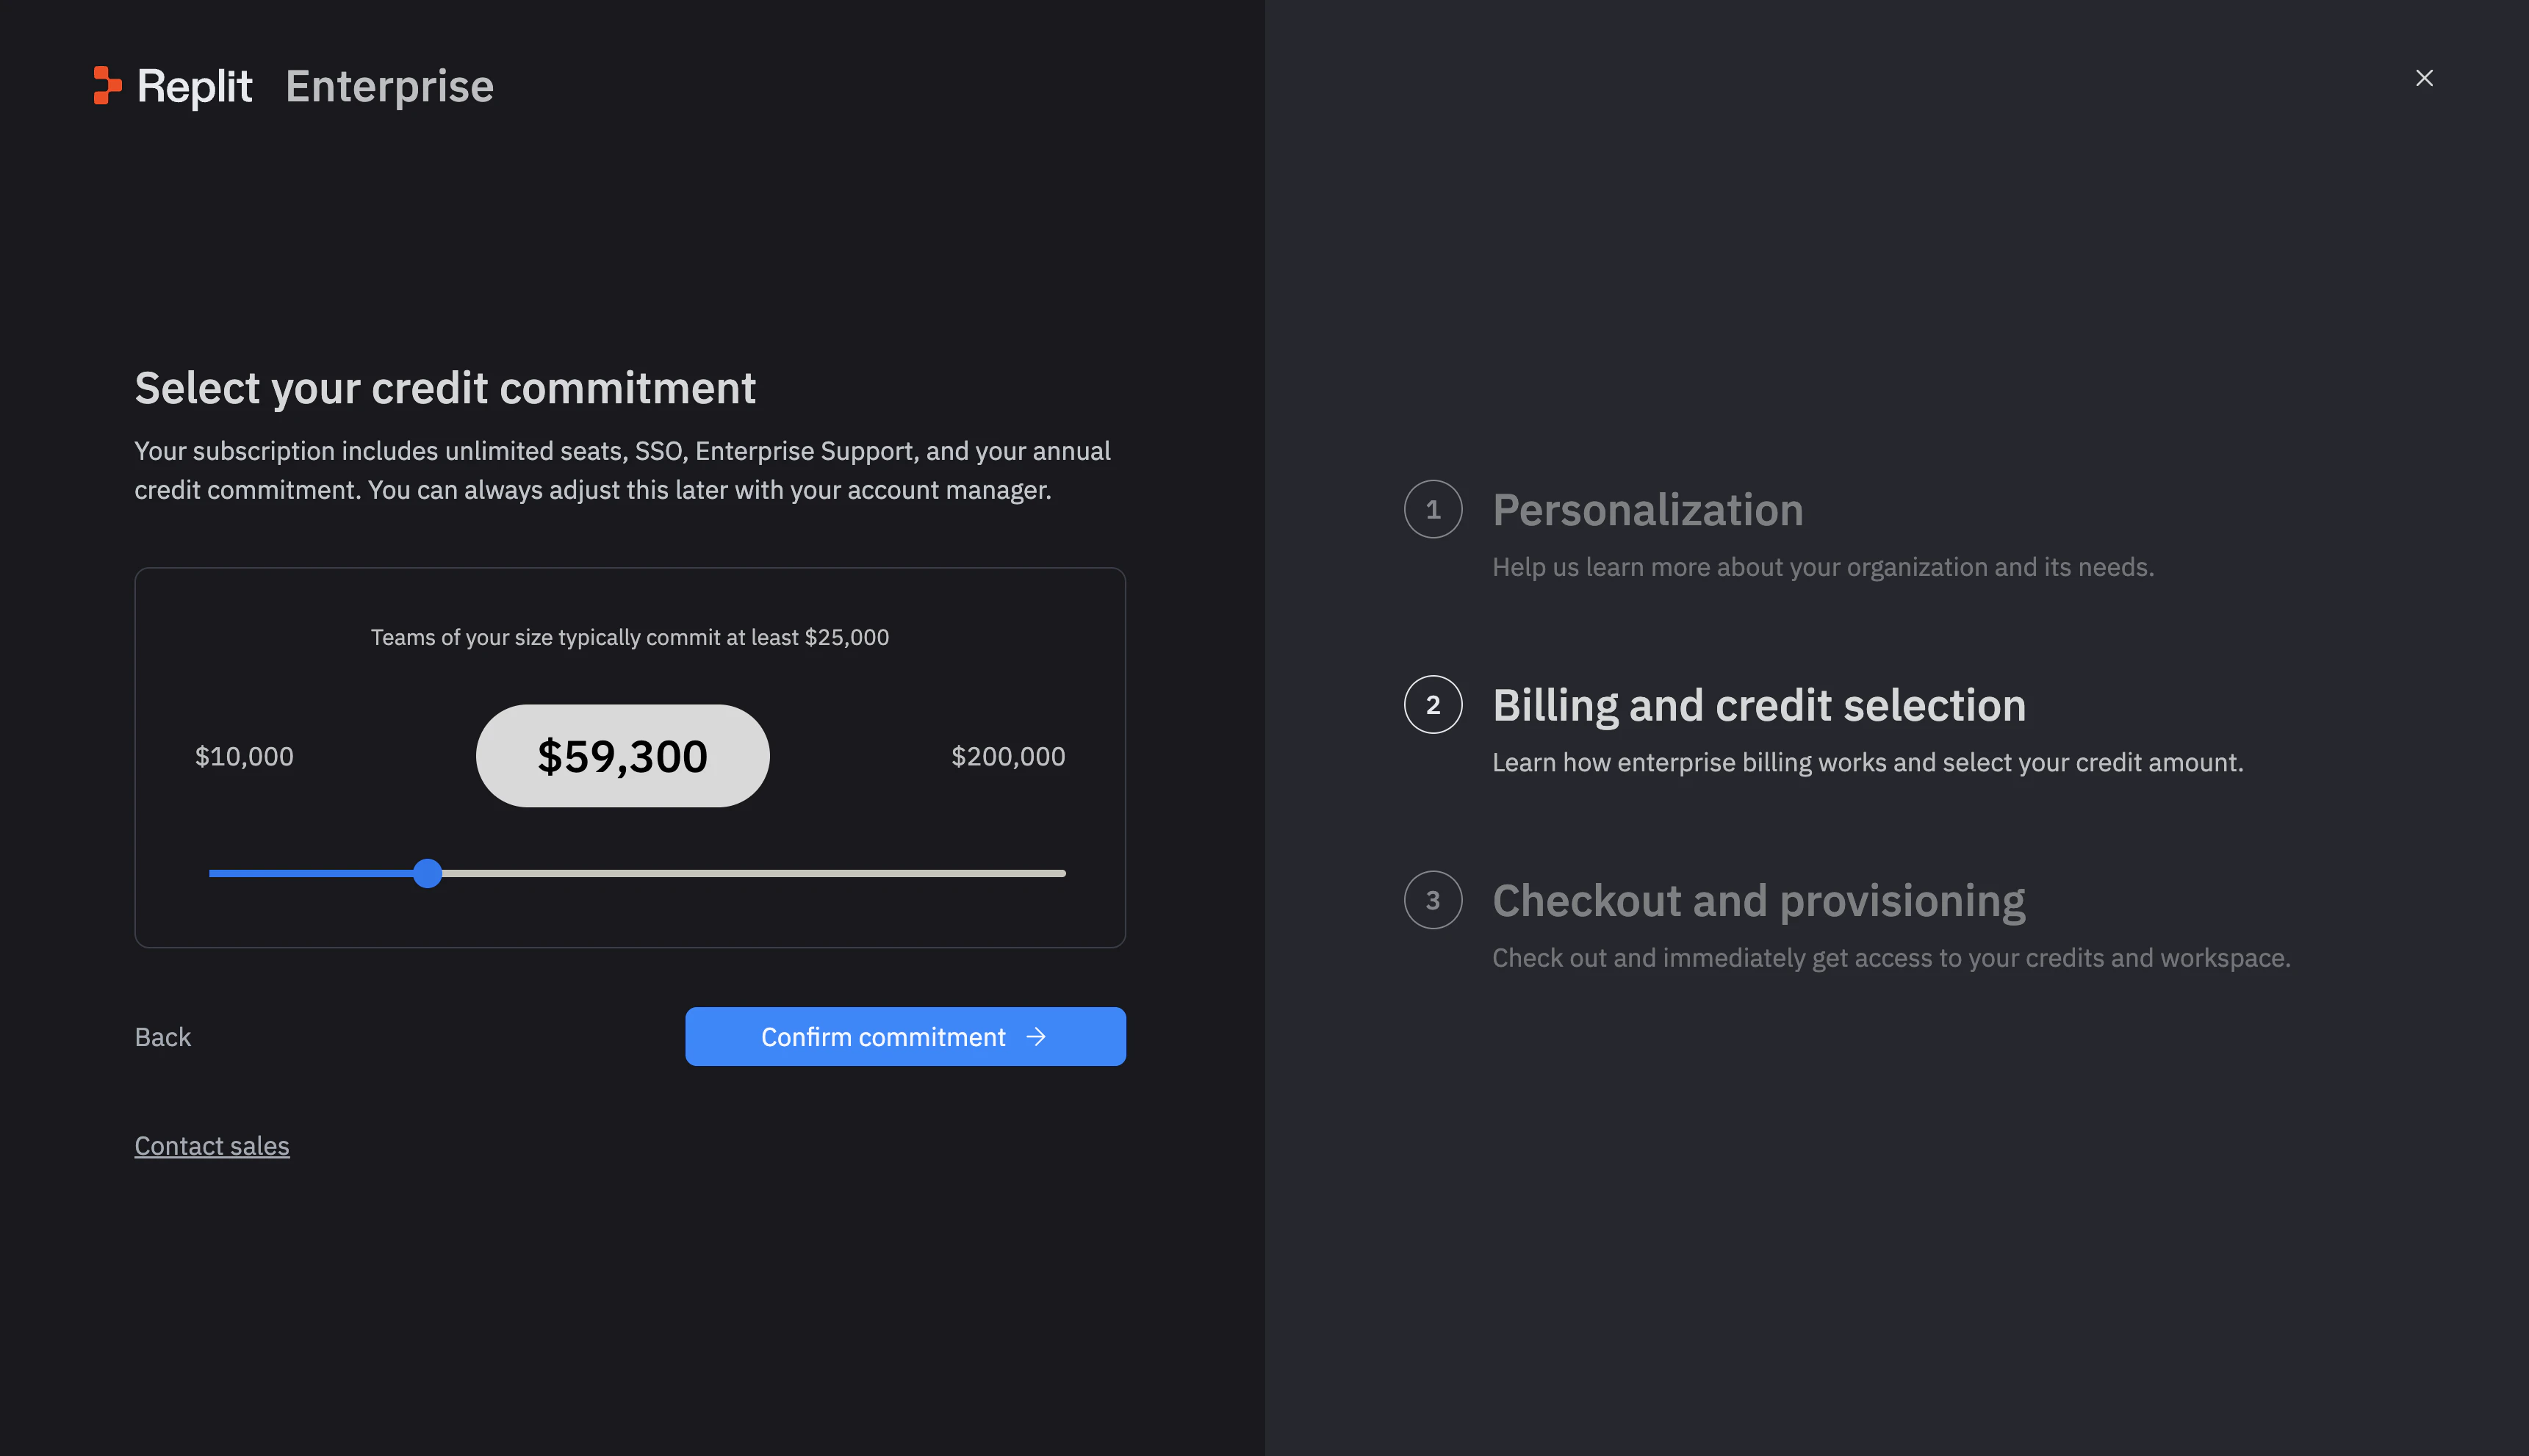
 クレジットコミットメントを選択する場合は、**Select your credit commitment**のスライダーを使って年間金額を選びます。**Confirm commitment**を選択する前に金額を確認してください。詳細については[Replit Enterpriseの請求](/ja/billing/plans/replit-enterprise#upgrade-to-enterprise)を参照してください。
 **Checkout and provisioning**で、請求情報を入力し、購入を完了する前にプラン、クレジットコミットメント、請求条件を確認します。
チェックアウト後、[Workspaceを作成する](/ja/teams/create-your-workspace)に進みます。
## 次のステップ
チームが開発するための共有スペースを設定します。
**Checkout and provisioning**で、請求情報を入力し、購入を完了する前にプラン、クレジットコミットメント、請求条件を確認します。
チェックアウト後、[Workspaceを作成する](/ja/teams/create-your-workspace)に進みます。
## 次のステップ
チームが開発するための共有スペースを設定します。