> ## Documentation Index
> Fetch the complete documentation index at: https://docs.replit.com/llms.txt
> Use this file to discover all available pages before exploring further.
# 初めてのアプリをビルドして公開する
> Agent を使ってプレミアムランニングトラッカーをビルドし、Preview でテストして、共有できる URL に公開しましょう。
export const PromptActions = ({prompt = "", campaign = "docs-prompt-actions"}) => {
const LZ_SRC = "https://cdnjs.cloudflare.com/ajax/libs/lz-string/1.5.0/lz-string.min.js";
const ensureLZString = () => {
if (typeof document === "undefined") return;
if (window.LZString) return;
if (document.querySelector(`script[src="${LZ_SRC}"]`)) return;
const s = document.createElement("script");
s.src = LZ_SRC;
s.async = true;
document.head.appendChild(s);
};
const handleCopy = async e => {
const btn = e.currentTarget;
if (!prompt) return;
try {
await navigator.clipboard.writeText(prompt);
} catch {
const ta = document.createElement("textarea");
ta.value = prompt;
document.body.appendChild(ta);
ta.select();
try {
document.execCommand("copy");
} catch {}
document.body.removeChild(ta);
}
const original = btn.dataset.label || btn.innerText;
btn.dataset.label = original;
btn.innerText = "Copied!";
setTimeout(() => {
if (btn.isConnected) btn.innerText = original;
}, 1500);
};
const handleBuild = () => {
if (!prompt || typeof window === "undefined") return;
const utm = `utm_source=replit-docs&utm_medium=docs&utm_campaign=${encodeURIComponent(campaign)}&utm_content=prompt-actions`;
let url;
if (window.LZString) {
const encoded = window.LZString.compressToEncodedURIComponent(prompt);
url = `https://replit.com/?prompt=${encoded}&referrer=replit-docs&${utm}`;
} else {
url = `https://replit.com/?prompt=${encodeURIComponent(prompt)}&referrer=replit-docs&${utm}`;
}
window.open(url, "_blank", "noopener,noreferrer");
};
ensureLZString();
const baseButtonStyle = {
display: "inline-flex",
alignItems: "center",
gap: "6px",
padding: "8px 16px",
borderRadius: "8px",
fontSize: "14px",
fontWeight: 500,
cursor: "pointer",
lineHeight: 1.2,
fontFamily: "inherit",
textDecoration: "none"
};
return
;
};
export const RUNWELL_PROMPT = `Build a premium running tracker app called Runwell.
## Context
Runwell is a running tracker for runners who want to log runs, track progress, monitor shoe mileage, and stay motivated.
The first version should feel polished and useful, but stay focused. Use realistic sample data. Do not require login or a database yet.
## Visual direction
The app should feel premium, athletic, motivating, modern, dark and high-contrast, and designed for runners. Use black or near-black backgrounds, neon lime accents, rounded cards, subtle gradients and shadows, clean typography, compact metric cards, map-style route previews, and shoe cards with mileage progress.
## Scope
Build three screens: Home, Add Run, and Progress. Do not build Activity or Profile yet.
The Home screen should show a greeting, today's running recommendation, this week's total distance, weekly goal progress, recent runs, and shoe mileage cards. The Add Run screen should let a runner add a run with type (outdoor or treadmill), distance, duration, average pace, average heart rate, shoe used, and notes; saving should update recent runs, weekly totals, and shoe mileage. The Progress screen should show weekly distance, run count, total time, average pace, a weekly distance chart, a pace trend chart, and an encouraging insight.
## Data and navigation
Use realistic sample data. Keep data in the current session only. On mobile, use bottom navigation for Home, Add Run, and Progress; on desktop, use a dashboard-style layout. Make the Add Run action prominent on both.`;
⏰ *所要時間: 約10分*
このガイドを終えると、共有できる URL に公開された小さなアプリが完成します。
ランニングトラッカーをビルドします。このアプリは目的に特化しており、大きなプロジェクトを計画する必要なく、完全な最初のビルドを体験できます。
## 始める前に
[Replit アカウント](https://replit.com)が必要です。
目標は、1つの完全なループを完了することです:
* [Agent](/references/agent/overview) でビルドし、
* アプリをテストし、
* 公開して、共有する。
Agent は Replit の AI ビルダーです。作りたいものを説明すると、Agent がアプリの作成、説明、修正を手伝います。
## 最初のバージョンをビルドする
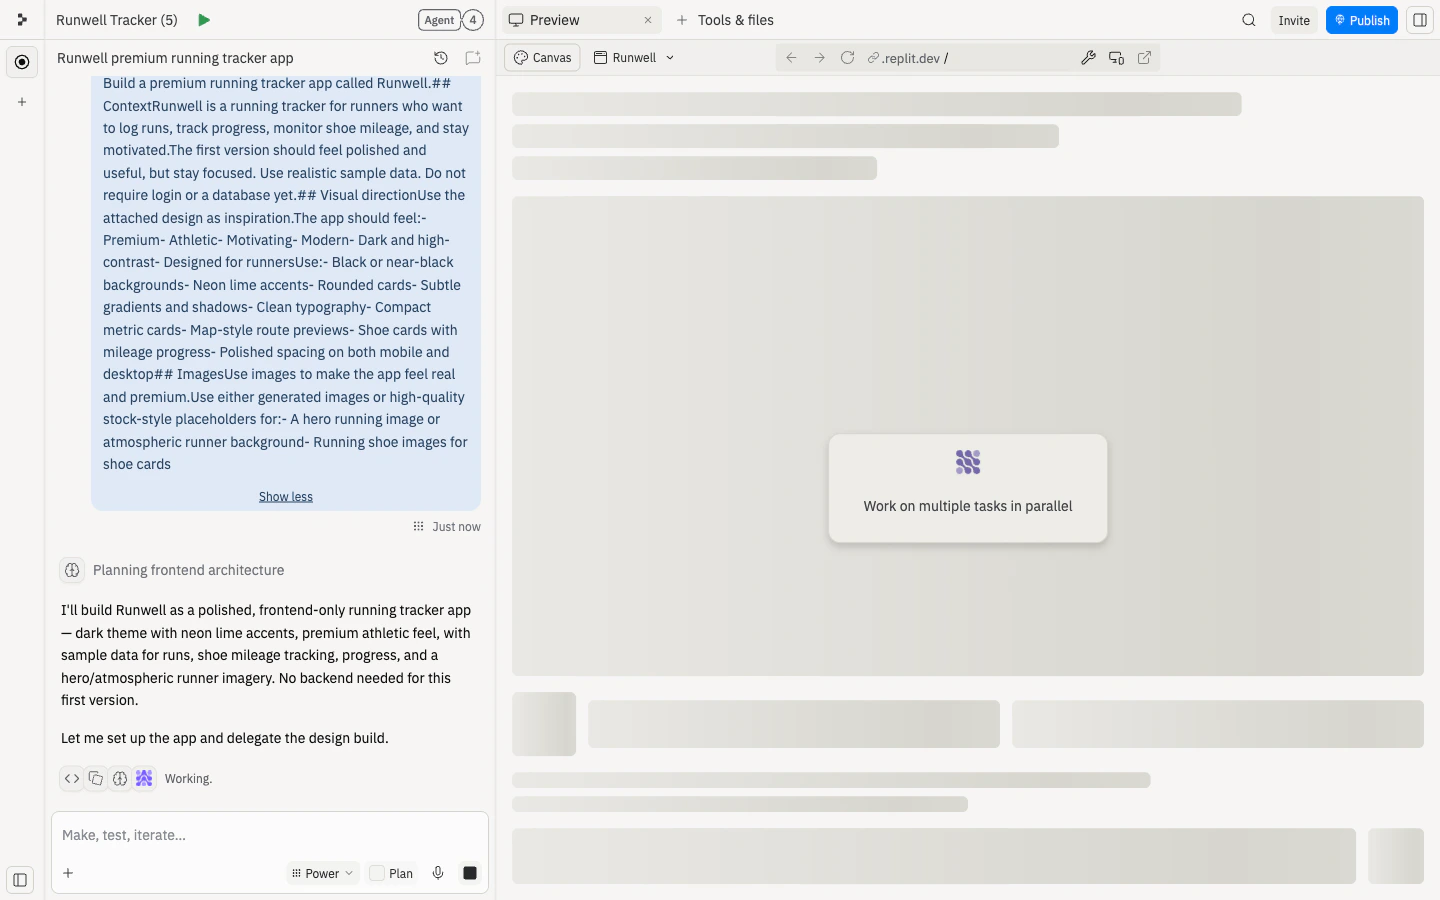
プロンプトは4つの短いセクションに分かれており、Agent に文字の壁ではなく明確な意図を伝えます:
* **Context(コンテキスト)** — アプリが何であり、誰のためのものか。
* **Visual direction(ビジュアル方向性)** — どのような見た目と雰囲気にするか。
* **Scope(スコープ)** — どの画面をビルドし、それぞれに何を表示するか。
* **Data and navigation(データとナビゲーション)** — どのサンプルデータを使用し、モバイルとデスクトップでレイアウトをどう調整するか。
Agent はビルド前にプランを表示することがあります。プランに Home、Add Run、Progress 画面、サンプルのランとシューズのマイレージ、モバイル + デスクトップのレイアウトが含まれていることを確認してください。
重要なものが欠けている場合は、ビルドを開始する前に Agent にプランを更新するよう依頼してください。
Agent にコードを書く前にデザインを検討させたい場合は、プロンプト入力の横にある **Plan** をトグルしてください。Plan モードでは、Agent が質問をしてビルドを承認する前に確認できる構造化されたプランを作成します — このプロジェクトよりも大きなプロジェクトに便利です。
詳しくは [Plan モード](/references/agent/plan-mode) をご覧ください。
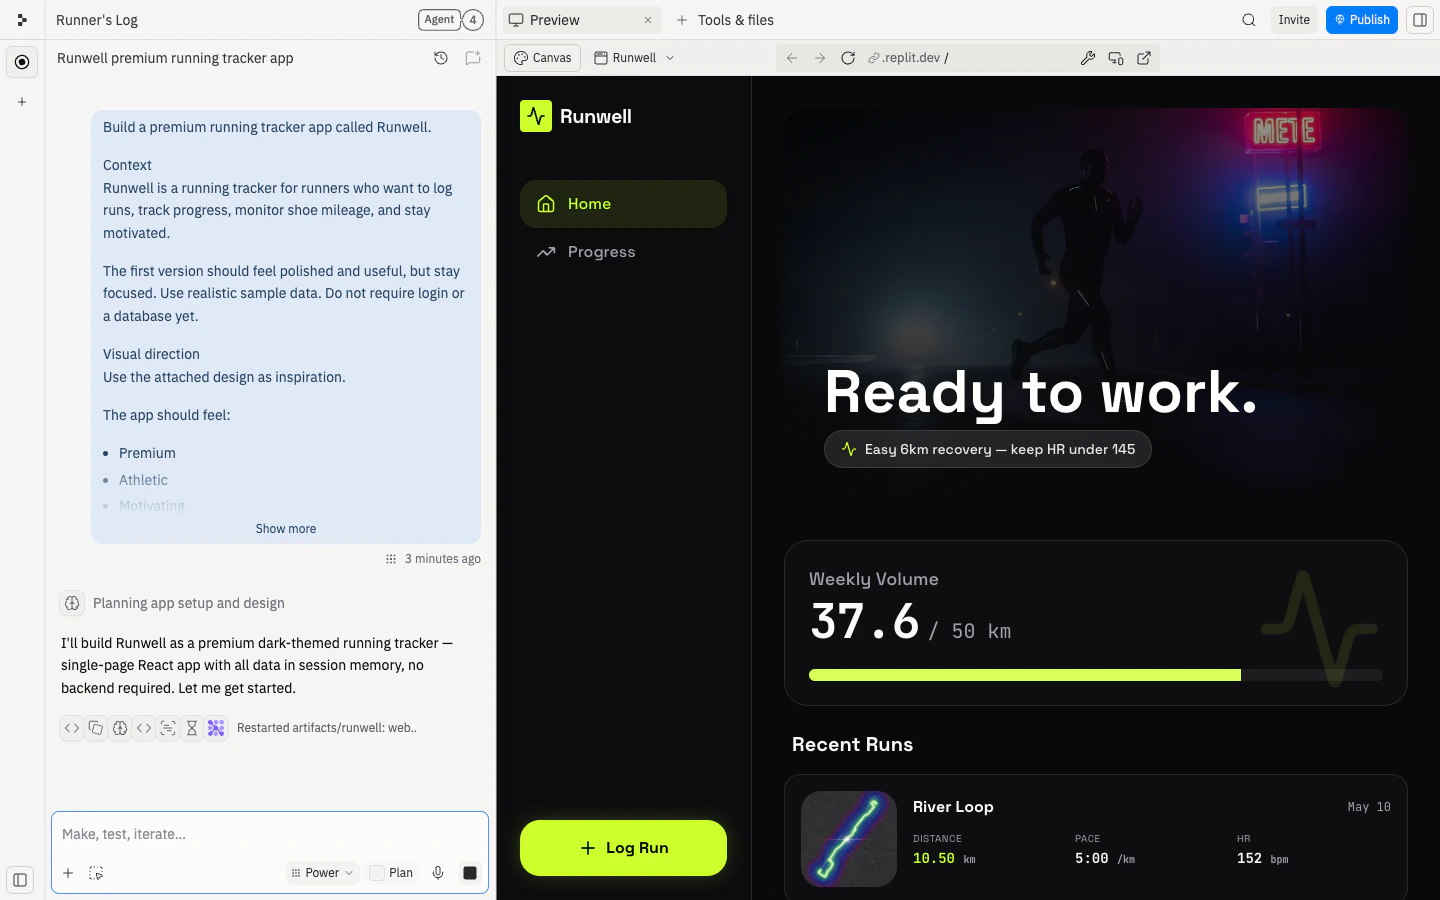
Agent がアプリを計画、生成、接続します。これには通常数分かかります — チャットパネルで作業の進捗を追うことができます。
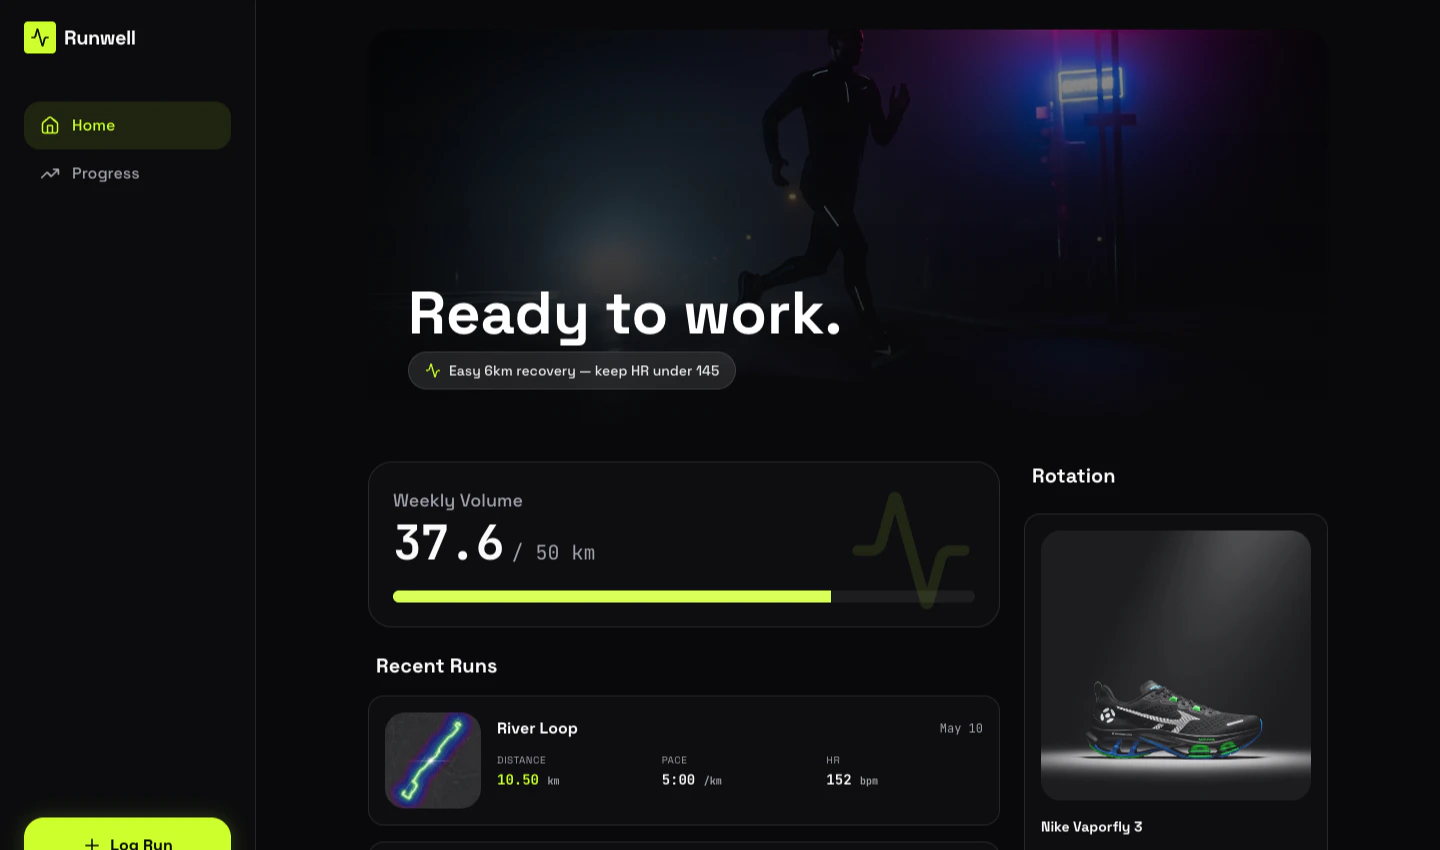
Agent が完了したら、[Preview](/core-concepts/project-editor/editor-and-tools/preview) を開いて、訪問者のようにアプリを使ってみてください。Preview は公開前にビルド中にアプリをテストする場所です。
以下を確認してください:
* Add Run を開いてアウトドアまたはトレッドミルを選択できる。
* 距離、時間、メモを入力できる。
* ランを保存できる。
* Recent Runs にランが表示される。
* 週間距離とシューズのマイレージが更新される。
* 励みになる推奨事項や洞察が表示される。
* ページをリフレッシュしてもアプリを再び使用できる。
* Preview を電話サイズの幅にリサイズできる。
何か壊れている場合は、症状を Agent に説明してください。コードを自分で診断する必要はありません。
公開前にビジュアルのバリエーションを探索したいですか?[Canvas でデザインする](/ja/build/design-with-canvas) を参照して、代替のルックスを並べて生成し、好みのものを適用してください。
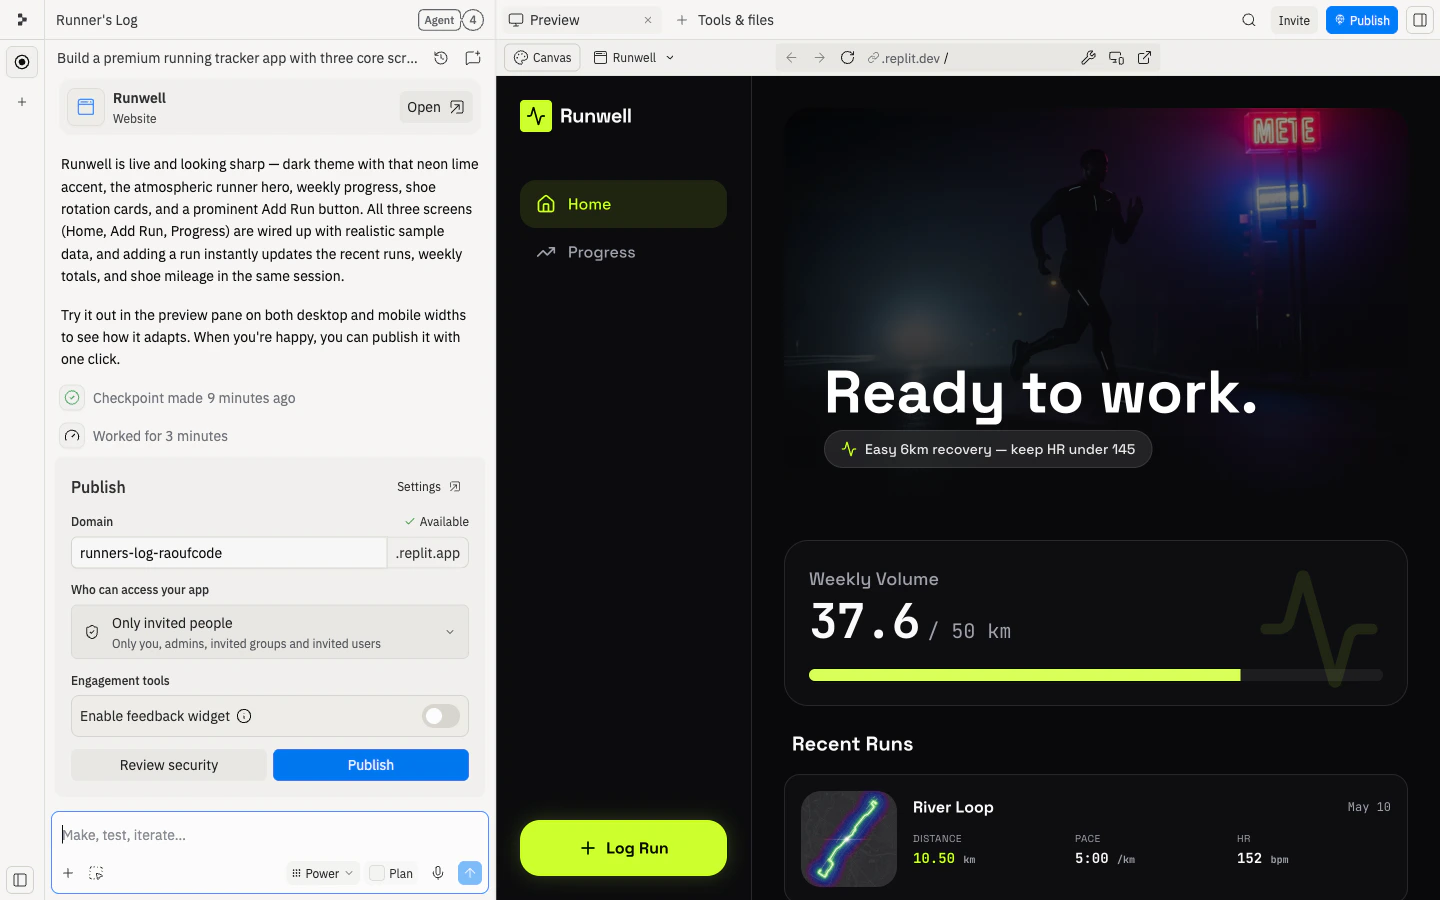
Preview が正常に動作したら、2つの方法で公開できます:
* **Agent チャットから:** Agent がビルドを完了した後、インラインの **Publish** カードで公開を提案します。サブドメインを確認し、アプリにアクセスできる人を選択して、**Publish** を選択してください。
* **ツール & ファイルパネルから:** **Publishing** を開いて同じオプションを設定します。インラインカードを閉じた場合や後で公開したい場合はこの方法を使ってください。
どちらの方法でも、共有できる URL を持つアプリのパブリックバージョンが作成されます。
新しいブラウザタブで公開 URL を開き、同じ確認を繰り返してください。共有する前に、アプリが Project Editor の外でも動作することを確認してください。
公開されたアプリが Preview と異なる動作をする場合は、公開ログとアプリに必要な本番設定を確認してください。よくある公開の問題については、[公開のトラブルシューティング](/build/troubleshooting) をご覧ください。
## 🎉 おめでとうございます — 初めてのアプリを公開しました
1つのプロンプトからライブで共有できる URL まで作り上げました。その過程で:
* Runwell を Agent に説明して、動作する最初のバージョンを受け取りました。
* Preview でテストして、ランが保存され週間合計が更新されることを確認しました。
* アプリを公開して、パブリック URL で開きました。
これがすべての Replit プロジェクトが従うループです — プロンプト、テスト、改善、公開。
## 次のステップ
Runwell のビジュアルバリエーションを探索して、再ビルドせずに新しいデザインを適用しましょう。
複数の Agent タスクを同時に実行して、アプリのさまざまな部分を並行して進めましょう。
Agent をアイデアから動作するアプリへと導く方法を学びましょう。
リフレッシュ後もランの履歴を保存しましょう。