> ## Documentation Index
> Fetch the complete documentation index at: https://docs.replit.com/llms.txt
> Use this file to discover all available pages before exploring further.
# Build and publish your first app
> Build a premium running tracker with Agent, test it in Preview, and publish it to a URL you can share.
export const PromptActions = ({prompt = "", campaign = "docs-prompt-actions"}) => {
const LZ_SRC = "https://cdnjs.cloudflare.com/ajax/libs/lz-string/1.5.0/lz-string.min.js";
const ensureLZString = () => {
if (typeof document === "undefined") return;
if (window.LZString) return;
if (document.querySelector(`script[src="${LZ_SRC}"]`)) return;
const s = document.createElement("script");
s.src = LZ_SRC;
s.async = true;
document.head.appendChild(s);
};
const handleCopy = async e => {
const btn = e.currentTarget;
if (!prompt) return;
try {
await navigator.clipboard.writeText(prompt);
} catch {
const ta = document.createElement("textarea");
ta.value = prompt;
document.body.appendChild(ta);
ta.select();
try {
document.execCommand("copy");
} catch {}
document.body.removeChild(ta);
}
const original = btn.dataset.label || btn.innerText;
btn.dataset.label = original;
btn.innerText = "Copied!";
setTimeout(() => {
if (btn.isConnected) btn.innerText = original;
}, 1500);
};
const handleBuild = () => {
if (!prompt || typeof window === "undefined") return;
const utm = `utm_source=replit-docs&utm_medium=docs&utm_campaign=${encodeURIComponent(campaign)}&utm_content=prompt-actions`;
let url;
if (window.LZString) {
const encoded = window.LZString.compressToEncodedURIComponent(prompt);
url = `https://replit.com/?prompt=${encoded}&referrer=replit-docs&${utm}`;
} else {
url = `https://replit.com/?prompt=${encodeURIComponent(prompt)}&referrer=replit-docs&${utm}`;
}
window.open(url, "_blank", "noopener,noreferrer");
};
ensureLZString();
const baseButtonStyle = {
display: "inline-flex",
alignItems: "center",
gap: "6px",
padding: "8px 16px",
borderRadius: "8px",
fontSize: "14px",
fontWeight: 500,
cursor: "pointer",
lineHeight: 1.2,
fontFamily: "inherit",
textDecoration: "none"
};
return
;
};
export const RUNWELL_PROMPT = `Build a premium running tracker app called Runwell.
## Context
Runwell is a running tracker for runners who want to log runs, track progress, monitor shoe mileage, and stay motivated.
The first version should feel polished and useful, but stay focused. Use realistic sample data. Do not require login or a database yet.
## Visual direction
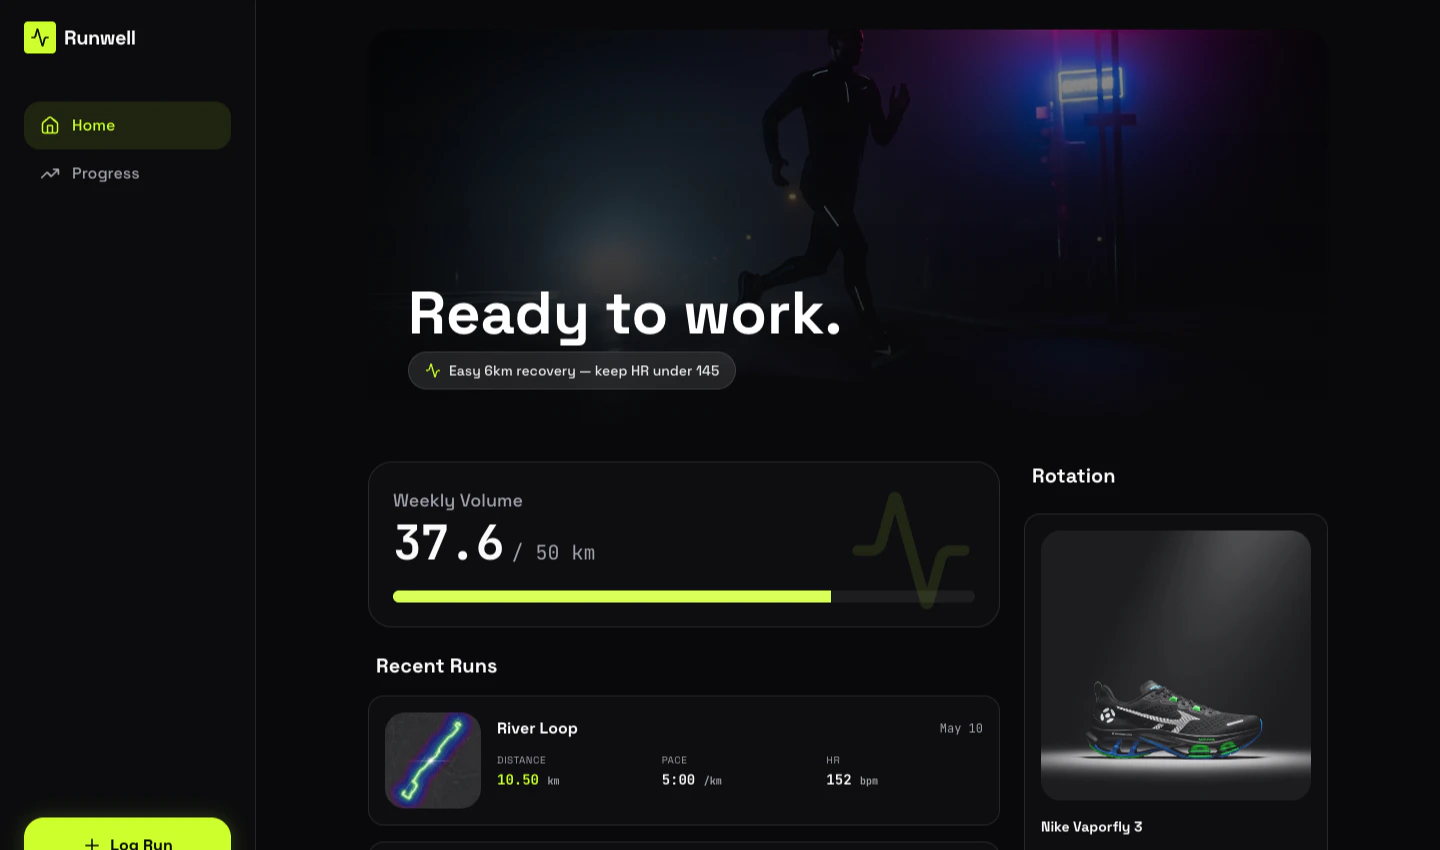
The app should feel premium, athletic, motivating, modern, dark and high-contrast, and designed for runners. Use black or near-black backgrounds, neon lime accents, rounded cards, subtle gradients and shadows, clean typography, compact metric cards, map-style route previews, and shoe cards with mileage progress.
## Scope
Build three screens: Home, Add Run, and Progress. Do not build Activity or Profile yet.
The Home screen should show a greeting, today's running recommendation, this week's total distance, weekly goal progress, recent runs, and shoe mileage cards. The Add Run screen should let a runner add a run with type (outdoor or treadmill), distance, duration, average pace, average heart rate, shoe used, and notes; saving should update recent runs, weekly totals, and shoe mileage. The Progress screen should show weekly distance, run count, total time, average pace, a weekly distance chart, a pace trend chart, and an encouraging insight.
## Data and navigation
Use realistic sample data. Keep data in the current session only. On mobile, use bottom navigation for Home, Add Run, and Progress; on desktop, use a dashboard-style layout. Make the Add Run action prominent on both.`;
⏰ *Estimated time: 10 minutes*
By the end of this guide, you will have a small app published at a URL you can share.
You will build a running tracker. The app is focused on purpose: it gives you a complete first build without needing to plan a large project.
## Before you start
You need a [Replit account](https://replit.com).
The goal is to finish one complete loop:
* Build with [Agent](/references/agent/overview),
* Test the app,
* Publish, and share.
Agent is Replit's AI builder. You describe what you want, and Agent helps create, explain, and fix the app.
## Build the first version
The prompt is split into four short sections so Agent gets clear intent instead of a wall of text:
* **Context** — what the app is and who it's for.
* **Visual direction** — how it should look and feel.
* **Scope** — which screens to build and what each should show.
* **Data and navigation** — what sample data to use and how the layout adapts to mobile and desktop.
Agent may show a plan before it builds. Check that the plan includes the Home, Add Run, and Progress screens, sample runs and shoe mileage, and the mobile + desktop layouts.
If something important is missing, ask Agent to update the plan before it starts building.
If you want Agent to think through the design before writing any code, toggle **Plan** next to the prompt input. Plan mode lets Agent ask clarifying questions and produce a structured plan you can review before approving the build — useful for projects bigger than this one.
Learn more in [Plan mode](/references/agent/plan-mode).
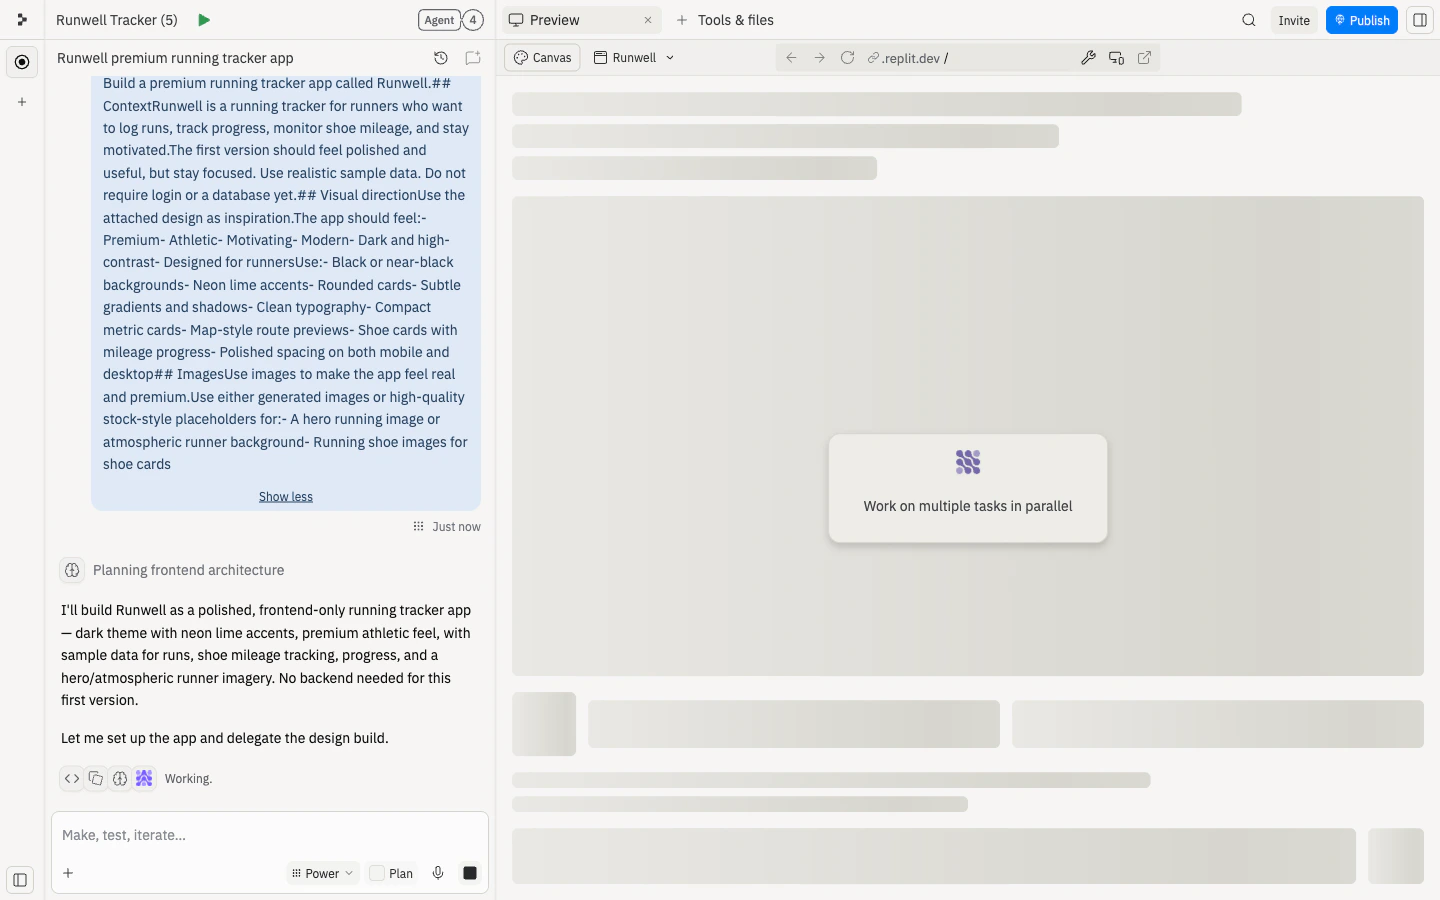
Agent plans, generates, and wires up the app. This usually takes a few minutes — you can follow along in the chat panel as it works.
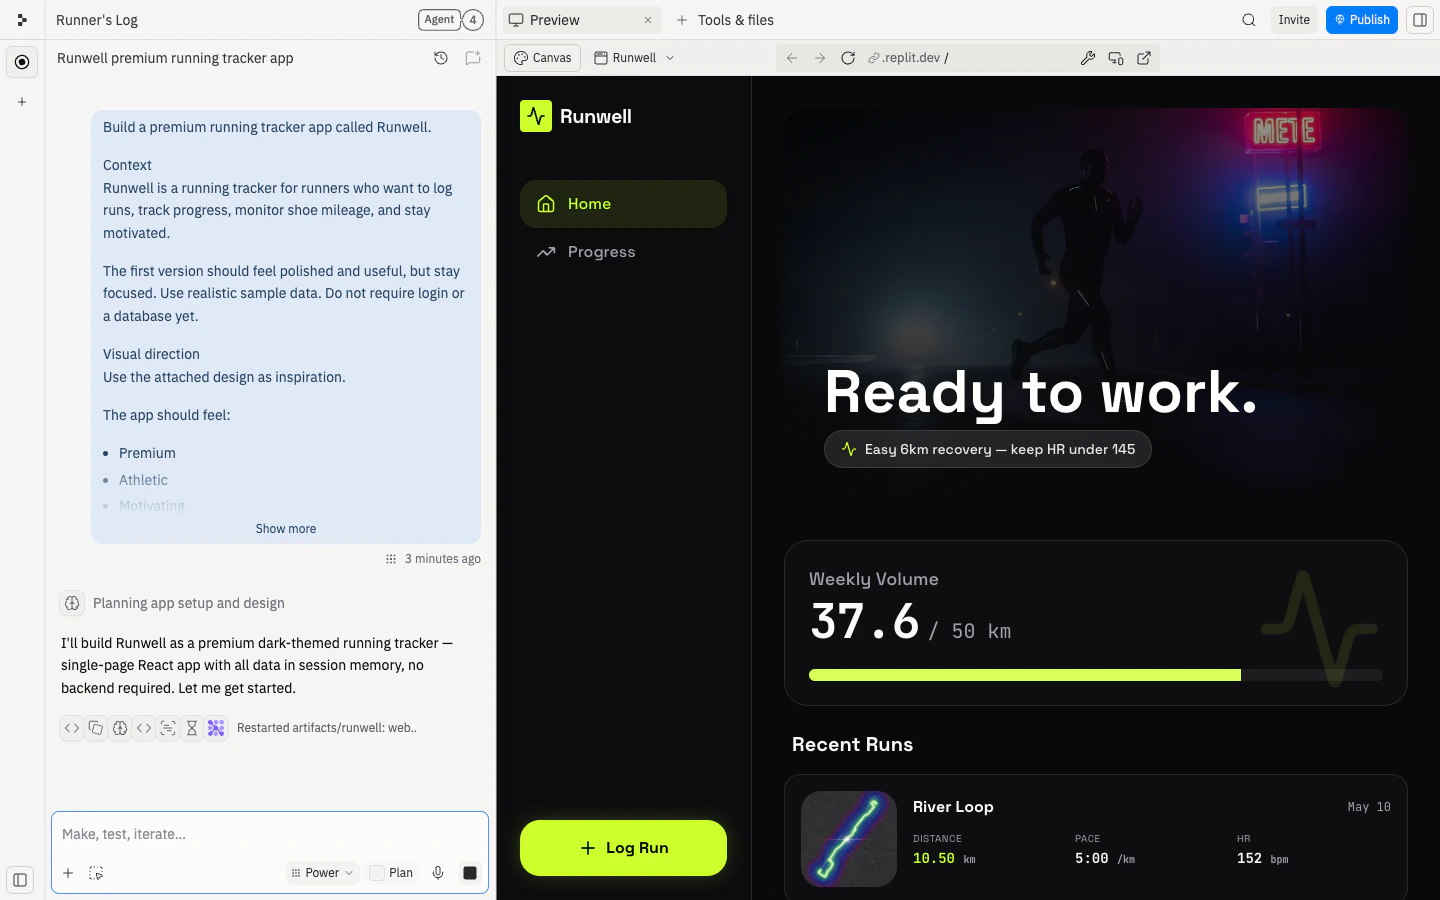
When Agent finishes, open [Preview](/core-concepts/project-editor/editor-and-tools/preview) and use the app like a visitor. Preview is where you test the app while you are building, before publishing it.
Check that you can:
* Open Add Run and choose outdoor or treadmill.
* Enter distance, duration, and notes.
* Save the run.
* See the run appear in Recent Runs.
* See the weekly distance and shoe mileage update.
* See an encouraging recommendation or insight.
* Refresh the page and use the app again.
* Resize Preview to a phone-sized width.
If something breaks, describe the symptom to Agent. You do not need to diagnose the code yourself.
Want to explore visual variations before publishing? See [Design with Canvas](/build/design-with-canvas) to generate alternative looks side by side and apply the one you like.
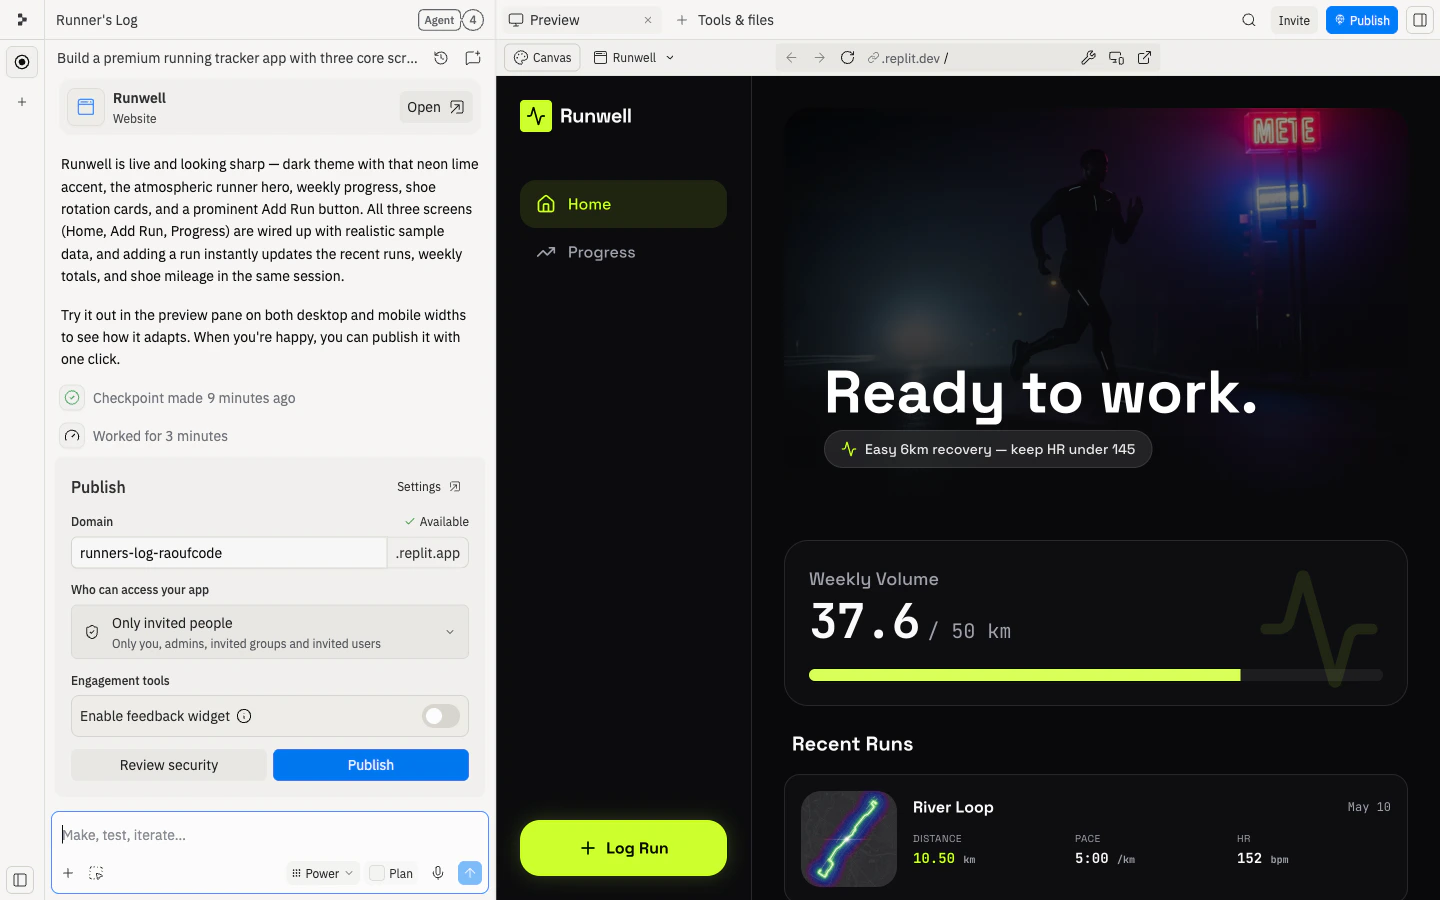
When Preview works, you can publish in two ways:
* **From the Agent chat:** after Agent finishes the build, it suggests deployment with an inline **Publish** card. Confirm your subdomain, choose who can access the app, and select **Publish**.
* **From the Tools & files panel:** open **Publishing** to configure the same options. Use this path if you've dismissed the inline card or want to publish later.
Either way, publishing creates a public version of your app with a URL you can share.
Open the public URL in a new browser tab and repeat the same checks. The app should work outside the Project Editor before you share it.
If the published app behaves differently from Preview, check the publishing logs and any production settings the app needs. For common publishing problems, see [Troubleshoot publishing](/build/troubleshooting).
## 🎉 Congratulations — you shipped your first app
You went from a single prompt to a live, shareable URL. Along the way you:
* Described Runwell to Agent and got a working first version back.
* Tested it in Preview to confirm runs save and weekly totals update.
* Published the app and opened it at its public URL.
That's the loop every Replit project follows — prompt, test, improve, publish.
## Next steps
Explore visual variations of Runwell and apply a new design without rebuilding.
Run multiple Agent tasks at once so different parts of the app move forward together.
Learn how to guide Agent from idea to working app.
Save run history after refresh.