> ## Documentation Index
> Fetch the complete documentation index at: https://docs.replit.com/llms.txt
> Use this file to discover all available pages before exploring further.
# Build a Shopify storefront
> Learn how to design and launch a custom Shopify storefront with Replit.
export const CANDLE_STORE_PROMPT = `Build me an online store that sells hand-poured soy candles for a brand called "Ember & Oak." Use Shopify as the backend for the store and its products.
It should feel warm, calm, and premium — like a boutique home-goods brand. Use a soft cream background, deep charcoal text, and a muted amber accent. Elegant serif headlines, generous spacing, and soft rounded product cards.
Top to bottom:
A simple header with a small "Ember & Oak" wordmark on the left, a few links in the middle (Shop, Scents, Our Story), and a cart icon on the right.
A hero section with a large lifestyle photo of a lit candle on a wooden table in warm light, a headline like "Light that feels like home," a one-line subhead, and a "Shop candles" button.
A product grid that shows each candle with its photo, name, scent, and price, with an "Add to cart" button on each card. Read the products from the connected Shopify store.
A short "Our Story" band with a sentence or two about small-batch, hand-poured candles.
A simple footer with the wordmark and the same links.
Generate warm, cozy candle and home photography. Make it look like a real boutique brand, not a template. Wire the product grid and cart to the Shopify store you set up — don't ask me for any Shopify API keys.`;
export const PromptActions = ({prompt = "", campaign = "docs-prompt-actions"}) => {
const LZ_SRC = "https://cdnjs.cloudflare.com/ajax/libs/lz-string/1.5.0/lz-string.min.js";
const ensureLZString = () => {
if (typeof document === "undefined") return;
if (window.LZString) return;
if (document.querySelector(`script[src="${LZ_SRC}"]`)) return;
const s = document.createElement("script");
s.src = LZ_SRC;
s.async = true;
document.head.appendChild(s);
};
const handleCopy = async e => {
const btn = e.currentTarget;
if (!prompt) return;
try {
await navigator.clipboard.writeText(prompt);
} catch {
const ta = document.createElement("textarea");
ta.value = prompt;
document.body.appendChild(ta);
ta.select();
try {
document.execCommand("copy");
} catch {}
document.body.removeChild(ta);
}
const original = btn.dataset.label || btn.innerText;
btn.dataset.label = original;
btn.innerText = "Copied!";
setTimeout(() => {
if (btn.isConnected) btn.innerText = original;
}, 1500);
};
const handleBuild = () => {
if (!prompt || typeof window === "undefined") return;
const utm = `utm_source=replit-docs&utm_medium=docs&utm_campaign=${encodeURIComponent(campaign)}&utm_content=prompt-actions`;
let url;
if (window.LZString) {
const encoded = window.LZString.compressToEncodedURIComponent(prompt);
url = `https://replit.com/?prompt=${encoded}&referrer=replit-docs&${utm}`;
} else {
url = `https://replit.com/?prompt=${encodeURIComponent(prompt)}&referrer=replit-docs&${utm}`;
}
window.open(url, "_blank", "noopener,noreferrer");
};
ensureLZString();
const baseButtonStyle = {
display: "inline-flex",
alignItems: "center",
gap: "6px",
padding: "8px 16px",
borderRadius: "8px",
fontSize: "14px",
fontWeight: 500,
cursor: "pointer",
lineHeight: 1.2,
fontFamily: "inherit",
textDecoration: "none"
};
return
;
};
You can design and launch a custom Shopify storefront just by describing the store you want. Agent provisions a Shopify store, builds a front end against it, and adds your products all from one conversation. When you're ready to sell, you make a single trip to Shopify to claim the store and turn on payments.
In this guide you'll build **Ember & Oak**, a small-batch candle store, from a prompt to a published storefront.
## What you'll achieve
By the end of this guide, you will have:
* A custom-designed candle storefront backed by a real Shopify store.
* Products and prices created in Shopify and rendered on the storefront.
* A working cart that sends buyers to Shopify checkout.
* A clear path to go live: claim the store, turn on payments, and launch.
## What you'll learn
You will learn how to:
* Describe a store so Agent recommends Shopify and provisions it for you.
* Connect Shopify without handling any API keys.
* Add and publish products by chatting with Agent.
* Refine the design and the buyer flow.
* Take the store from development to a live, sellable storefront.
## Connect Shopify
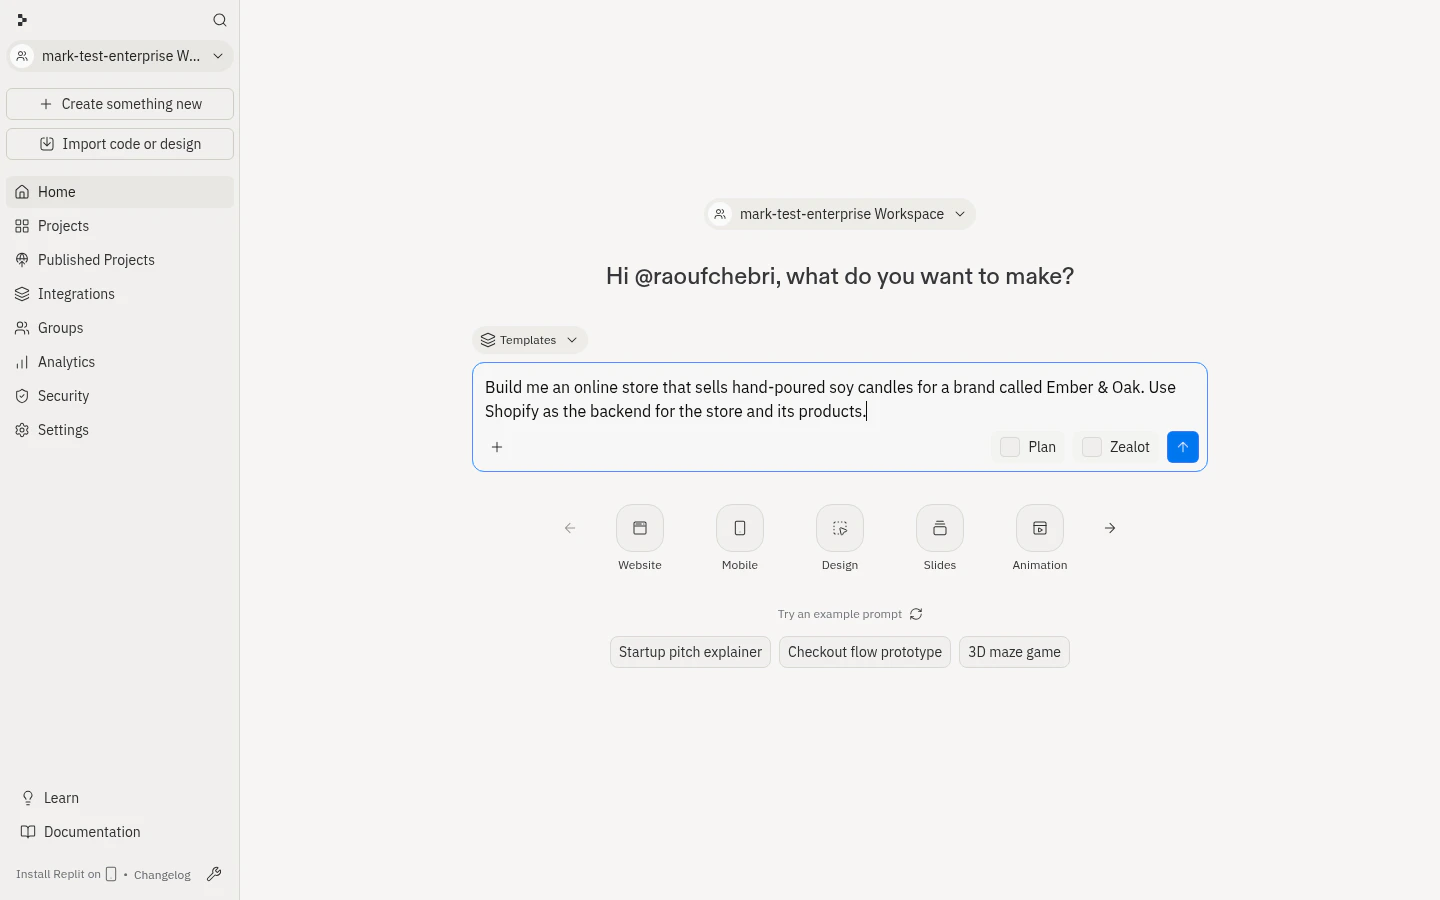
Shopify is available to all builders on all apps, and you connect it right in the conversation. Start by describing the store you want to build.
Copy the prompt and paste it into the prompt box on [replit.com](https://replit.com), or click **Build on Replit** to open Replit with the prompt prefilled.
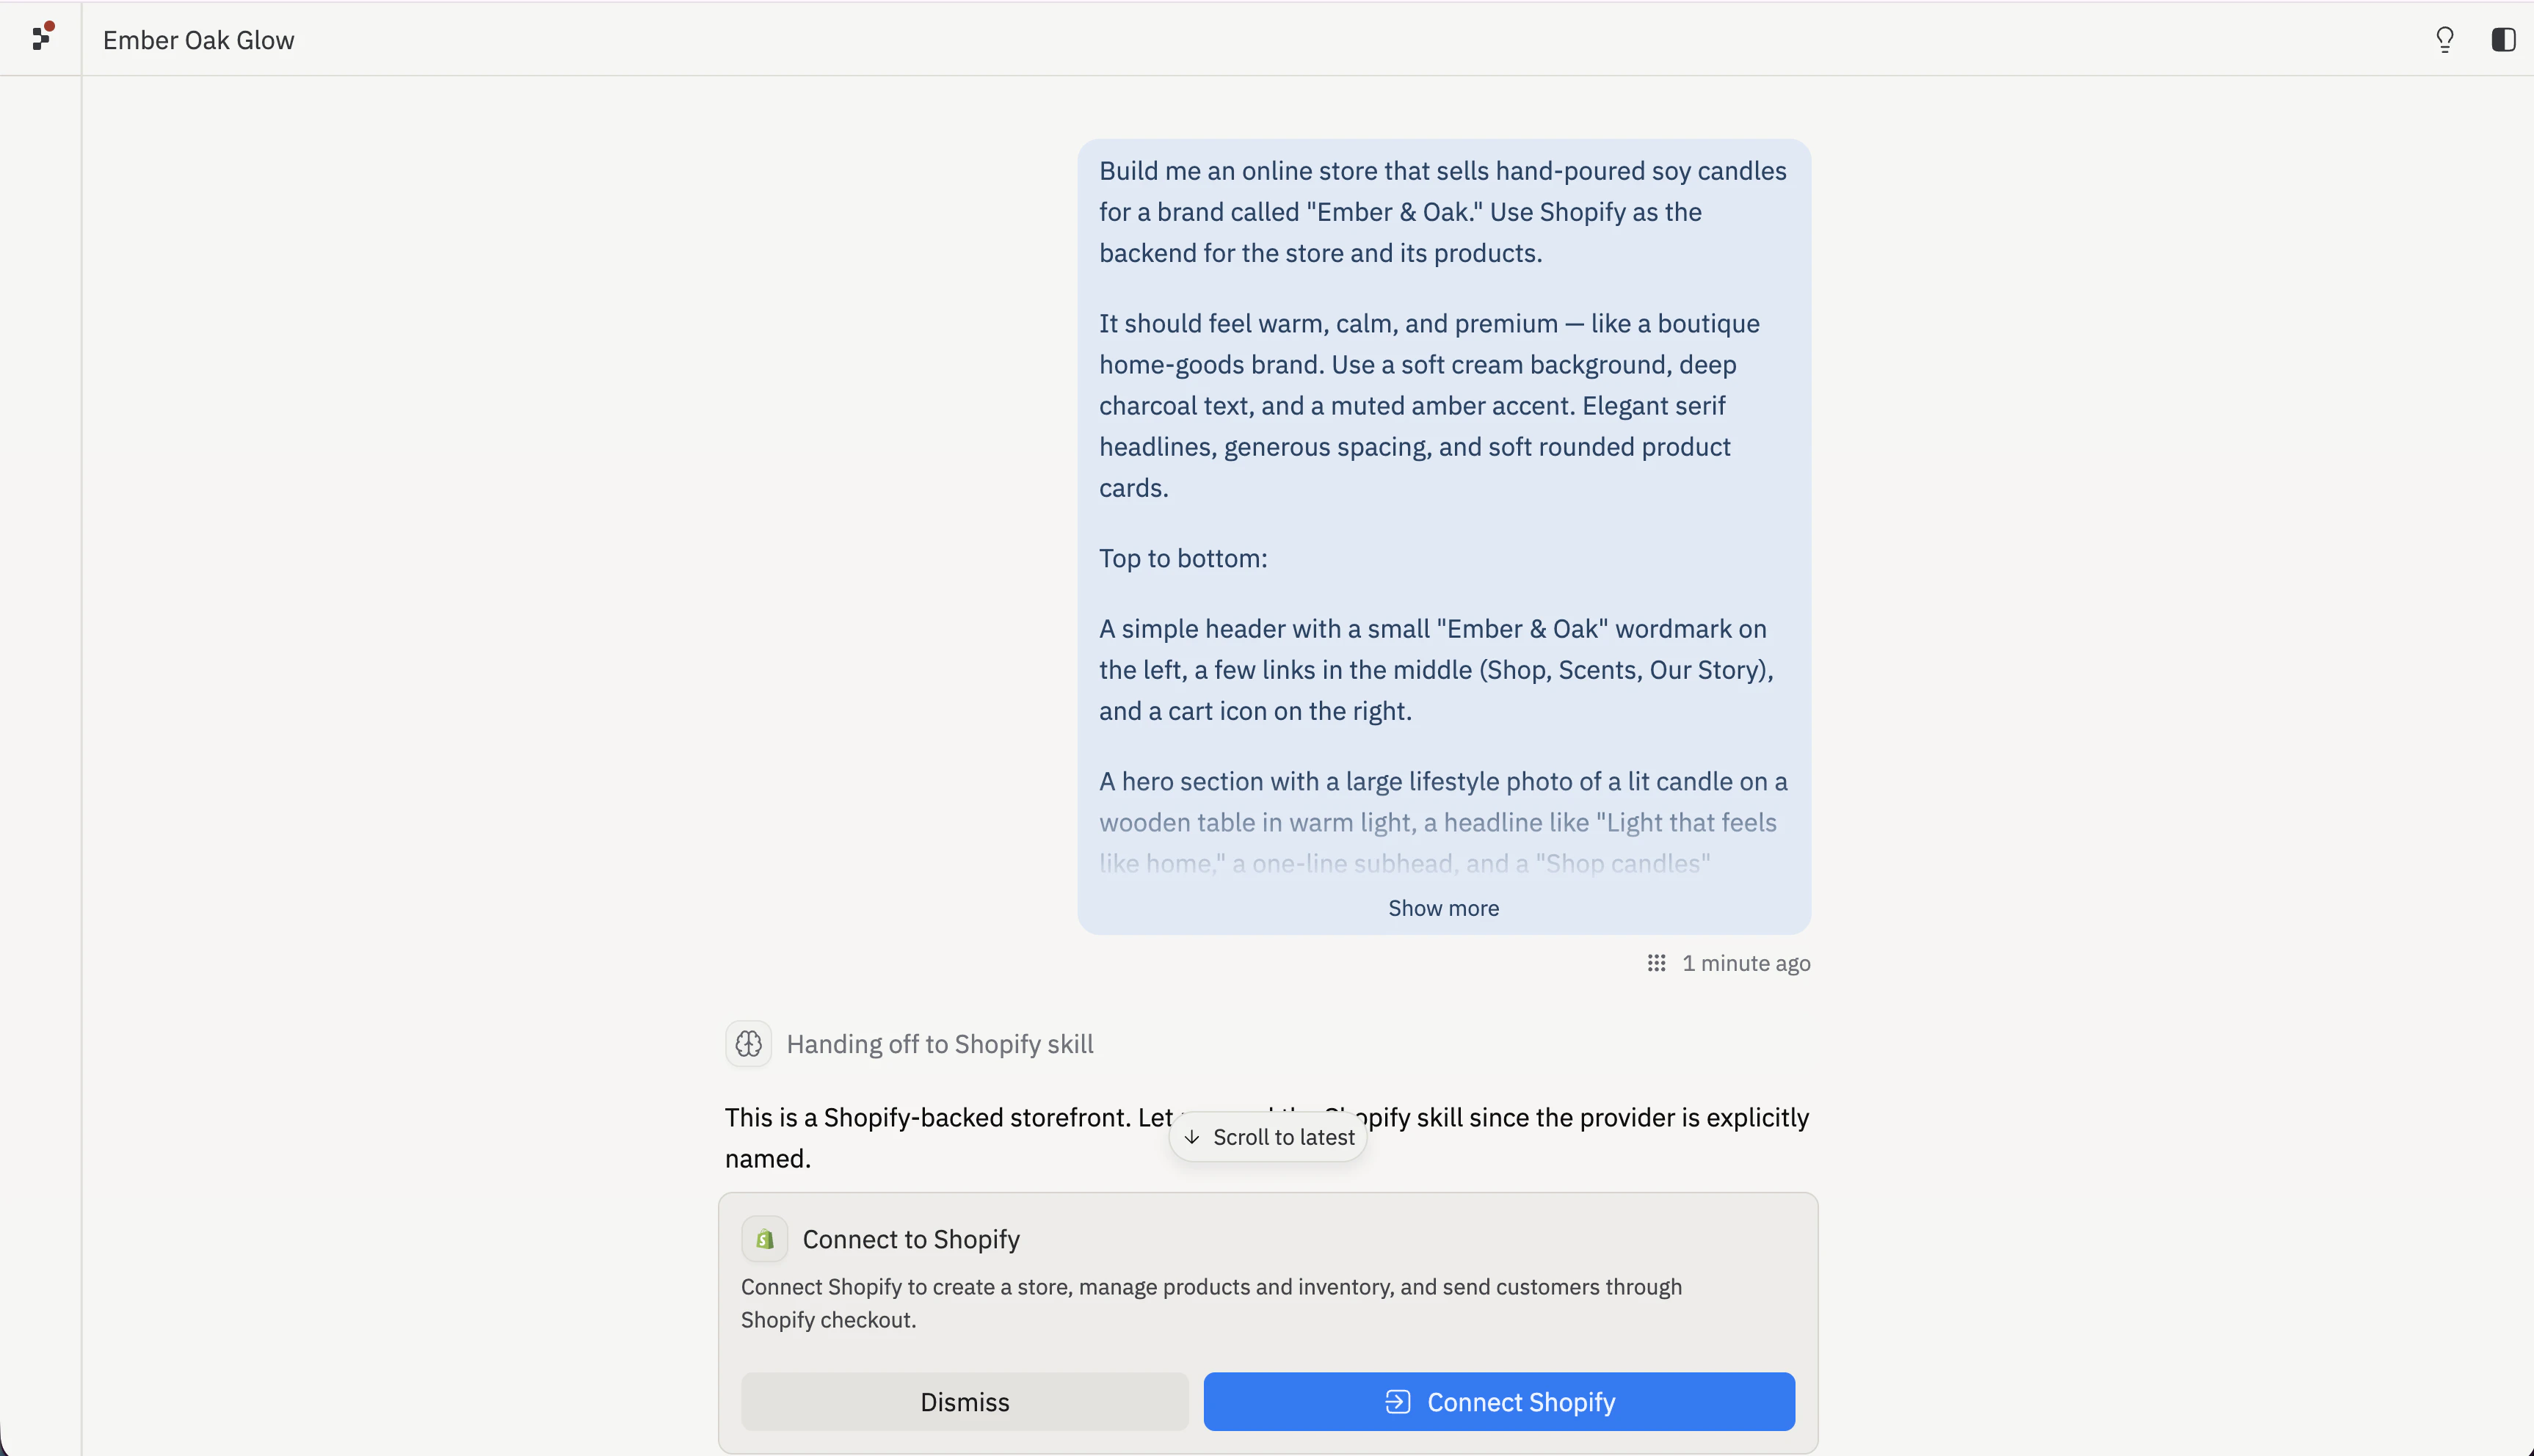
Agent recognizes that you're selling a physical good and recommends Shopify as the backend for your storefront.
Agent asks to create a Shopify store for your app. Approve it, and Agent provisions a Replit-owned development store and connects it. No additional configuration needed.
Your email is shared with Shopify so you can claim the store later.
The store starts password-protected and can't take real payments until you go live, so you can build freely without risk.
Each Shopify store is scoped to a single app. If you build a second store
later, Agent provisions a fresh Shopify store for that app. For the full
connector details, see [Connect Shopify](/references/integrations/shopify).
## Build the storefront
With Shopify connected, Agent designs and builds the storefront against your store.
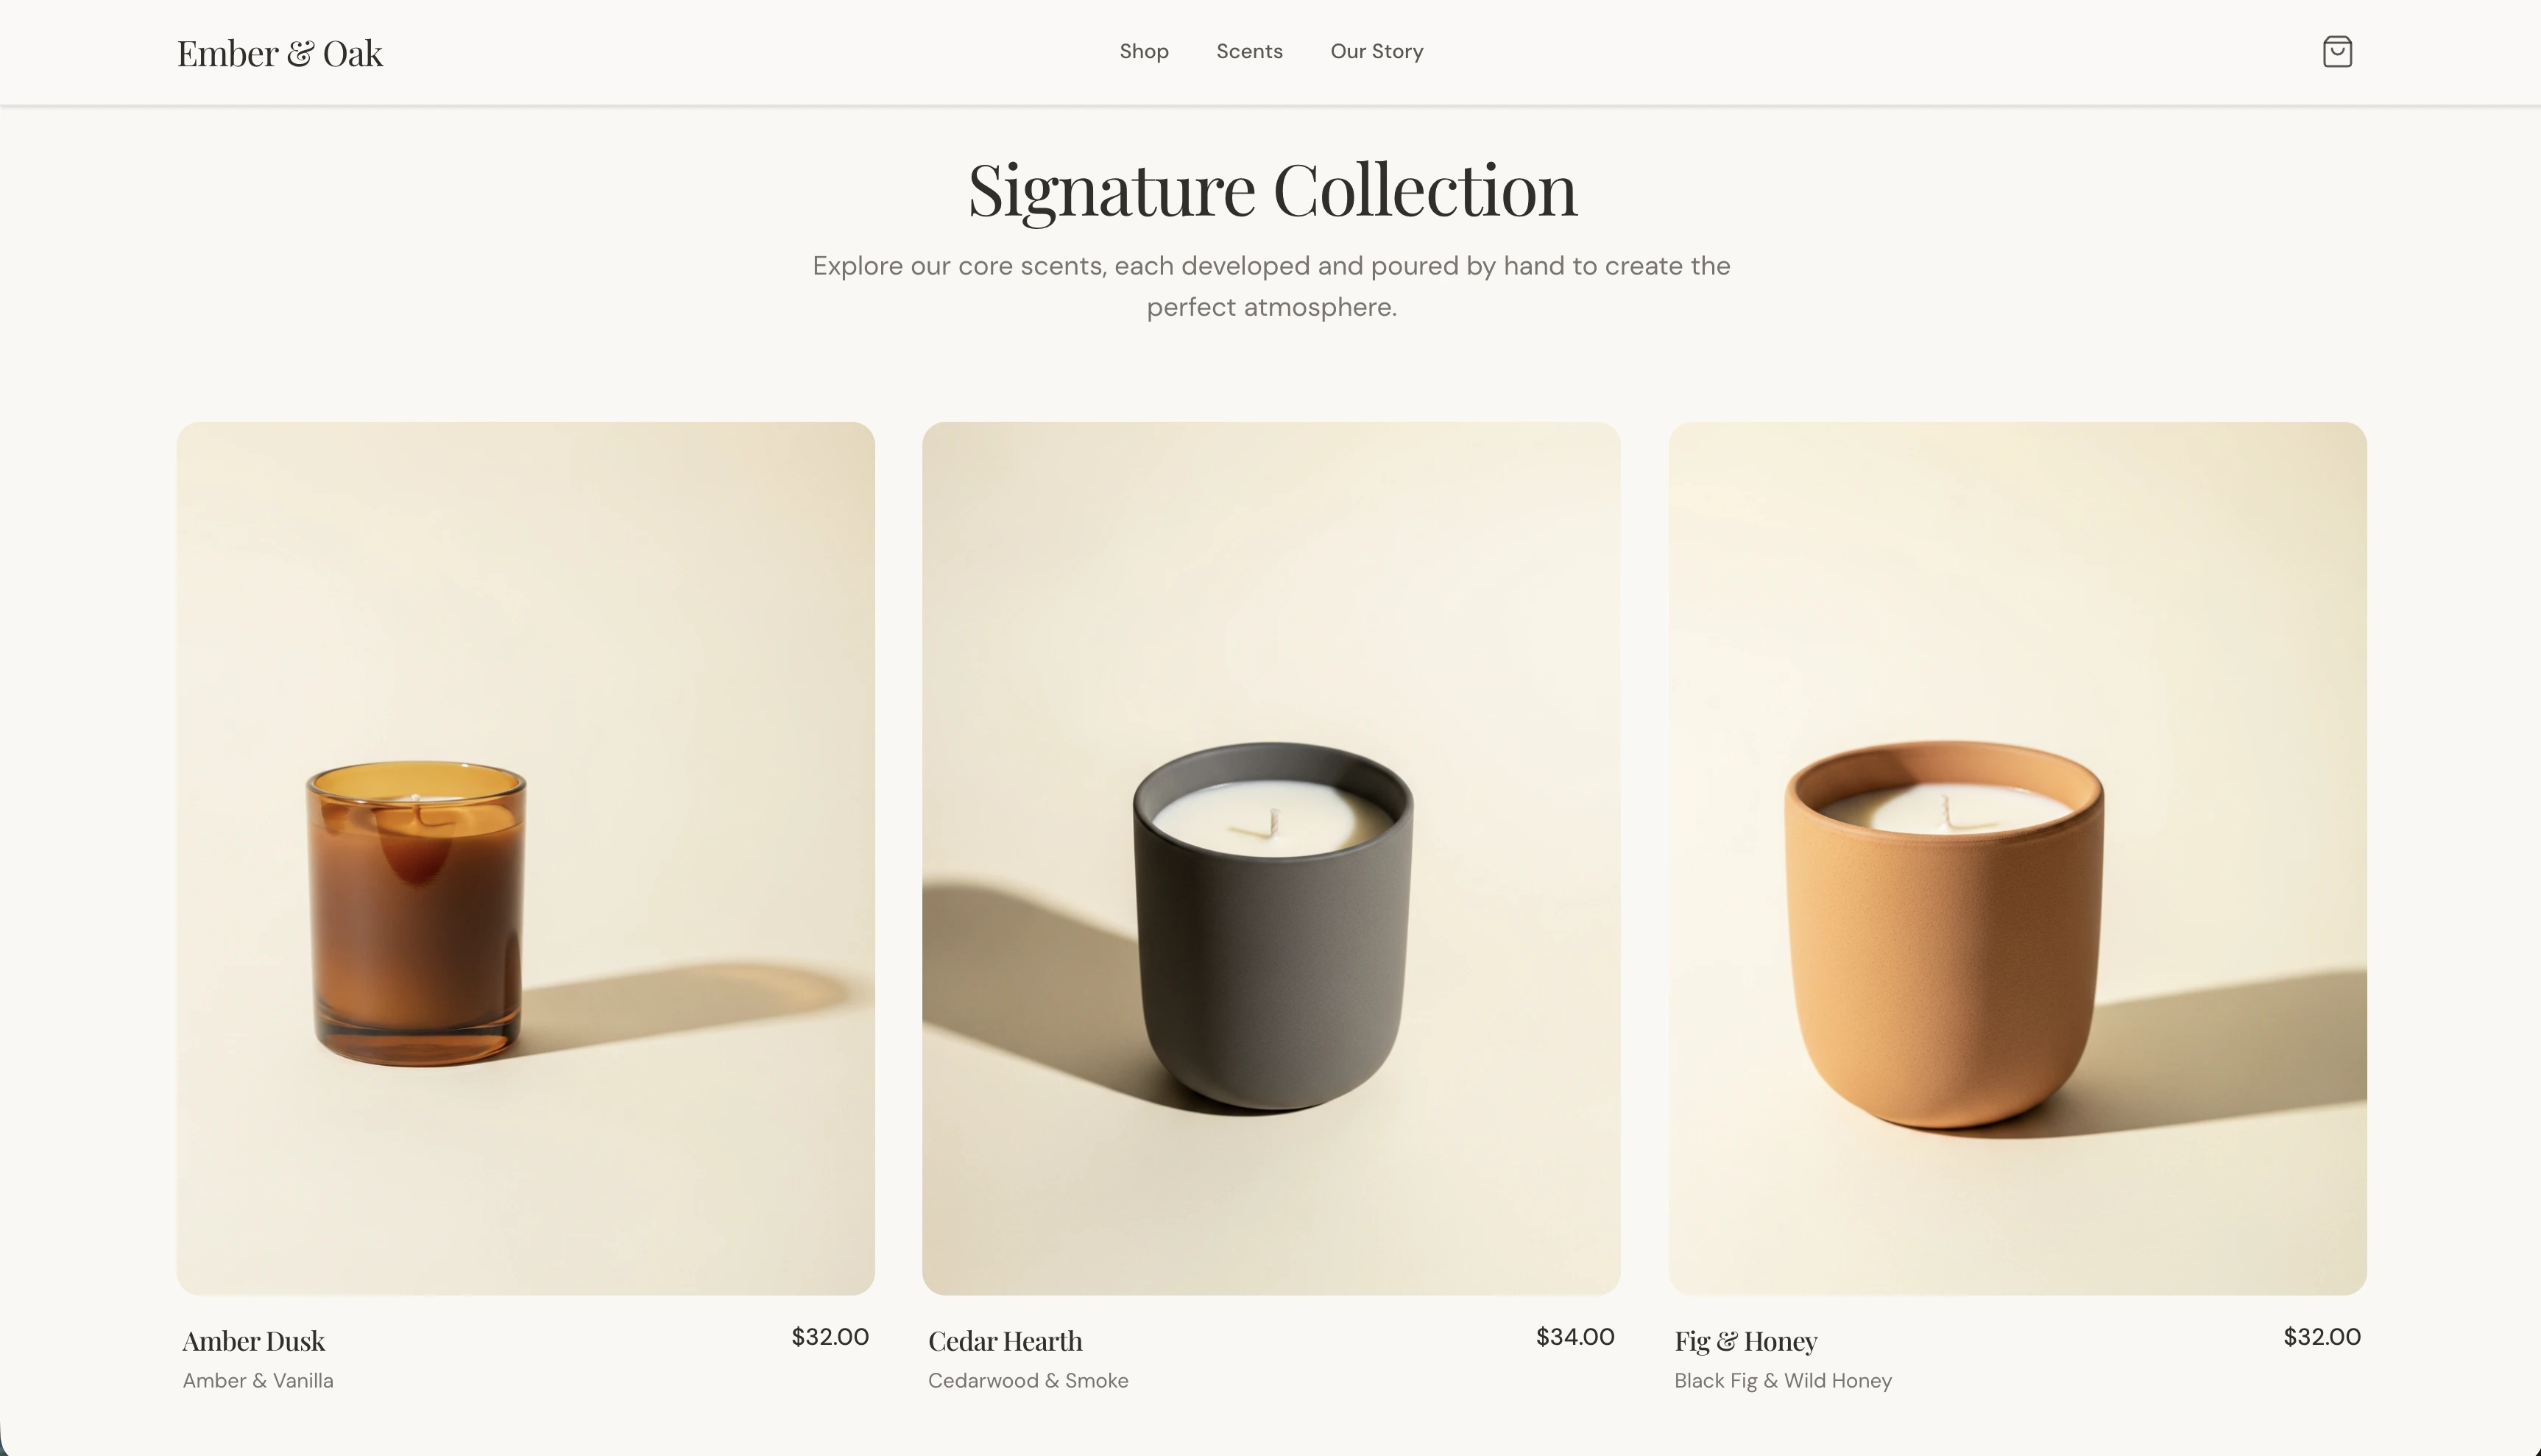
Agent generates the storefront from your prompt — the hero, product grid, cart, and supporting sections. When it finishes, the right pane switches to **Preview** so you can scroll the page and click through the design.
A new store starts with an empty catalog. Ask Agent to add a product, and it creates the product in Shopify and publishes it to the storefront.
Add a lavender soy candle for \$18 with a short cozy description, then publish it to the storefront.
The product is created in your Shopify store and appears in the storefront product grid.
Keep adding products by describing them. Agent creates each one in Shopify with its price, description, and image.
Add three more candles: Cedar & Sage at $20, Vanilla Bean at $16, and Sea Salt at \$22. Give each a short description and publish them.
**Leveling up:** ask Agent to group products into collections ("Create a
Holiday collection with my three best-selling candles"), add product variants
like size or scent, or track inventory so the storefront shows what's in
stock. Shopify stays the system of record for all of it.
## Iterate on the design and checkout
Every part of the storefront is editable through conversation. Refine the look, then check the buyer flow end to end.
Describe what you want to change, and Agent updates the storefront.
Make the hero section feel more editorial — larger headline, more whitespace, and a softer amber accent on the buttons.
In Preview, add a candle to the cart and start checkout. The cart sends buyers to Shopify's hosted checkout. During development your store is password-protected, so the checkout preview may show a password page — that's expected and doesn't mean anything is broken.
**Leveling up:** ask Agent to add a product detail page, a cart drawer,
search, or a featured-products section. Because the storefront is a real
Replit project, you can extend it with anything you can describe — a blog, a
wishlist, or custom landing pages — while Shopify handles checkout and orders.
## Ship it
Going live happens on Shopify. Ask Agent to start the Go Live flow, then complete the merchant-owned steps.
Claiming happens on Shopify and is the one step that takes place outside
Replit. Because your email was shared with Shopify when the store was
created, you can claim it from the link Replit provides or the email Shopify
sends.
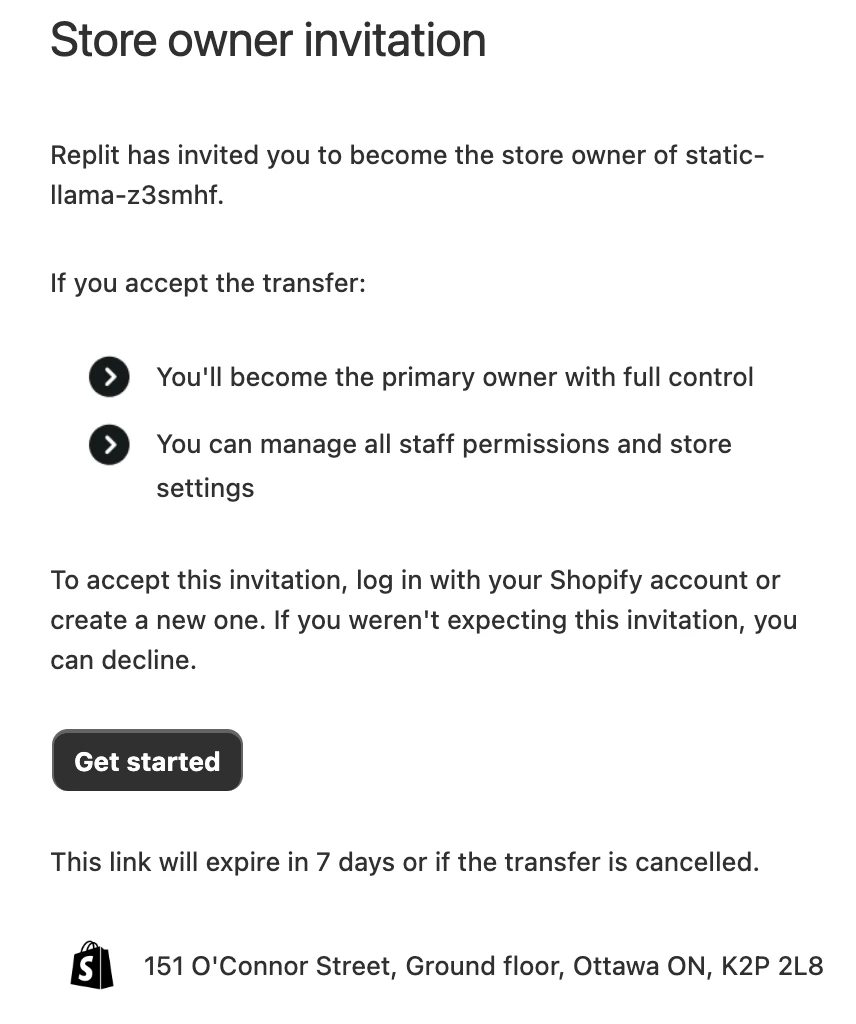
Shopify emails you a **Store owner invitation** that walks you through the
steps. Open it and select **Get started**.
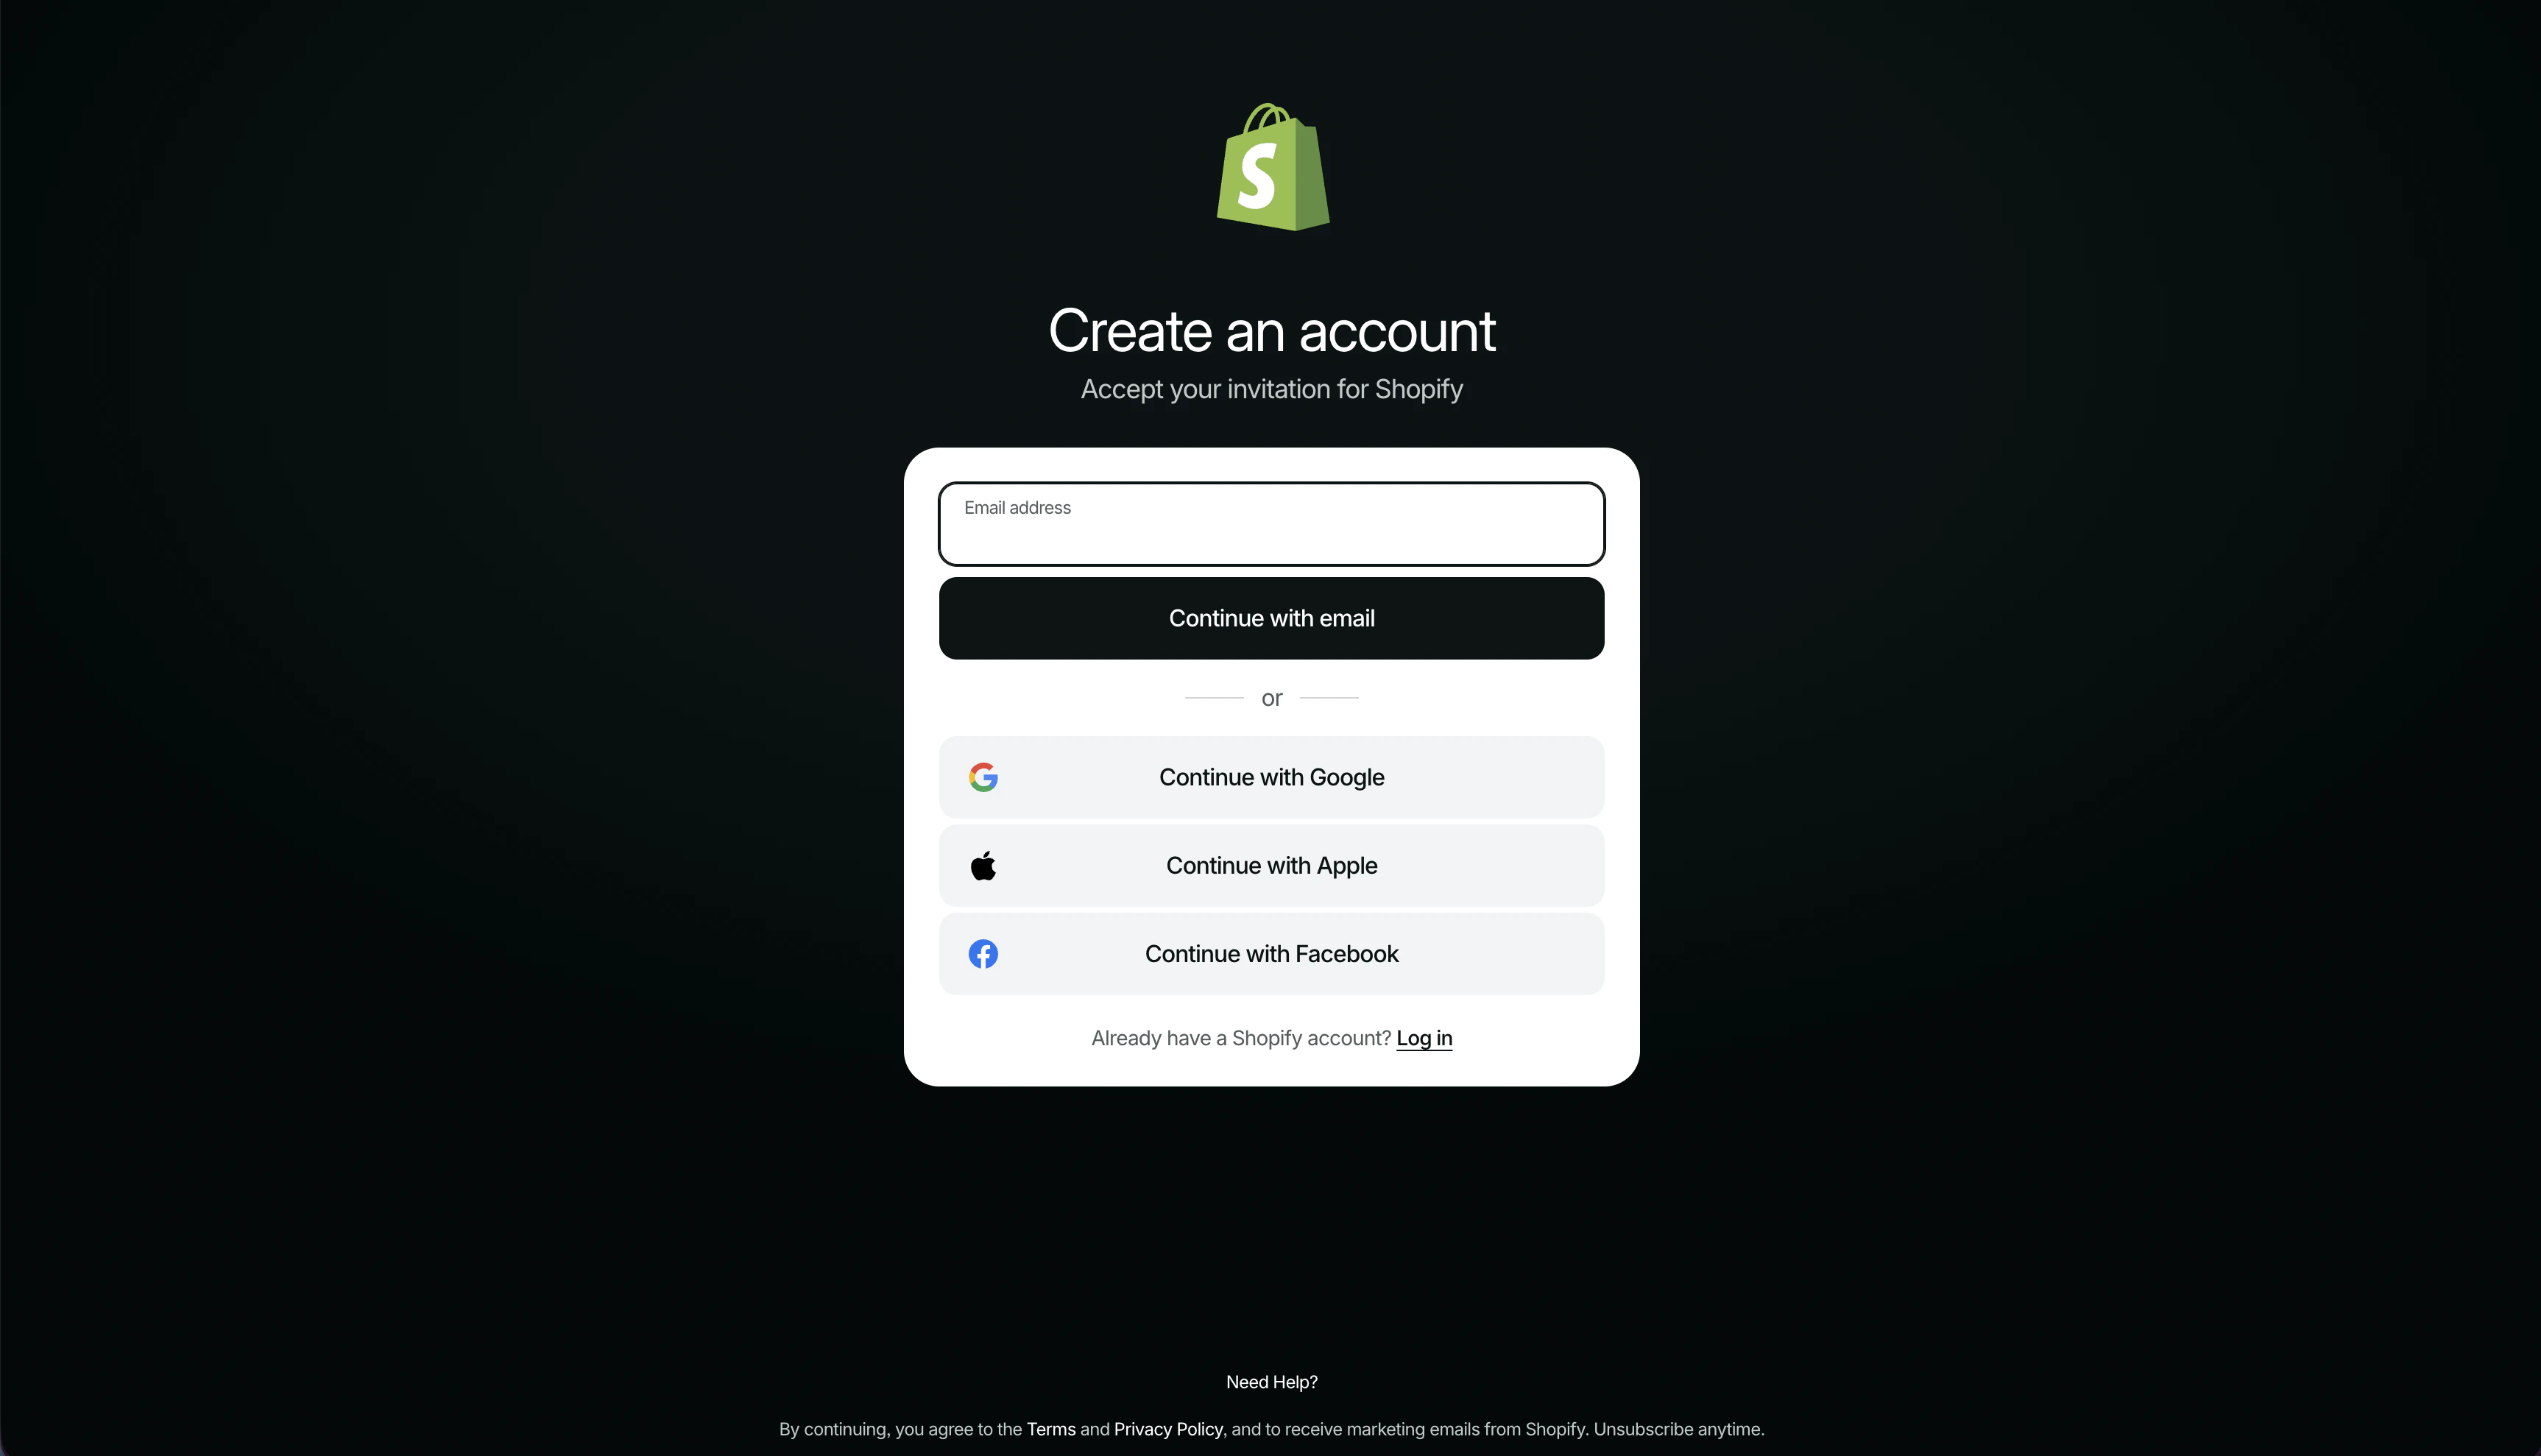
Log in with your existing Shopify account, or create one to accept the
invitation.
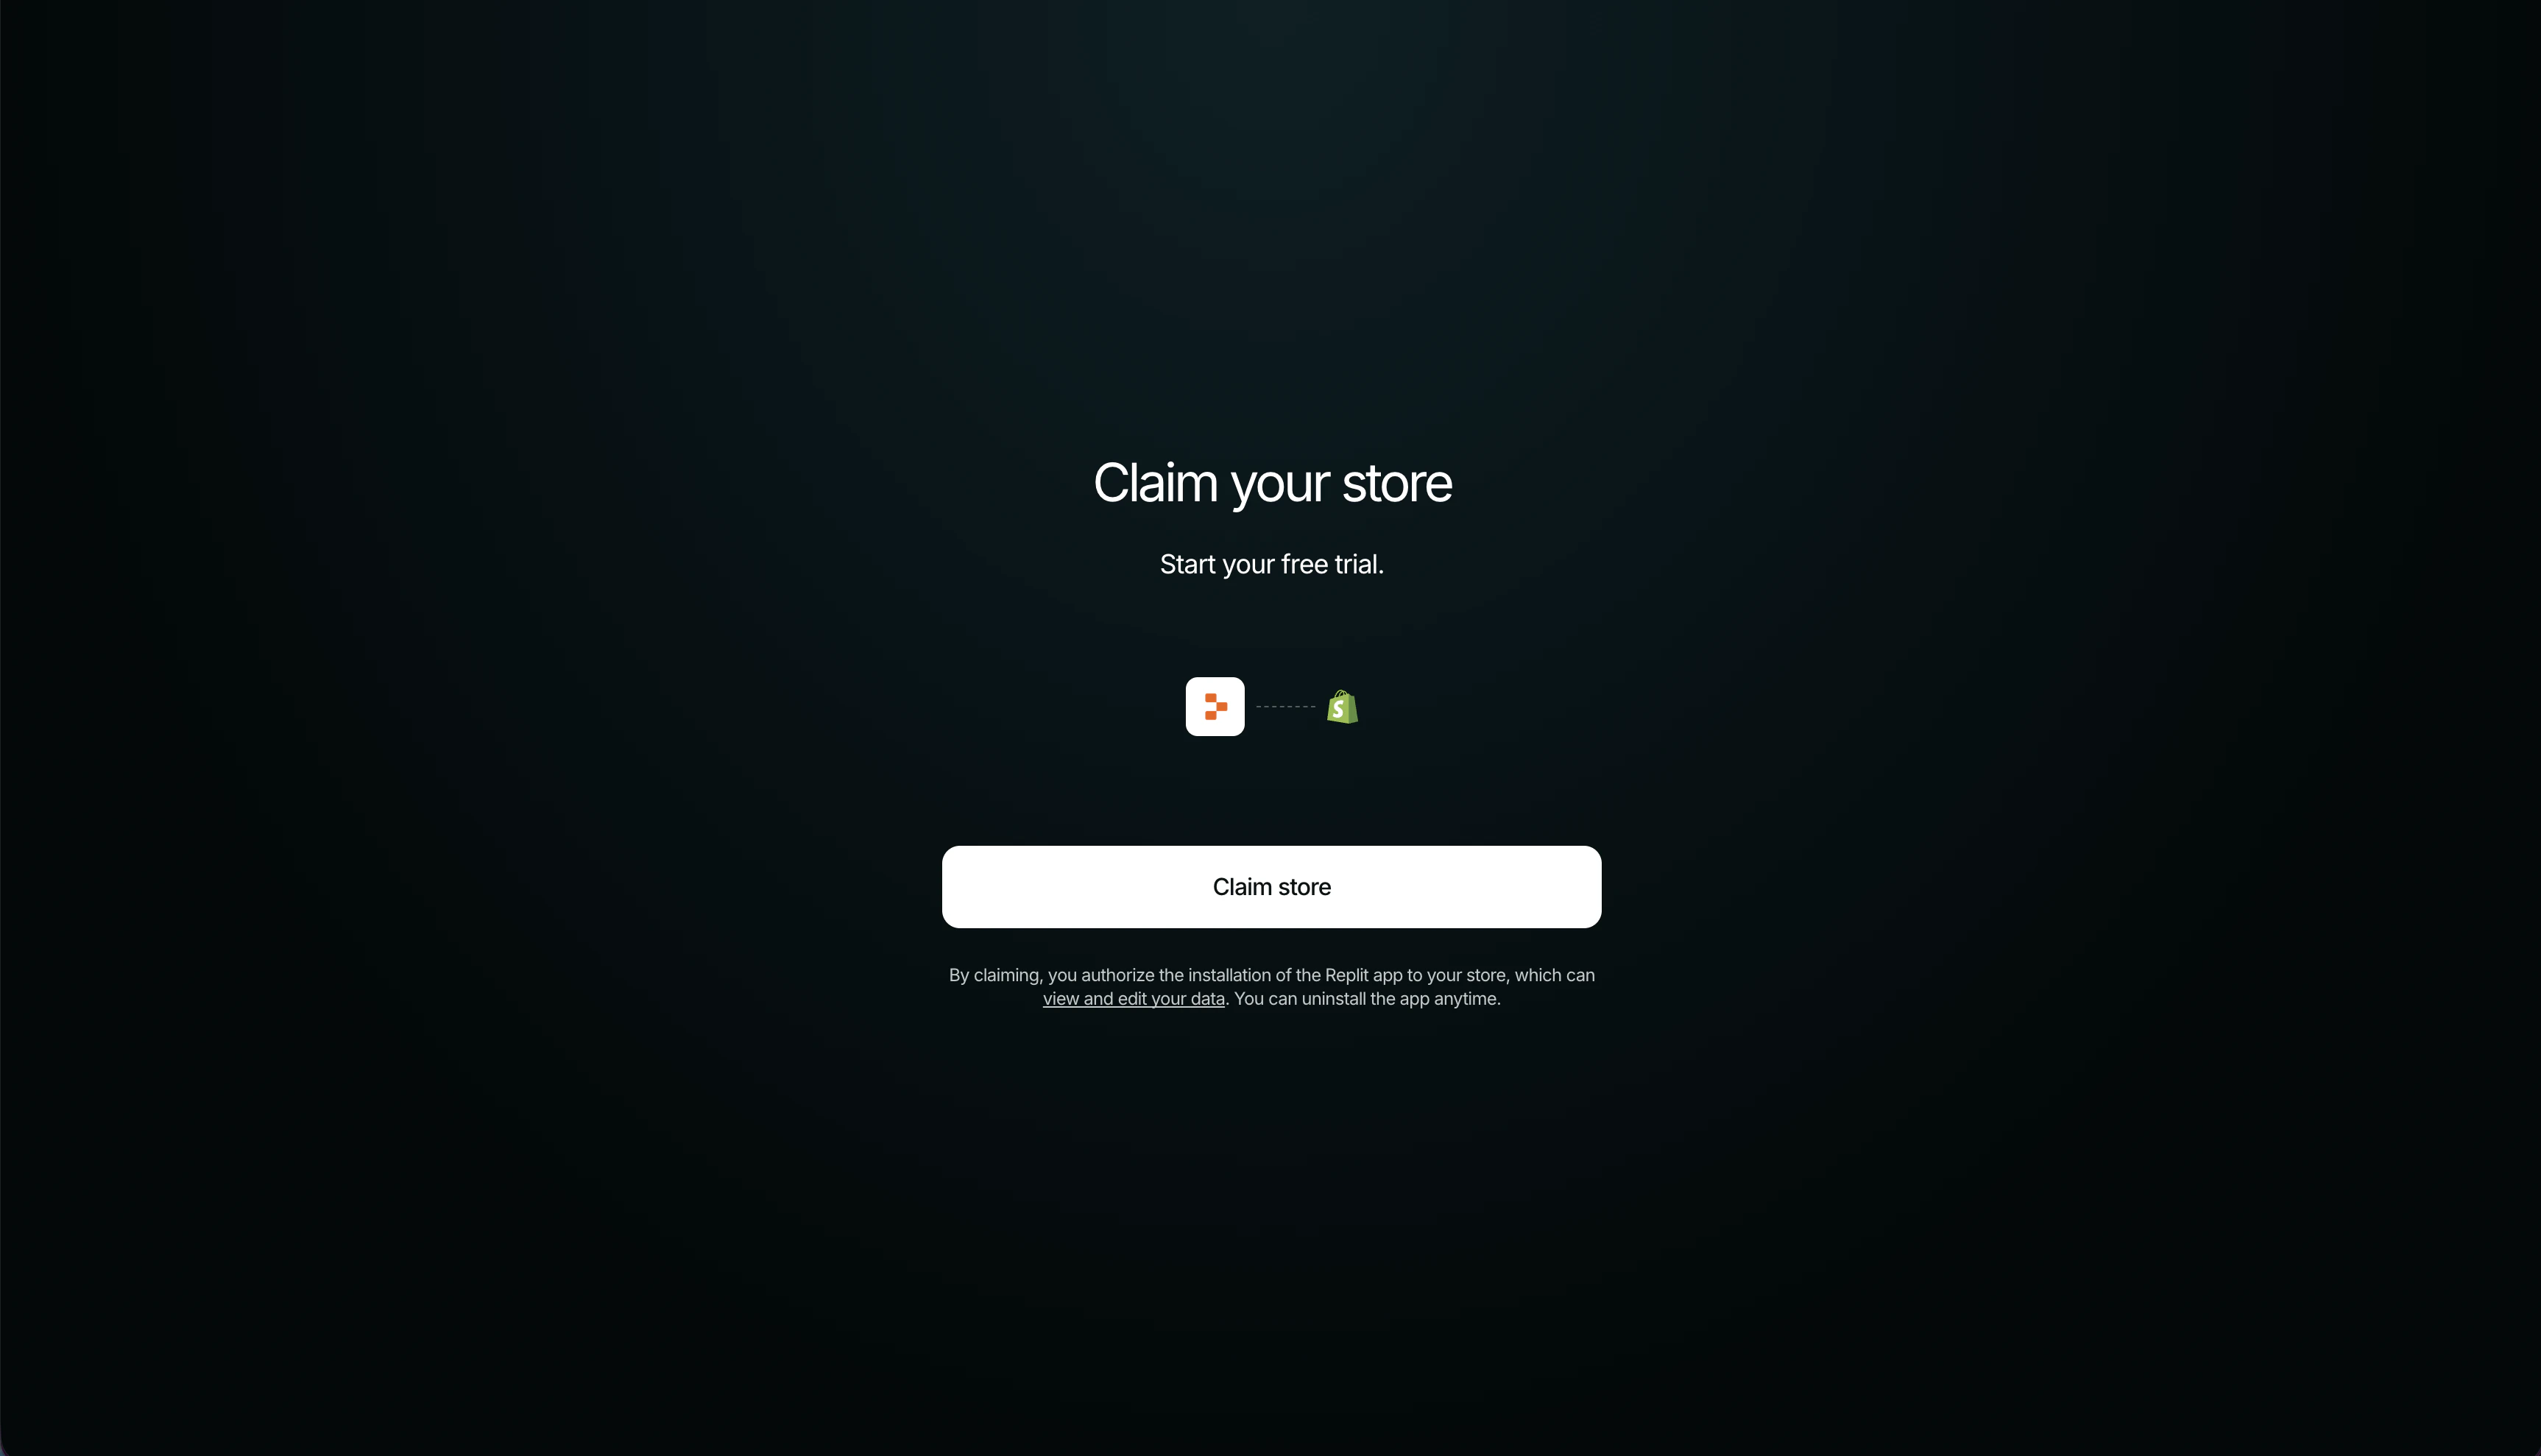
Select **Claim store** to authorize the Replit app on your store and start
your free trial. You then land in your Shopify admin as the primary owner.
Pick a Shopify plan and activate Shopify Payments or another provider.
Shopify collects the identity and banking details needed to pay you — none
of that happens in Replit.
Set your shipping rates and review taxes in Shopify, and optionally connect
a custom domain.
Remove the storefront password in Shopify to open the store to buyers. Back
in Replit, click **Publish** to deploy your storefront to its public URL.
Payments, identity verification, taxes, shipping, and fraud checks stay on
Shopify. For the full go-live checklist and connector details, see [Connect
Shopify](/references/integrations/shopify#go-live-on-shopify).
## Next steps
The connector reference: how the Shopify connection works and the full
go-live checklist.
Give your store a branded URL before you launch.
Help buyers find your store in search.
Build a focused campaign page to drive traffic to your store.
## Related
* [Connect Shopify](/references/integrations/shopify)
* [Add a custom domain](/build/add-custom-domain)
* [Agent integrations](/references/integrations/overview)


 Log in with your existing Shopify account, or create one to accept the
invitation.
Log in with your existing Shopify account, or create one to accept the
invitation.
 Select **Claim store** to authorize the Replit app on your store and start
your free trial. You then land in your Shopify admin as the primary owner.
Select **Claim store** to authorize the Replit app on your store and start
your free trial. You then land in your Shopify admin as the primary owner.